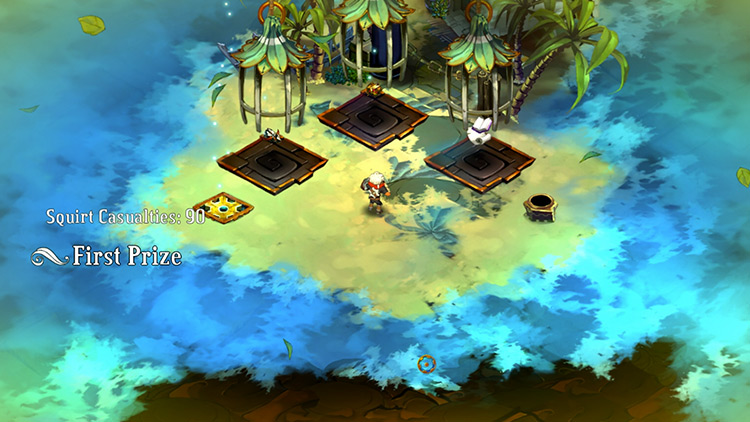
Boundless Bay is the proving grounds for the Galleon Mortar. It’s one of the few “chill” challenges in the sense that you’re not pressured by time.
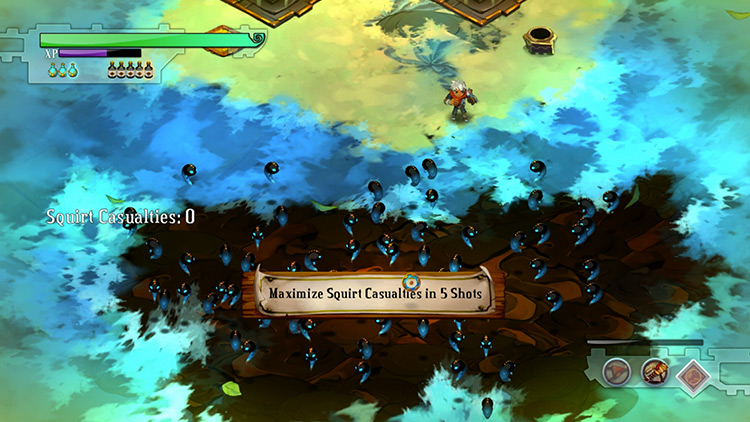
Instead, you’re given 5 shots to blast as many Squirts as you can.
Your rank will be based on the number you’ve killed after using all 5 shots.
| Boundless Bay | ||
|---|---|---|
| Rank | Requirement | Reward |
| 1st | All 90 Squirts | “Bomb Barrage” Secret Skill |
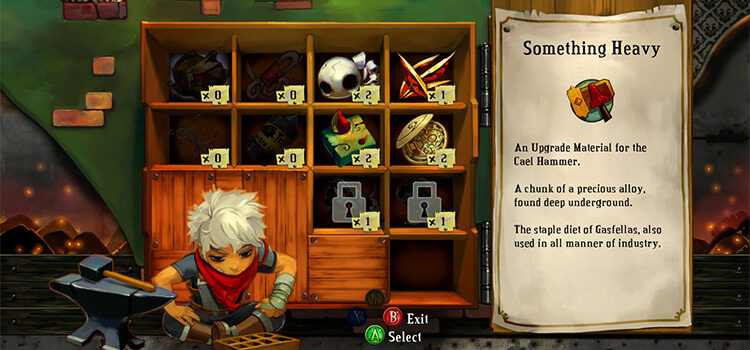
| 2nd | 60 Squirts or more | “Something Heavy” Upgrade Material |
| 3rd | First clear | “Something Burnt” Upgrade Material |
Preparation
You can make this test easier by improving your Mortar’s area of effect.
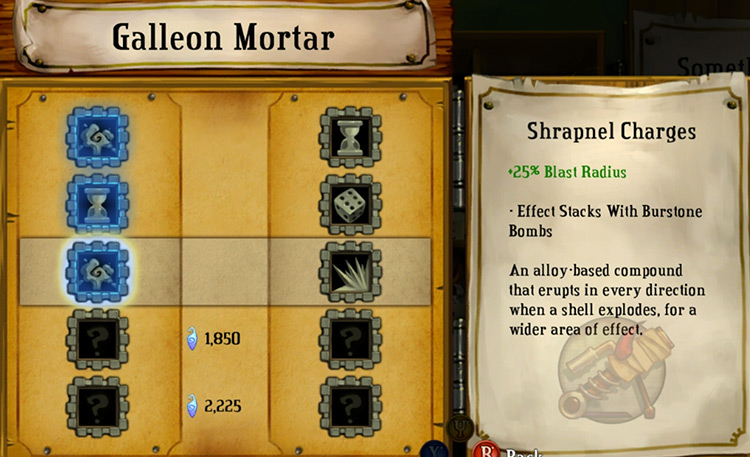
At tiers 1 and 3, choose the upgrades that give you the +25% blast radius. With those, you can hit a third of the targets even with one mortar strike.
You may also want the aiming speed upgrade at tier 2. It makes it easier to time your shots with some of the moving targets.
| Galleon Mortar Upgrades | ||
|---|---|---|
| Tier | Upgrade Name | Effect |
| 1 | Burstone Bombs | +25% Blast radius |
| 2 | Target System | +50% Aiming speed |
| 3 | Shrapnel Charges | +25% Blast radius |
Strategy + Tips
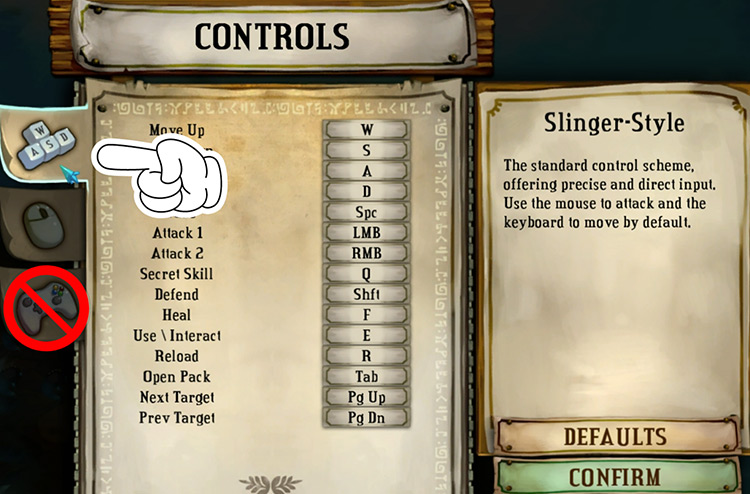
Tip #1: Use a mouse instead of a controller
Boundless Bay is the rare exception where a mouse is preferable over a gamepad.
A gamepad comes with an auto-aim function, which always makes your aim stick to the nearest Squirt. This works against you, because you need to target the floor and not the enemies themselves.
If you’ve been using a controller, you should switch to one of the mouse-based styles in the options.
Tip #2: Take your time visualizing where to launch a Mortar strike
Once you start aiming, you can’t exit out of it until you launch your attack.
The test also has no time limit, but you are limited to five attacks.
With these things in mind, take your time planning your shots.
Tip #3: Wait for the Squirts to move close together before firing
Most of the Squirts won’t wander away from their original position. The exceptions to this are the ones at the sides.
Every two seconds, they’ll move to the other end of the field. As they do, they’ll pass through the Squirts that are stationary.
That’s the best time to fire your weapon.
You can take down a lot of them with one shot by aiming at where the traffic merges. Using this tactic, you’ll only need 2–3 shots to kill the bulk of the targets.
Prizes
The challenge ends after dispensing your last shot or killing all Squirts.
- You’ll get a Something Burnt for your Mortar regardless of your kill count.
- If you’ve destroyed at least 60 squirts, you’ll also get a Something Heavy for the Cael Hammer.
- Destroying all Squirts lets you unlock the “Bomb Barrage” Secret Skill for the Galleon Mortar.
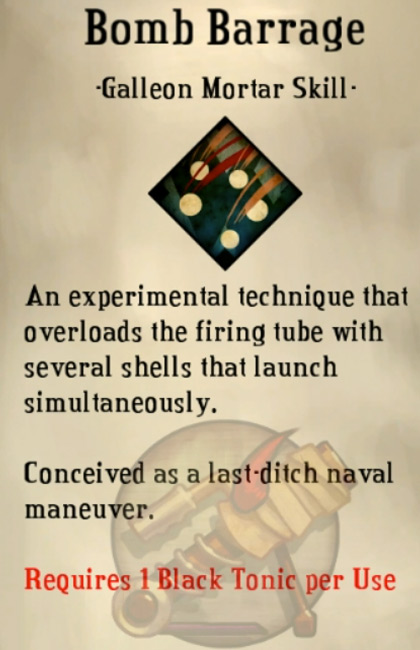
Secret Skill: Bomb Barrage
(Galleon Mortar)
When you fire the Mortar, you’ll unleash five orbs instead of one. These will devastate the area around your targeted spot. You can spread these out by aiming longer and farther.
At the Mortar’s max range, the orbs will fall along a line perpendicular to you.
-
Bastion
- Boundless Bay: Proving Grounds 11 (Bastion Guide)
Related Posts:
 Mount Zand: Bastion Walkthrough Part 13
 Trigger Hill: Proving Grounds 9 (Bastion Guide)
 Windbag Ranch: Proving Grounds 2 (Bastion Guide)
 Mancer Observatory: Proving Grounds 12 (Bastion Guide)
 Trapper Shingle: Proving Grounds 3 (Bastion Guide)
 Zulwood Grove: Proving Grounds 5 (Bastion Guide)
 How To Upgrade Weapons in Bastion (Full List)
 Breaker Barracks: Proving Grounds 1 (Bastion Guide)