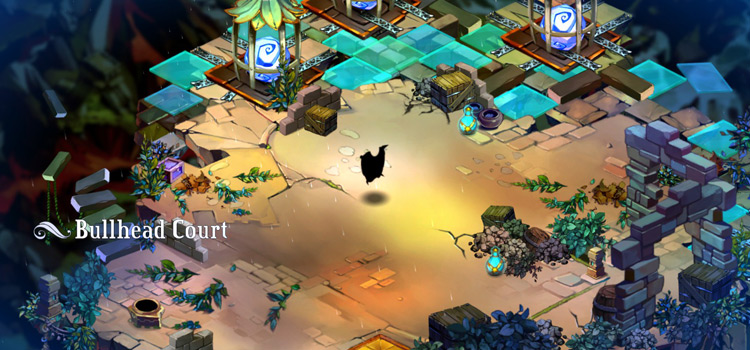
The Bullhead Court is the proving grounds for the Bullhead Shield.
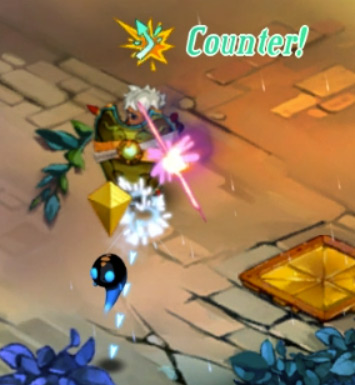
The challenge is to fight off waves of enemies using only counter-blocks. You must do this while taking as few hits as possible.
Since the Shield can’t be upgraded, you’ll have to rely on your own skills here. In particular, you’ll need a good sense of timing.
Your prize will depend on the number of hits you received after defeating all enemies.
| Bullhead Court | ||
|---|---|---|
| Rank | Requirement | Reward |
| 1st | 3 hits or less | 1000 fragments |
| 2nd | 15 hits or less | 500 fragments |
| 3rd | First clear | 250 fragments |
Preparation
Spirits can help a bit with the challenge.
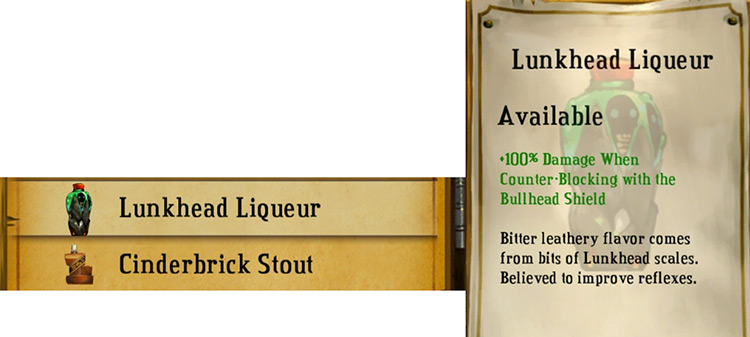
First, the Lunkhead Liqueur doubles the damage of your counter-blocks. It guarantees that you’ll one-shot most enemies in the Court.
You can also equip the Cinderbrick Stout. It increases your move speed while your shield’s up.
This makes repositioning easier when you’re surrounded by several enemies.
| Recommendations | ||
|---|---|---|
| Spirit | Price | Effect |
| Lunkhead Liqueur | 200 fragments from the Lost-and-Found | +100% Damage when counter-blocking |
| Cinderbrick Stout | Free in the Distillery | +33% Speed while defending |
Strategy + Tips
At this point of the game, you should already be familiar with the enemies featured in the Court.
The first waves consist of easy ones, like the basic Blue Turrets and Blue Gasfellas.
From there, it gets trickier.
The composition of the later waves aren’t exact, but they’ll usually have faster variants. But here’s the most notable ones you should watch out for:
Teal Security Turrets
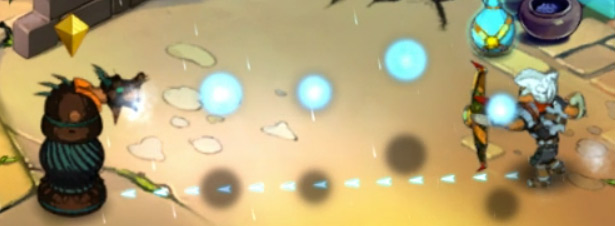
These fire a burst of five orbs.
They have the same attack speed as that of the Blue Turrets, so they’re not hard to block. However, the orbs can hit you even after you’ve destroyed the Turret.
This can be a problem when you’re surrounded by other enemies.
You’ll want to move so that all foes are in one direction. That way, you can still block all the orbs and the remaining enemies.
Yellow Gasfellas
These charge forward and attack faster than the Blue Gasfellas.
When they raise their pickaxes, defend as soon as they reach the highest point of their animation. You don’t have to be next to them since their attacks propel them to you.
Squirts
Despite being the weakest enemy, Squirts are deceptively tricky.
To be specific, the counter-block effect doesn’t always hit them due to their small hit boxes. The good thing is that they’re far apart.
So you should always confirm a kill before moving on to the next Squirt.
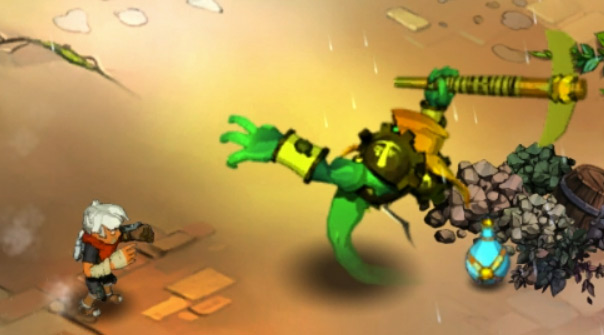
Scumbag
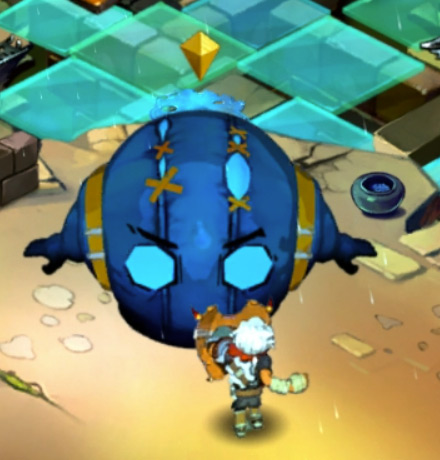
The final wave consists of a lone Scumbag.
It’s the variant that charges forward and leaves a trail of slime.
Stepping on that slime damages you and counts as a hit, but it’ll disappear after a few seconds.
You can tell if the Scumbag’s going to charge when it puffs up a bit and pauses. Get ready to counter it when it does that.
It’s also easier to counter-block it if you’re at a moderate distance from it. That way, you can see when it’s going to hit you.
-
Bastion
- Bullhead Court: Proving Grounds 4 (Bastion Guide)
Related Posts:
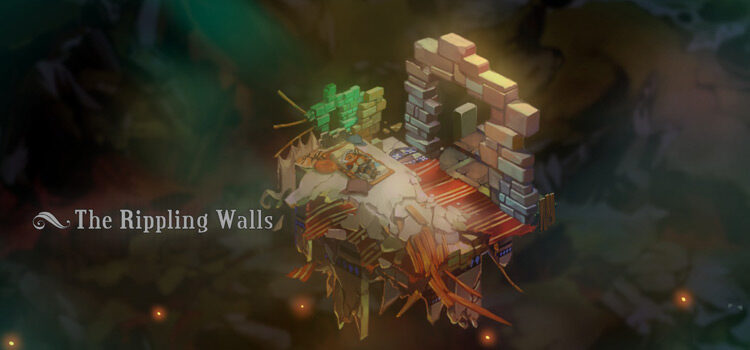 The Rippling Walls & The Wharf District: Bastion Walkthrough Prologue
 How To Upgrade Weapons in Bastion (Full List)
 How To Get Fragments in Bastion (Farming Guide)
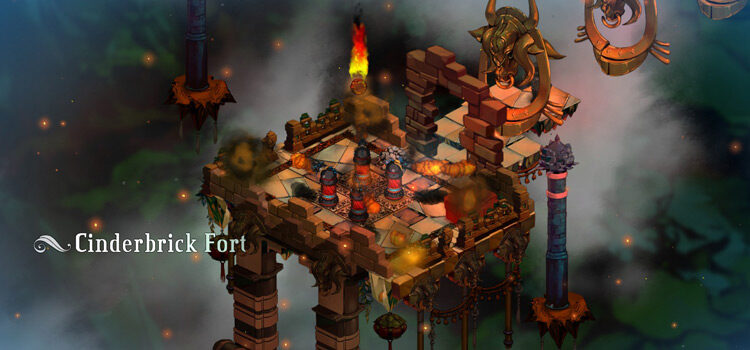 Cinderbrick Fort: Bastion Walkthrough Part 6
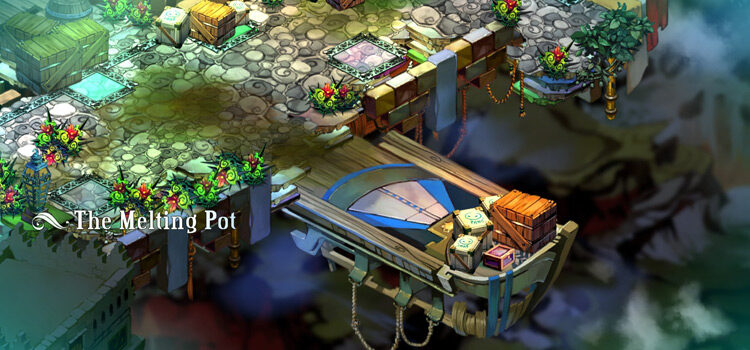 The Melting Pot: Bastion Walkthrough Part 3
 Langston River and Prosper Bluff: Bastion Walkthrough Part 7
 Burstone Quarry: Bastion Walkthrough Part 14
 Windbag Ranch: Proving Grounds 2 (Bastion Guide)