Your journey to Urzendra Gate spans seven days, which will play out like a montage.
Yet despite the implied length, the sequence is actually short and straightforward. Only the third day has a large area. The rest are narrow roads and paths.
Throughout the trip, Rucks will reveal the truth of the Calamity and its connection to the Ura.
Section 1: Seven Days of Revelations
Day 1, Morning: You’re on a mossy field.
From your starting point, go north until you reach a campfire.
The two Gunners who set it up are hiding inside the tall grass. Defeat them, then get across the rock bridge north of the camp. Grab the fragments on the other side.
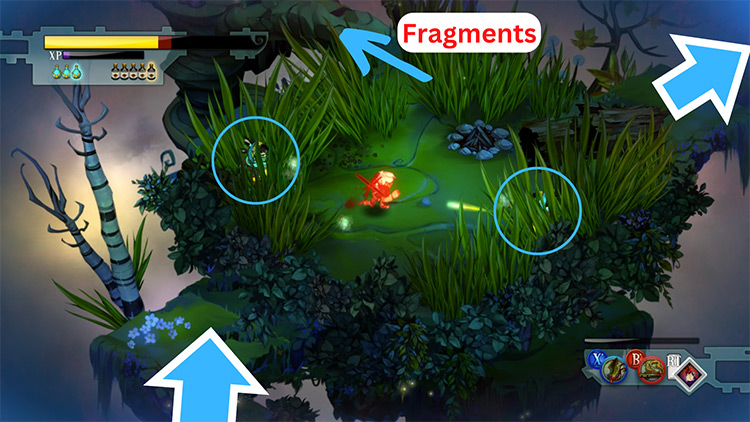
After that, return to the camp, and head up the path behind the log to continue.
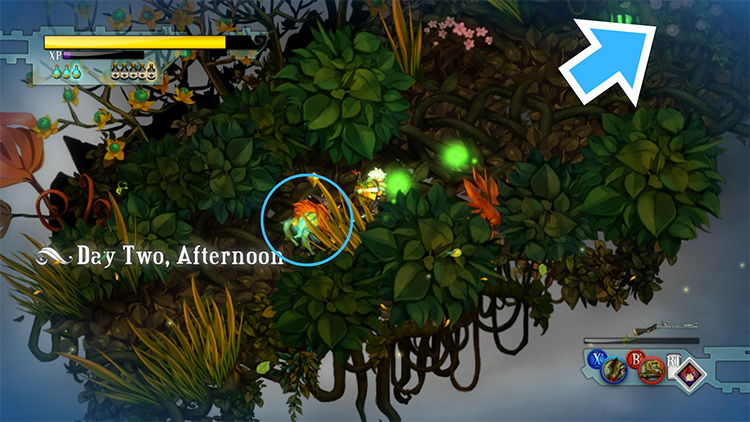
Day 2, Afternoon: You’re in a jungle. There’s one Lunkhead chasing you.
Turn around and kill it, then keep going forward. It’s only a straight path.
You only need to hack away any vines and Lunkheads that’re in your way. You’ll soon reach the end of the wilderness.
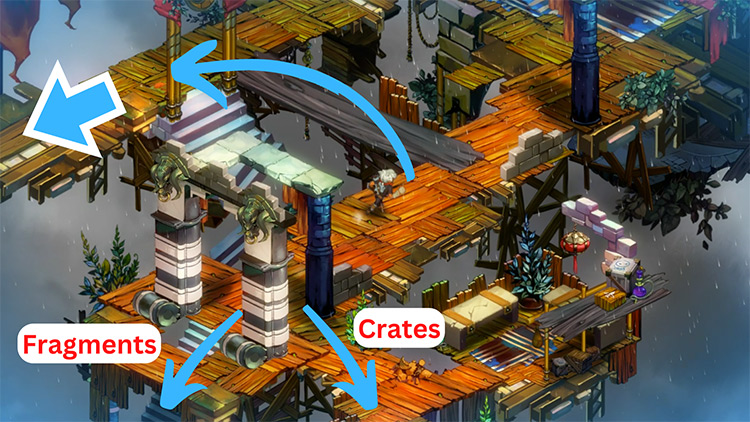
Day 3, Morning Pt. 1: You’re in a settlement. You can find fragments and crates to your south.
After you’ve looted the place, follow the path that has the wooden plank.
A Gunner and a Halberdier will attack you as you cross it. Up ahead of them, a second Halberdier’s waiting by a pile of crates. Defeat them so you can move on.
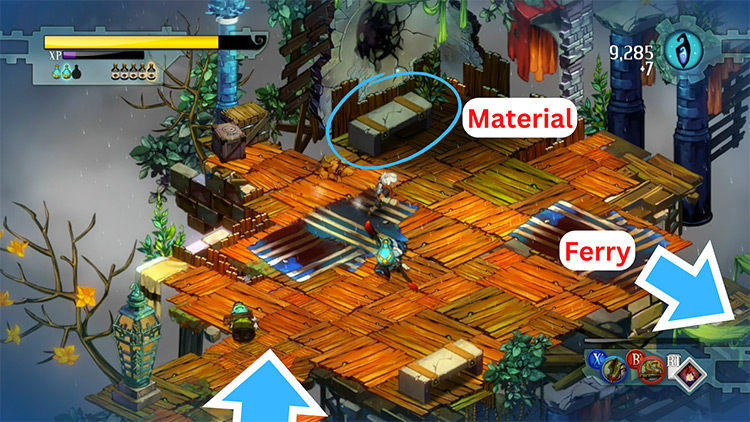
Day 3, Morning Pt. 2: When you get to the last block, two Gunners and a Halberdier will intercept you.
After you beat them, break the bench on the north corner of the room. Doing so reveals a Something Fancy for your Carbine. Pick it up, and then head to the east edge of the room.
A ferry-barge is parked there. Activate it to continue your journey.
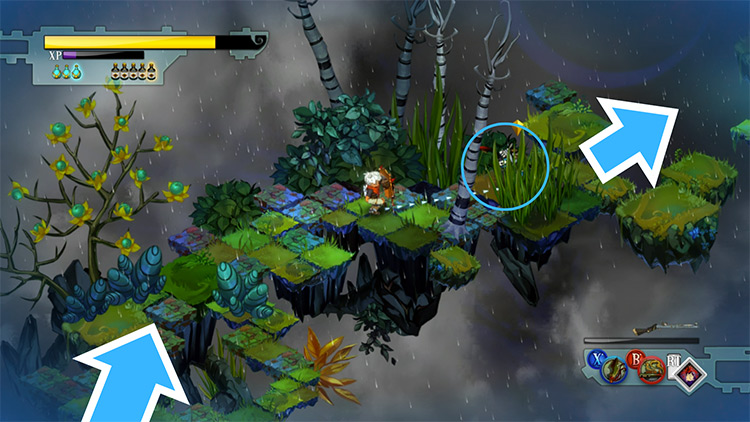
Day 3, Dusk: You’ll land on a meadow. There’s only one notable encounter here, and that’s the lone Halberdier hiding in the bushes.
Blast him out of your way, and continue forward.
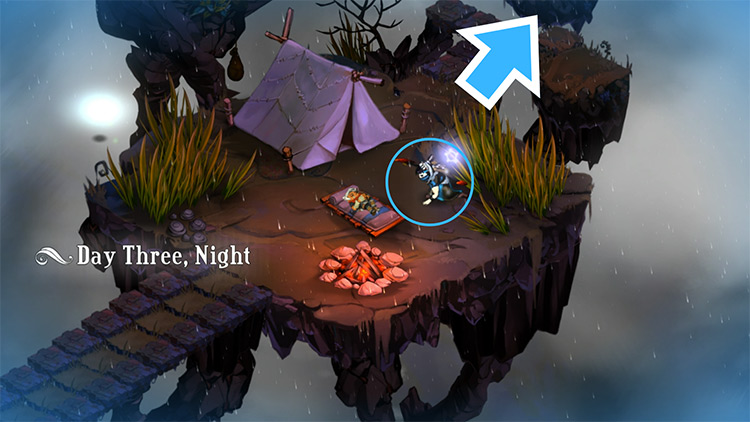
Day 3, Night: You’ve set up camp on a clearing. While you’re sleeping, a Halberdier’s creeping beside you. Good thing he’s courteous enough to wait for you to wake, since he won’t attack until you get up.
Do that, kill him, then resume your journey north.
Day 5, Morning: You’ve arrived at a tundra, where you’ll be set upon by four Peckers. Once you’ve dealt with them, break through the ice blocking your way forward.
Up ahead on the fork, a Halberdier is engaged with another Pecker. Blast both of them while they’re busy squabbling. The plank to their right leads to a lone Stinkeye and two tonics so grab those if you need refreshments.
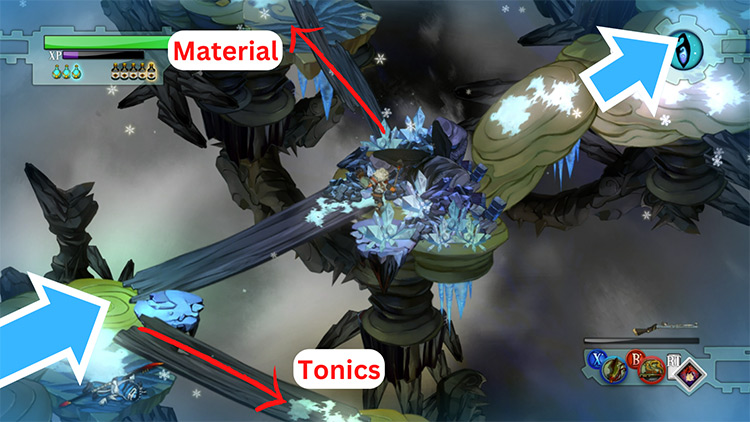
Continue to the next plateau while smashing away the ice and rocks. From there, you can follow the left plank to find three Stinkeyes and a “Something Wrong” material.
It’s used for the final weapon that you’ll find on the next level.
Other than that, keep following the path going east from the plateau.
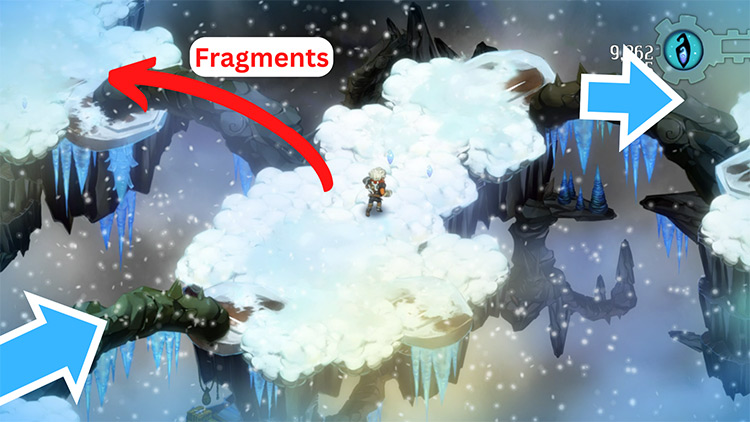
Day 6, Afternoon: You’re in the middle of a blizzard. The ground’s covered in deep snow and small fragments. Press forward until you cross a rock bridge.
There will be two more of those that lead to two separate directions.
The left one connects to a ledge with fragments and a lone Gunner.
The one to the right takes you outside the blizzard, but another Gunner also guards that route. Fight your way through there.
Day 7, Dawn: You’re now on the glaciers outside Urzendra Gate. Head north to approach the Gate. Right before you get to its outer stone archway, a Halberdier on a snowboard will slam into you.
You won’t take any damage, but you’ll get knocked down.
Get up and punish the punk. Once he’s dead, go through the archway.
You’ll find the Shard at the center of the area. When you grab it, an Ura General will appear and stab you. He’ll take away the Shard then leave.
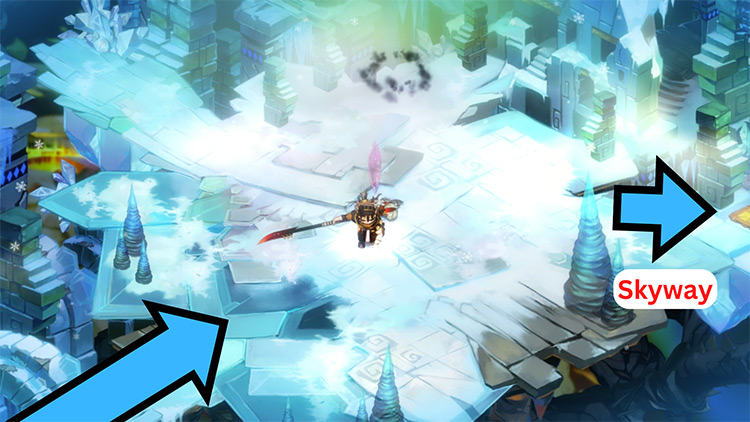
Once he’s gone, you’ll get attacked by four Rattle-tails.
Exterminate them all, and the Skyway to your right will open. Use that to return to the Bastion.
Home: The Bastion
Without a Shard, there isn’t much to do back home.
You can review your equipment and make any necessary upgrades. You should also claim any Vigils that you may have unlocked.
Apart from those tasks, head to the Skyway. You’re not going after the General and the Shard just yet, because you still have a damsel to rescue, and she’s in Zulten’s Hollow.
-
Bastion
- Urzendra Gate: Bastion Walkthrough Part 15
Related Posts:
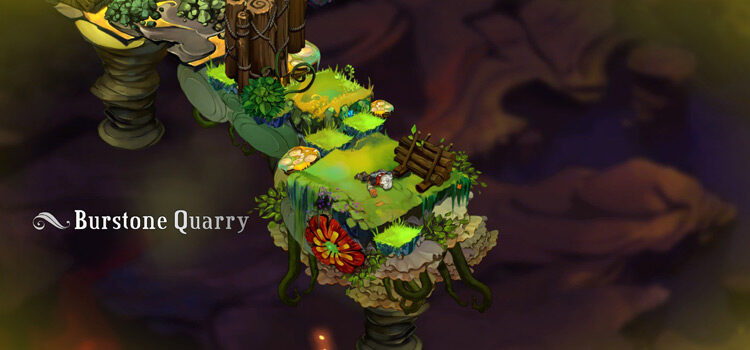 Burstone Quarry: Bastion Walkthrough Part 14
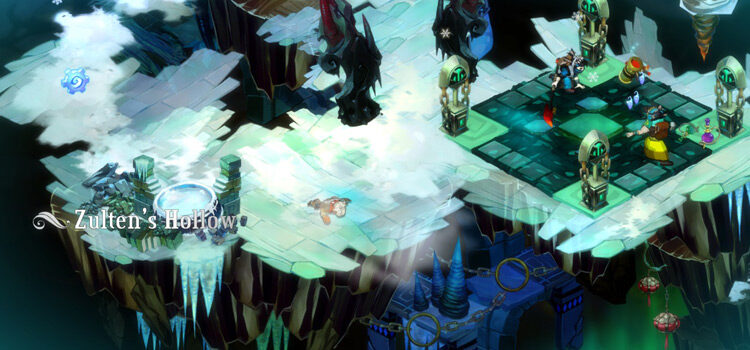 Zulten’s Hollow: Bastion Walkthrough Part 16
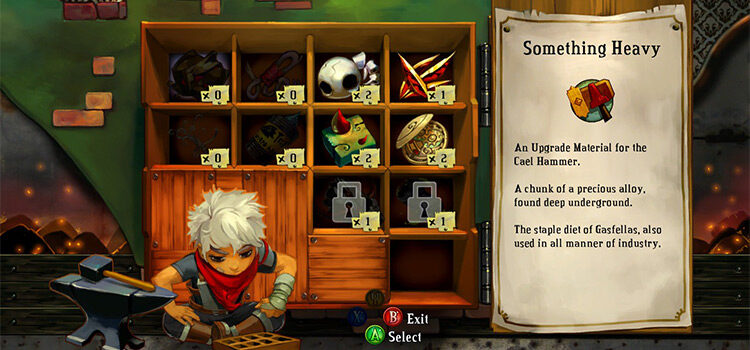 How To Upgrade Weapons in Bastion (Full List)
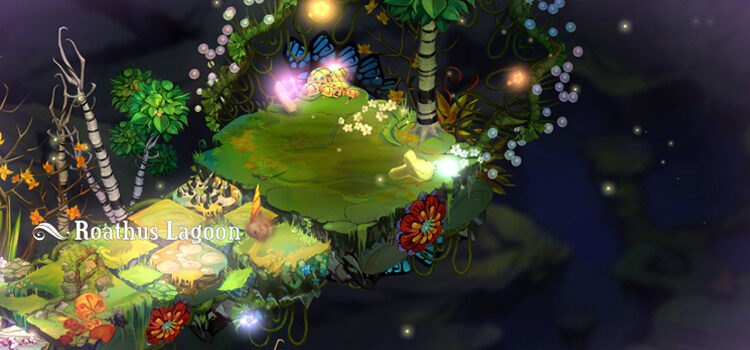 Roathus Lagoon: Bastion Walkthrough Part 10
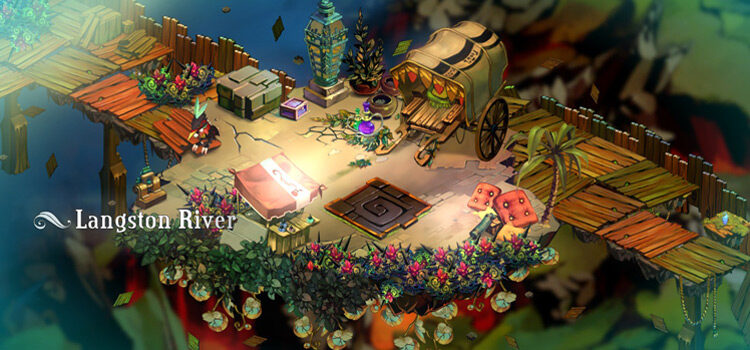 Langston River and Prosper Bluff: Bastion Walkthrough Part 7
 Mount Zand: Bastion Walkthrough Part 13
 Point Lemaign: Bastion Walkthrough Part 11
 Jawson Bog: Bastion Walkthrough Part 9