The Ura built a blockade in Zulten’s Hollow to protect their home. They’ve created layers of devilish-like walls throughout the level. Each of those are connected to four conductors, which you must destroy to disable the walls.
The Ura also have their own Security Turrets guarding the conductors, and their Turrets fire laser beams.
You can use your shield to defend against them, but you can’t counter-block them.
Section 1: Breaking the Blockade
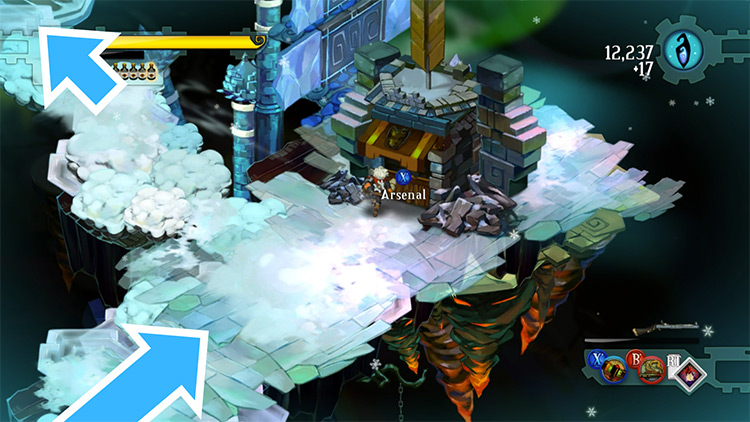
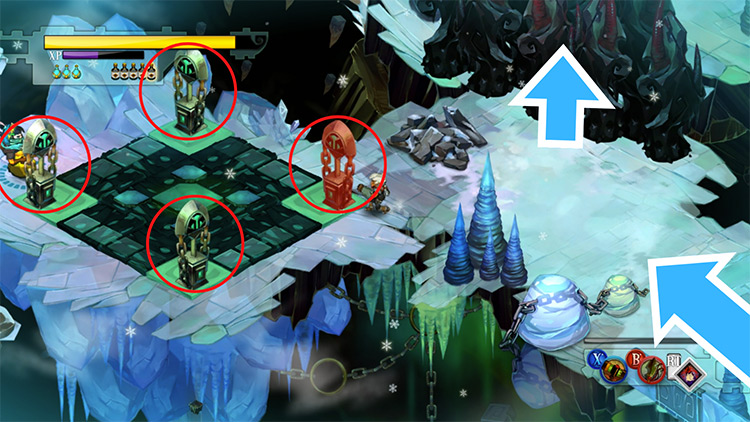
Step 1: You start near the Calamity Cannon that Rucks made to help you assault the Hollow. A Halberdier and a Gunner are inspecting it, so defeat them first.
Once it’s clear, pick up the weapon, and use it to destroy the conductors around it. You only need to break three of them to open the passage to the north of you.
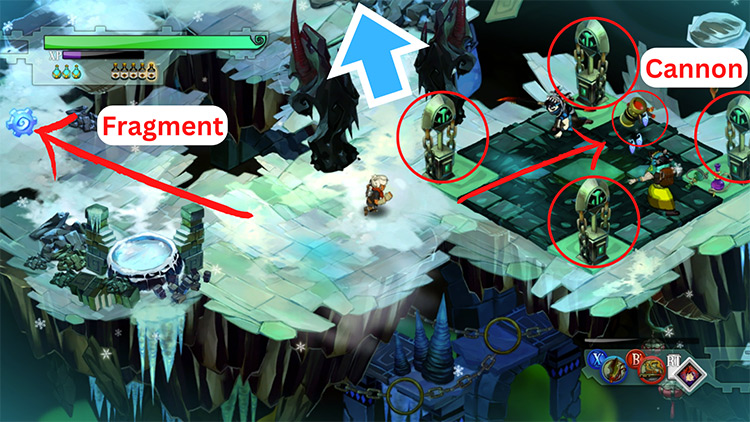
You can also get a lot of fragments if you shatter the last one as well.
Be aware that two Turrets will appear after the third and the fourth conductors are gone. Blast them then collect the fragments around the area, including the one to the west.
Head north once you’re done.
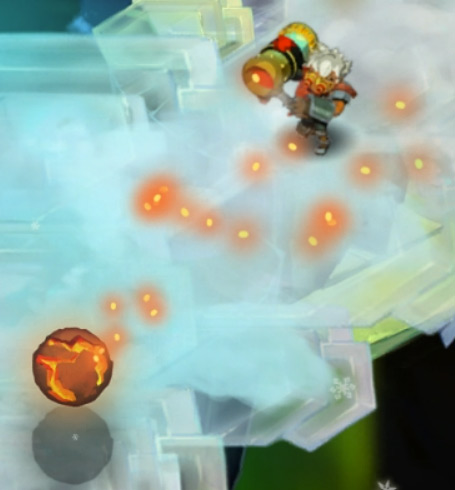
Weapon: Calamity Cannon
The Cannon charges up for two seconds then releases a large ball of molten rock. Like the Mortar’s orb, this ball explodes on impact and deals splash damage. The difference is that it travels faster and in a straight line.
The Cannon can knock out most enemies in one shot. But you need to be careful where you aim it. You’ll take a ton of damage if it explodes near you.
Step 2: Two Turrets and a Gunner guard the path beyond the first wall.
After you break through them, you’ll come upon another set of conductors. This one has eight Stinkeyes burrowed between them. Your Cannon can’t bypass armor despite its damage potential.
Unless you still have the Bellows, you’ll have to do the “turn your back” trick against these foes.
Once they’re dead, start dismantling the conductors.
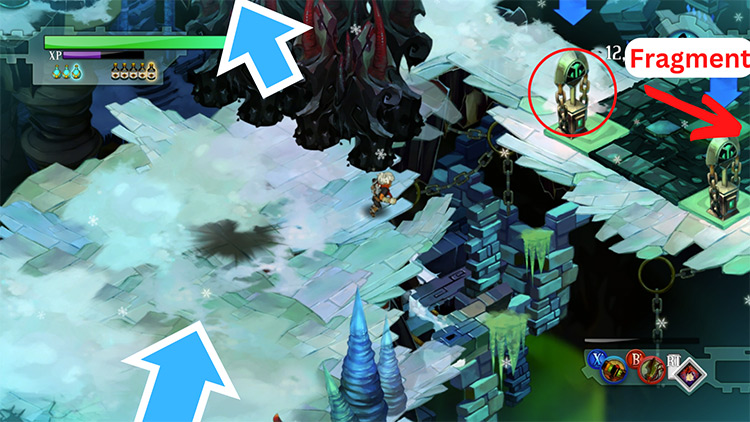
A Gunner will appear after the third one’s gone. Blast her & finish off the last conductor.
After that, go up the left path to find a fragment and a health tonic. A Turret watches over those, so shoot it down too.
When you’ve gotten the items, head up the other right-hand path to proceed.
Step 3: Up ahead of the path are three Turrets behind a pile of debris. Clear them all off the road so you can move forward.
At the bend, you’ll find an Arsenal. Enter it to reconfigure your weapon setup.
Any weapon can damage the conductors, but the Cannon and the Mortar can crush them in one shot. There are also optional areas which need these weapons’ range. So stick with either of them, and equip your favorite weapon as your secondary.
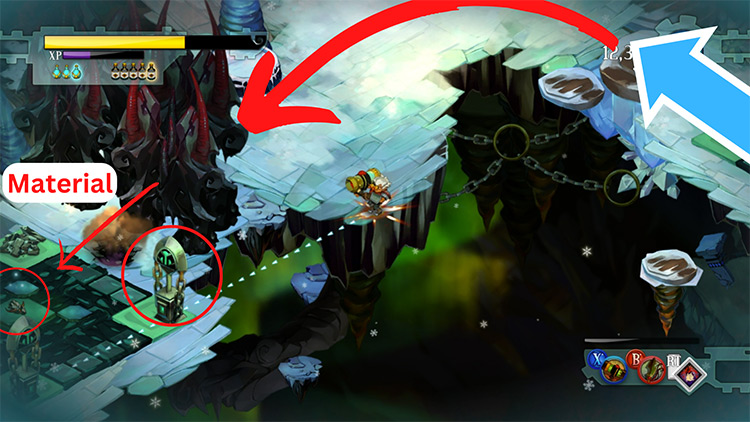
When you’re done, go west and break through the third set of conductors.
Step 4: Three Rattle-tails occupy this fork. There’s also a fourth one behind the wall to your left.
Exterminate the enemies near you, then blast the conductor behind the wall. You can shoot it from the ledge beside the wall. This set only has two conductors left, so destroying one will bring down its wall.
Once it’s open, go through it and grab the Something Burnt for your Mortar.
Smash the last conductor here for more fragments as well. Head north after you’re done.
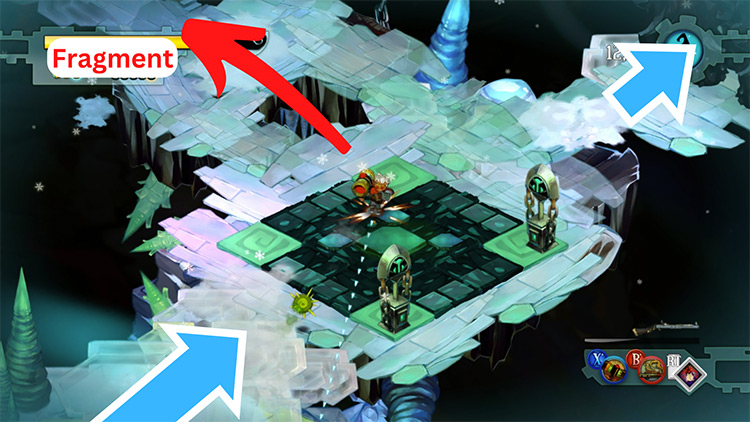
Step 5: You’ll reach the midpoint of the Hollow. This area features three conductor sets.
You’ll also encounter two Stinkeye hives here. These hives act like corn bins. They’ll spit out three Stinkeyes every five seconds. Burn them down and their spawn will also die.
When it’s safe, smash all conductors here to open the passages ahead.
Turrets will appear at the edges after every two conductors go down. After the last one falls, a lot of fragments will rain all over the place.
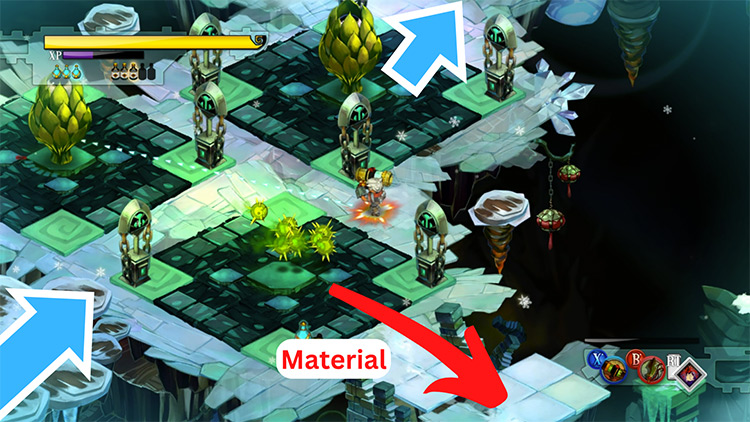
You should also go south to find a “Something Foul” material and a couple more fragments. Grab those, then keep going north.
Section 2: Finding Zia
Step 1: You’ll reach another fork. The left road leads deeper into the Hollow. The right one only has a fragment and a tonic, which are guarded by a Halberdier and a Gunner. Take them if you need them.
Otherwise, head up the left road.
Step 2: Another wall blocks your way forward, and its conductors are to the left of it.
There will be a Rattle-tail and a Gunner defending this place. Kill them, then demolish the conductors.
Turrets will also appear after the third and the fourth conductors are gone. Blast them then head north through the wall.
Step 3: The path ahead has a Stinkeye hive protected ice mounds and a Halberdier. Their wall’s right behind them, but the conductors are on the other side.
You can still hit them from your side though. Two of them are already ruined, so only one needs to fall for the wall to open.
Once you get through, you can find a fragment and tonic to the right of the conductors. There will be a Halberdier and a Rattle-tail there.
Defeat them to get the items then continue north from the wall.
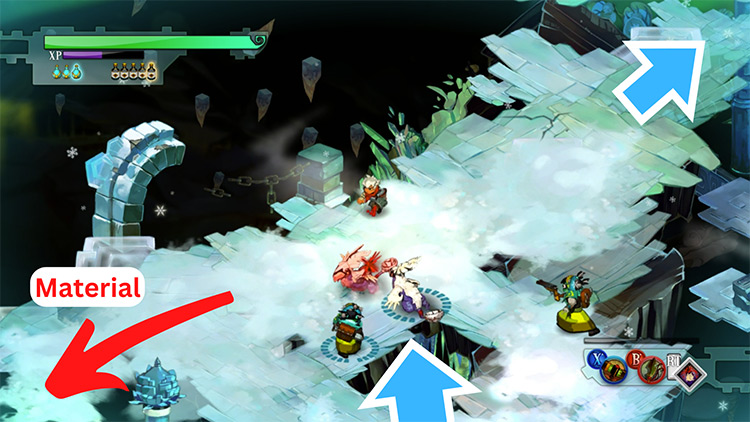
Step 4: The next fork has two pairs of Rattle-tails and Gunners. You’ll find a “Something Wrong” material for your Cannon at the end of the left path.
A couple of Gunners and five Turrets surround that spot, so be prepared to fight them for it. When you’ve taken the item, continue going north from the fork.
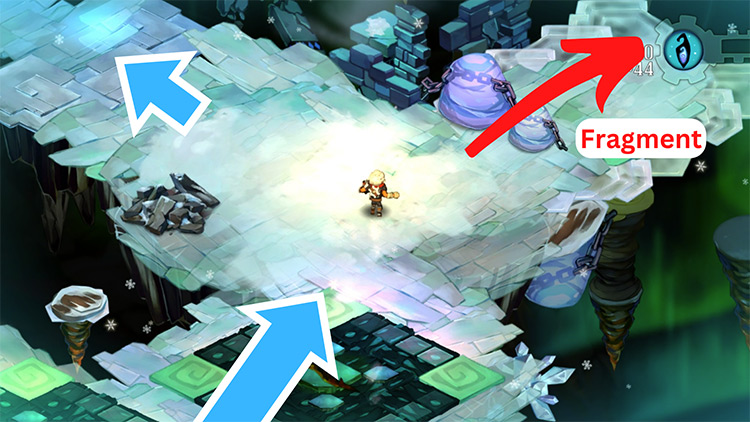
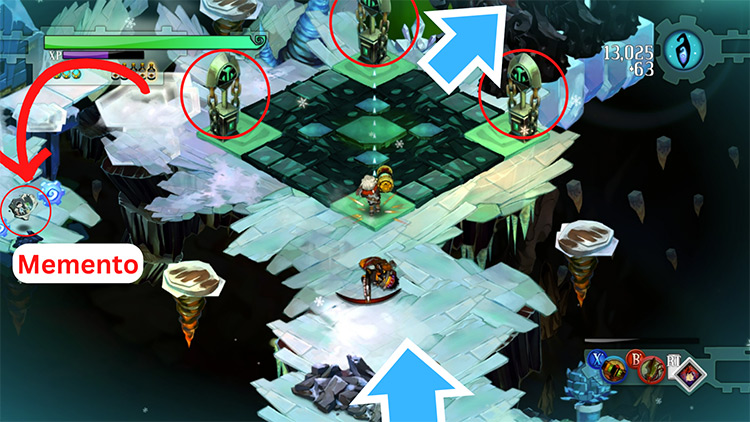
Step 5: Upon reaching the final wall, you’ll encounter two Marksmen. Watch out for their repeating crossbows, which can pepper you with a barrage of bolts. They can still fall in one shot with the Cannon, so blast them while they’re reloading.
Once they and the conductors go down, move over to the left ledge.
You can pick up the “Child’s Drawing” memento from there, as well as some fragments. As soon as you do, two Rattle-tails will attack you. Beat them then continue going north.
You’ll find Zia at the end of the ice path.
It turns out she wasn’t abducted. It was her own volition to come here, to learn the truth about her people.
Talk to her, and she’ll go back with you to the Bastion.
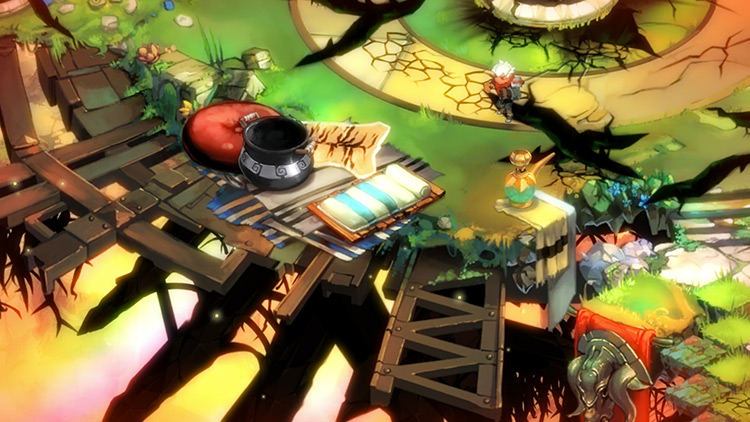
Home: The Bastion
Even though you don’t have the last Shard yet, you did find Zia.
Talk to her and Rucks to find out how they’re doing. Aside from that, the Kid’s Bedroll has also been set up between Zulf’s Pipe and Zia’s Stockpot.
Like the other two, using the Bedroll lets you enter a Dream challenge.
However, you may want to hold off on that, especially if you want its achievements.
There’s only one level left. After that, you can restart the game on a New Game Plus.
This mode lets you keep all your equipment and unlocks the final two idols.
Note: You need to invoke all ten idols to get half of the achievements from the Dream challenges. The fourth Dream is also only available in the New Game Plus.
On the other hand, you may want to complete any Proving Grounds you haven’t done yet. Starting a New Game Plus means you’ll have to go through the game again to unlock each of them.
If you check the Skyway, you’ll be able to go to the Mancer Observatory. It’s the last Proving Ground, and it’s for the Calamity Cannon. You should already have access to the upgrades needed to ace it and all other Proving Grounds.
When you’re ready to finish the game, go to the Skyway.
It’s time to settle things with the Ura. It’s time to bring the fight to their home — the Tazal Terminals.

-
Bastion
- Zulten’s Hollow: Bastion Walkthrough Part 16
Related Posts:
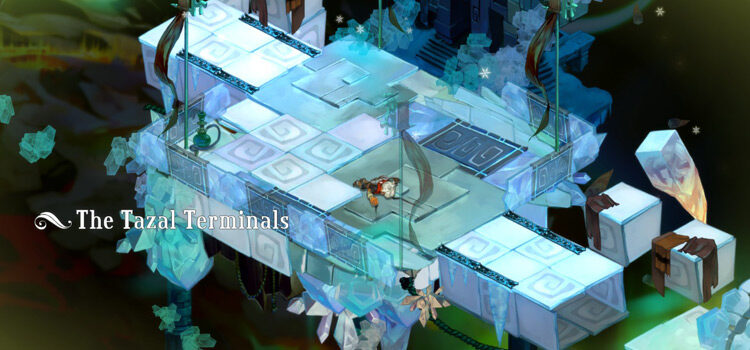 The Tazal Terminals: Bastion Walkthrough Part 17
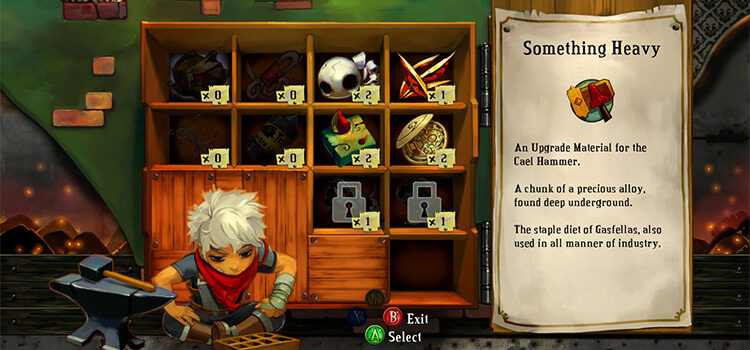 How To Upgrade Weapons in Bastion (Full List)
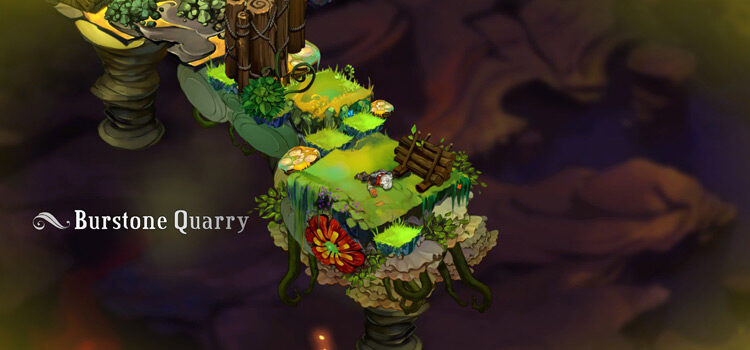 Burstone Quarry: Bastion Walkthrough Part 14
 Roathus Lagoon: Bastion Walkthrough Part 10
 Cinderbrick Fort: Bastion Walkthrough Part 6
 Langston River and Prosper Bluff: Bastion Walkthrough Part 7
 Urzendra Gate: Bastion Walkthrough Part 15
 Point Lemaign: Bastion Walkthrough Part 11