When you enter this level, you’ll see a pile of hay bales on the center of an island. The camera pans out and you can sense the Kid plummeting unseen from above.
He crash-lands on top of the crate way off to the left instead.
After that, press any button to get up. Walk it off and head east through the gate. Just as you step outside, the entire level starts to fall apart. Someone has already taken the Core.
Section 1: Crumbling Roads and Roundabouts
Despite the seemingly urgent situation, there’s actually no need to rush.
The level may be collapsing, but there will always be a crooked but crossable path for you.
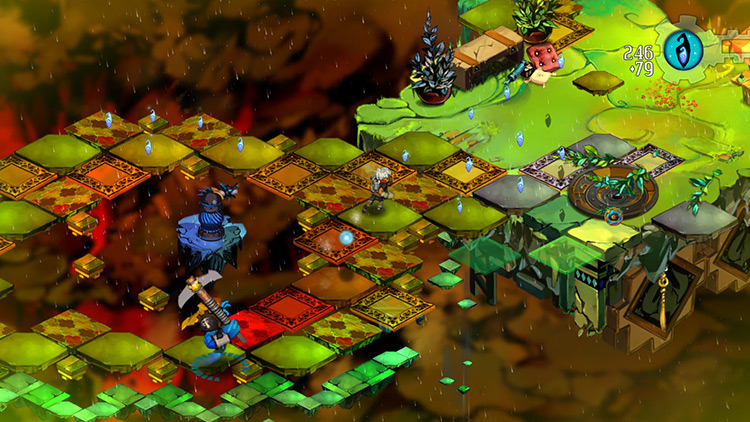
Step 1: Keep a steady pace as you run forward. You’ll see which tiles will fall because they shake and glow red before crumbling.
A Gasfella will try and trail you; take care of them before they become a problem.
A short distance ahead, you’ll reach a roundabout with a Turret on an isle in the center. This one is the slow, single-shot variant. Snipe it and collect the fragments littering the loop.
Step 2: Next is a solid island that isn’t affected by the instability. Gasfellas will appear and accost you. Smash them, then walk north.
Clear the rubble from the path and proceed.
There’s a panicked yellow Squirt moving ahead of you. Try to shoot it down before it jeopardizes your path. There will be one popping up every few paces or so, but just shoot them as they come out.
Step 3: Ahead, there are two more roundabouts on your left and right. The right one only contains fragments with two Turrets in the center.
Keep a good distance from those two, as they spew out fire if you get close.
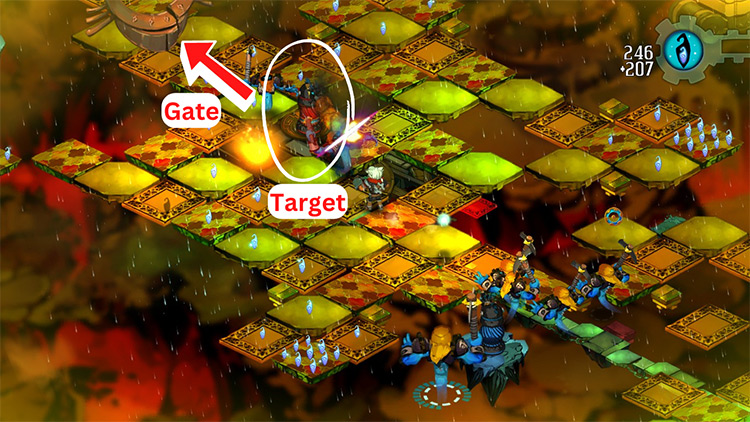
Step 4: Take the left roundabout.
Turrets and Gasfellas will be hounding you here, but you only need to destroy the central Turret. Doing so unlocks the gate to the path forward. Before you proceed, you may want to collect all the fragments in this block.
Section 2: Skybridges and Narrow Walkways
Step 1: Follow the path and grab as many fragments as you can. You’ll reach another solid island.
This time there’s an Elephant Squirt and a Turret waiting for you. Smash them then move north through the debris.
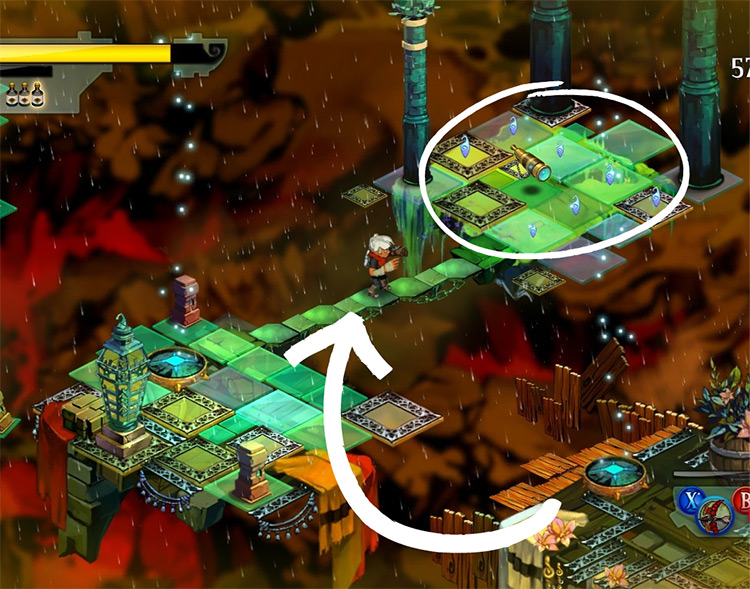
Just a short way ahead will be a Skybridge, so use it to jump between islands.
Tip: Before you use the second Skybridge, carefully walk on the narrow beam to the right. The Bronze Spyglass memento is on the isolated island at the end. Grab it and go.
Step 2: The second Skybridge connects to another roundabout with a flamethrower Turret and a gathering of Squirts.
Ignore them; this loop’s much more unstable than the rest.
Grab as many fragments as you can (and the black tonic in this loop) as you run for the Skybridge at the other side. It’ll launch you to the final stretch of this level.
Section 3: Refreshing Water and Sticky Goo
The area from here on out won’t collapse except for one short path.
You’ll be on a road with single-shot Turrets and a yellow Gasfella at the end. There’s also a fountain to recover your health.
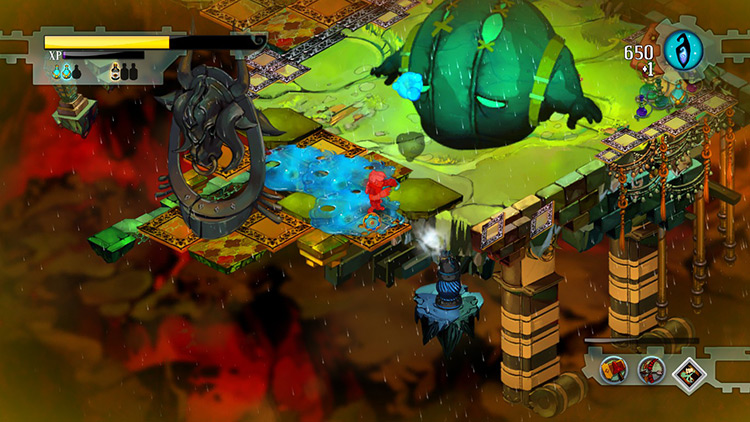
However, as you approach the fountain, you’ll notice that you’re being bombarded by blue goo from the south.
Step 1: To confront your distant assailant, jump the Skybridge ahead of the fountain and move down the path.
Shoot the corn bin along this road for some XP then continue forward.
You’ll reach the culprit of all this mayhem — a yellow Scumbag.
He’ll remain stationary as he spits goo at you. Run around him as you whack him. There will be some tonics on the alcove to the right if you need them.
Once he’s dead, proceed through the western gate.
Step 2: Here you’ll find a Hand Grenade, so go pick that up. And as if on cue, four Turrets and a Gasfella pop up on an island to your right.
They’re huddled together, so one good grenade will solve that problem. Another set will also appear on your left. Give ‘em some too.
Secret Skill: Hand Grenade
You’ll lob a grenade about a fair distance ahead of you. Its blast radius and damage are quite significant. It instantly explodes after hitting the ground too. Use it against clustered enemies.
There’s a Skybridge hidden under the stone wall here. Break the wall to reveal it.
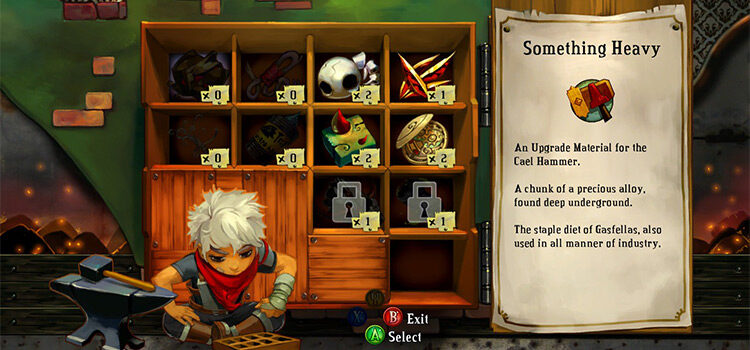
It’ll take you to a small block with a “Something Burnt” item. This is an upgrade material for a weapon that you’ll find way later in the game.
Go ahead and pick it up, then use this block’s Skybridge to return to the main path.

Step 3: Go through the gate.
You’ll come up to a disorderly group of crates. Most of them contain Gasfellas. Throw a grenade in there before they come out.
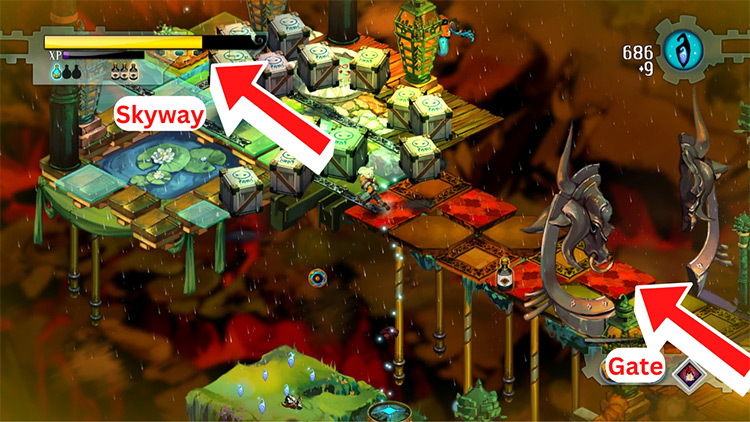
You’ll have a clear path to this level’s Skyway, then you can use it to go back home.
Home: The Bastion
Since you didn’t find a Core, you won’t have much to do back at the Bastion. You can show the Stranger the memento you’ve found, but that’s about it.
Aside from that, you can go straight to the Skyway and select another level. You’ll also have unlocked a new Proving Ground — Trapper Shingle. That one’s for the Repeater.
Challenge it if you wish, but it’s best to do so after you’ve gotten the clip capacity upgrade.
For the next story level, go to the Melting Pot.

-
Bastion
- The Sundown Path: Bastion Walkthrough Part 2
Related Posts:
 Langston River and Prosper Bluff: Bastion Walkthrough Part 7
 Cinderbrick Fort: Bastion Walkthrough Part 6
 How To Upgrade Weapons in Bastion (Full List)
 Burstone Quarry: Bastion Walkthrough Part 14
 The Melting Pot: Bastion Walkthrough Part 3
 Colford Cauldron: Bastion Walkthrough Part 12
 Point Lemaign: Bastion Walkthrough Part 11
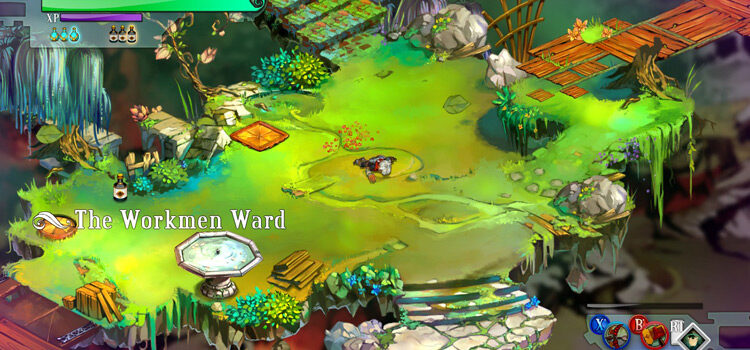 The Workmen Ward: Bastion Walkthrough Part 1