This area was once a populated district of Caelondia. As such, you’ll come upon many human husks left by the Calamity. There are no consequences nor compensation for dusting them. The Narrator will introduce them as you meet them regardless of what you do.
Combat is also rare here.
The Windbags haven’t penetrated this deep into the heart of Caelondia, so there’s only a few of them around. Also, only the man-made objects like the lampposts and wagons contain fragments. The rubble does not, so don’t waste time clearing them unless they block your path.
A Peaceful Walk in the Post-Apocalypse
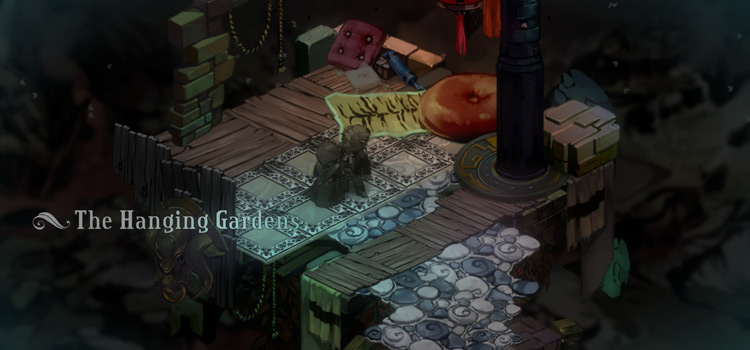
Step 1: You start at an oriental abode.
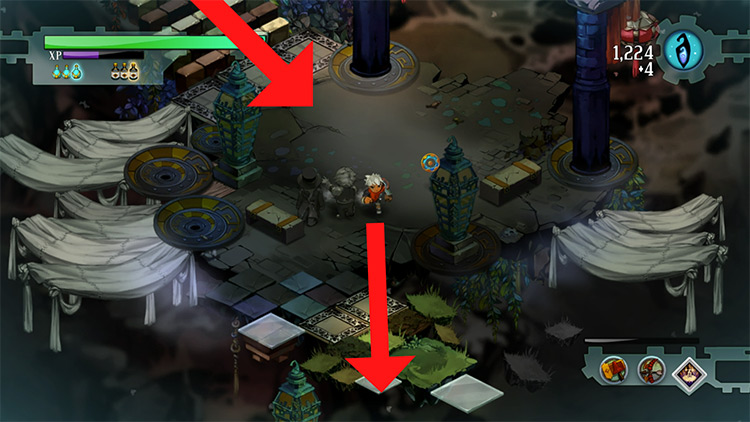
Exit down the stairs to your right, then proceed through the boulevard. This is a long, snaking path.
Near the end of it, the camera will pan a bit to the south, giving you a peek at what awaits at the center of this level.
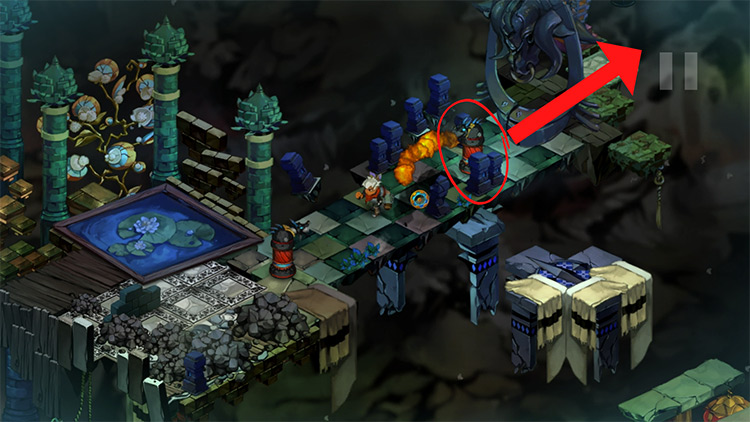
Step 2: Continue down the path and you’ll reach a locked gate. Two flamethrower Turrets will emerge. Immediately roll back to avoid getting pincered.
Deal with the rear flamer first before you go for the one in front. Destroying the latter opens the gate.
Step 3: Go through the gate and it’ll close behind you, trapping you in a room while single-shot Turrets spring up around you.
You can smash them before they can get a shot off. When they’re all gone, the gate to the next area will open.
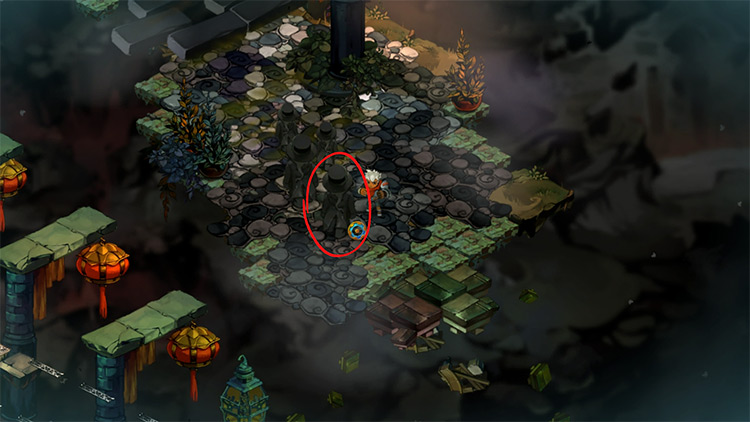
Step 4: Proceed down the cobblestone road. You’ll immediately find the husks of the Tunder Brothers frozen here mid-stride.
Dusting the fourth one spawns a yellow Gasfella. This foe drops a lot of fragments when defeated.
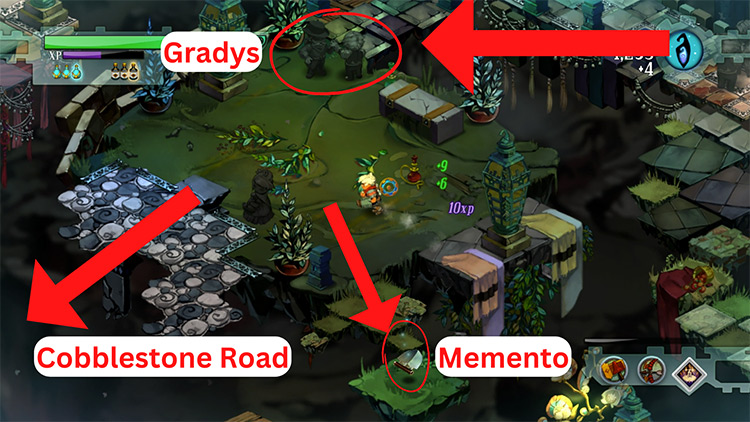
Step 5: When you reach the husks of the Gradys, you’ll be at a small park.
Grab the tonics, then take the path south first to get the “Ura Sigil” memento. The wooden viewing deck ahead of it is also littered with fragments.
Step 6: Continue west from the park. A pile of crates, barrels, and tonics partially block your path. You can break them, and an Elephant Squirt will appear. Put it down and move on.

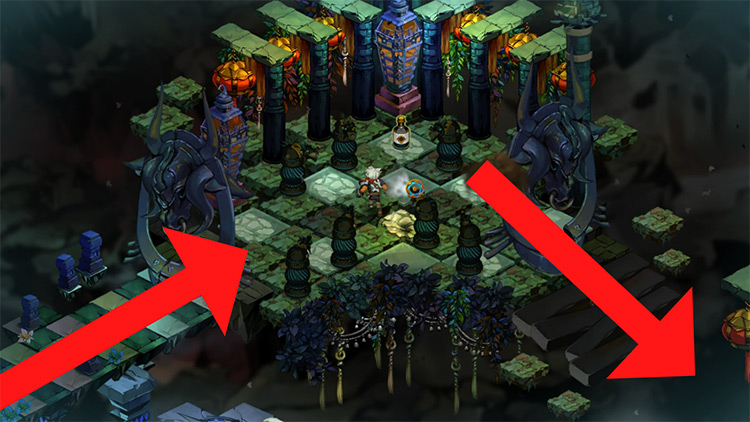
Step 7: You’ll reach a place where some Gasfellas and another Elephant Squirt surround a ring of ashen husks. The Core lies within this concentric congregation. Defeat the enemies first. You’ll then have to dust the husks so you can take the Core.
Once you have it, the level will begin to collapse.
Go through the gate to meet a new character – this will also bring you back home.

Home: The Bastion
The new Core restores the right side of the Bastion, but only one plot will be usable for now. You’ll also have two new building options:
- The Lost-and-Found lets you purchase materials, spirits, and Secret Skills. Any items that you missed from story levels will also be sold here.
- The Memorial has “Vigils”. These are milestone challenges that reward you with large amounts of fragments.
The Lost-and-Found is the better option here because you can buy more upgrade materials. But if you’re hurting for cash, go for the Memorial instead. Either way, you can build the other one later.
Aside from that, you can speak with your newfound tenant — Zulf. He’ll have more insights on many of the mementos you’ve found.
When you’re ready, use the Skyway to select another level. There are two new options:
- Pyth Orchard
- Cinderbrick Fort
Pyth Orchard unlocks the final basic building option, so go there next.
-
Bastion
- The Hanging Gardens: Bastion Walkthrough Part 4
Related Posts:
 Langston River and Prosper Bluff: Bastion Walkthrough Part 7
 Point Lemaign: Bastion Walkthrough Part 11
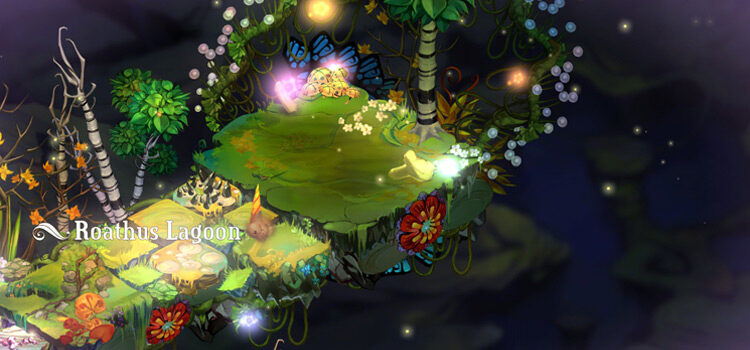 Roathus Lagoon: Bastion Walkthrough Part 10
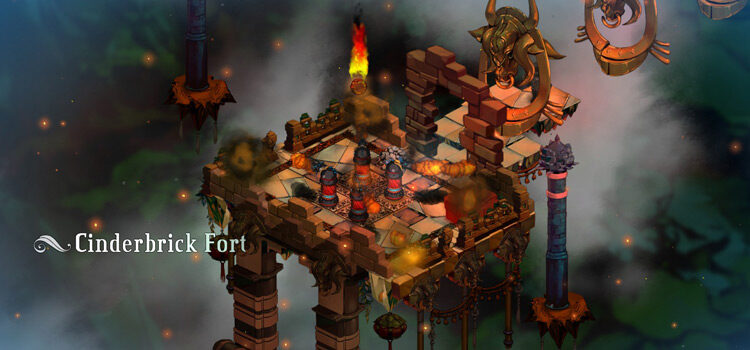 Cinderbrick Fort: Bastion Walkthrough Part 6
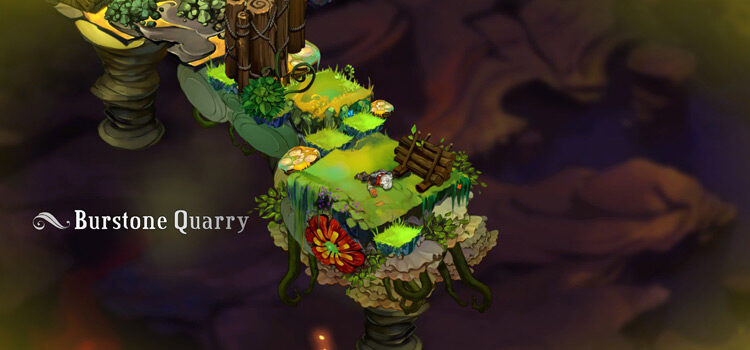 Burstone Quarry: Bastion Walkthrough Part 14
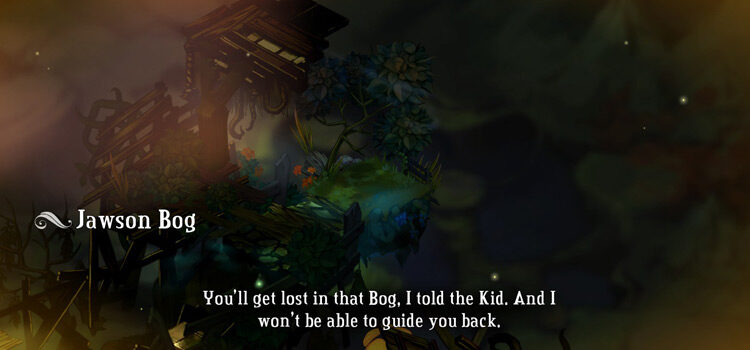 Jawson Bog: Bastion Walkthrough Part 9
 How To Upgrade Weapons in Bastion (Full List)
 The Wild Outskirts: Bastion Walkthrough Part 8