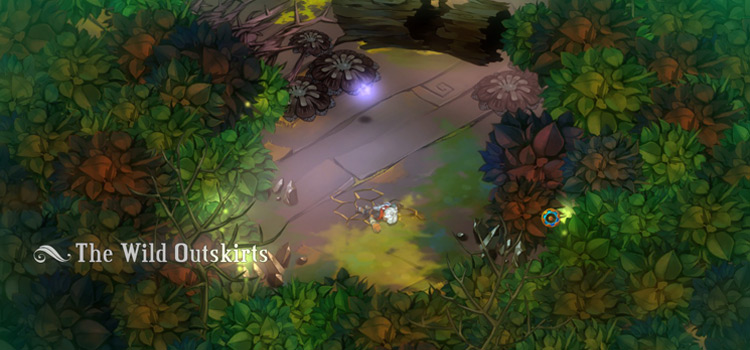
The jungle is denser here, and you’ll encounter many new enemies. Most (if not all) seem alien and mutated, but that’s what Wild creatures normally look like.
Get used to their eeriness, as this is only the Outskirts of the Wilds. Future forays will lead you deeper into the weird unknown.
Section 1: A Whole New World
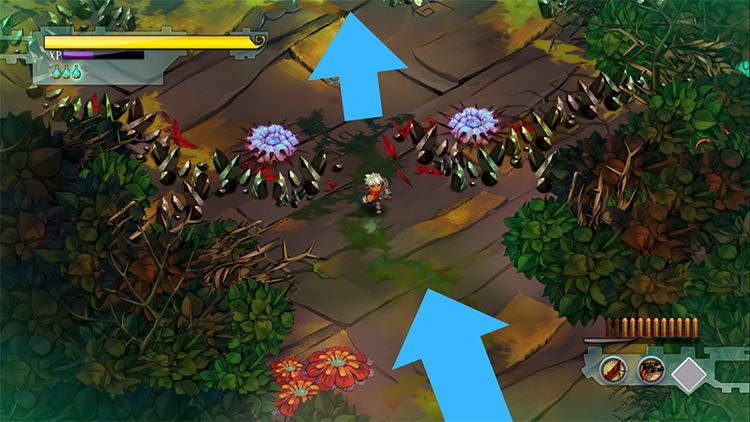
Step 1: Interact with the fallen log north of you. You’ll create an opening, allowing you to go forward.
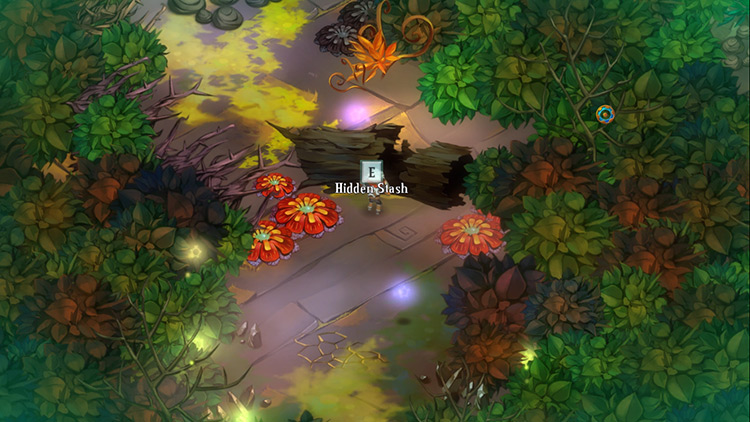
A pair of Dueling Pistols will also fall out of the log. You’ll need them against the enemies ahead. Pick them up, and go up the path. You’ll meet your first Wild enemy.
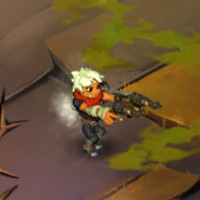
Weapon: Dueling Pistols
These are like the Repeater, but you get to wield two guns at once. You’ll have double the firepower and ammo capacity than the Repeater.
You can also walk while shooting, which can make all the difference in the Wilds.
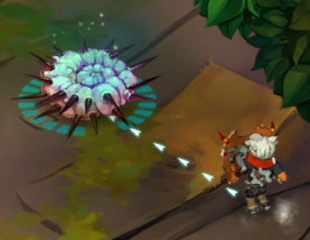
Enemy: Pincushion
These succulents shoot a barrage of spikes at you. They come in four flavors, each with their own attack pattern:
- The first focuses a precise stream of spikes at you. This lasts for 5 seconds and will restart after a 3-second cooldown.
- The second shoots spikes at all cardinal and ordinal directions. Though their attack doesn’t track you, they can limit your movement space. This can complicate things when you’re also battling other creatures.
- The third is a mix of the previous two. They focus their spikes down one fixed direction. They’re usually perched on spots where their suppressive fire can create a maze of death.
- The fourth variant is like the first, except their spike streams aren’t as steady. They also have a quicker cooldown time.
Step 2: After practicing your Pistols on the Pincushion, keep heading north. You’ll reach a crater of jagged black rocks.
There are two Pincushions flanking the entrance into it. You’ll want to skirt to the sides first and deal with each individually. A big Pecker will also swoop down on you when you get to the opening.
Step 3: Once they’re dead, enter the rock formation.
The Core lies at its center, surrounded by stalagmites. As you approach it, more Peckers will attack you.
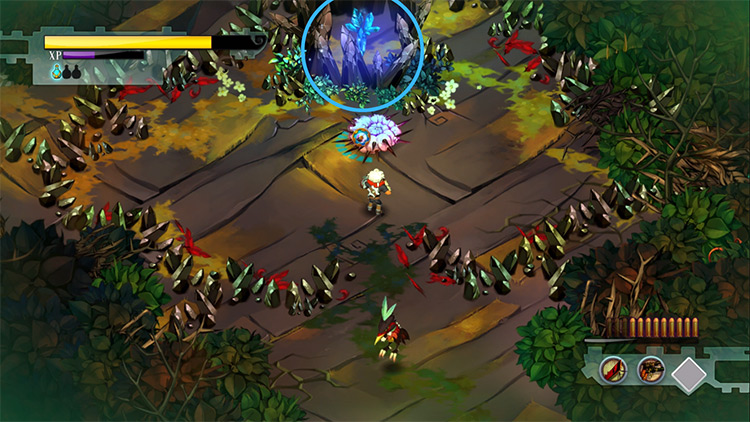
Blast them away, and a Pincushion will emerge next to the Core. Kill it and the stalagmites will crumble. Go ahead and take the Core.
Section 2: The Long Way Back
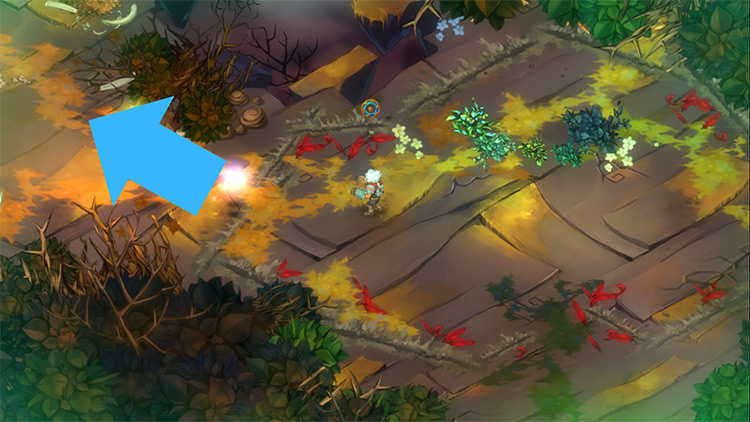
Step 1: After getting the Core, a quake will clear away the remaining rocks.
There’s now a path to your left. Head over there, and a new enemy will appear.
Enemy: Wallflower
These touch-me-nots clamp their petals up after getting hurt. This makes them impervious to physical damage. If they’re not attacked for at least 3 seconds, they’ll open their petals again and spit large pollen grains at you. Because of this, it may take some time to defeat them.
The best strategy is to counter-block them or use weapons that deal massive damage in one strike. Another option is to get the “Serrated Edge” tier 1 upgrade for the Machete. Its crippling effect can damage the Wallflower over time even while its defenses are up. Later in the game, you’ll also get a weapon that deals fire damage, which can bypass armor.
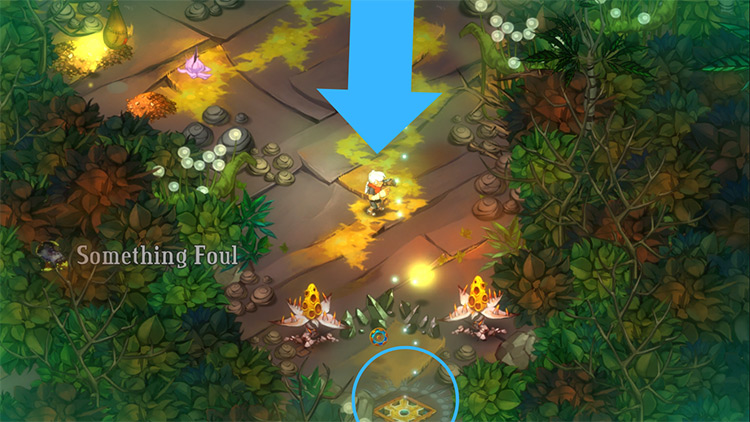
Step 2: The path will open up to a large area filled with enemies, obstacles, and items. Head north from your current position. You may notice something spectral fading away on your approach. It’s creepy but it can’t hurt you… yet.
Keep going north and you’ll find three Pincushions guarding an Arsenal. Kill them so you can gain access to the building.
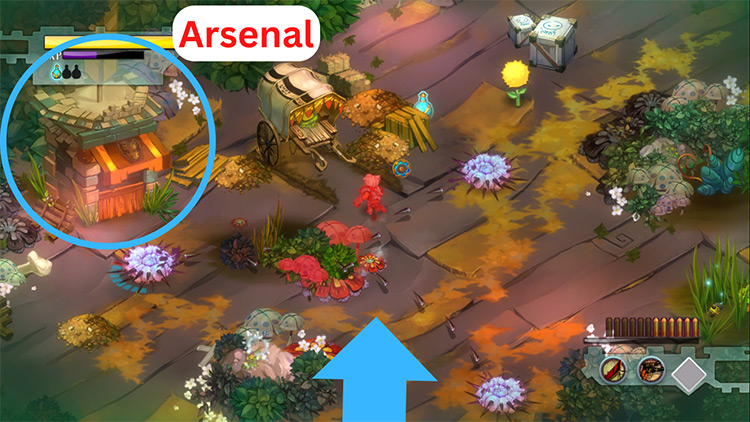
If you want to swap your weapons, be sure to have a ranged weapon equipped. You need one to help you deal with the dangers here.
There’s also a yellow chrysanthemum-like flower nearby. It’s called a vineapple, and they come in different colors and effects. If this particular one gets damaged, it’ll turn red for a few seconds and then explode. Set them off prematurely to avoid triggering them during a fight.
Step 3: A few paces north, there’s a misplaced shipment which you can interact with. Doing so will release its contents — a pair of Gasfellas who’ll attack you.
There’s also a Wallflower on the puddle at the top corner. Finish the Gasfella fight first before taking on the Wallflower.

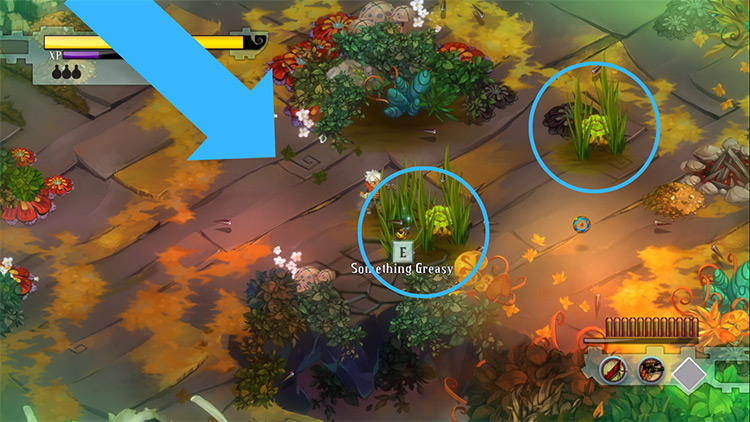
Step 4: Go back south a bit where there’s a couple of yellow Pincushions hiding inside patches of tall grass.
These are the second variants. They’re easy to deal with as there’s no other enemy around.
After weeding them out, pick up the “Something Greasy” material hidden in the first patch of grass. You can use it to upgrade your Dueling Pistols.
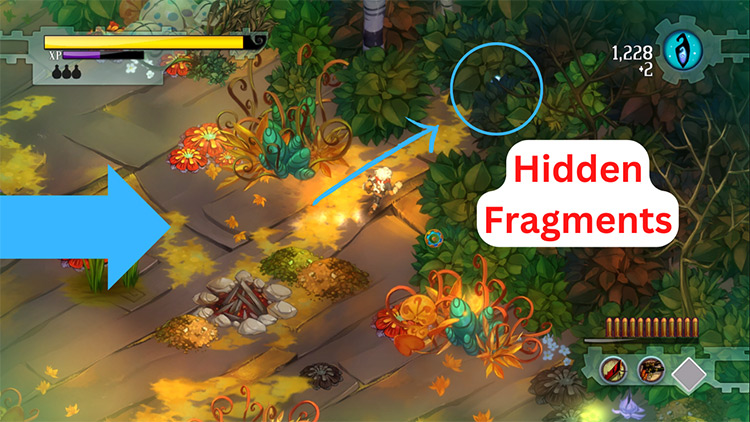
Step 5: To the right of the patches are the remains of a campfire. If you go northeast of it, you can find a cache of fragments hidden in the shrubbery. Collect them then continue southeast from the camp.
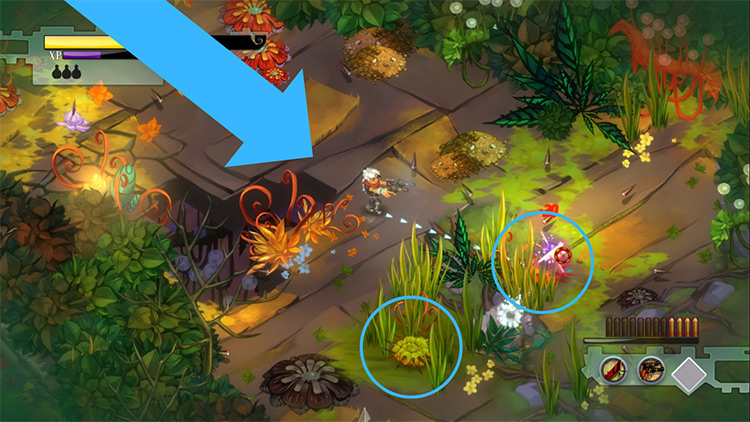
Step 6: As soon as you enter this path, Peckers will begin harassing you. Three Pincushions are also lurking behind the grasses and corners.
If you’re low on health, the green vineapples on the far right can heal you if you roll into them.
Aside from that, you’ll also meet another new enemy — the one that’s been stalking you.
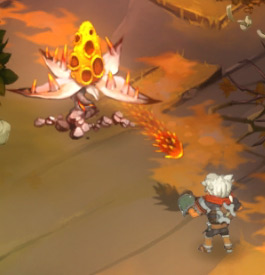
Enemy: Lunkhead
This frog creature can only do one thing — hop. It does so with surprising speed and accuracy as it tries to crush you. Their head and shoulders are covered in armor. This means you can only hurt it by attacking its back or sides.
One tactic is to dodge-roll towards the Lunkhead when it hops so that you’ll end up behind it. You can only do a few swipes before it’ll hop again. Once you’ve got the timing down, you can do this switcheroo every time it hops.
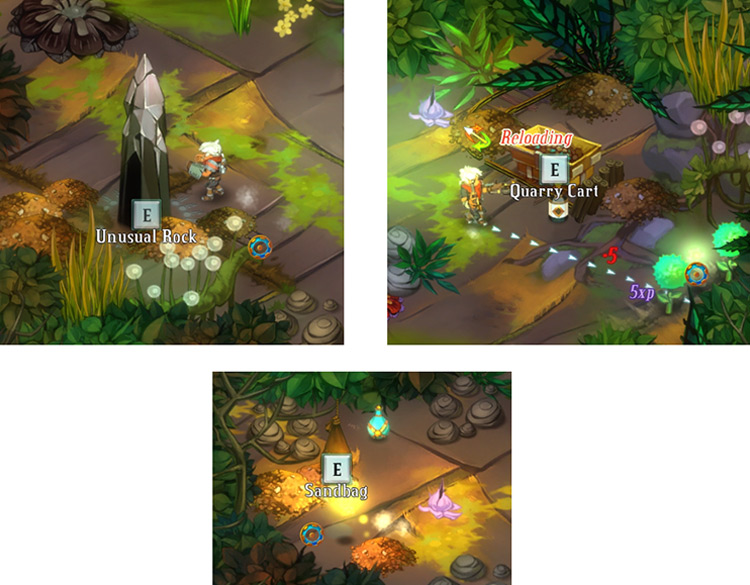
Step 7: After dispatching all foes, you should look around this area first. You can interact with three objects here:
- A quarry cart that’s parked near the green vineapples
- An unusual obelisk on the bottom-left corner
- A sandbag hanging from a dead tree south of the obelisk
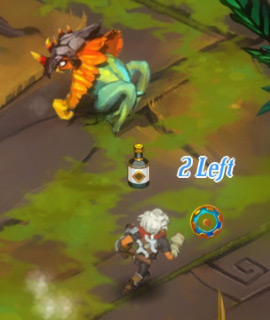
Interacting with each one will prompt a comment from the Narrator. A “Something Foul” material will also drop out of the sandbag.
Something Foul is for a weapon that you’ll find in a later level, deeper within the Wilds.
Pick it up then proceed south.
Step 8: You’ll reach the Skyway at the end of the path. It’s guarded by two Wallflowers, and there’s a barrier made of rocks between them.
You’ll have to kill one or both of them to get past.
When the way is clear, use the Skyway to return to the Bastion.
Home: The Bastion
An incident had happened while you were away. After the cutscene ends, pick up the “Fractured Monument” memento in front of you.
You should also talk to Rucks and Zia, who are both nearby.
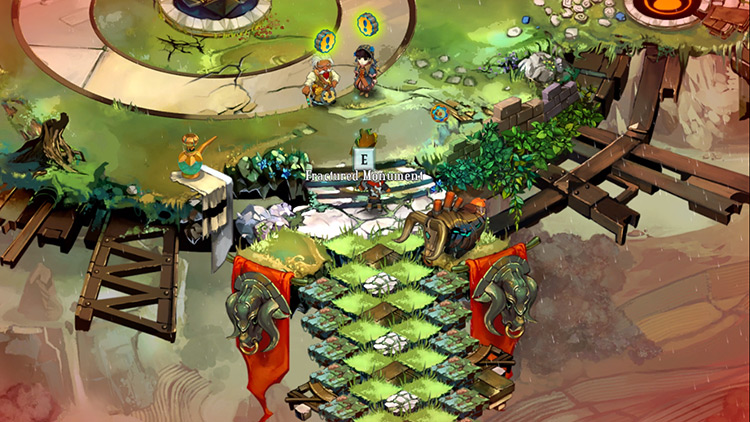
Next, go to the Monument. Your new Core will fix some of the damage done to the Bastion.
Rucks will mention that you now need to collect Shards to complete the repairs. Your hunt for them will take you deep into the Wilds and beyond.
Before you go, you may want to buy new Spirits, Secret Skills, and materials. You should also upgrade your main weapons of choice.
If you need more fragments, go claim your completed Vigils from the Memorial.
Then when you’re ready, head to the Skyway. Two new levels are available:
- Slinger Range
- Jawson’s Bog
The Range is the proving grounds for the Dueling Pistols. It’s better to hold off on that until you’ve upgraded your Pistols’ damage.
You’ll also want your first Shard as soon as possible. Shards can unlock your buildings’ true forms, which further expands their services.
So next we’ll go to Jawson’s Bog to find one.
-
Bastion
- The Wild Outskirts: Bastion Walkthrough Part 8
Related Posts:
 Point Lemaign: Bastion Walkthrough Part 11
 Roathus Lagoon: Bastion Walkthrough Part 10
 Burstone Quarry: Bastion Walkthrough Part 14
 Colford Cauldron: Bastion Walkthrough Part 12
 Mount Zand: Bastion Walkthrough Part 13
 Jawson Bog: Bastion Walkthrough Part 9
 Langston River and Prosper Bluff: Bastion Walkthrough Part 7
 Cinderbrick Fort: Bastion Walkthrough Part 6