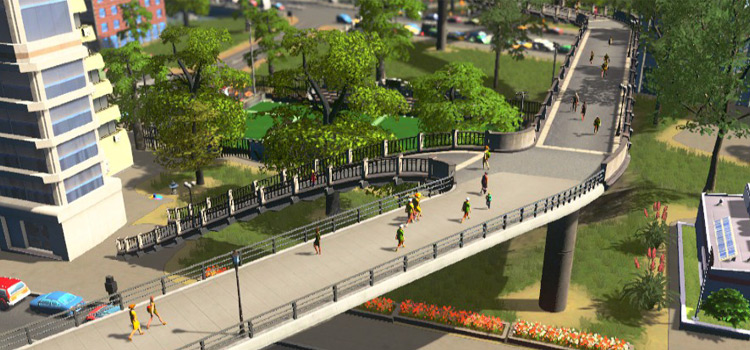
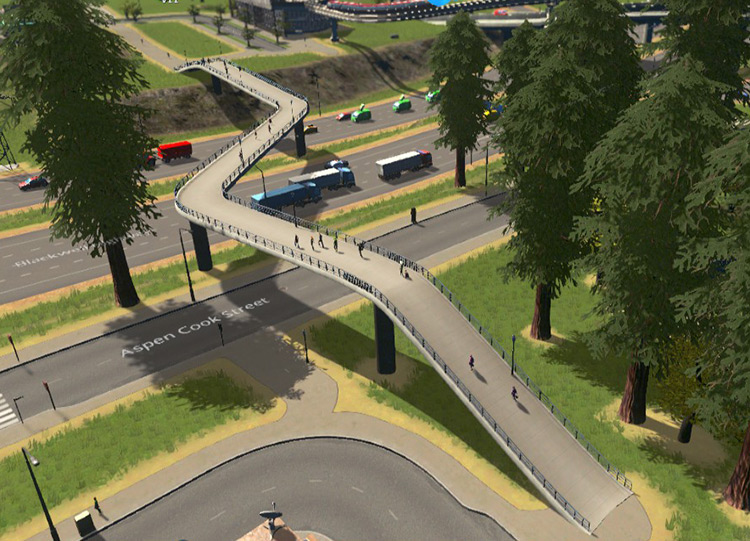
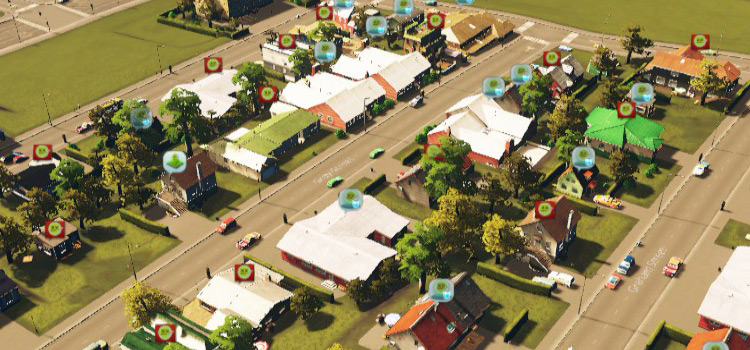
If you’re not building overpasses in Cities: Skylines, you’re missing out on an important tool for making your cities more walkable and improving its traffic situation.
Having footbridges at the right places can encourage many of your citizens to walk or bike instead of drive (Cities: Skylines citizens are willing to walk quite a long way to their destination!)
They can also prevent slowdowns at busy intersections and roundabouts, caused by cars having to stop to let pedestrians cross.
Here’s a step-by-step guide on building them, and tips for maximizing their use!
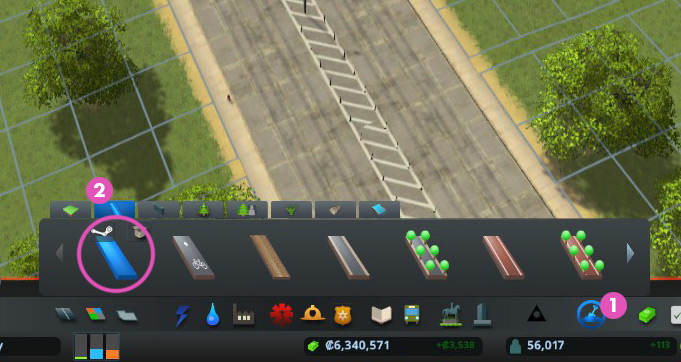
Step 1. Unlock Pedestrian Paths
First, you’ll need to have pedestrian pavements unlocked.
You get this when you reach the “Tiny Town” milestone.
Once you do, you’ll find pedestrian paths by clicking on the Landscaping button in the build menu and going to the Paths tab.
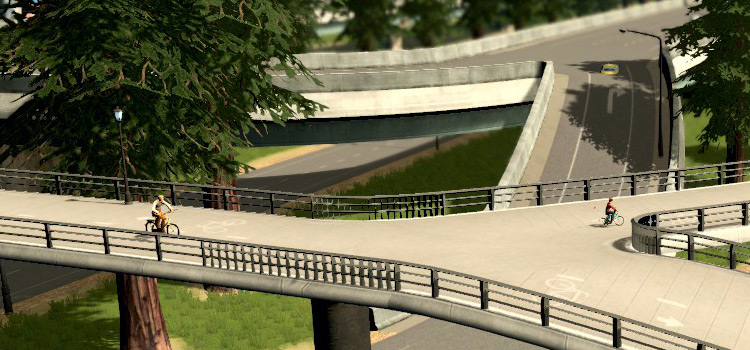
Step 2. Build the Elevated Walkway
First, determine where the main part of the bridge, the elevated walkway, will be.
With the pedestrian path selected, place your cursor on one end of it.
Next, press Page Up once.
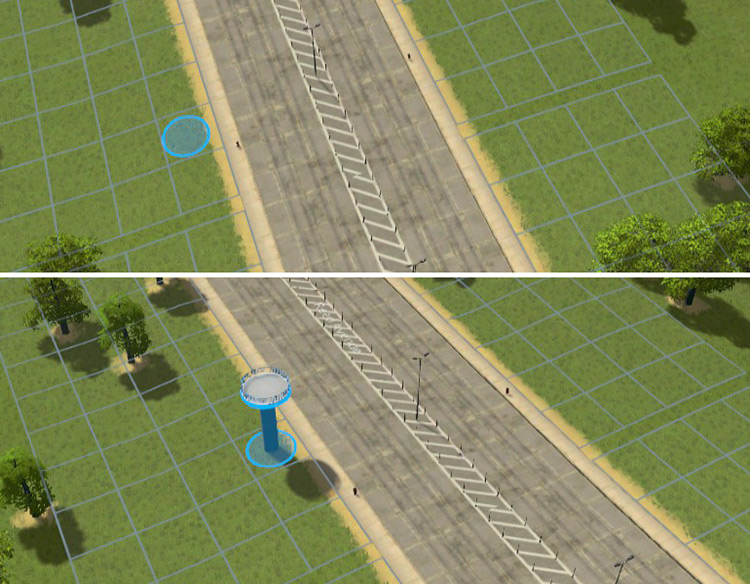
Left-click to start building the path across to the other side of the road or roads.
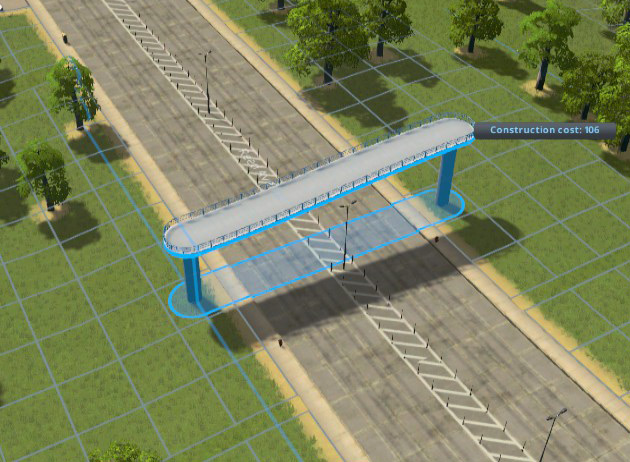
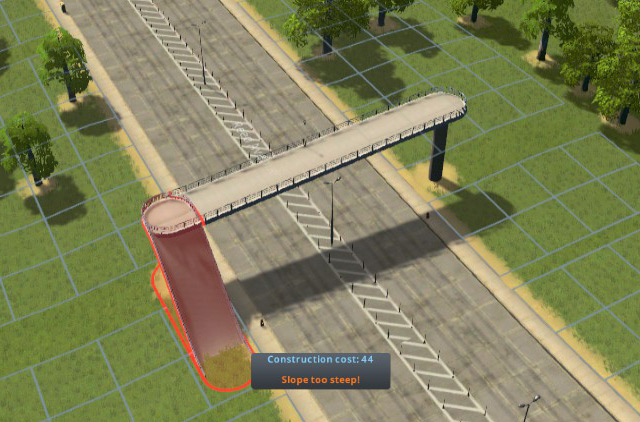
Step 3. Build the Ramps
With pavement paths still selected, place the cursor back on one end of the elevated walkway. Left-click to start building a path from it, towards where you want the ramp to meet the ground, then press Page Down.
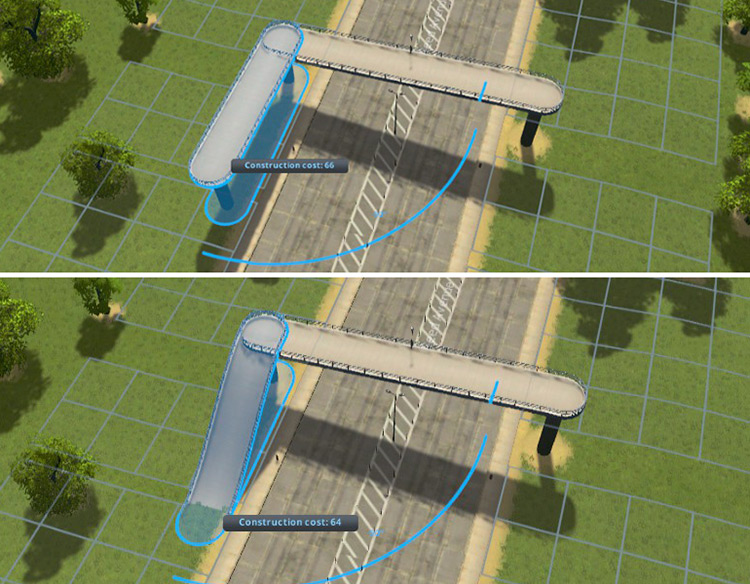
The ramp will usually need to be at least 2 grid spaces away from the top, if you’ve built your walkway one full elevation step high.
Do the same thing on the other side of the overpass.
Step 4. Make Sure Your Overpass is Connected
Now that you’ve got your brand-new footbridge, you’ll need to make sure it’s connected to other pedestrian paths or your citizens won’t be able to use it at all!
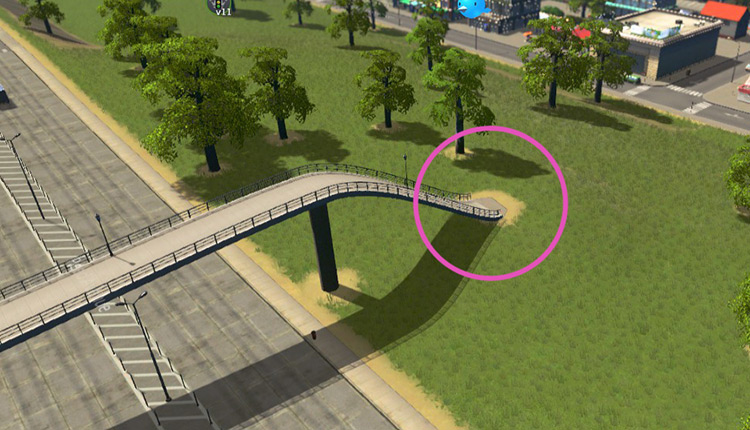
If you’ve built the ramp right next to a road with sidewalks (i.e., not highways), the game will automatically connect the pathing from the sidewalk to the base of your ramp.
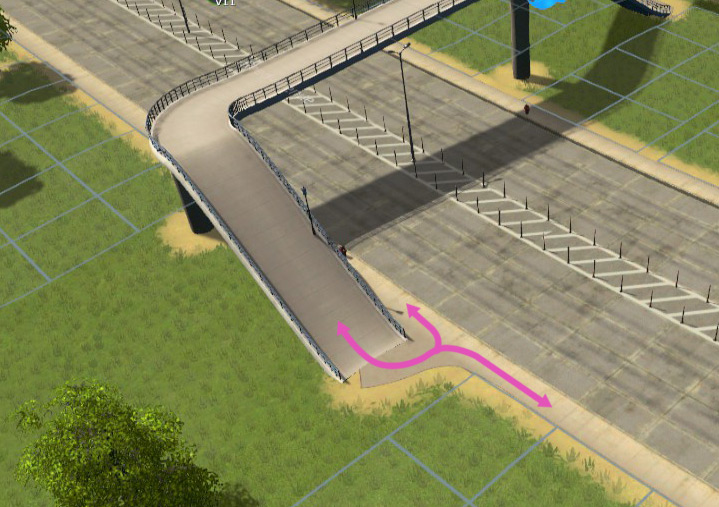
However, if the base of your ramp isn’t next to a sidewalk, you’ll have to manually build a pavement path to connect it to one.
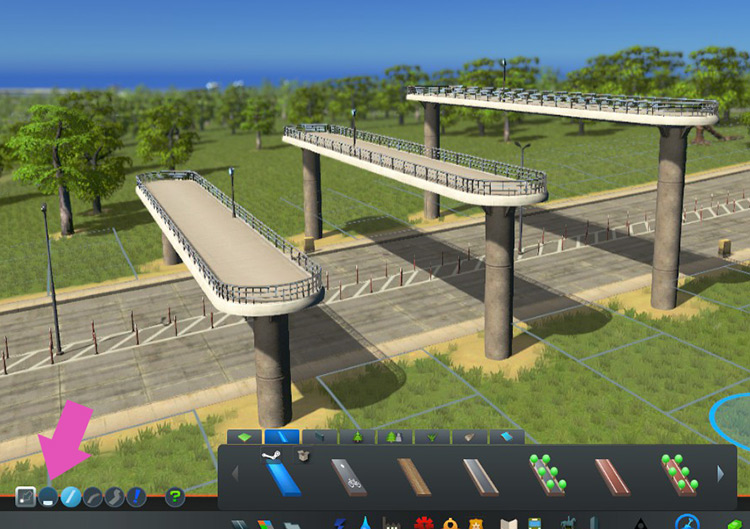
Building More Advanced Elevated Walkways
You can form different shapes and networks with footbridges, just as you would with pedestrian paths on the ground.
You do have to be mindful of where you can place the pylons, which generate every time a footbridge segment reaches a certain length.
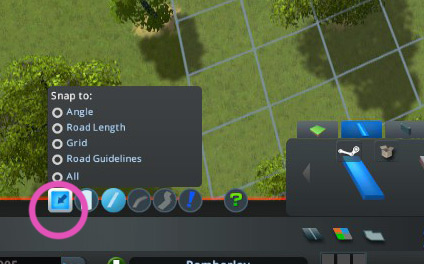
You can also customize the height of your walkway by using a smaller elevation step height, and paging Page Up or Page Down to adjust the build cursor height as you like.
The elevation step height toggle is on the lower left, beside the straight path tool.
Optional: Build an Underpass
Pedestrian underpasses function in the same way as the overpasses, and can add some visual interest.
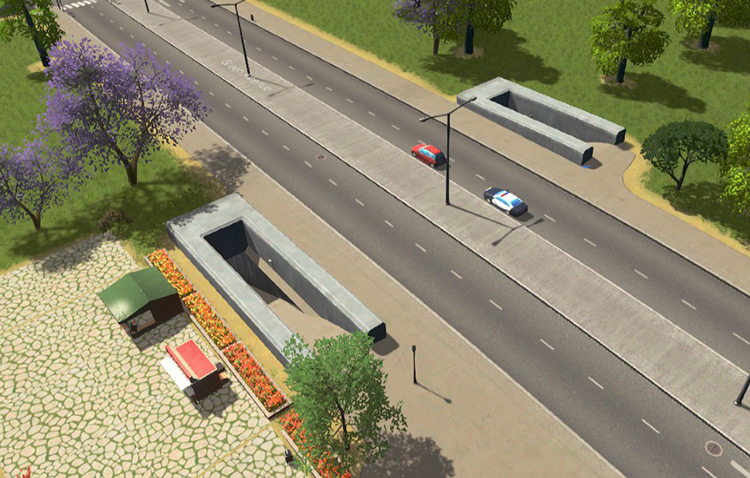
The steps for building an underpass are very similar, except you start off by pressing Page Down.
This brings the path build cursor underground.

Of course, you’ll have to avoid any existing underground transport lines like metro lines or road tunnels, as they cannot intersect.
You could, however, build it on a lower level by pressing Page Down one more time. Take note that this will require a longer ramp to reach the ground level.
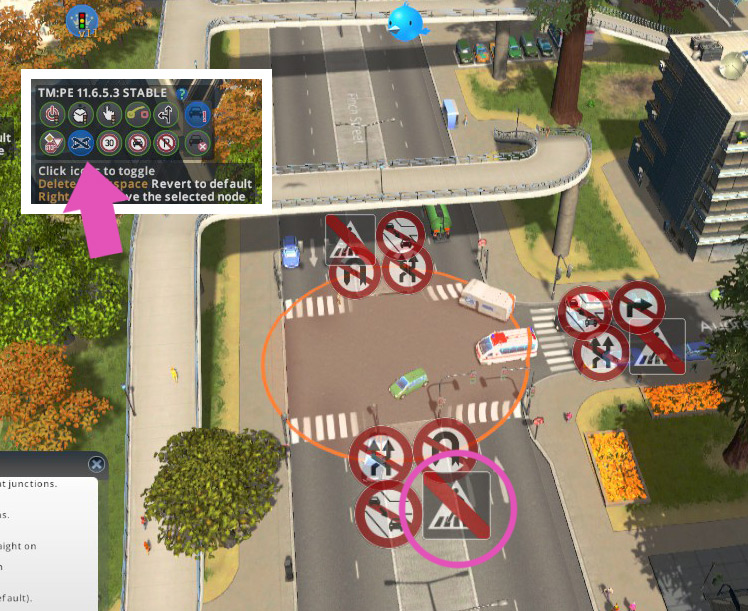
Using the Traffic Manager Mod To Turn Off Zebra Crossings
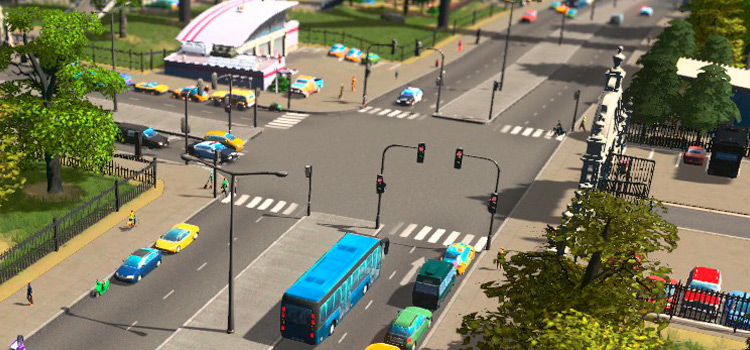
So you went through all the trouble to build a nice overpass, but your citizens say “No thanks!” and keep on crossing at a nearby pedestrian crosswalk instead, slowing down traffic.
At the time of writing (game version 1.14.1-f2) there isn’t a way to do it in the base game, but don’t worry — you can easily use the Traffic Manager mod to turn off pedestrian crossings.
Click on Junction restrictions in the Traffic manager panel, then click on the junction with the crosswalk you want to disable.
Then click the pedestrian crossing button to ban it.
Effective Uses for Pedestrian Overpasses
Now that you know how to build footbridges, it’s time to start taking advantage of it to make your cities much more walkable and reduce car traffic.
Here are some ideas:
1. Create overpasses at particularly busy intersections.
2. Use a footbridge to connect districts separated by highways.
3. Create an overpass network that brings people from different residential blocks to popular spots like schools, parks, or attractions.
4. Always build one close to facilitate between transport hubs, e.g., bus stops and terminals, metro/train/tram stations, and airports.
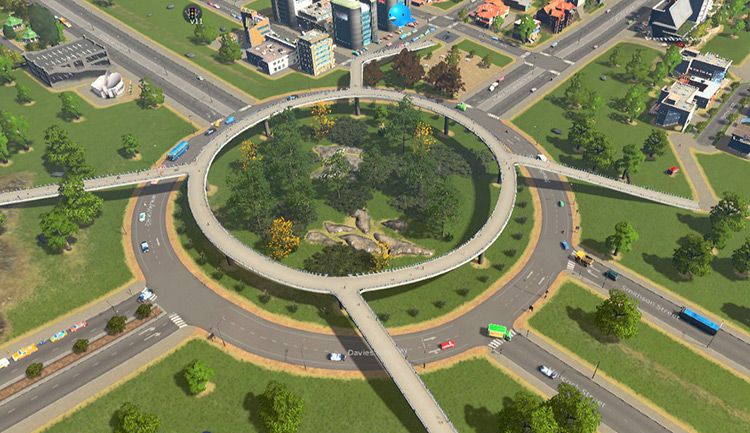
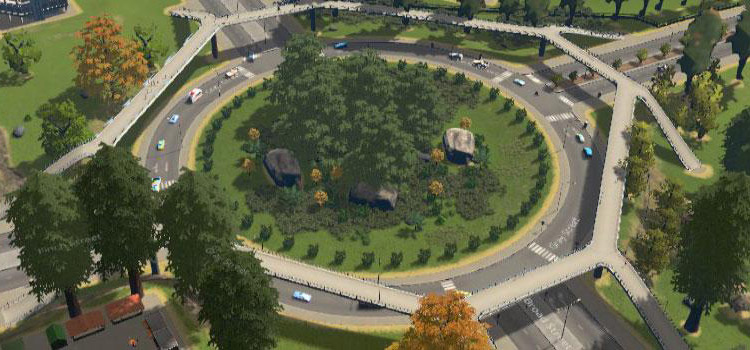
5. Build a circular elevated walkway to go with your roundabouts.

-
Cities: Skylines
- How To Build Pedestrian Overpasses in Cities: Skylines
Related Posts:
 Complete Guide To Traffic in Cities: Skylines (FAQs & Tips)
 A Guide To Roundabouts in Cities: Skylines
 Cities: Skylines Bike Lanes (How To Get Them & Are They Worth It?)
 Cities: Skylines Sick Citizens (6 Main Causes & Fixes)
 How To Unlock the Transport Tower in Cities: Skylines
 How To Turn Off Traffic Lights in Cities: Skylines
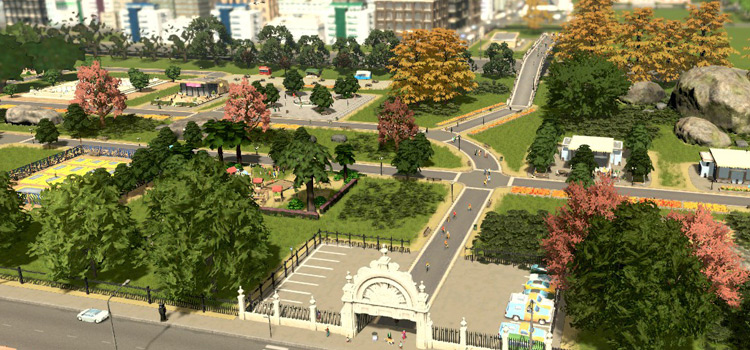 How To Create a City Park Area in Cities: Skylines
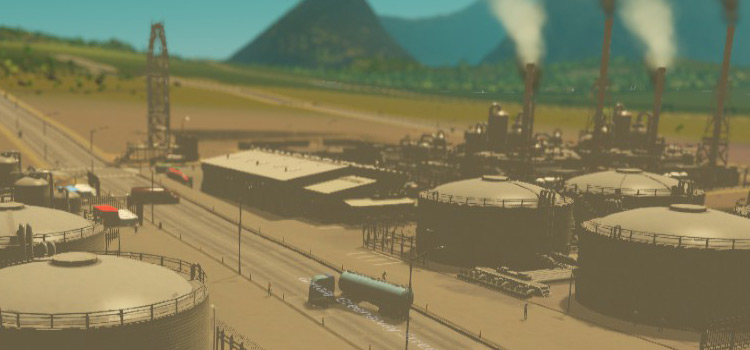 A Guide To Your First Oil Industry in Cities: Skylines