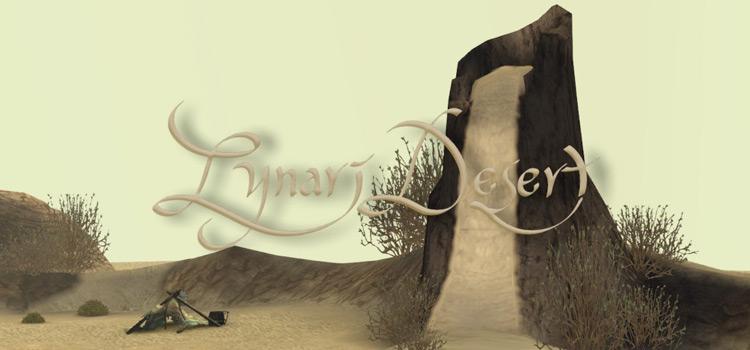
The Lynari Desert is a dungeon in Final Fantasy Crystal Chronicles, accessible from Year 5.
It’s located in the Lynari Isles, north of the Selkie town of Leuda.
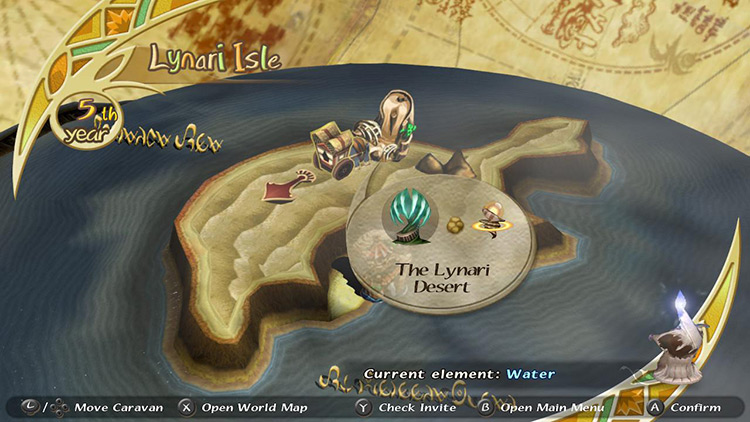
Players can reach the Lynari Isles by sailing from the Port at Tipa Peninsula when the Jegon River dries up in Year 5.
This dungeon houses the most cryptic puzzle in the game. Complete it to access the Unknown element for your Crystal Chalice, which is required to finish the primary campaign.
Once you’ve arrived at Lynari Desert, you must:
- Reveal the Unknown element.
- Obtain your Moogle Stamp.
- Use a quicksand pit to reach Area #2.
- Head northward through Area #2 and into Area #3.
- Optional: Look for Cactus Flower.
- Eliminate three waves of Scorpions in the boss arena.
- Defeat the Antlion boss.
We’ll go over each of these objectives in detail below.
Map
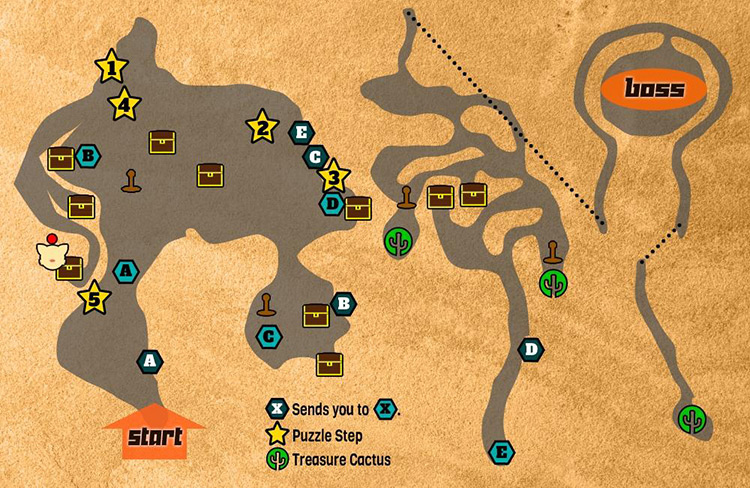
Walkthrough
The Lynari Desert can be very confusing due to its large size and repetitive desert surroundings.
This guide will help you get the most out of your first visit.
Step #1: Get the Unknown Element
Your first task in the Lynari Desert is obtaining a mysterious new element for your Crystal Chalice.
The steps to do this were outlined cryptically in Gurdy’s poem. I’ll translate it for you:
| Gurdy’s Verse | Objective |
|---|---|
| Lightning brings the cactus pain. | Cast Thunder on a cactus. |
| Of crumbled inns, few reminisce. | Cast Gravity on an old tent. |
| Lonely mushroom bursts to flame. | Cast Fire on a “lonely mushroom.” |
| Three rocks await the winter’s kiss. | Cast Blizzard on three rocks. |
| In the end, shall bloom a flower. | Find the blooming flower. |
| Sacred light reveals its power. | Cast Holy on the flower. |
Let’s break it down.
Objective #1: Cast Thunder on a Cactus
Head north as you enter the dungeon and look out for attacking Scorpions near a torrent of falling sand. Watch out for their poisonous melee attacks. They’ll drop Thunder and Blizzard magicites.
Keep going north, and you’ll bump into a Lamia close to a quicksand pit. Kill it to get the Cure magicite.
Tip: Both Scorpions and Lamias are weak to Blizzard.
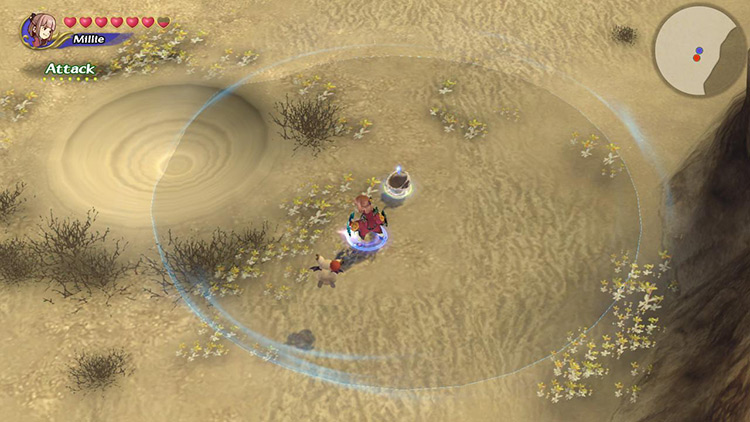
Pits like this function as teleporters around the Lynari Desert. This one takes you back to the sand “waterfall” from earlier.
Head straight north after passing the sand pit. Look out for Zu attacks on your way northward.
Tip: Like all flying enemies, the Zu can be immobilized by Gravity, allowing you to deal damage safely. Fire magic and physical attacks are ideal.
Several more Zu, Cactuar, and Scorpions inhabit the area. Kill them as you continue northward. You should soon find a lone chest in the middle of the desert.
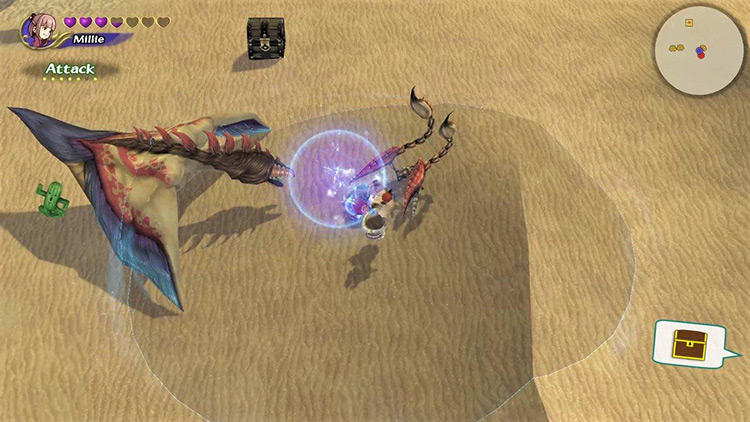
Walk southeast of where you found the first chest to find another chest. Watch out for Zu and other enemies on your way.
Head northeast of the second chest’s location and continue until you find three rocks close to one another.
Note: These are the rocks from the poem, but we need to do the previous steps first.
You’ll find your first objective past some enemies to the north: a green cactus. Notice how it’s marked with a red X on your mini-map.
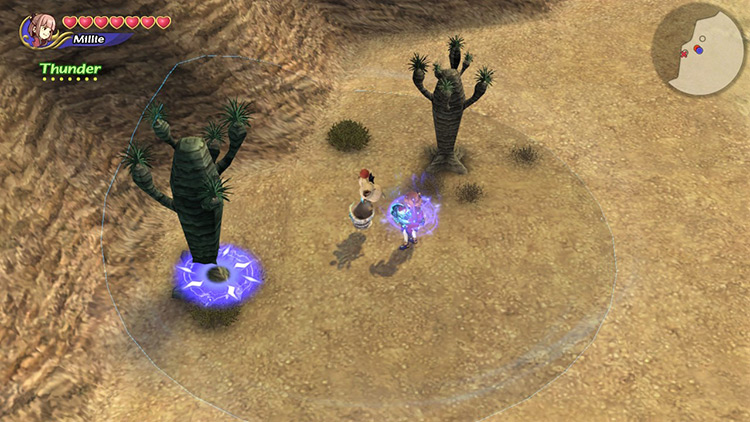
Hit the cactus with Thunder. You’ll see a short cutscene zooming in on the cactus if you did it correctly.
Objective #2: Cast Gravity on a Tent
From the cactus, head east, hugging the immediate edge of the map until you reach a run-down tent surrounded by monsters.
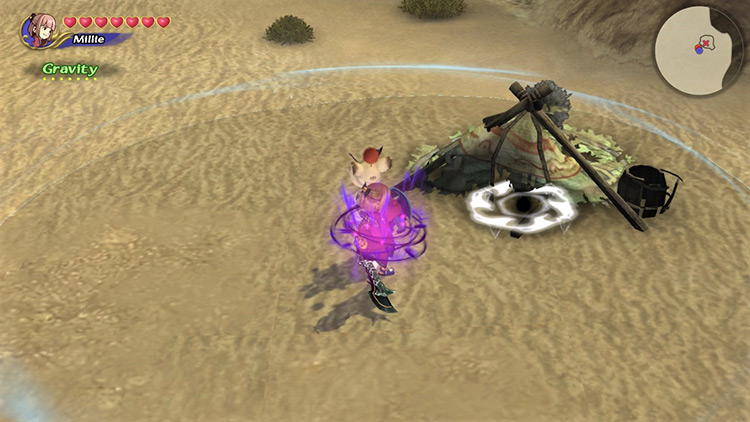
Cast Gravity on it and watch the short cutscene play out.
Objective #3: Cast Fire on a “Lonely Mushroom”
Now, keep close to the wall as you head south. You’ll pass two sand spouts and a Zu before reaching the fourth objective: a rock formation resembling a “lonely mushroom.”
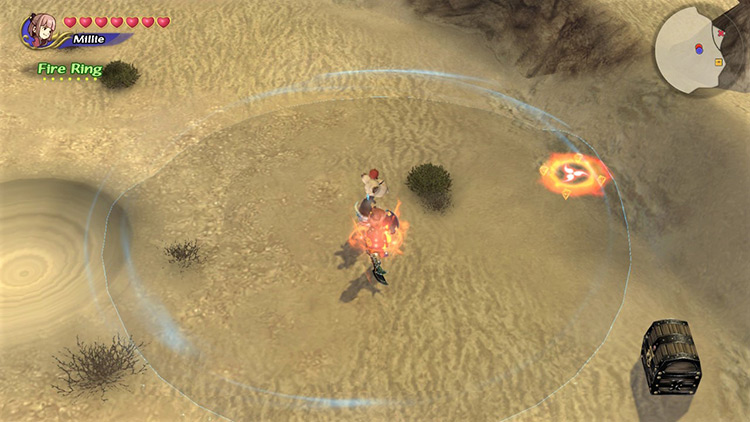
Use the nearby sand pit and treasure chests as references to find the right rock. Cast fire as close to it as you can.
Objective #4: Cast Blizzard on Three Rocks (Small to Large)
Collect the nearby chest and return to the rocks below the cactus you electrified.
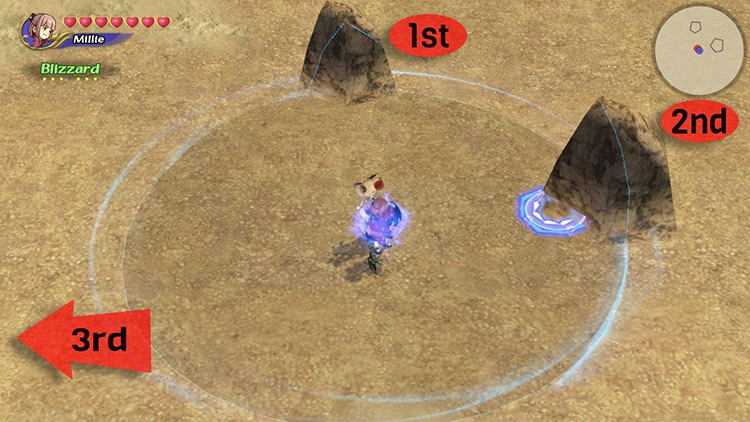
You’ll notice they are different in size. Cast Blizzard on them from the smallest to the largest.
A short cutscene will play out if you do it right.
Objective #5: Find the Blooming Flower
From the rocks, walk straight south as if heading back to the beginning of the level.
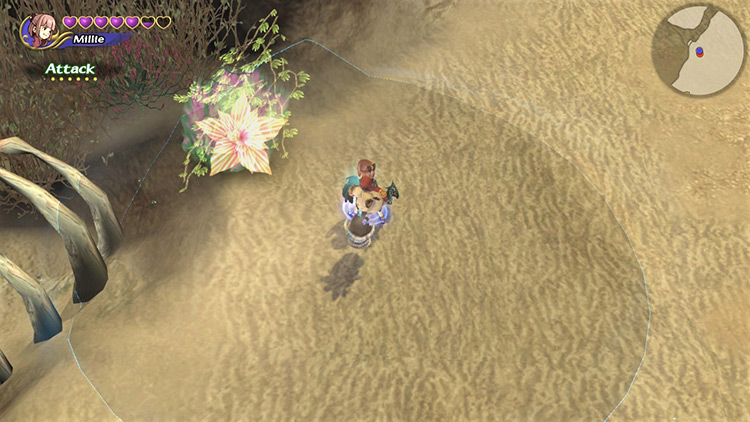
Stay close to the western edge when you pass the sand pit, and you’ll soon find the blooming flower.
Objective #6: Cast Holy on the Flower
You need to cast Holy on the flower to unleash its power, but you probably don’t have the Raise magicite yet.
You’ll find Raise on a scorpion some steps south of your current location.
Once you have it, combine it with an elemental spell to make Holy. Remember, Raise must be on the lower slot, or you’ll make Slow instead.
Cast Holy on the flower and watch a new elemental Hot Spot appear at its location.
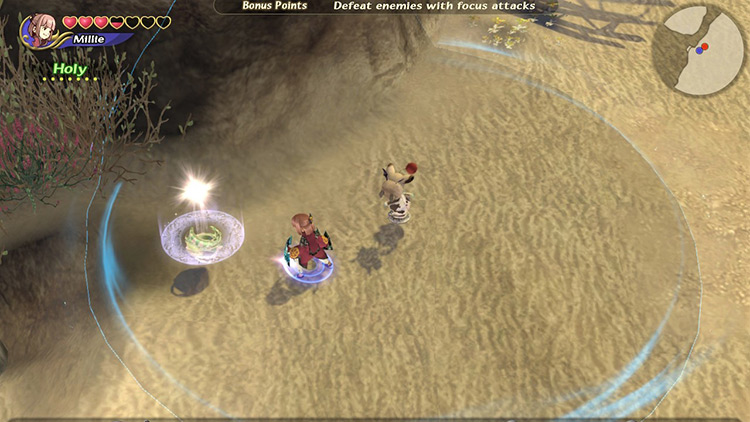
Use it to infuse your Crystal Chalice with the Unknown element.
Tip: The Unknown element allows you to traverse any miasma stream. It’s necessary to access the last area in the game.
Step #2: Getting the Moogle Stamp
After infusing your Crystal Chalice with the Unknown element, head north while staying close to the western edge.
You’ll eventually find a chest some steps west of a sand pit.
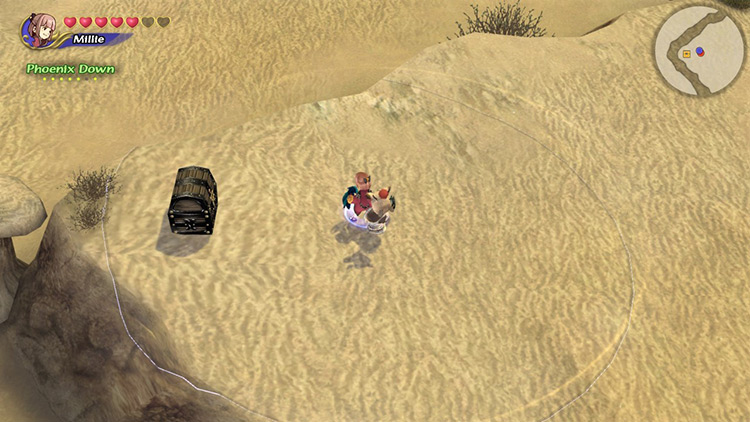
Grab the Recipe from the chest and continue going north, then turn left at the earliest opportunity and start heading southwest.
When you come across an Earth elemental Hot Spot, stick to the right wall to find a chest protected by a couple of Lamias.
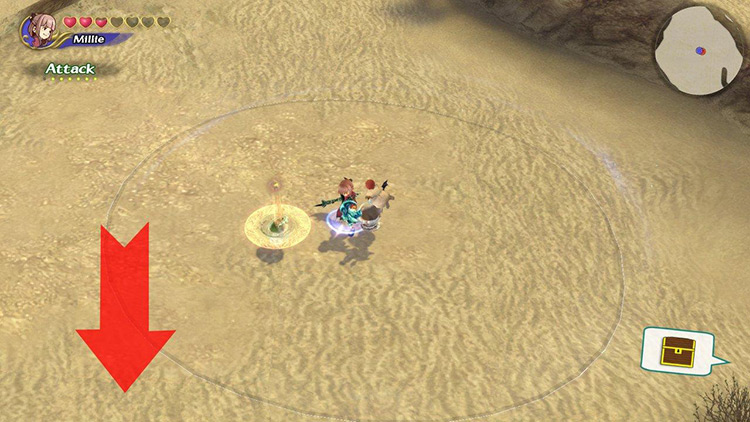
Defeat them and collect the Recipe from the chest before heading back to the Hot Spot, then follow the western path southward.
At the end of the road, you’ll find a Scorpion + Lamia combo roaming outside of a little cave.
Defeat the enemies and hit the plant obstacles to destroy them, clearing the way toward a chest.
Open the chest and pick up the Artifact, then continue to snoop around in the back of the little cave to find the cleverly hidden Moogle Nest.
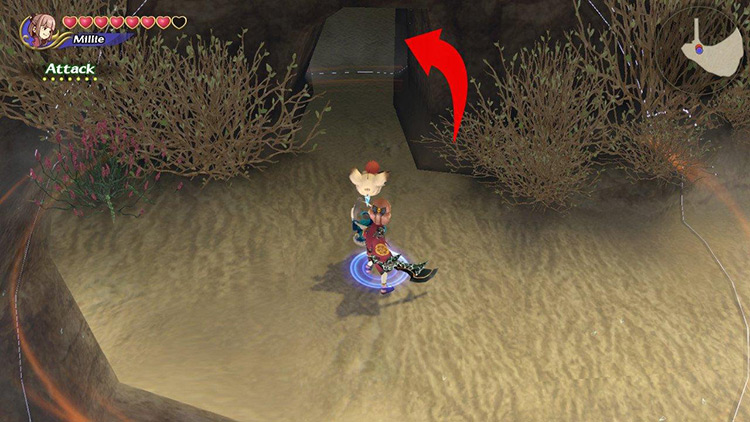
Enter to get your Moogle Stamp for Lynari Desert.
Step #3: Advance to the Next Area
Return to where we found the chest next to a sand pit at the beginning of Step #2.
Let yourself be swallowed up by the quicksand, and you’ll turn up in the southeastern corner of the map, right next to a chest.
Collect its contents and immediately head south to find another chest protected by a Zu, a Lamia, and a Scorpion.
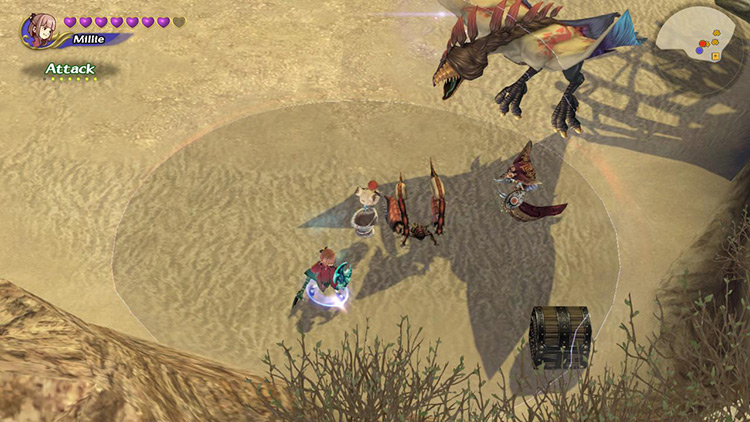
Defeat the enemies and open the chest for some Gil. Now, head west and into another quicksand pit.
This time, you’ll turn up a little north of where the “lonely mushroom” rock is. Walk southward along the right edge to find yet another sand pit.
Jump into the sand pit to enter the next area.
Step #4: Head North Through Area #2
The way south from here only leads back to the previous area, so head north.
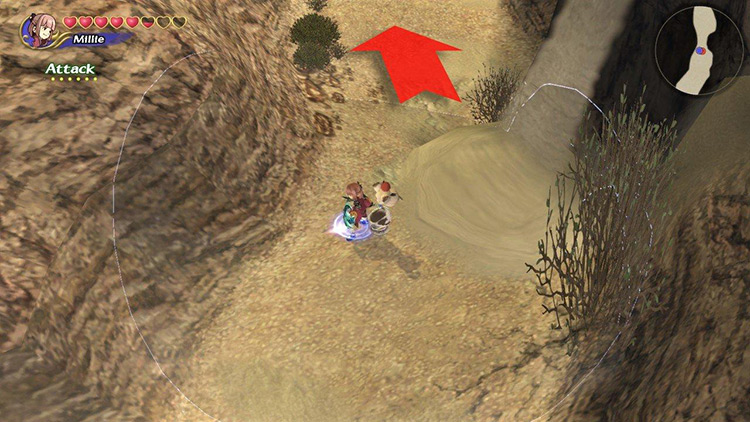
You’ll fight through some Sand Sahagins, then a Chimera after walking by some breakable plants.
- The Chimera is a mini-boss-level monster with great magic coverage and quick attacks. Holy is the only viable magic against it.
- Sand Sahagins are weak to Blizzard, but Holy is effective too.
After dealing with the Chimera, head northwest to find a chest protected by a Lamia and a Scorpion. Collect the Recipe (or Gil) and head back to the crossroads.
Now go through the northeastern road, through the breakable plants we saw earlier.
Go south at the Hot Spot to find a conspicuous cactus. There are three of these in the dungeon, and they basically function like chests.
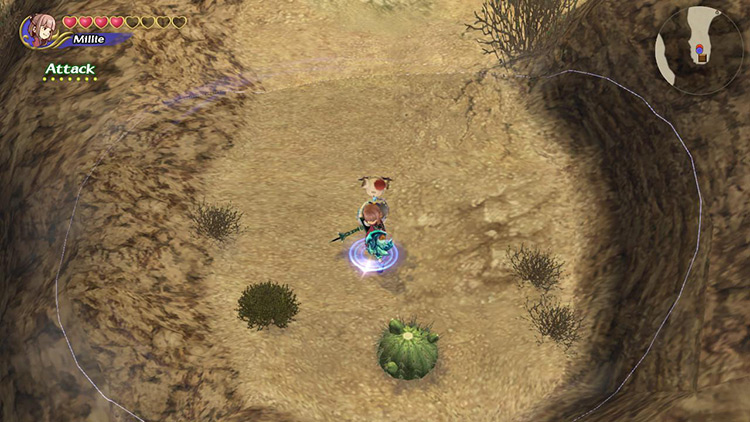
Hit it to get a rather powerful Artifact, then head north until finding a crossroads with a Chimera and some other minor monsters. It’s a tough fight.
Once you’ve conquered your enemies, head west, following the southern edge of the path to find a chest containing another Artifact.
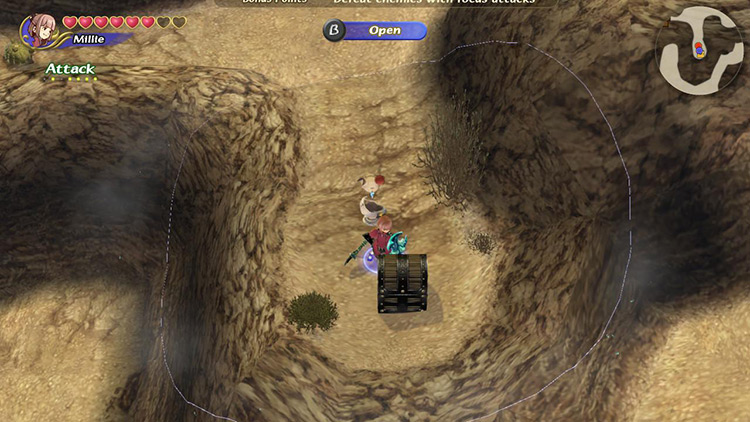
Continue westward, past a destroyable barrier, and head south at the Earth elemental Hot Spot to find a second cactus you can destroy to collect the Artifact inside.
From there, return to the previous crossroads and head north through the destroyable barrier.
Watch out for more enemies, including some Chimeras, as you continue heading north until advancing into the next area.
Step #5: Collect a Cactus Flower
You might remember the ferryman who brought you to the Lynari Isles offering a big discount if you got him a Cactus Flower from here.
Getting it is simple, but it requires a bit of luck.
Follow the road as you head into Area #3. Ignore the way south into the enormous sand pit and simply follow the road.
You’ll eventually cross into another area. Keep heading south here, past some Lamia, until finding a third cactus.
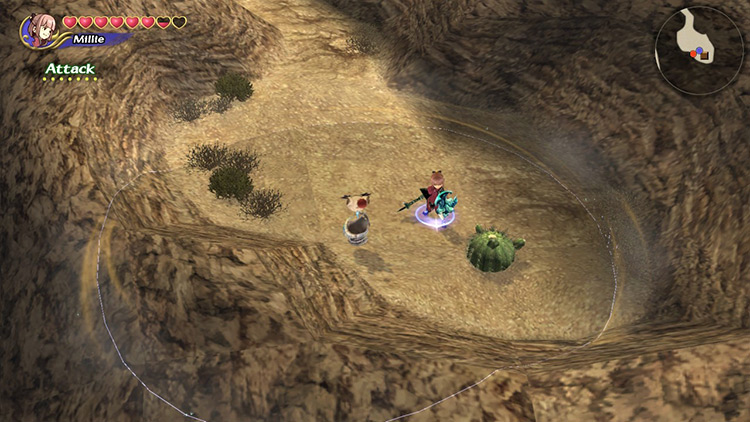
Destroy it with your weapon; if you’re lucky, it’ll drop a cactus flower. If it doesn’t, you can always try again next time.
Step #6: Dig Up the Boss
Go back to the previous area and enter the enormous sand pit.
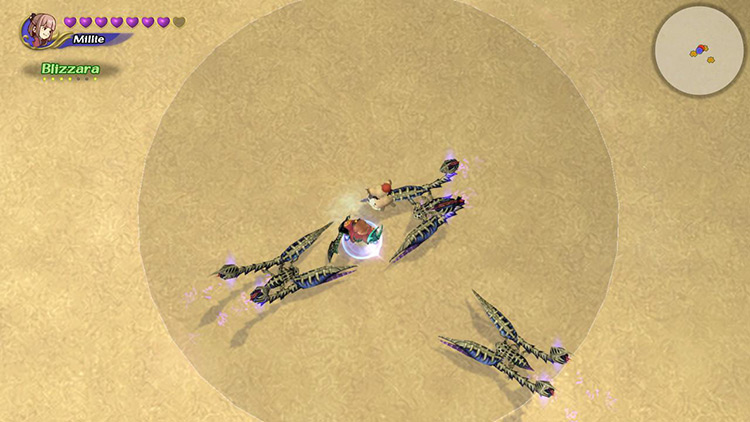
You’ll be attacked by three waves of enemies in quick succession.
| Enemies | Strategy |
|---|---|
| Three Scorpions | Hit them with Blizzara. |
| Three Electric Scorpions | Hit them with Blizzara too. |
| Three Rock Scorpions | Melee and Gravity are both effective. |
The sand in the pit will decrease slightly with each wave you defeat. The boss fight begins after the third wave is eliminated.
Boss: Antlion
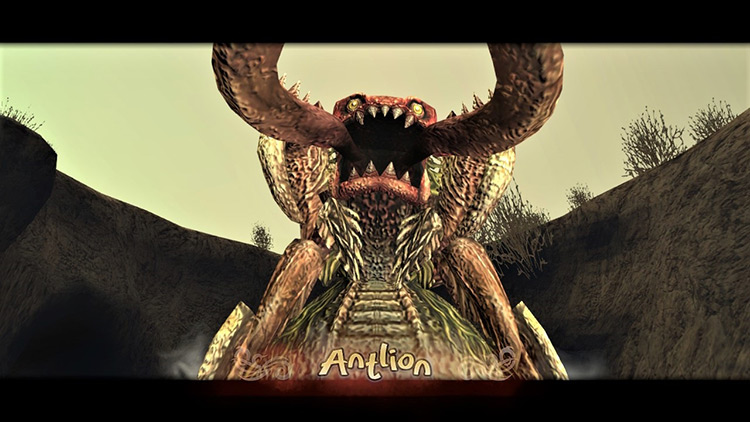
The Antlion is one of the strongest and fastest bosses in the game.
Here are some things to remember while facing this abomination:
Tip #1: Exterminate the Scorpions
The Antlion isn’t alone under all that sand.
Scorpions will periodically pop out of the sand to help the big guy deal with your intrusion.
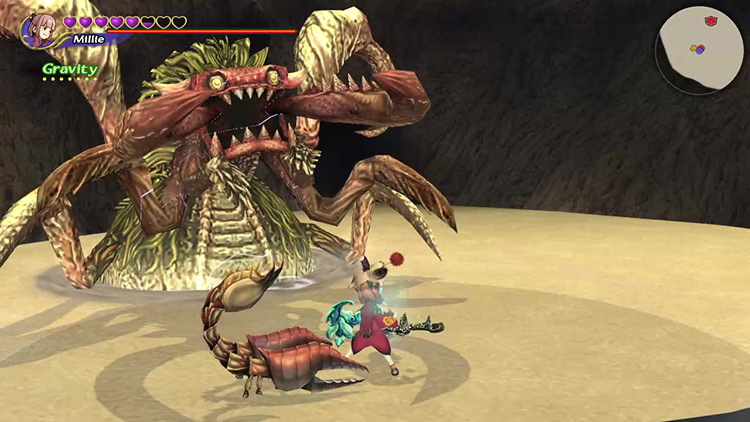
This boss is already relentless in its attack, so even one Scorpion can make this battle overwhelming. Killing them is your priority.
Blizzard is the Scorpion’s biggest weakness, but melee or Holy are also great options.
Tip #2: Hit Fast, Hit Often
Due to the Antlion’s relentless assault, casting slow high-level spells like Blizzaga or Firaga is out of the question.
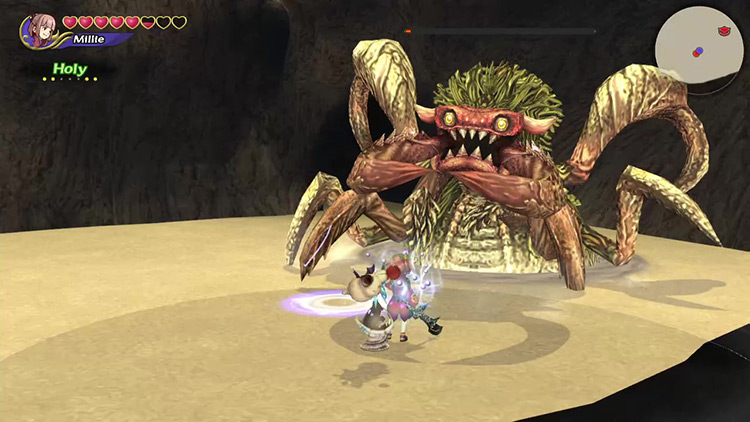
Instead, stick with mid-level spells. Holy should be the most effective.
If your character has enough Strength, chaining melee attacks is one of the most effective strategies.
Note: Try casting Gravity on the Antlion. It’ll take a large chunk of HP, but only the first time.
Tip #3: Stay Close & Get Behind It
Trying to put distance between you and the Antlion is an uphill battle, and it’s one you ultimately cannot win.
Instead, try to stay close to the boss.
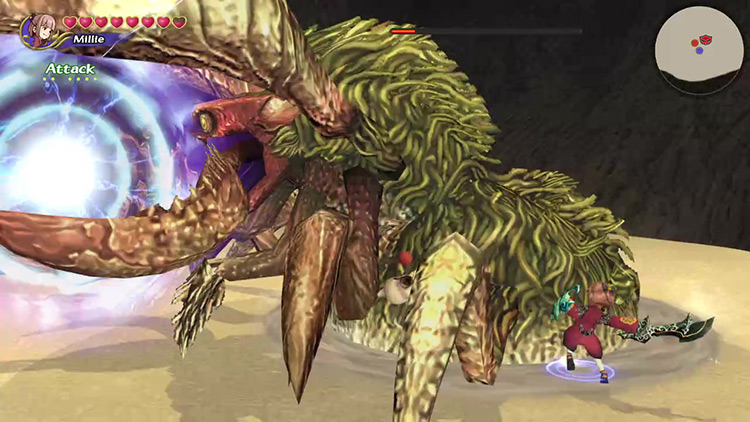
This makes dodging any front-facing moves like the petrification breath and pincer swing easier by running behind it. This also makes it easy to keep up the pressure.
Some of its moves, like stomping, will still reach you – but they’re only seldom used.
Tip #4: Keep Cure and a Phoenix Down Handy
This fight’s difficulty can’t be understated.
Ailments like Poison, Paralysis, and Petrification in the boss’s arsenal mean one or two mistakes can mean losing over five hearts in a matter of seconds.
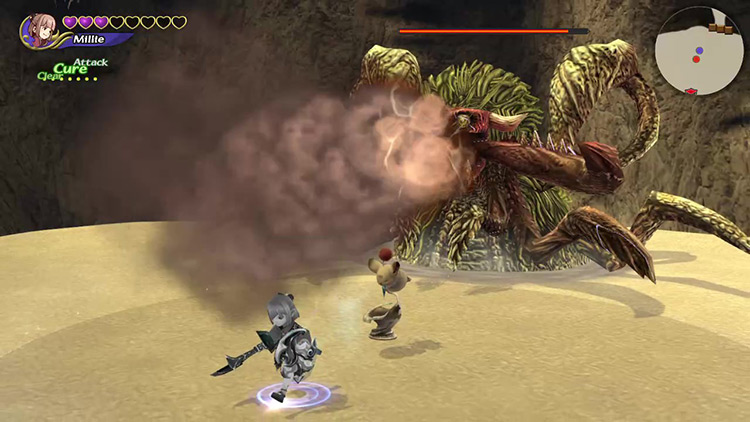
Don’t take on the Antlion without at least one Phoenix Down in your Command List, and always leave some space for Cure.
Changes with Dungeon Cycles
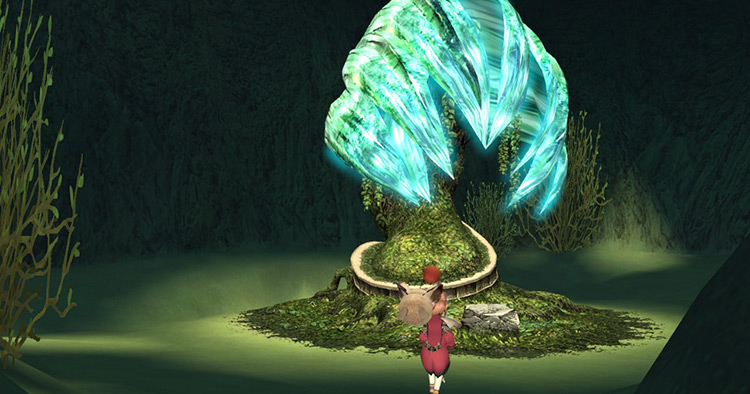
The Antlion becomes an even more formidable boss with higher damage, beefier defenses, and increased speed.
Scorpions will also spawn faster during the fight, further complicating the battle.
Obtainable Items
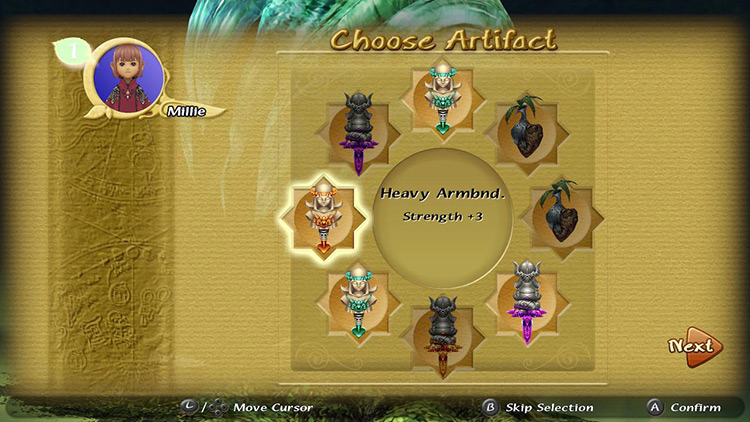
You’ll find Artifacts, crafting Recipes, and Materials throughout the dungeon. You get to keep all Recipes and Materials, but you can only choose one Artifact to take with you.
Chest Items
| Cycle | First | Second | Third |
|---|---|---|---|
| Recipes | Clockwork Eternal Armor Flame Craft Frost Craft Goggle Techniques Gold Craft Master’s Weapon Mighty Weapon Mythril Armor New Clockwork Valiant Weapon Victorious Weapon |
Clockwork Eternal Armor Flame Craft Frost Craft Goggle Techniques Gold Craft Holy Armor Lightning Craft Master’s Weapon Mighty Weapon Mythril Armor New Clockwork Pure Armor Victorious Weapon |
Clockwork Designer Goggles Diamond Armor Flame Craft Frost Craft Goggle Techniques Gold Craft Holy Armor Legendary Weapon Lightning Craft Mighty Weapon New Clockwork Pure Armor Valiant Weapon Victorious Weapon |
| Artifacts | Ashura Book of Light Double Axe Dragon’s Whisker Drill Fang Charm Gobbie Pocket Helm of Arai Loaded Dice Silver Bracer Star Pendant Wonder Wand |
Dark Matter Double Axe Gobbie Pocket Helm of Arai Ice Brand Loaded Dice Ogrekiller Silver Bracer Star Pendant Teddy Bear Wonder Wand |
Dark Matter Giant’s Glove Gobbie Pocket Gold Hairpin Ice Brand Mage’s Staff Masquerade Ogrekiller Star Pendant Teddy Bear Tome of Ultima Wonder Bangle |
Monster Items
| Cycle | First | Second | Third |
|---|---|---|---|
| Cactuar | Needle | Needle | Needle |
| Chimera | Chimera’s Horn | Chimera’s Horn | Chimera’s Horn Legendary Weapon (R) |
| Electric Scorpion | No drops | Thunderball | Thunderball |
| Rock Scorpion | No drops | Alloy | Alloy Diamond Ore |
| Zu | Zu’s Beak | Zu’s Beak | Orichalcum Zu’s Beak |
Boss Items
Each boss has four drop pools per cycle.
Your Bonus Points determine which rewards you qualify to get. The higher your points, the more chances you have to get good rewards.

Higher ranks can randomly get any of the previous reward pools. There’s also a tiny chance that the contrary might happen, giving you higher-level rewards at low scores.
| Cycle | First | Second | Third |
|---|---|---|---|
| 0+ BP | Main Gauche Masquerade Sage’s Staff Star Pendant |
Chicken Knife Goblin Pocket Ice Brand Wonder Wand |
Dark Matter Elven Mantle Hero’s Weapon Loaded Dice |
| 144+ BP | Black Hood Flametongue Goblin Pocket Noah’s Lute |
Heavy Armband Helm of Arai Rune Bell Star Pendant |
Kris Orichalcum (M) Ogrekiller Wonder Bangle |
| 180+ BP | Chicken Knife Goblin Pocket Ice Brand Wonder Wand |
Dark Matter Elven Mantle Hero’s Weapon Loaded Dice |
Dragon’s Fang Engetsurin Goblin Pocket Red Slippers |
| 226+ BP | Heavy Armband Helm of Arai Rune Bell Star Pendant |
Kris Orichalcum (M) Ogrekiller Wonder Bangle |
Diamond Armor Sun Pendant Tome of Ultima Twisted Headband |
-
Final Fantasy Crystal Chronicles Remastered
- Lynari Desert Dungeon Guide + Map (FFCC Remastered)

