The Mine of Cathuriges is the third dungeon players can tackle during their first year in Final Fantasy Crystal Chronicles.
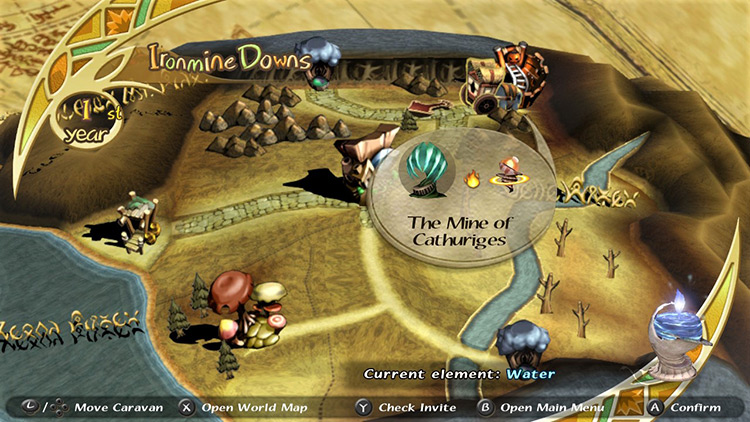
It’s situated on the northeastern corner of the Iron Mine Downs region and contains a Fire Elemental Hot Spot.
This dungeon represents a significant increase in difficulty when first visited. Upgrade your gear and gather some Artifacts to raise your stats before challenging the Mine.
The basic steps to conquer the Mine of Cathuriges are as follows:
- Use the minecart to smash debris.
- Stand on pressure plates to redirect the tracks.
- Kill the Ogre in Area #2 to open the door behind it.
- Get your Moogle Stamp in Area #3.
- Defeat the Orc King boss.
Let’s go over it all in more detail.
TABLE OF CONTENTS
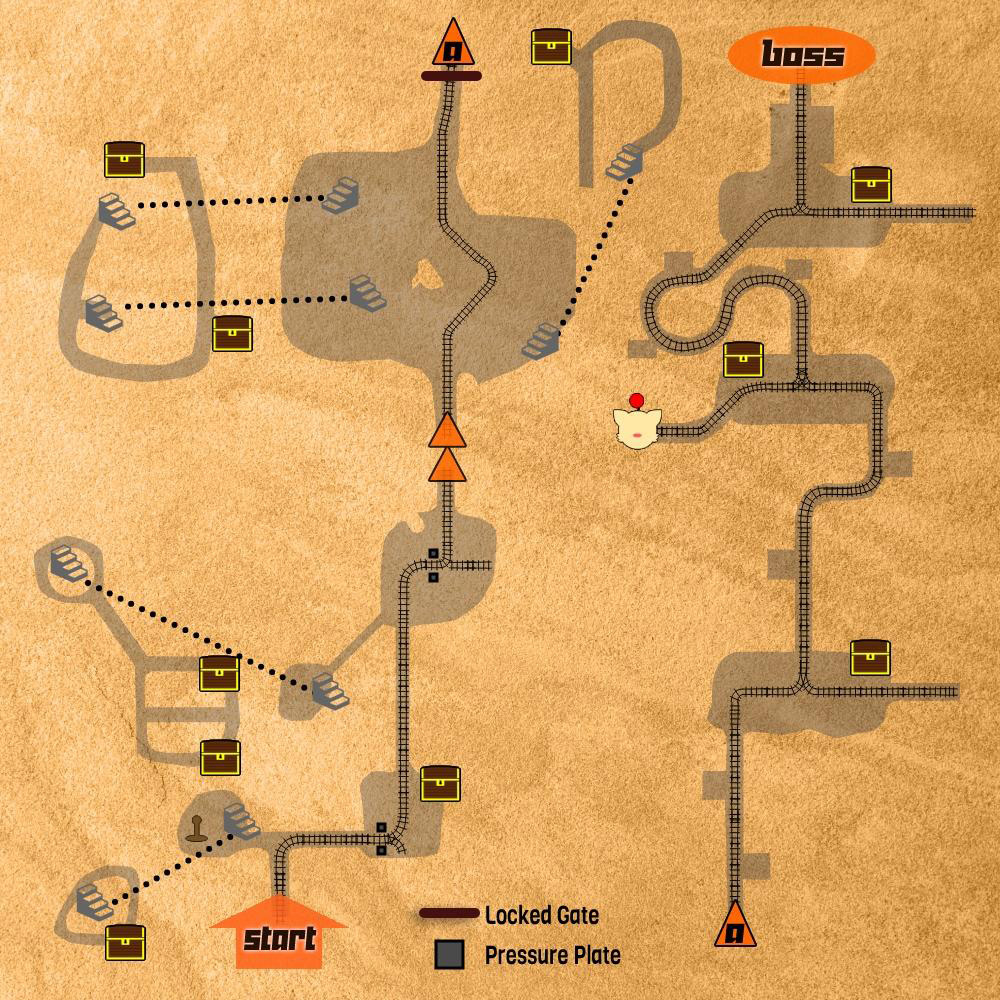
Map
Walkthrough
The Mine of Cathuriges is divided into three areas separated by loading screens, each with its own challenges and loot.
We’ll use this as the base structure for our walkthrough.
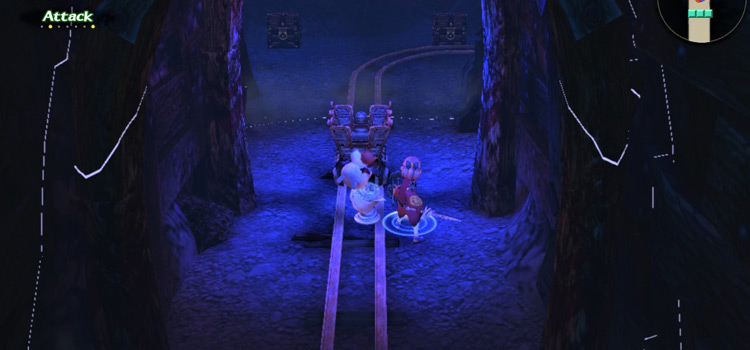
Area #1: Minecart Demolition
You’ll spawn standing right before a minecart, but there’s something we need to get done before interacting with it.
Get the Fire Element on the Chalice
Assuming this is your first time in the Mine and you’ve done the dungeons in order of introduction, you must be one drop of myrrh away from completing Year 1.
This means you’ll be transported automatically to your Hometown in Tipa Peninsula after defeating the boss.
The Miasma Stream separating Tipa Peninsula from Iron Mine Downs changes to Fire-type in Year 2.
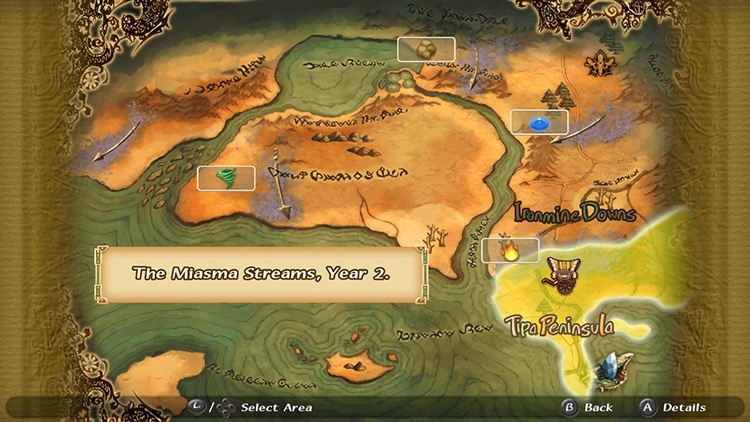
If you want immediate access, you must get the Fire element now.
Walk past the mine cart and take a left to find a room with a Fire Hot Spot protected by an Orc and a Fire Bomb.
- Orcs taunt you very often, leaving themselves open to attack. They’re weak to Fire damage and get Frozen or Paralyzed easily.
- Fire Bombs cast Fire spells and will self-destruct when defeated. The blast from the explosion hangs around for a few seconds, so be careful.
Once you’ve cleared the floor and attuned your chalice to Fire, return to the beginning of the level.
Hit the Minecart to Clear Debris
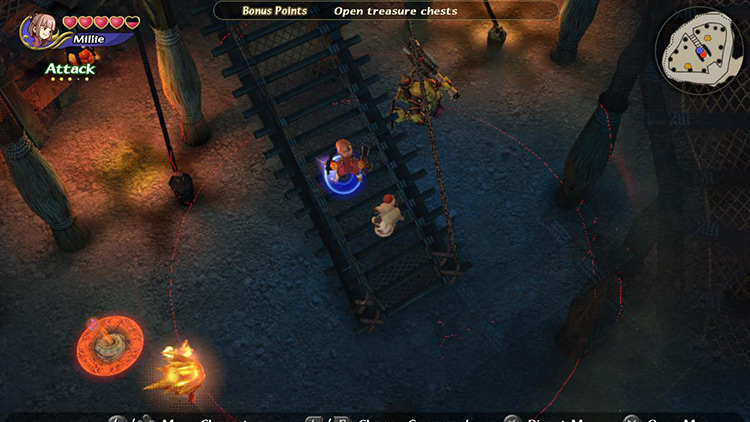
Whack the minecart with your weapon to get it rolling.
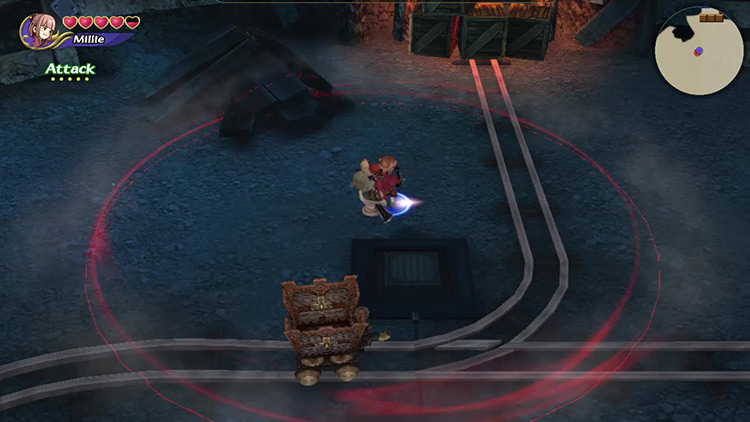
Follow the minecart and kill the Orc next to the pile of crates and planks. Hit the minecart again to smash the debris, opening a way forward.
It’ll come to a stop between two square plates. Be careful not to hit it again while you explore this area.
There are only three Orcs in this room, but you might get attacked by a Fire Bomb from the floor above. You can’t kill it yet, so keep an eye on it as you clear the room.
Pick up any drops, open the chest to the northeast for some cash, and return to the minecart.
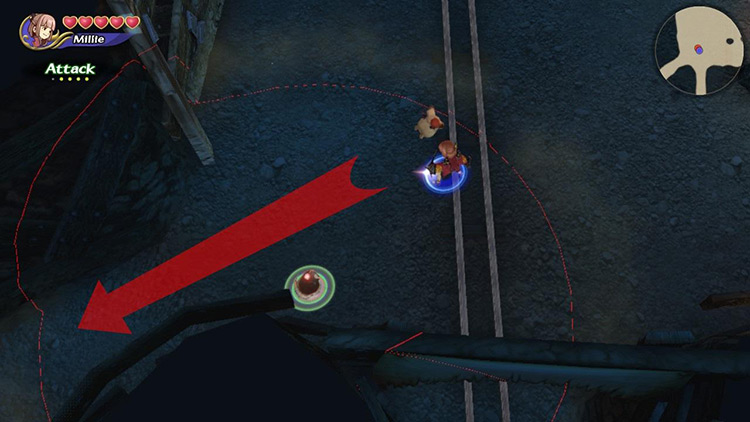
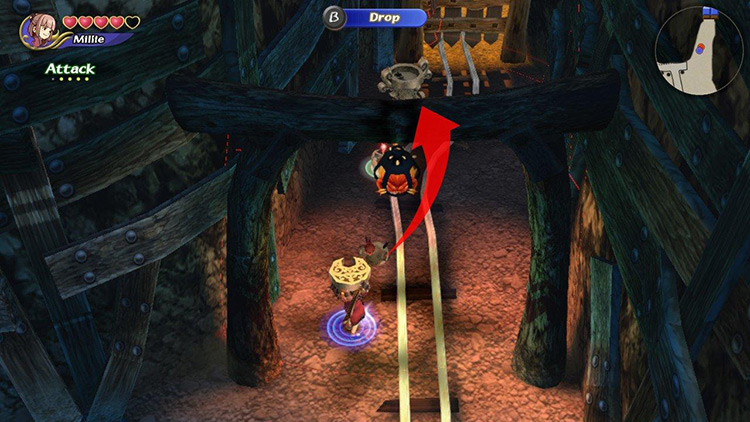
Redirect the Minecart
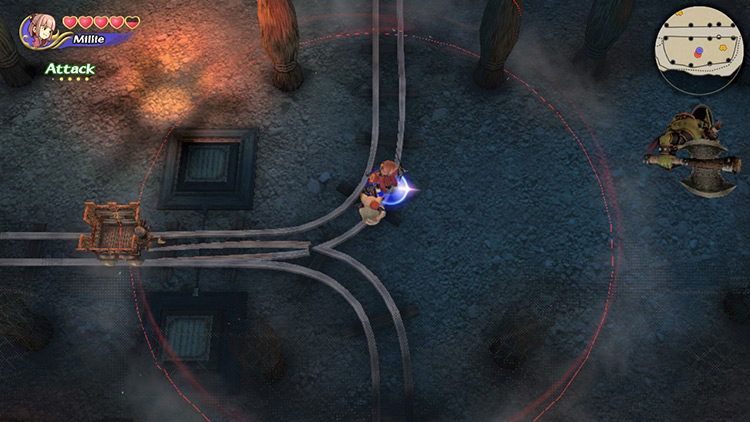
The tracks before the minecart split north and south.
You want to send the minecart up, so stand on the northern plate and watch the tracks adjust.
Attack the minecart to send it rolling north. It’ll crash into another pile of debris and clear the way forward.
Tip: The minecart will return to the beginning of the level if you accidentally send it in the wrong direction.
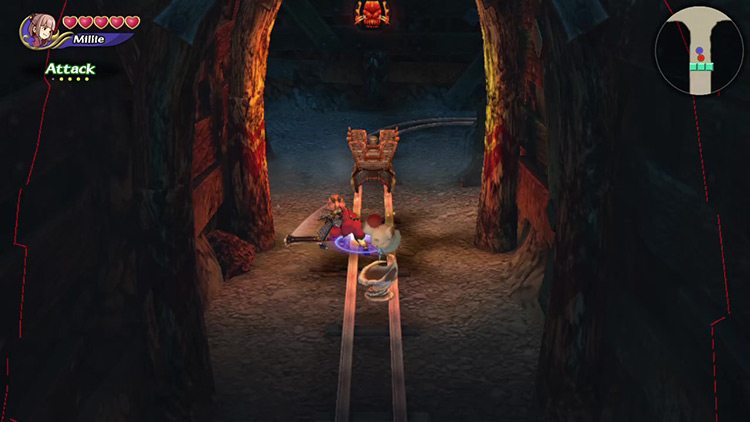
Keep rolling the cart through the long tunnel until emerging into the next open area.
Two Orc guards a chest containing the Clear magicite a few steps from the tunnel. Defeat them and claim your magicite before moving on.
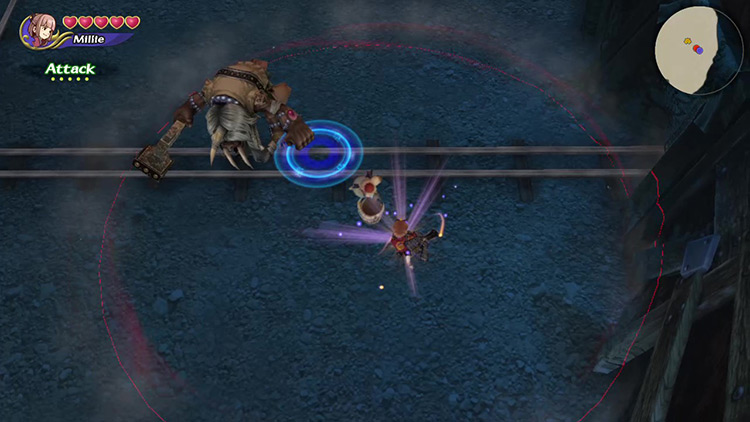
Further north lies an Ogre, the third and last enemy in this room.
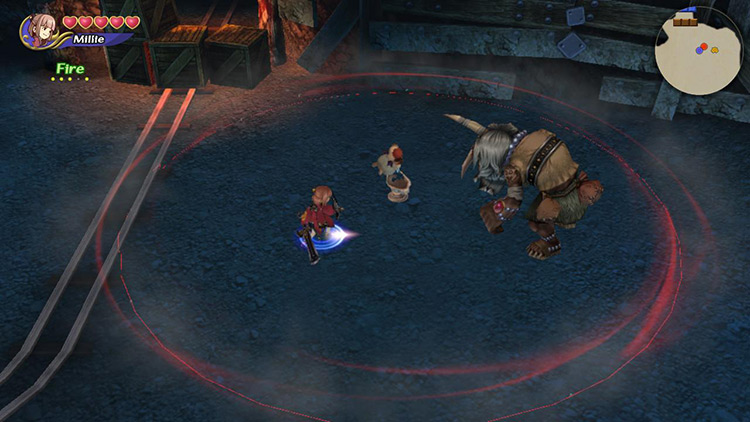
Ogres hit hard and have a ton of HP.
Magic, especially Thunder, is the best option to deal with them.
Tip: Melee fighters should try aiming their Focus Attacks so that they barely reach the Ogre’s hitbox. This will push the Ogre out of range, helping to avoid its counter-attack.
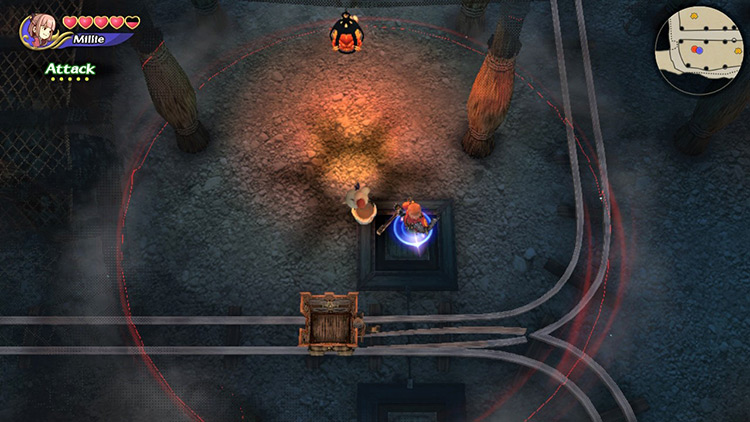
After dealing with the enemies, focus your attention back on the minecart.
There’s another mechanism to redirect the tracks, just like the one in the previous room.
Step on the northern plate, then push the cart to smash the debris blocking your path. Continue to the next area.
Cycles 2 & 3: Explore the Southwest Passage
Alternatively, you could head southwest to explore a couple more rooms before moving on.
Regrettably, there’s nothing but enemies in that direction the first time you come to collect myrrh. You’re not missing much by ignoring it.
Cycle 2 adds two new chests containing Recipes to this area, making it worth the trouble.
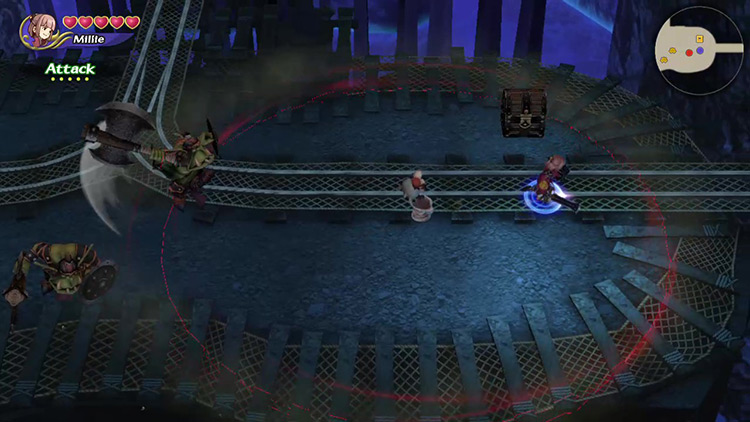
Area #2: Treasure Room
You don’t have to worry about the minecart in this area. Things get a lot more linear from here on out.
Clear the Ground Floor
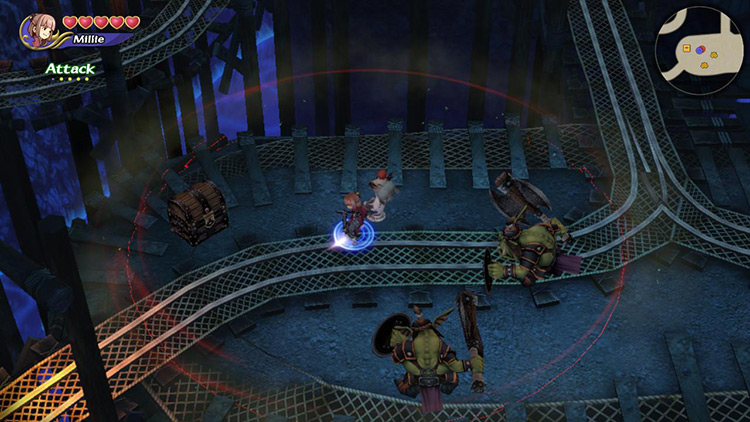
There are four monsters on the ground floor of the new area.
- An Orc to the southwest near a chest containing Raise.
- An Orc to the east near a chest containing Cure.
- A Fire Bomb hanging around the central area, south of a chest full of Gil.
- An Ogre blocking the way forward to the north.
They’re all out of each other’s line of sight, so you can take them out one by one without getting surprised from behind.
Open the Gate
You’ll notice the way forward is blocked by a closed gate.
The Ogre should have dropped a half-moon token upon defeat. Pick it up and place it on the altar next to the door to open the way forward.
Make sure you’ve picked up valuable drops and plundered all three chests before heading through.
Cycles 2 & 3: Loot the Catwalks
You must have noticed the stairs leading to a second floor made up of catwalks all around the room.

There’s nothing noteworthy going on up there now, but that’ll change the next time you come collect myrrh.
From Cycle 2 onward, you’ll find three more chests containing valuable Materials on these catwalks.
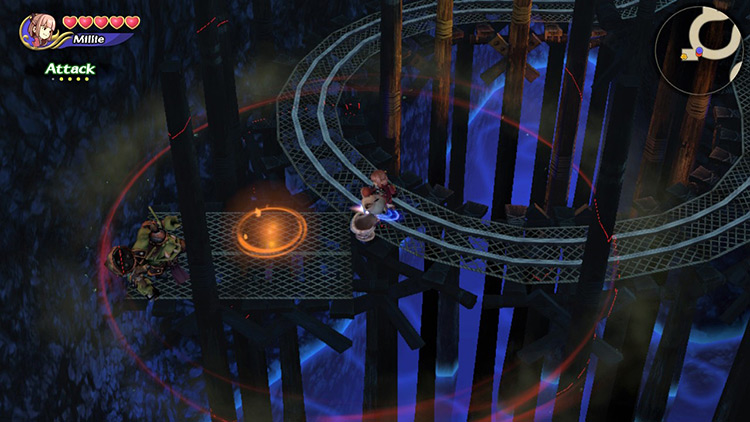
Area #3: Suspended Walkways
The last area before the boss fight is a series of walkways suspended over an underground miasma lake.
These walkways connect three larger platforms full of monsters and loot.
Head North
From your starting position, follow the only path forward, keeping an eye out for an Orc waiting to ambush you from a small platform to the left of the walkway.
You’ll quickly reach a large platform where two Orcs guard a chest.
Defeat them, and collect the Clear magicite from the chest.
The road to the right is a dead end, so take the northern path toward the next platform.
Defeat the Orc that’ll attack you from the left side of the walkway, then continue toward Platform #2.
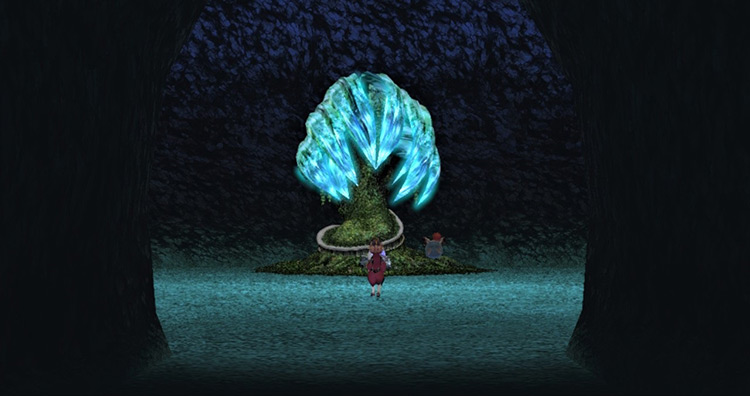
Get the Moogle Stamp
Another two Orcs roam the second platform, protecting an Artifact chest.
Defeat them, collect your treasure, then follow the tracks to the southwest to find a Moogle Nest.
Collect your Moogle Stamp, head back out, and follow the tracks heading north.
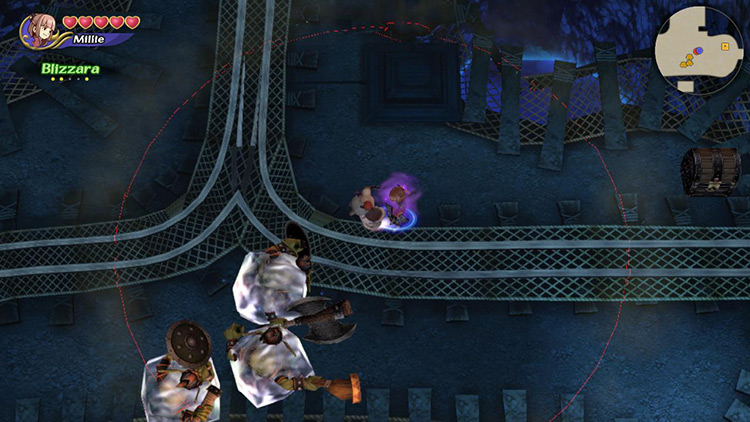
Last Stretch
Watch out for a magic-casting Orc standing on a small platform to the left.
Kill it and keep advancing toward the third platform, where you’ll find another Mage Orc and two regular Orcs guarding an Artifact chest and the boss room.
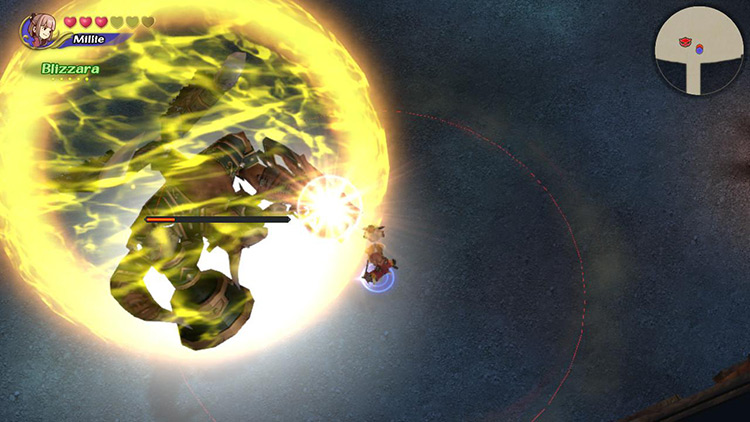
Tip: You should have enough Blizzard magicite to create Blizzara. This spell has a large AoE and can freeze the Orcs, helping you control the crowd.
Defeat the Orc trio, loot the Artifact from the chest to the right, and head north toward the boss room.
Remember to prepare your Command List before heading in.
Boss: Orc King
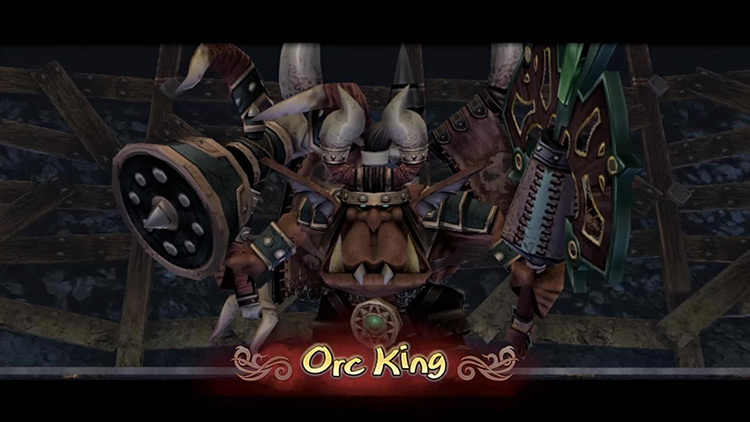
The Orc King is a well-rounded boss with powerful melee and magic attacks. It’s limited by its relatively short range, but it has remarkable speed.
Here are some tips for an easier boss fight.
Tip #1: Keep Reinforcements in Check
An Orc will come out in support of its king right when the battle starts, and a new one will spawn every couple of minutes.
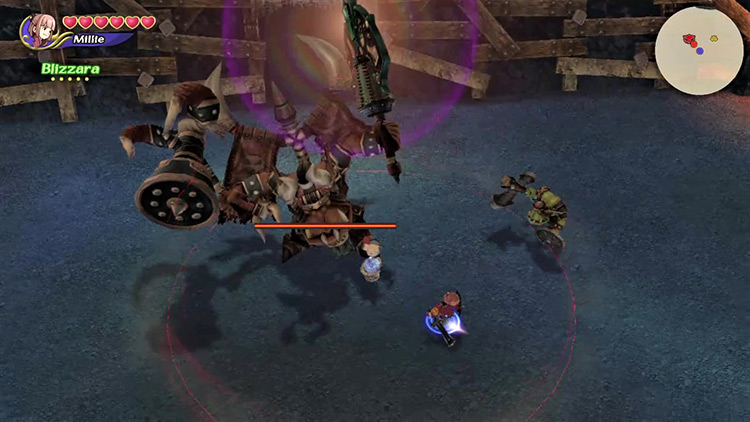
It’s essential to take care of these reinforcements ASAP, or they might get in the way and cause you to take more damage.
The Orc King is weak to Fire, but Blizzara remains the better choice when dealing with its underlings due to its large AoE and freezing effects.
Tip #2: Be Prepared to Trade Blows
Despite its size, the Orc King is surprisingly fast.
Any physical attack it receives is followed by a swift counter-attack. You might escape the Hammer, but the Axe hits back immediately.
It’s easier to stay safe casting Fire from a distance, but not everyone has been focusing on magic damage.
If you want to use melee to end the Orc King’s reign, accept that the damage you deal comes at a cost.
Try not to drop below two hearts before pulling away to cast Cure.
Tip #3: Beware the Flare
The Orc King is a fast spellcaster, able to burn you up with Flare in just a few seconds.
This leaves you little time to dodge, and supporting Orcs love to make you flinch right as the Orc King starts casting Flare.
Stay on your toes so it can’t catch you off-guard!
If you’re already moving when it starts casting, this is the perfect opportunity to launch a counter-attack.
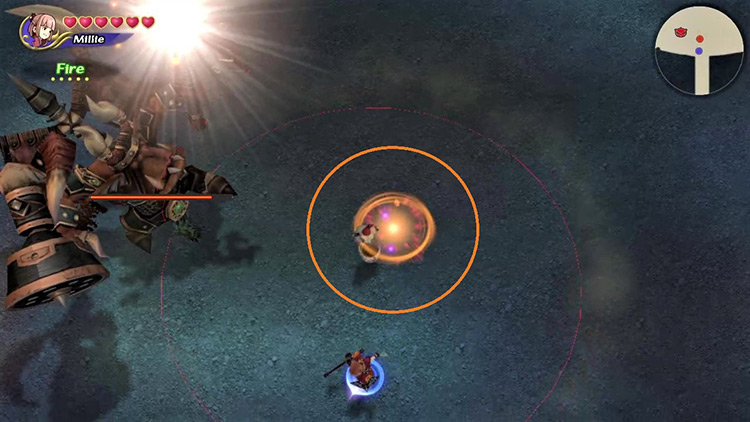
Tip #4: Watch Out for Self-Destructing
After you lower its HP to around 20%, the Orc King will begin a self-destructing process.
A bright sphere of light envelops it for 20 seconds before exploding and sending a powerful blast all across the map.
It’s possible to finish him before it activates, but it’s easier to heal and get as far away as possible.
The boss will collapse immediately after completing his “spell”.
Changes with Dungeon Cycles
All dungeons get stronger monsters on Cycles 2 and 3. Still, the Mine of Cathuriges has some of the most annoying additions.
The main offenders include:
- Cockatrices who can turn you into Stone.
- Ice and Thunder Bombs that can inflict Frozen and Paralyzed.
In addition, Cycle 3 buffs the Orc King and its cronies with Haste, making the boss fight much more hectic and challenging.
On the bright side, you’ll get much more treasure from exploring the dungeon.
There are six new chests from Cycle 2 onwards. Two contain Recipes, and the rest have Materials. They’re located on the higher floors of the first two areas.
Obtainable Items
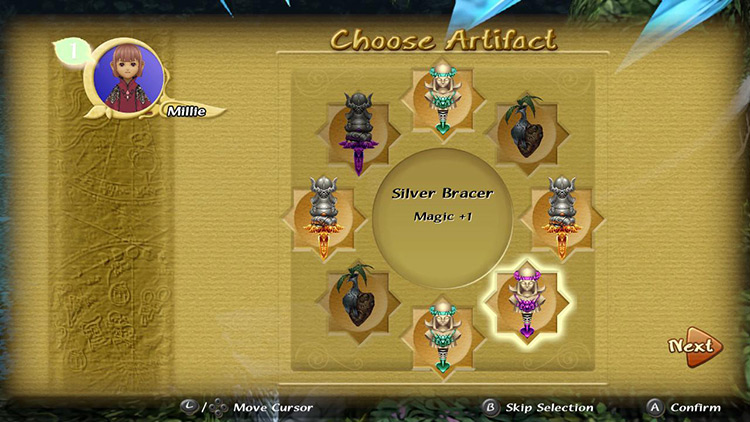
You’ll find Artifacts, crafting Recipes, and Materials throughout the dungeon. You get to keep all Recipes and Materials, but you can only choose one Artifact to take with you.
Chest Items
SCROLL
| Cycle | First | Second | Third |
|---|---|---|---|
| Recipes | None present | Tome of Speed | Secrets of Speed Tome of Speed |
| Artifacts | Buckler Earth Pendant Silver Spectacles |
Black Hood Earth Pendant Moogle Pocket Silver Spectacles |
Black Hood Earth Pendant Moogle Pocket Wonder Bangle |
| Materials | None present | Alloy Mythril |
Diamond Ore Mythril Tiny Crystal |
Monster Items
SCROLL
| Cycle | First | Second | Third |
|---|---|---|---|
| Bomb | Bronze (M) Bronze Shard (M) Iron (M) Iron Shard (M) |
Flame Craft (R) Iron (M) Magma Rock (M) |
Flame Armor (R) Flame Craft (R) Magma Rock (M) |
| Ice Bomb | None present | Chilly Gel (M) Frost Craft (R) Iron (M) Iron Shard (M) |
Frost Armor (R) Frost Craft (R) Chilly Gel (M) |
| Thunder Bomb | None present | Iron (M) Iron Shard (M) Lightning Craft (R) Thunderball (M) |
Lightning Armor (R) Lightning Craft (R) Thunderball (M) |
| Cockatrice | None present | Cockatrice Scale (M) Crystal Ball (M) Mythril (M) |
Cockatrice Scale (M) Diamond Ore (M) Mythril (M) Tiny Crystal (M) |
| Ogre | Cat’s Bell Double Axe Dragon’s Whisker Green Beret Mage Masher Maneater Silver Bracer Shuriken |
Alloy (M) Cat’s Bell Double Axe Flametongue Green Beret Ice Brand Iron (M) Kris Ogre Fang (M) Sage’s Staff Silver Bracer |
Alloy (M) Flametongue Ice Brand Kris Loaded Dice Mage’s Staff Mythril (M) Ogre Fang (M) Rune Bell Sage’s Staff Sasuke’s Blade |
| Orc | No drops | Bronze Armor (R) Master’s Weapon (R) Mythril Armor (R) |
Master’s Weapon (R) Mythril (M) Mythril Armor (R) |
Boss Items
Each boss has four reward pools per cycle. Your Bonus Points determine which pool becomes available to you after beating the boss.

You won’t always get to choose from the best-possible reward pool. Higher ranks will sometimes get one of the previous reward pools instead.
SCROLL
| Cycle | First | Second | Third |
|---|---|---|---|
| 0+ BP | Buckler Dragon’s Whisker Earth Pendant Shuriken |
Buckler Earth Pendant Maneater Rune Belt |
Black Hood Double Axe Moogle Pocket Silver Bracer |
| 116+ BP | Loaded Dice Mage Masher Moogle Pocket Silver Spectacles |
Black Hood Double Ace Moogle Pocket Silver Bracer |
Green Beret Mage’s Staff Orichalcum Wonder Bangle |
| 145+ BP | Buckler Earth Pendant Maneater Rune Belt |
Black Hood Double Axe Moogle Pocket Silver Bracer |
Faerie Ring Kaiser Knuckles Orc Belt Ultimate Pocket |
| 181+ BP | Black Hood Double Ace Moogle Pocket Silver Bracer |
Green Beret Mage’s Staff Orichalcum Wonder Bangle |
Earth Pendant Murasame Onion Sword Winged Cap |

-
Final Fantasy Crystal Chronicles Remastered
- Mine of Cathuriges Dungeon Guide + Map (FFCC Remastered)
Related Posts:
 Miasma Pit Dungeon Guide + Map (FFCC Remastered)
 Goblin Wall Dungeon Guide + Map (FFCC Remastered)
 Tida Village Dungeon Guide + Map (FFCC Remastered)
 Mushroom Forest Dungeon Guide + Map (FFCC Remastered)
 Selepation Cave Dungeon Guide + Map (FFCC Remastered)
 River Belle Path Dungeon Guide + Map (FFCC Remastered)
 Daemon’s Court Dungeon Guide + Map (FFCC Remastered)
 Conall Curach Dungeon Guide + Map (FFCC Remastered)