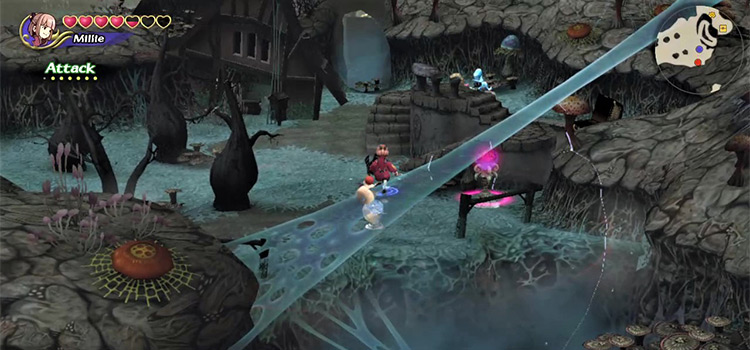
Oblivion Village is the high-difficulty version of Tida, which you’ll unlock after clearing FFCC Remastered’s main campaign.
It’s accessible from Tida’s original location in the Vale of Alfitaria, or through the Setting Out Together online multiplayer option in the main menu.

It’s possible to challenge this dungeon with a group on these days of the week:
- Wednesdays
- Thursdays
- Weekends (Fri, Sat, Sun)
Note: Single-player dungeons are always available.
Although this dungeon is listed as having the same difficulty as Falling Leaves Path or Toadstool Forest, Oblivion Village presents a bit more of a challenge.
Let’s take this walkthrough step by step.
Map
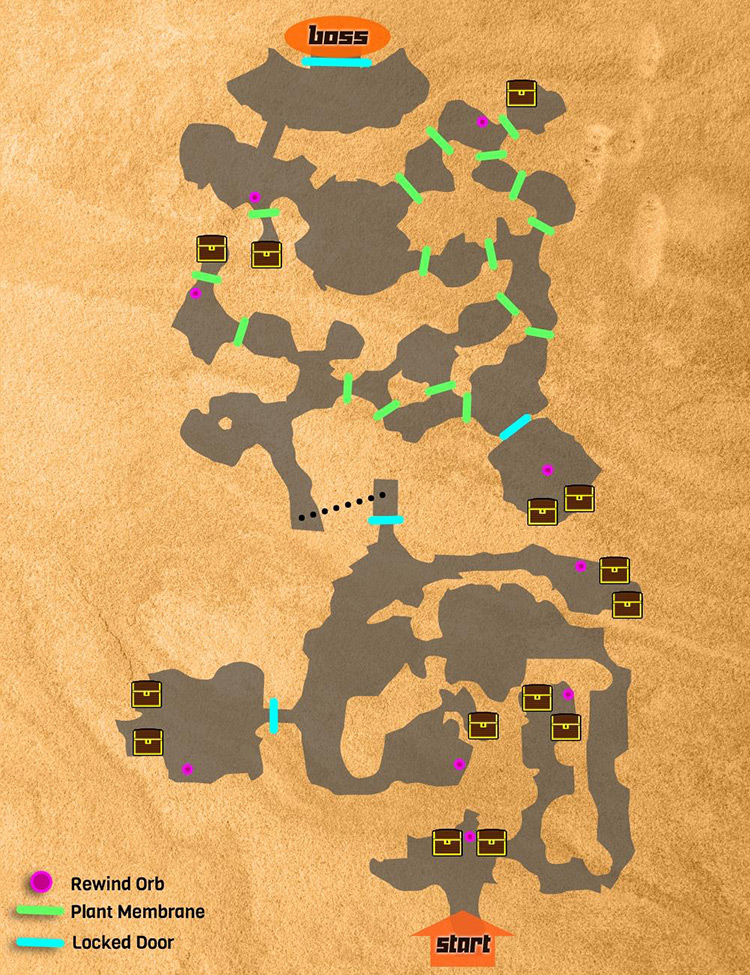
Walkthrough
Step #1: Hit Glowing Orbs to Turn Back Time
The first thing you’ll see as you walk into Oblivion Village is two open chests to the sides of a glowing pink orb.
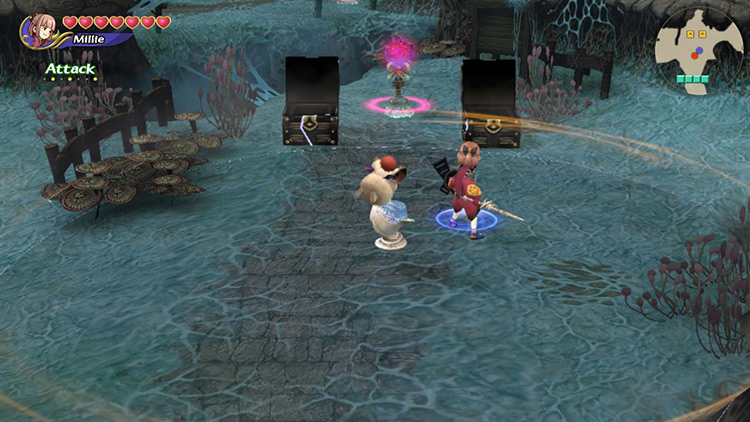
Hitting the pink orb with melee damage will briefly send you back in time to open the chests when they were full of treasure.
You’ll only be in this sepia-colored space for a couple of seconds, so focus on opening both chests before picking up the contents.
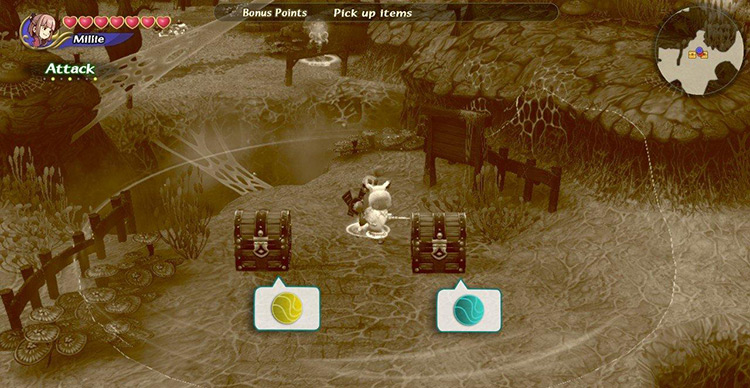
Once you’ve opened these two chests and collected Raise and Cure, start walking eastward.
You’ll soon come across a crossroads leading north and south.
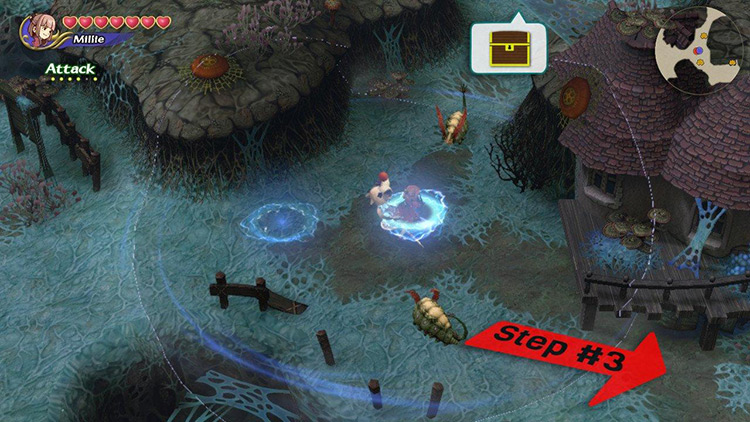
Take care of the nearby Carrion Worms, then head north to collect another two chests.
Tip: Carrion Worms are weak to Fire.
Step #2: Watch Out for Skeleton Groups
You’ll fight through a blue Gremlin before reaching a small clearing with a time-traveling orb protected by three Skeletons.
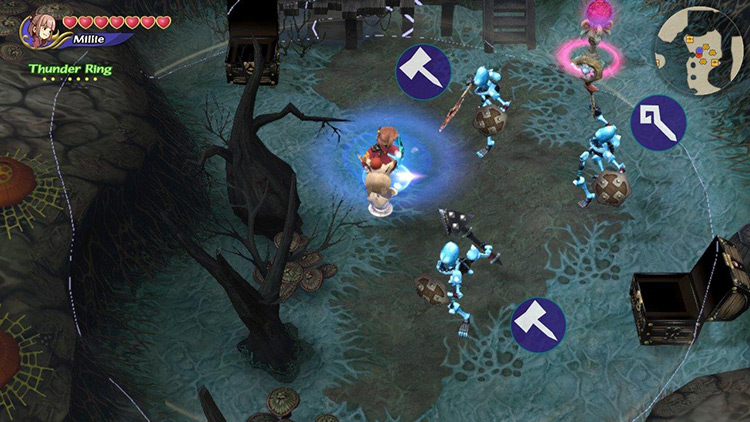
The group comprises two melee fighters and a Blizzara caster. You’ll find several of these throughout the dungeon.
Tip: Blizzard-resistant equipment like the Frost Mail, Frost Shield, and Badge of Frost is a god-send against these enemies.
Kill them with Fire or melee damage before turning your attention to the nearby orb.
You only have one chance. Make sure you know where the two chests are and plan your route before you hit the orb.
Once you’ve collected your treasure, head back to the crossroads and continue down the opposite path.
Step #3: Fight Your Way Through the Area
You’ll fight through a blue Gremlin and a Carrion Worm before reaching a Skeleton trio + Gremlin combo.
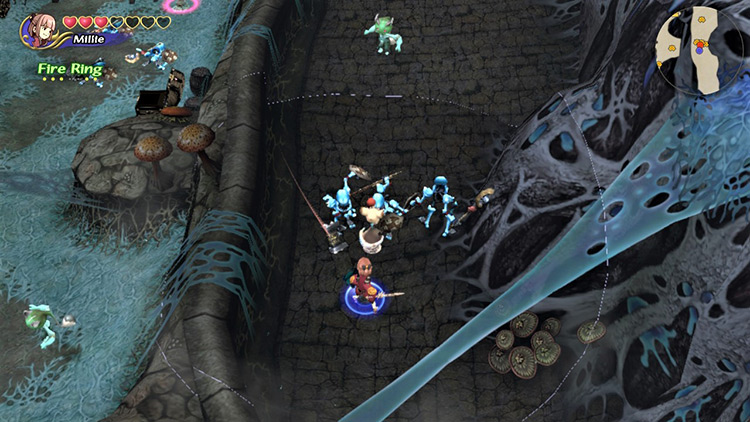
Tip: By now, you should be able to fuse Fira. It’s a powerful tool against the Skeletons.
Defeat the enemies and keep walking north to fight a Gremlin and Carrion Worm near a left turn leading to an open area.
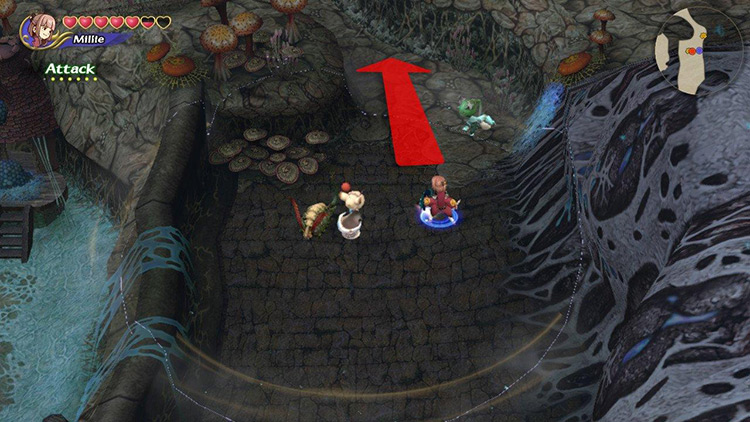
You’ll have to fight a massive group of enemies, including a Carrion Worm, two Gremlins, and a Skeleton trio.
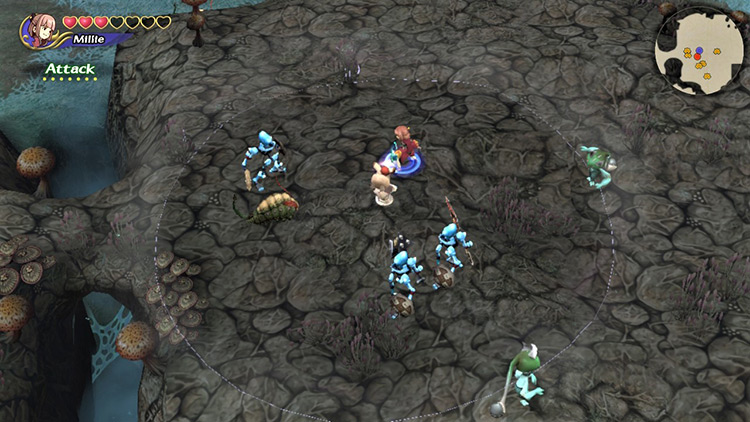
The best way to deal with these enemies is to break up the group by luring them away until some give up the chase, then counter-attacking.
Tip: Skeletons and Carrion Worms are susceptible to burning. Set them alight with Fira to lower their defenses before going in with melee damage.
After defeating the enemies, continue moving westward across the open field. Cross the narrow natural bridge and watch out for an Ice Bomb on the other side.
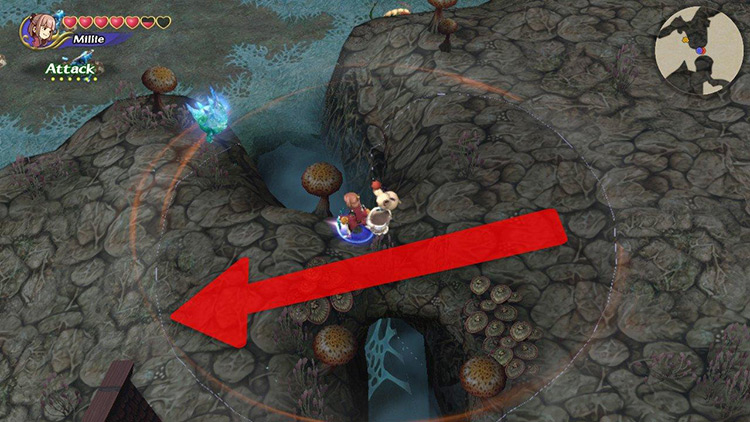
Further down the ramp, you’ll find another Skeleton trio + Gremlin combo.
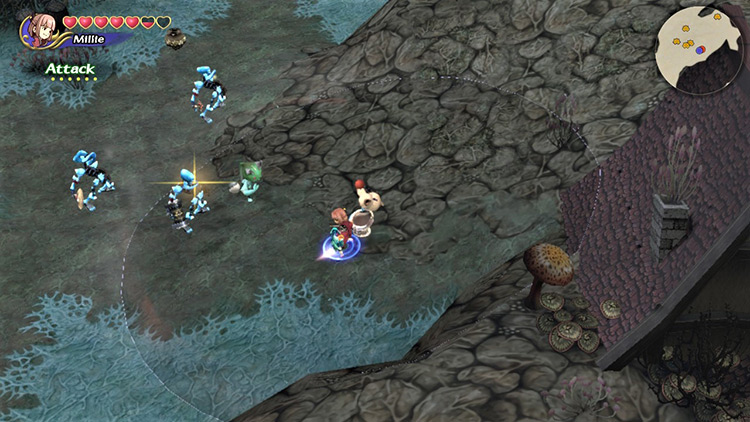
Try to get the jump on them with a well-placed Fira for an easier fight.
Step #4: Collect Remaining Treasure in Area #1
After you clear the previous enemies, head southwest to find a gate needing a crescent-moon token to open.
It’s protected by a Carrion Worm who drops the key upon defeat.
Watch out for a Skeleton trio and a Gremlin roaming further south. You’ll most likely be attacked as you fight the Worm, so stay on your toes.
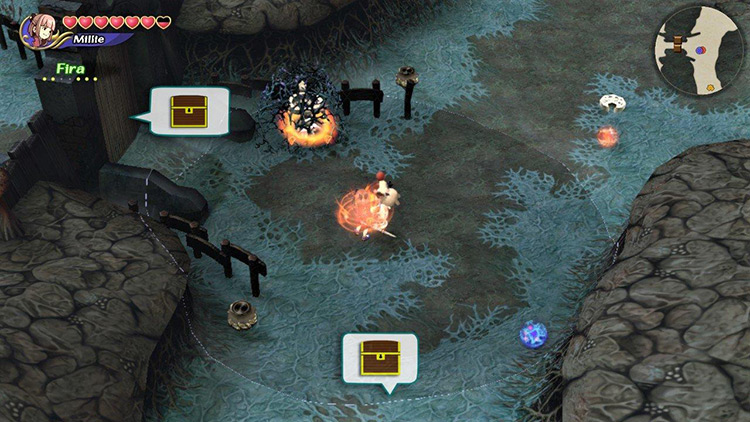
Use Fire to burn off the vines covering the altar before placing the token.
Enter the newly-opened area and prepare to fight a Skeleton trio. There’s also a Gremlin to the northwest.
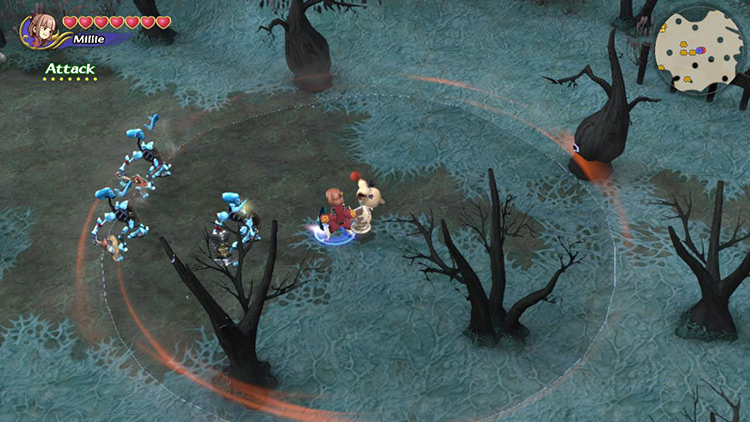
Kill the enemies before approaching the southern wall to find a time-travel orb.
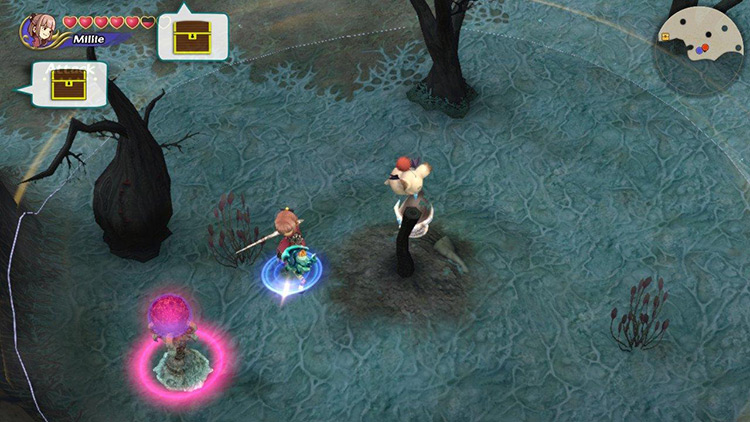
Plan your route before hitting the orb and open the two nearby chests. Remember to collect your items only after you’ve opened both chests.
Then head out of the room and start walking southward to collect another chest.
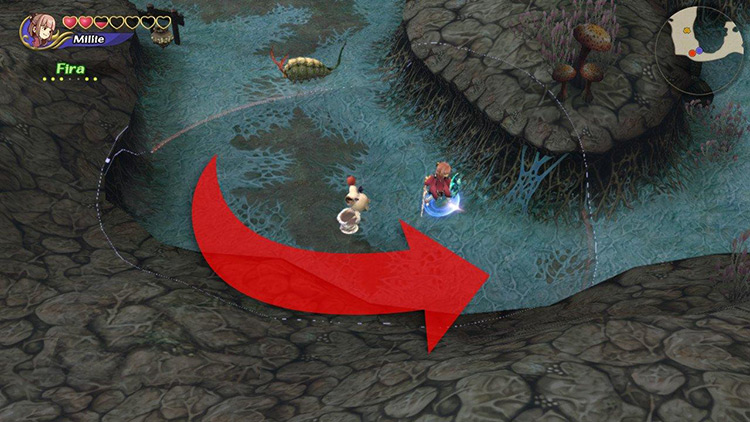
You’ll fight through a Carrion Worm before entering an area with a Skeleton trio and an Ice Bomb.
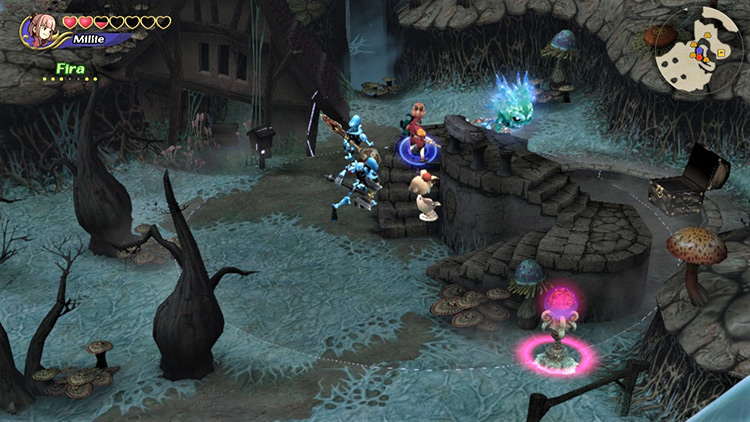
Once they’ve been dealt with, refocus your attention on the nearby pink orb.
You need to run around the staircase to reach the chest.
If you accidentally trigger the time-travel orb before defeating all enemies, drop what you’re doing and dash for the chest. You might still pull it off.
After that, head back to the ramp near the gate we just opened and walk north to find yet another locked gate protected by a Carrion Worm.
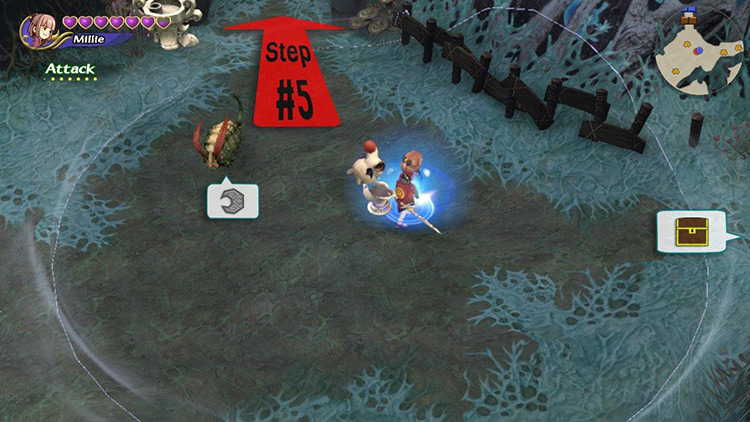
Defeat them to gain the key to open the gate, but don’t walk in just yet.
There are a couple of chests left to collect down a path to the right of here, but you’ll have to fight through several monsters.
Tip: Casting Fira and luring your enemies away from their pals is the best strategy.
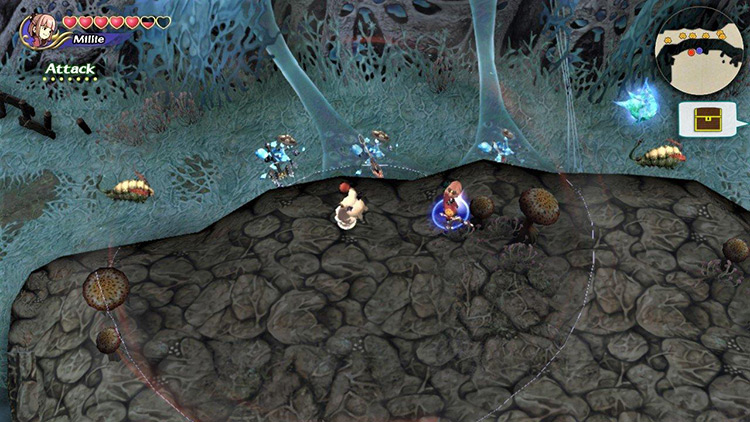
Fight through the narrow path and defeat all the above-pictured enemies before alerting the Skeleton trio protecting the chests at the end.
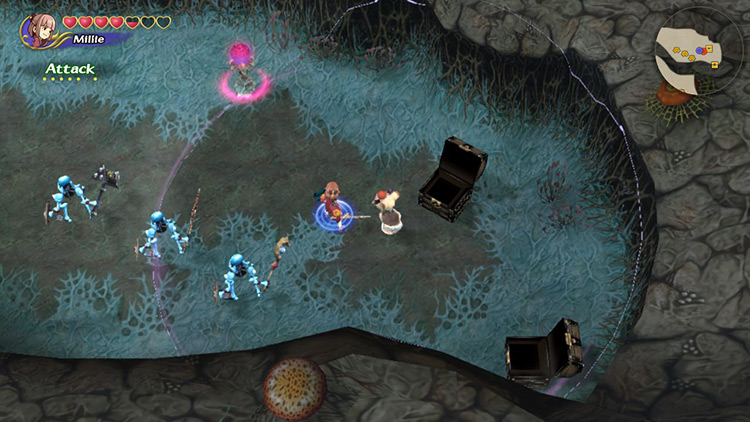
Collect your treasure by time-traveling and then return to the gate we just opened to advance into Area #2.
Step #5: Use Fire to Burn Down Barriers
Turn right as you enter this area and defeat the Skeleton trio waiting for you at the crossroads.
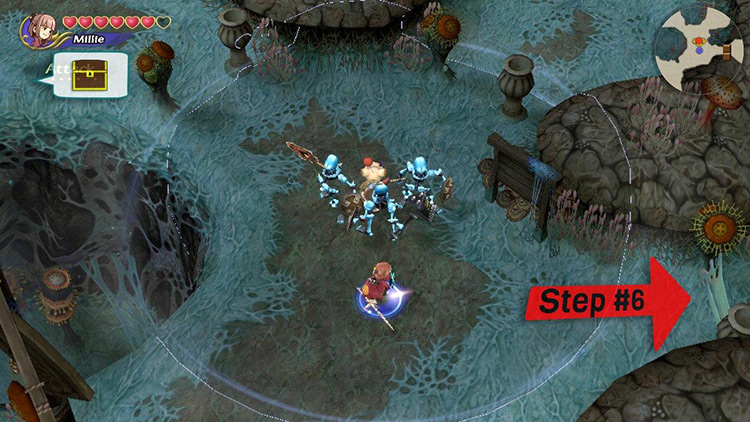
We need to head up to collect a chest.
So follow the northwestern path to find a plant membrane blocking the way. Use Fire to remove it.
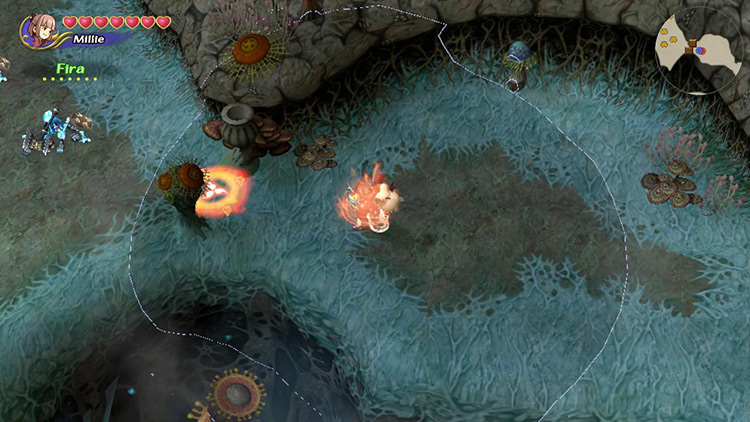
There’s another Skeleton trio and a Carrion Worm on the other side of the barrier. Defeat them before taking a look at the time-travel orb to the north.
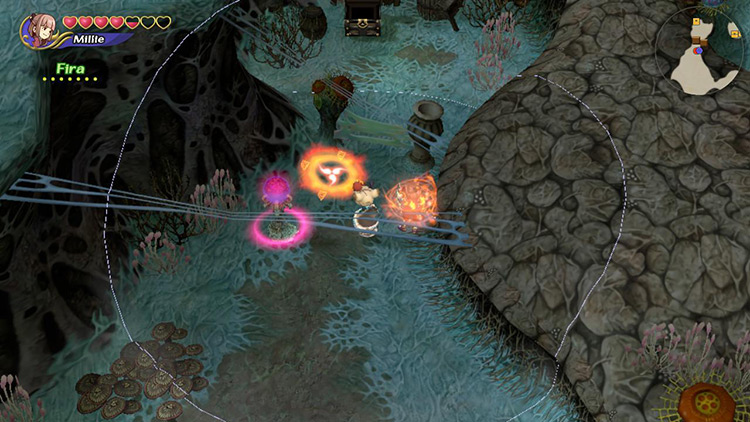
Try to hit both the plant membrane and the orb with Fira simultaneously. This should open the path and turn back time so you can waltz in and collect your treasure.
Step #6: Traverse the Plant Barrier Maze
Return back to the first crossroads from Step #5 and take the eastern path. You’ll go past a plant membrane barrier.
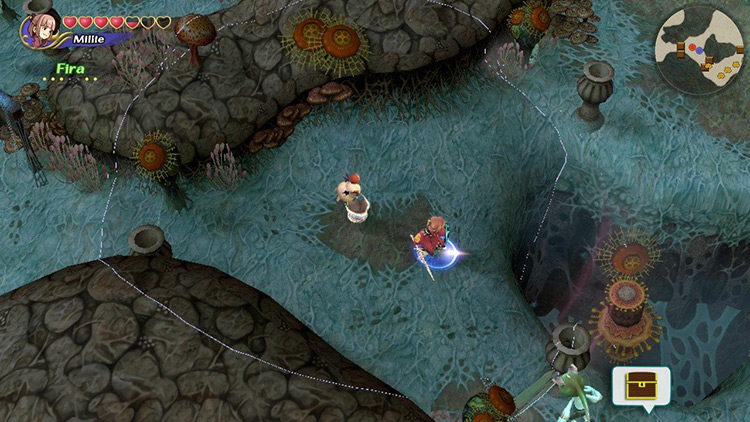
You’ll then find another split in the road.
- Left route is easy and quick.
- Right route is full of monsters but also treasure.
Both routes ultimately lead to the same place, but I’ll cover the longer treasure-filled route.
Burn the barrier and walk through to find a Skeleton trio, a Carrion Worm, and a Gremlin. Defeat them and burn through another barrier to reach a locked gate.
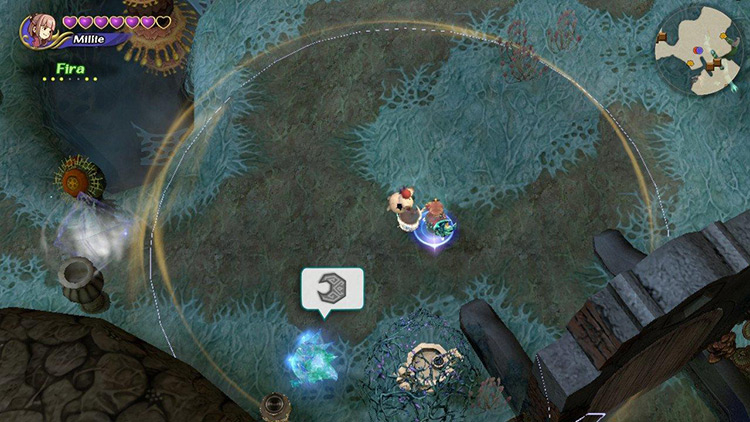
Vanquish the nearby Ice Bomb to get the crescent-moon token required to open the gate.
Remember to cast Fire on the vines to remove them.
Then walk through and brace for combat against another Skeleton trio. Take care not to hit the pink orb before defeating the enemies so they won’t get in your way.
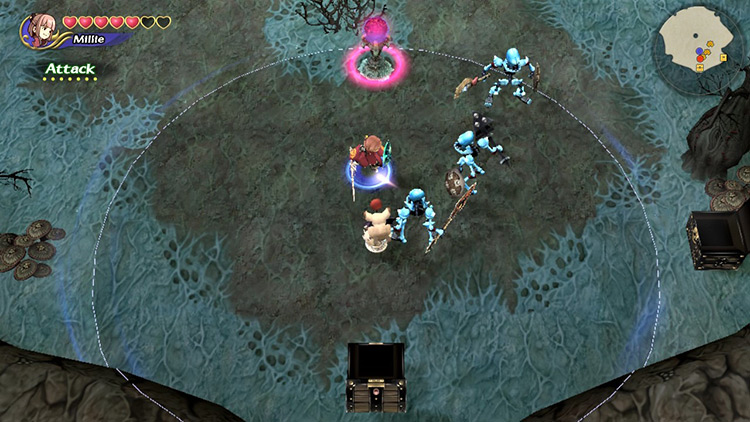
Kill the enemies, collect the treasure, and head back out of the room to continue your journey northward.
You’ll then need to defeat a Carrion Worm, burn through a plant membrane, and watch out for yet another Skeleton trio + Worm combo blocking your path.
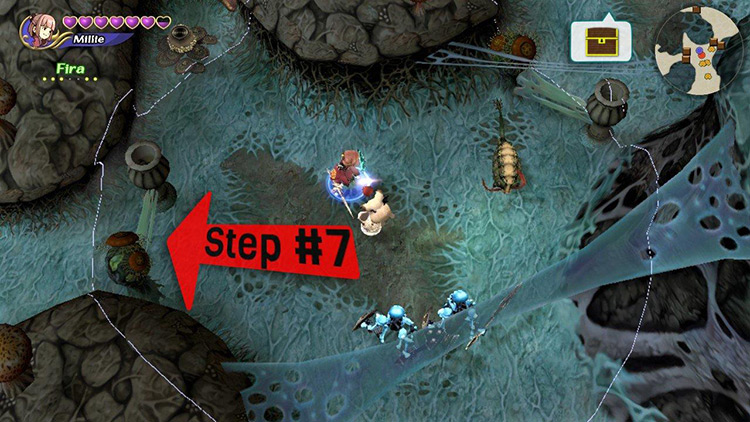
The road splits again past the Skeleton trio. It’s faster through the left, but there’s a treasure chest to collect to the right.
Skip to Step #7 if you choose the faster option.
Burn through a couple more barriers and Skeletons until finding another glowing orb next to a chest blocked by a plant membrane.
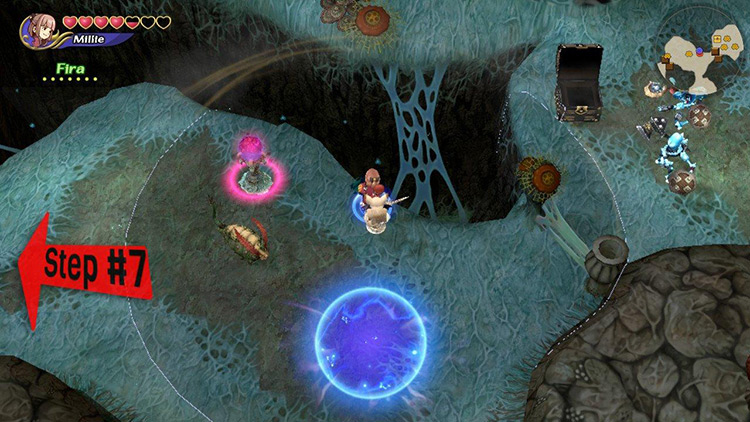
Defeat the nearby enemies before engaging with the puzzle, and make sure you burn the plant membrane before hitting the time-travel orb.
Tip: The nearby Ice Bomb might activate the mechanism if it blows up close to the time-travel orb.
Once you’ve collected the Artifact from the chest, start heading westward through a couple more plant barriers and enemies.
Step #7: Last Stretch to the Boss
You’ll eventually come out at an open area with tilled soil and some more enemies. You can skip these enemies if you want.
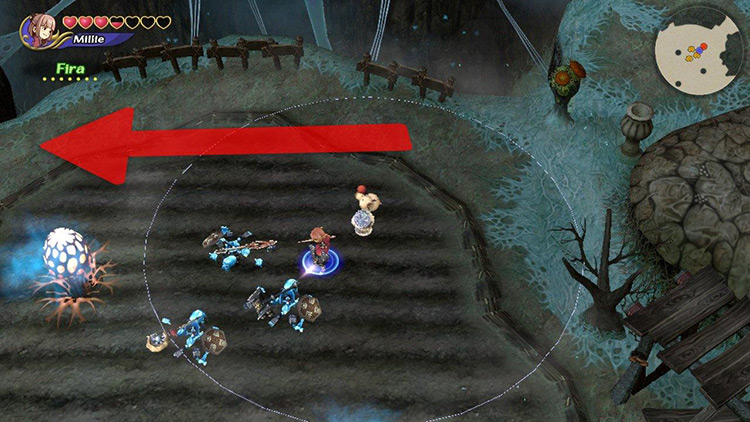
Keep moving westward until you hit an area with a bridge to the north and a glowing pink orb next to a barrier to the south.
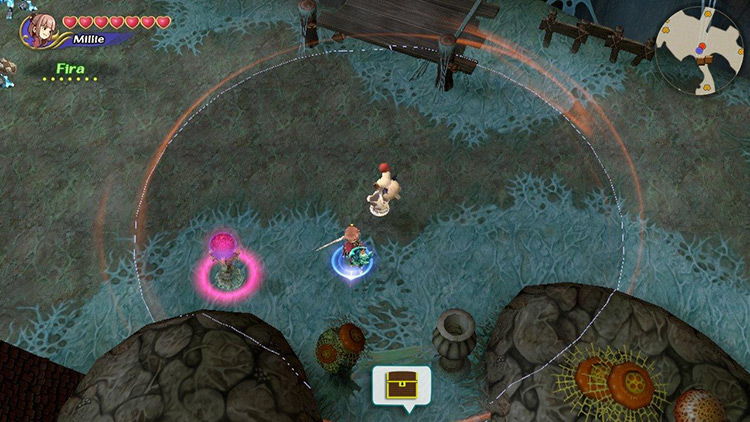
Burn the plant membrane and defeat the Carrion Worm within before returning to hit the pink orb. Then collect your treasure and head back out.
Now cross the bridge to find an area overrun with enemies right before the boss room.
Tip: Try to take these enemies on one little group at a time, even if it takes a long time.
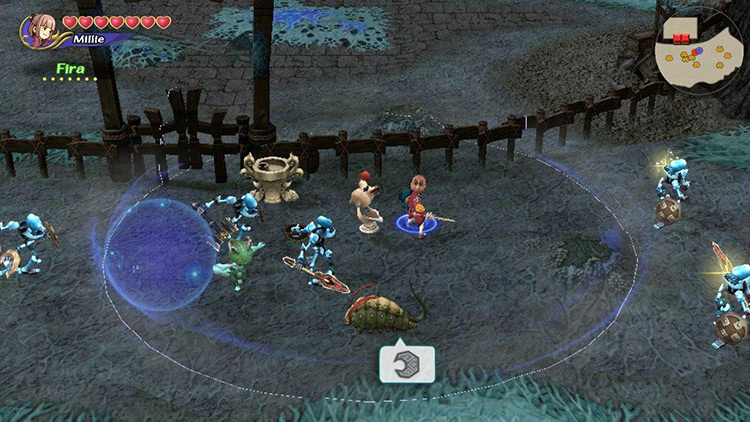
The Carrion Worm next to the gate carries the key to access the boss room. Defeat it and enter the boss room to fight Rottenheim.
Boss: Rottenheim
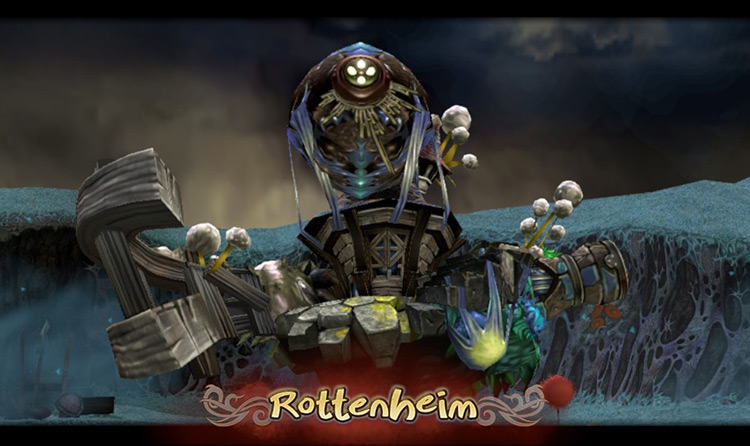
Rottenheim is stronger and looks cooler than its base game counterpart here. But your strategy to defeat it remains mostly unchanged.
Below we’ll cover some tips to help you take down this boss.
Tip #1: Focus on the Worms
Rottenheim spawns with two Carrion Worm minions who’ll try to Paralyze and Poison you throughout the battle.
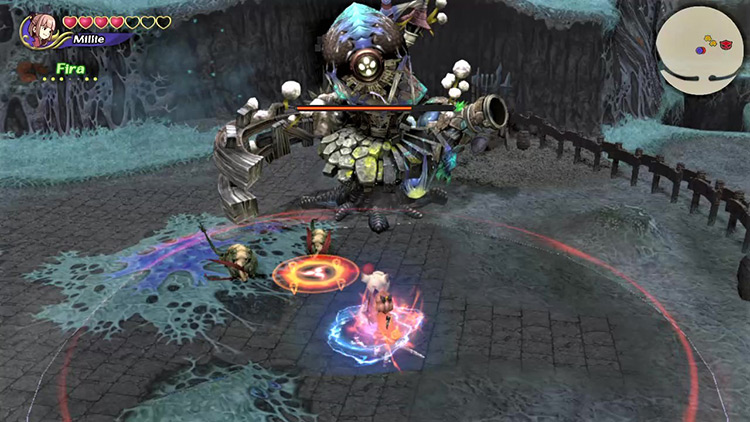
Unless you have both Paralyze and Poison resistances, you want to focus your attacks on the minions before going after the boss.
They’ll respawn after about a minute, and you’ll have to kill them again.
Tip #2: Set Your Enemies on Fire
Both Rottenheim and the Carrion Worms are weak to Fire and susceptible to burning.
Spells like Fira or Firaga let you set multiple enemies on fire at the same time.
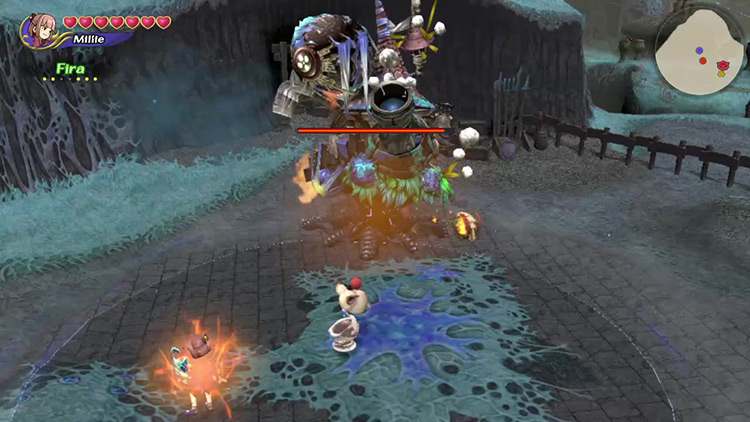
Burning enemies get their damage resistance halved, so even characters with relatively low Magic can benefit from this.
Switching back and forth between Fire magic and melee damage might be the best choice.
Tip #3: Get Ice Resistance
Rottenheim often creates a vortex of freezing-cold air around it, immediately freezing any characters standing close enough.
There’s almost no warning for this attack.
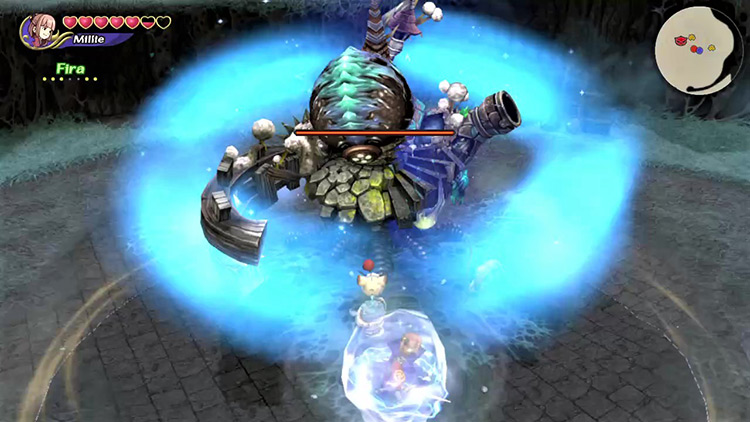
If you don’t want to spend half of the battle inside an ice cube, you need to get some resistance against freezing.
Ideally, you want to combine two “Frost” equips (ex: Frost Mail, Frost Shield) for +2 Ice resistance. This will let you ignore the boss’s freezing attack.
Tip #4: Beware of the Needles
The needle cannon is by far the most dangerous move in Rottenheim’s arsenal.
It’ll point at you with the eyes on its right “shoulder” before shooting a barrage of needles. It’s a multi-hit attack that can quickly drain your health bar under the right circumstances.
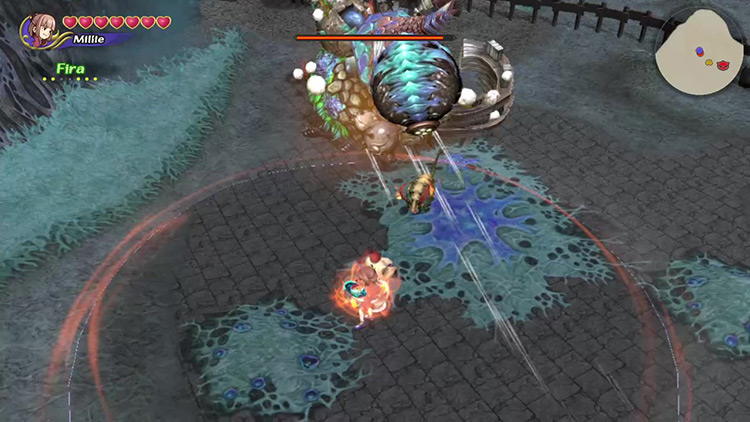
Whenever you see it moving its right “arm” (the wooden fence) up as if preparing to swing at you, run to the sides to avoid massive damage.
Tip #5: Make Room for Phoenix Down
Humility is the most important thing to have when tackling the bonus dungeons in FFCC.
Even the best players can be caught by a needle barrage sometimes, and nobody wants to restart the battle from the beginning.
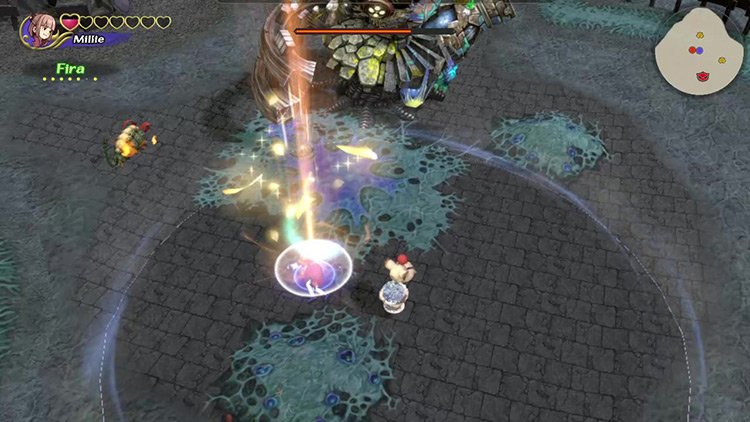
Keep one or two Phoenix Downs along with Cure and your offensive spells in your Command List to avoid a premature end to your fight.
Obtainable Items
You’ll find Artifacts, crafting Recipes, and Materials throughout the dungeon. You get to keep all Recipes and Materials, but you can only choose one Artifact to take with you.
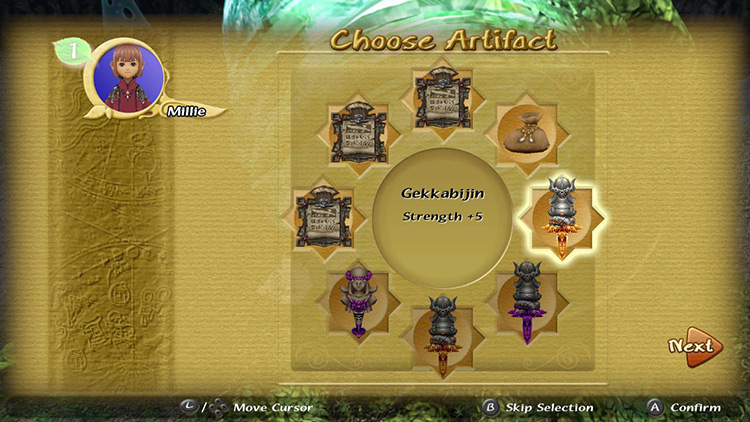
Chest Items
The following items await in the chests at Oblivion Village:
| Artifacts | Materials |
|---|---|
| Dragon’s Whisker Elven Mantle Engetsurin Flametongue Gekkabijin Gold Hairpin Helm of Arai Kaiser Knuckles Kris Mage Masher Maneater Mjollnir Sage’s Staff Silver Spectacles Wonder Bangle |
Damascus Steel Diamond Mythril Orichalcum White Coral |
Monster Items
Monsters don’t drop anything of note in Oblivion Village.
Boss Items
Unlike regular dungeons, Oblivion Village only has one set of Boss Items you can obtain regardless of your Bonus Points.
- Noble Armor (Recipe)
- Noble Weapon (Recipe)
- Noble Guard (Recipe)
- Diamond (Material)
These drops will help you obtain Blizzard-resistant items that’ll make future attempts at this dungeon (and other dungeons) much easier.
-
Final Fantasy Crystal Chronicles Remastered
- Oblivion Village Dungeon Guide + Map (FFCC Remastered)

