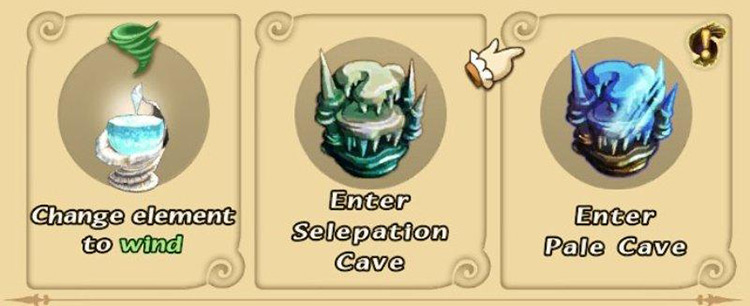
Pale Cave is the high-difficulty version of Selepation Cave. You’ll unlock Pale Cave after clearing FFCC Remastered’s main campaign.
You can access it from Selepation Cave’s original location in the Plains of Fum, or through the Setting Out Together online multiplayer option in the Main Menu.
It’s possible to challenge this dungeon with a group on the following days:
- Wednesdays
- Weekends (Fri, Sat, Sun)
Note: Single-player dungeons are always available.
All of the gimmicks, including locked gates and elevators, work the same here just as they did in Selepation Cave. The main differences are the monsters and the location of the chests.
Let’s break down the whole dungeon step by step.
TABLE OF CONTENTS
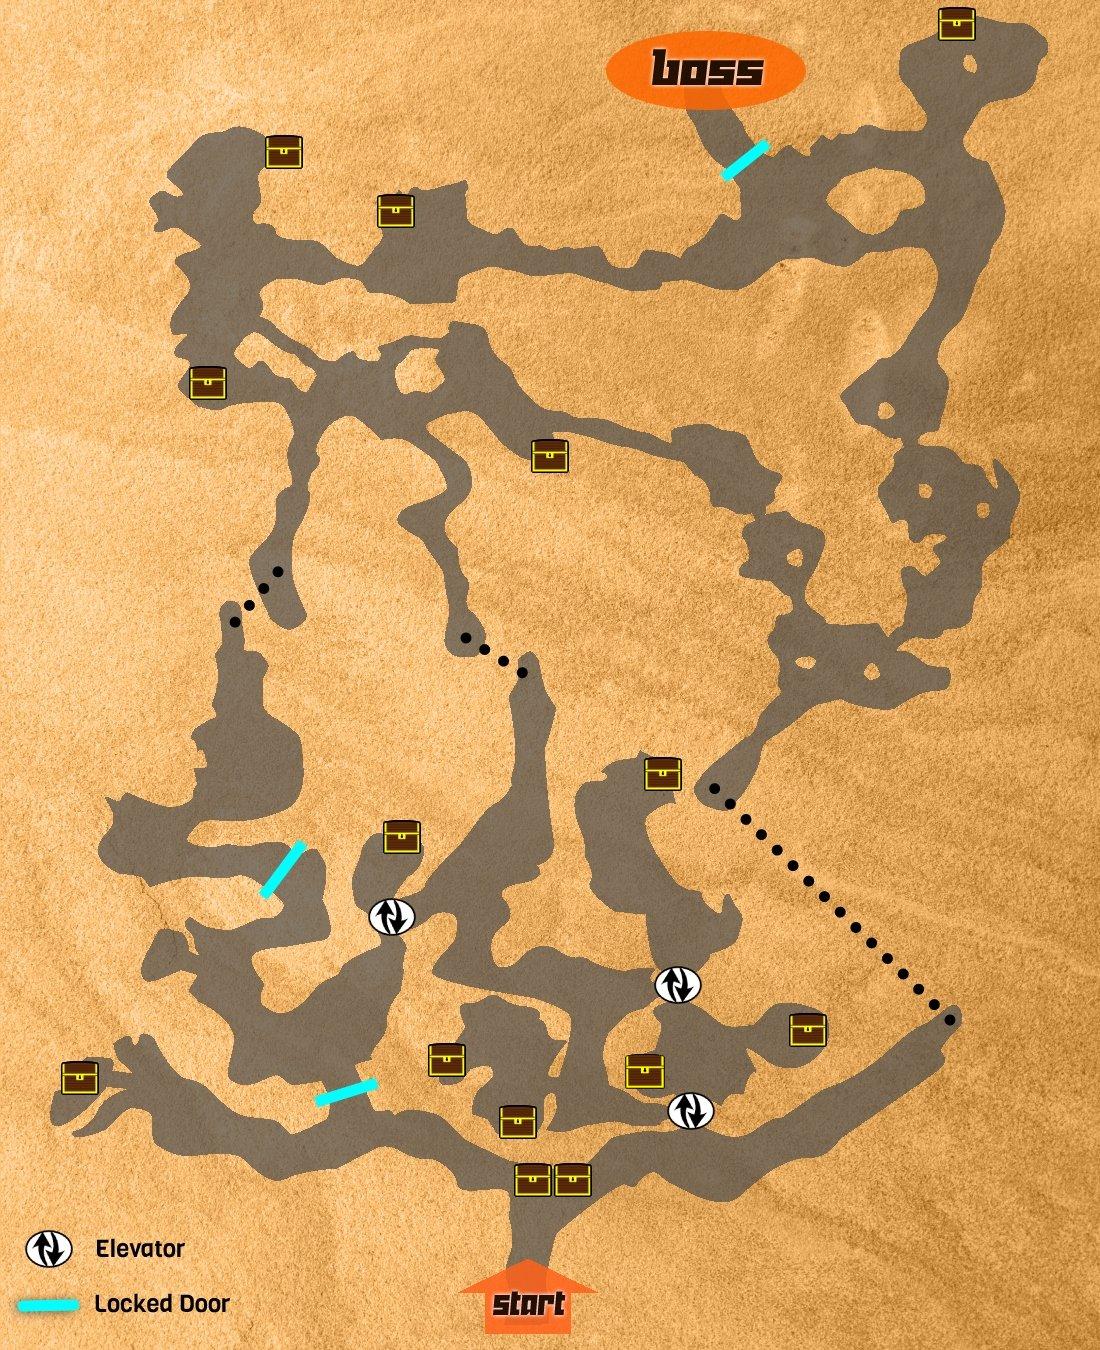
Map
Walkthrough
Step #1: Equip Thunder-Resistant Items
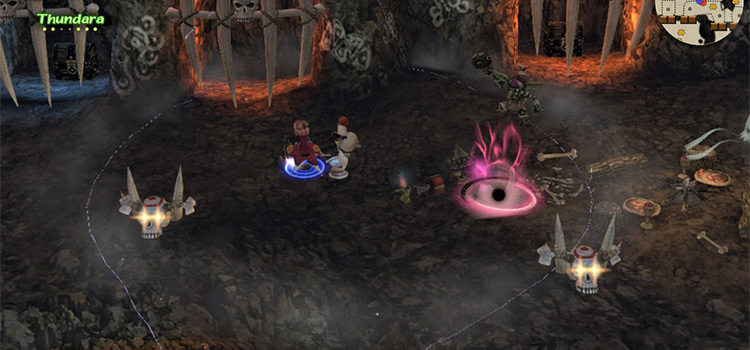
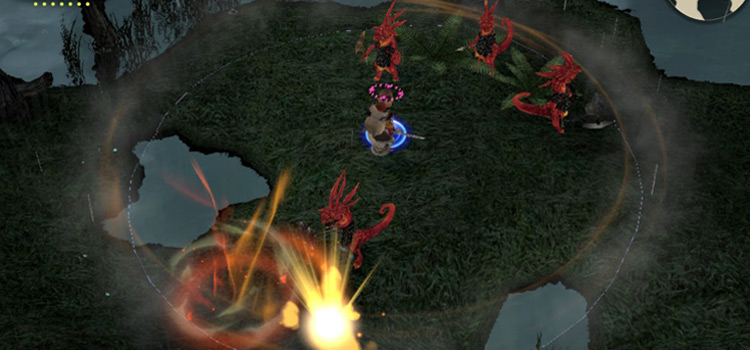
Electric Jellyfish, Thunder Bombs, and Goblin Mages are everywhere in the Pale Cave.
These enemies use Thunder, Thundara, and Thundaga as their primary source of damage.
Thunder-type spells can stun you, leaving you open to attacks. This is a death sentence in a dungeon as densely populated as the Pale Cave.
This makes Thunder-resistant equipment like the Thunder Badge or Chronicle Mail non-negotiable. Ideally, you want to achieve +2 Thunder Resistance.
Tip: You can get Recipes and Materials for items with +2 Thunder Res. at Falling Leaves Path.
Even if you’re wearing Thunder-resistant equipment these enemies will still deal some damage, but it won’t mean your immediate death.
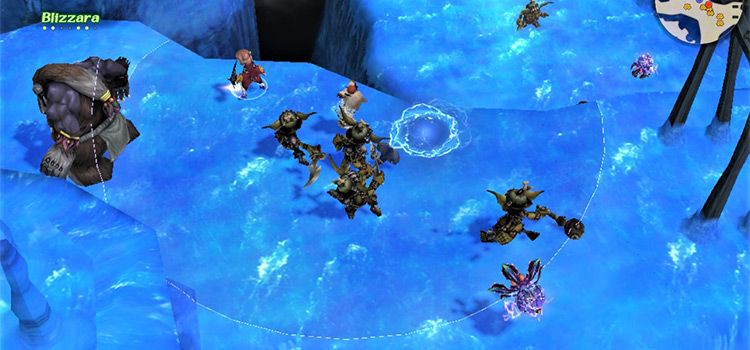
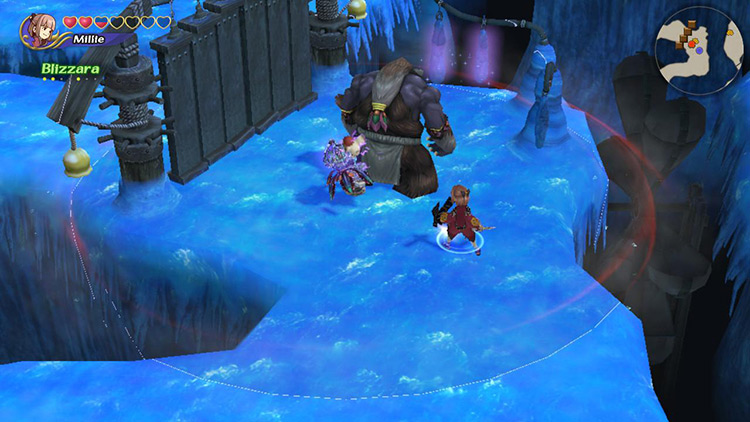
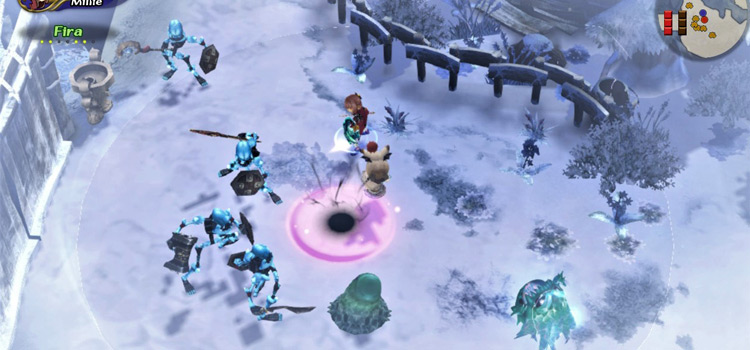
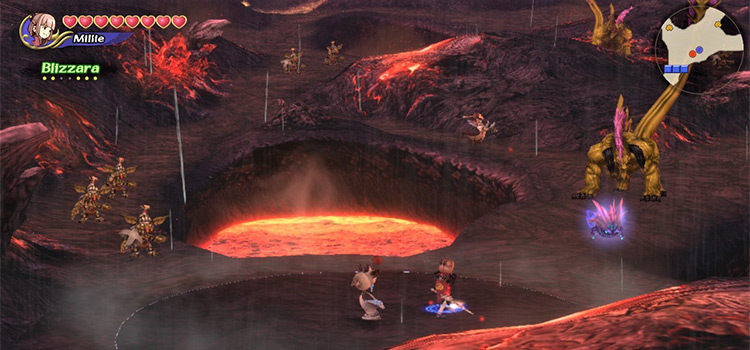
Step #2: Obtain Blizzard Magicite
Except for the Gigas, all enemies in the Pale Cave can be frozen with Blizzara.
This makes an otherwise overwhelming dungeon manageable, so getting a Blizzard magicite should be our top priority.
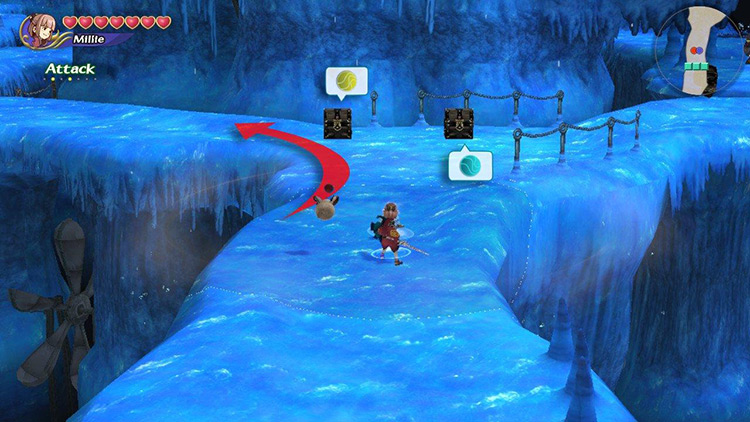
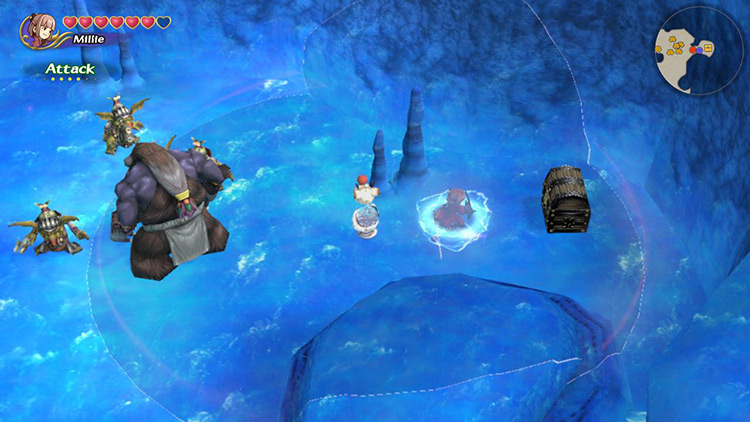
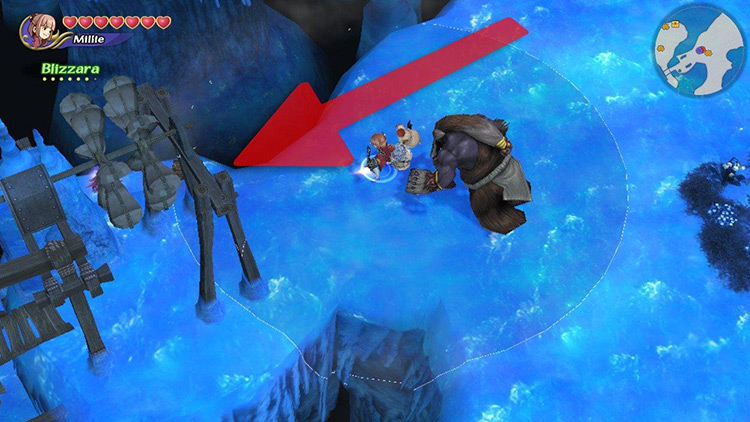
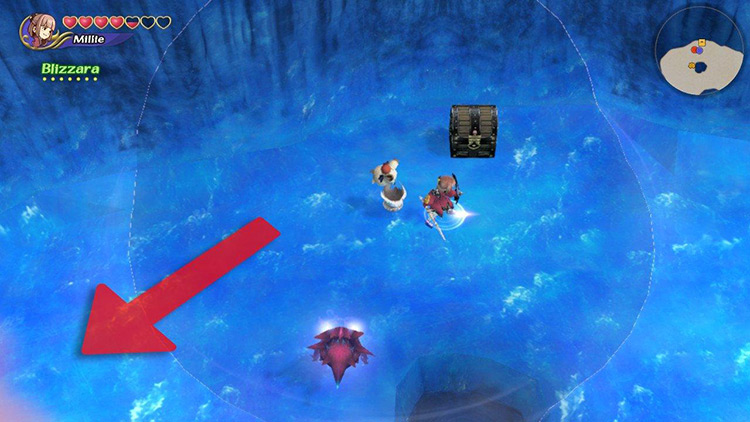
After collecting Cure and Raise from the two chests at the dungeon’s entrance, start walking westward until you see a Gigas (big purple guy) guarding a gate.
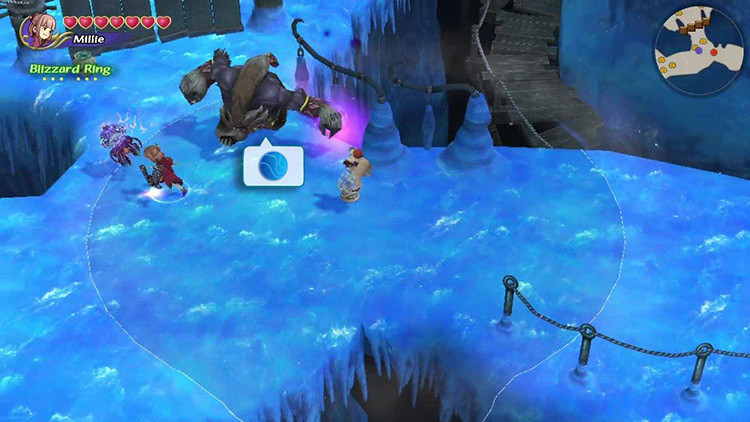
Defeat the Gigas and it’ll drop a Blizzard magicite. Fuse this with your Blizzard Ring to create Blizzara.
Now you’re really ready for the dungeon.
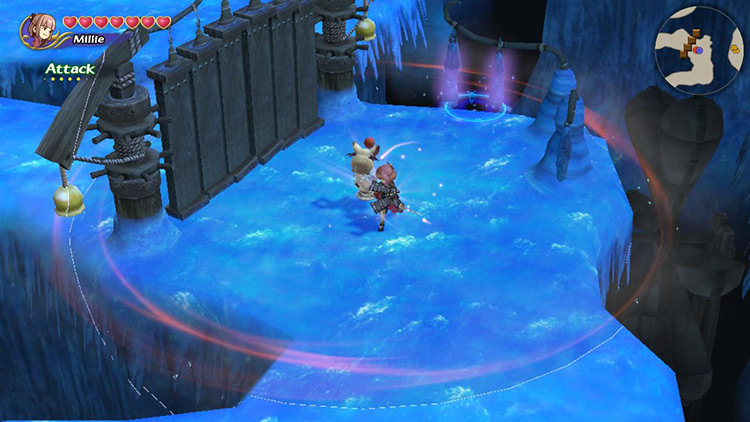
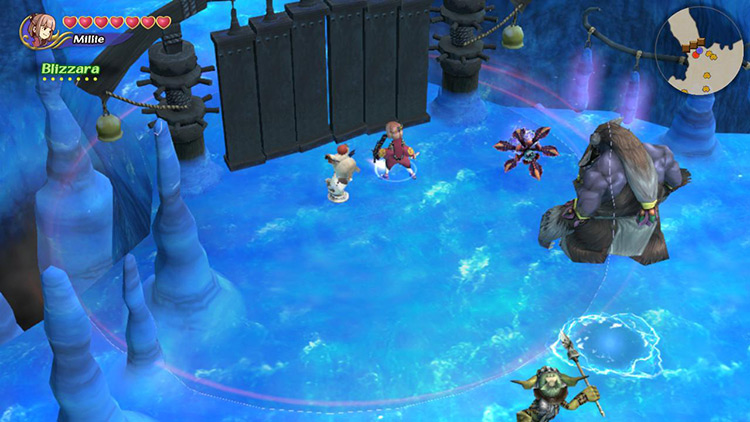
Step #3: Hit Glowing Rocks Simultaneously to Open Gates
To open the gate near the Gigas we just defeated, you must simultaneously hit both glowing rocks with melee damage.
The easiest way to do this is by aiming a lunging Focus Attack right between both rocks at the right angle.
Tip: Sometimes the Gigas will do this itself.
Open the gate and brace for combat against a bunch of Goblins.
Optional: Before crossing the gate, follow the road west to collect a chest containing a Material. You can use Blizzara to manage Goblins and Blaze Beetles on the way.
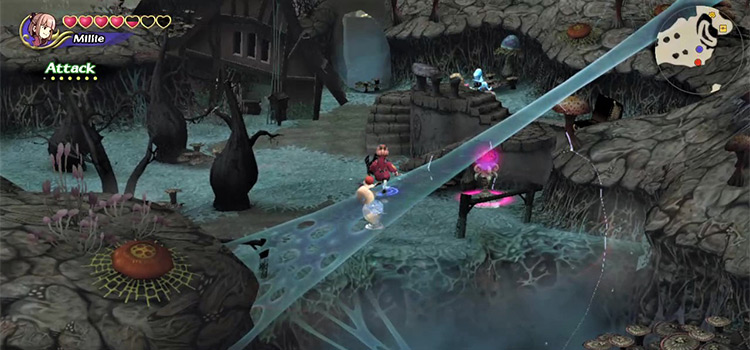
Step #4: Explore Left Side for Treasure (Or Skip to Step #6)
All but one of the treasure chests in the Pale Cave can be found on the left side of Area #2 and the upper floors of Area #1.
If you want to get to the boss ASAP, skip Step #6. Otherwise, keep reading.
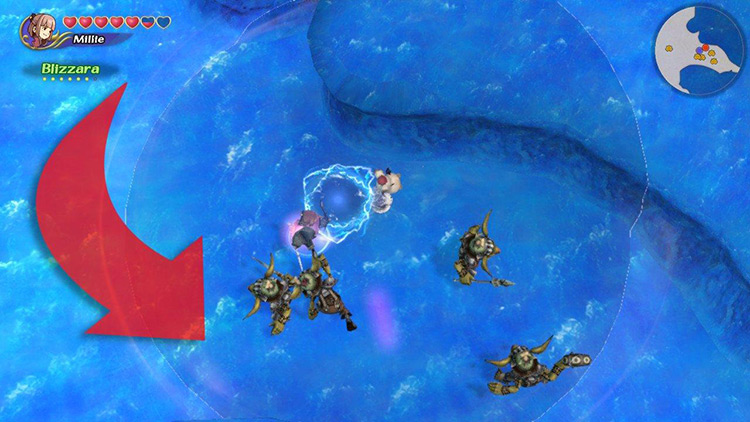
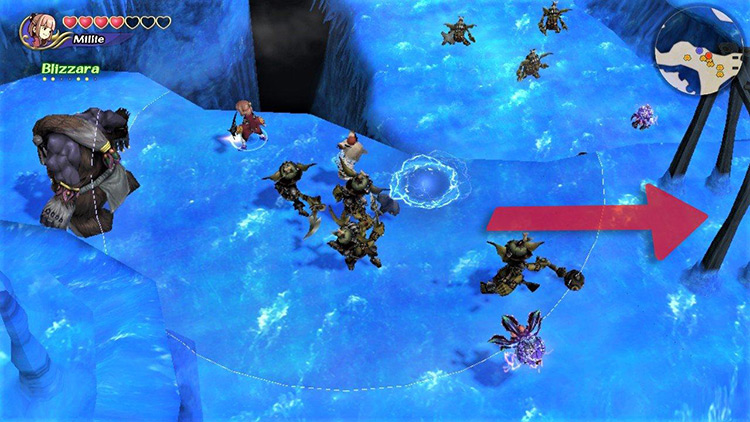
Head past the gate you just opened and brace for combat against a squad of Goblins and an Electric Jellyfish.
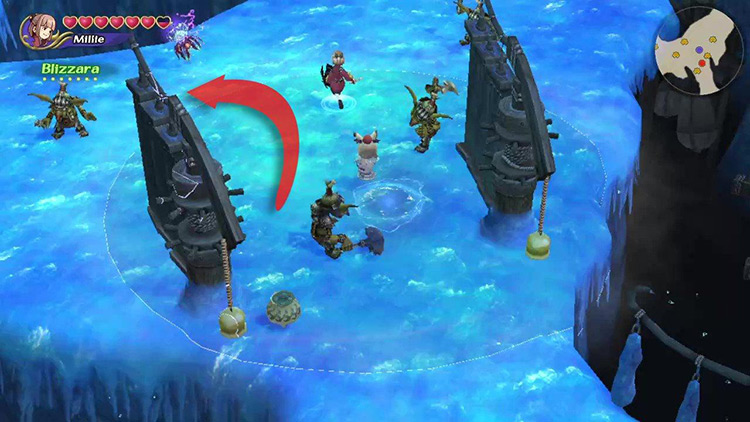
Tip: Here’s where Blizzara can save your life. It’s easy to freeze three or more enemies by just casting once.
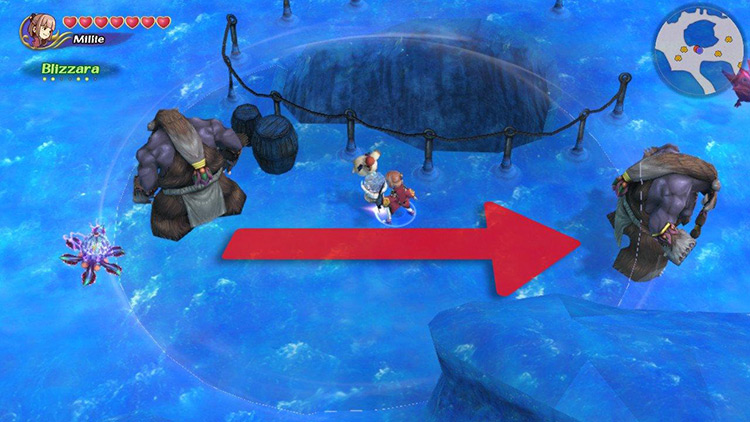
Fight past the Goblins and follow the road until you bump into another Gigas + Electric Jellyfish combo guarding another gate.
Defeat them and hit both glowing rocks simultaneously to open the gate.
Just watch out for a Goblin squad and an Electric Jellyfish on the road to the next area.
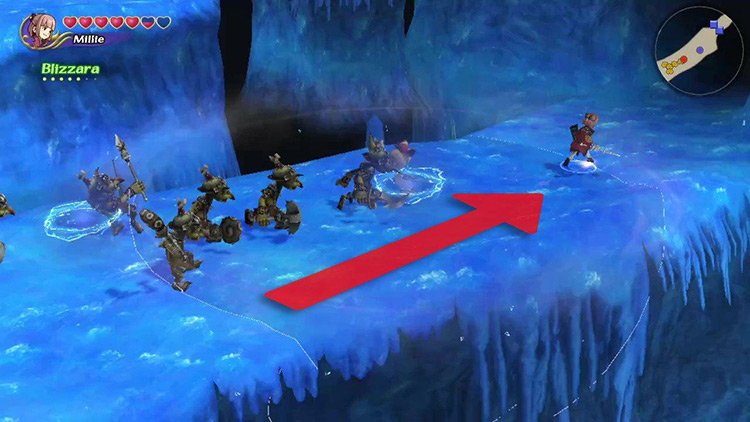
A Gigas also blocks your path up the stairs further ahead. It’s looking in the opposite direction though, so you have the element of surprise.
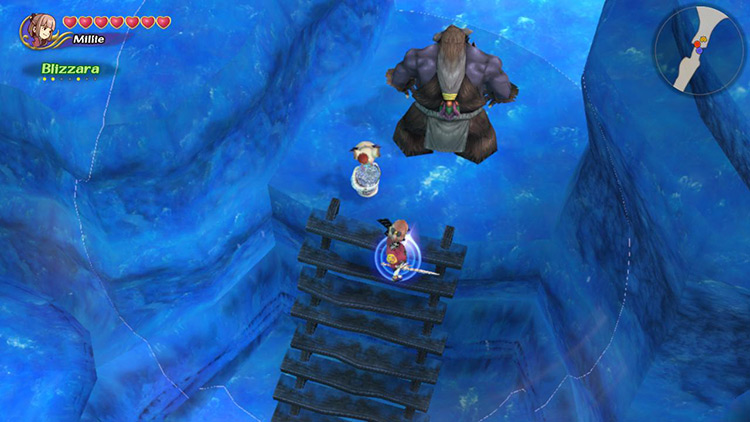
Tip: It can’t move down the stairs, so stay out of melee range and cast magic on it until it falls.
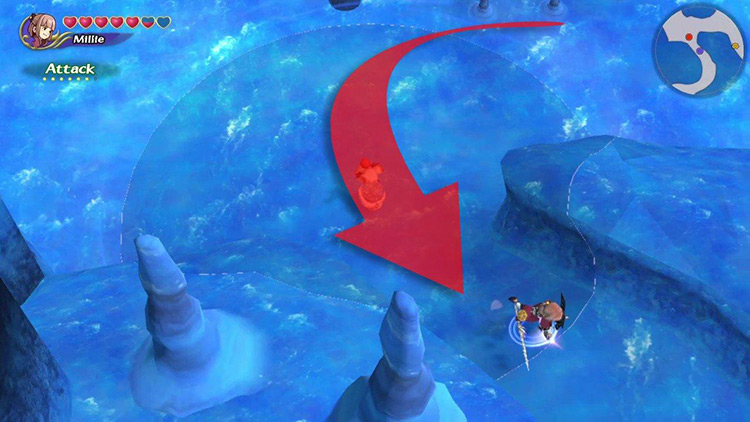
Keep following the path and turn left at the earliest opportunity.
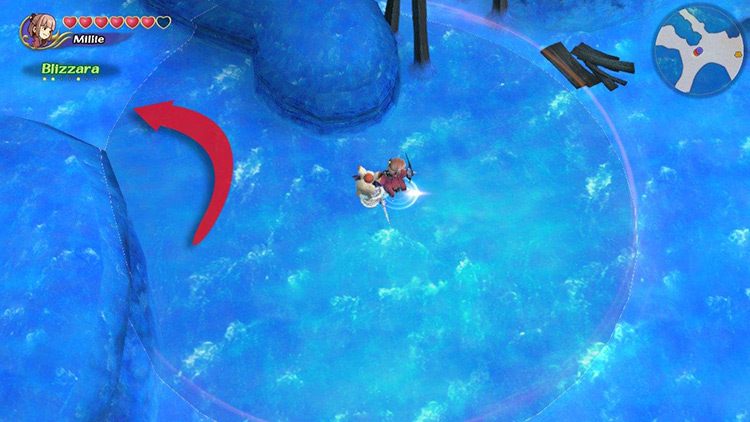
You’ll soon run into a Goblin squad guarding a chest.
Defeat them and collect the item inside the chest before continuing northward.
Follow the left-side wall here, fighting through two Gigas and a Goblin squad before reaching a chest containing an item such as a Phoenix Down.
Then return back south and turn east at the earliest opportunity.
You’ll fight through another Goblin Squad before finding another chest containing an Artifact.
Optional: You can keep going down this path to find the boss room pretty fast, but you’d miss some treasure chests.
Retrace your steps back to the crossroads at the beginning of this area.
Keep moving eastward, fighting through a Gigas + Electric Jellyfish combo and a Gigas + EJ + Thunder Bomb combo.
You’ll find the last chest in this area (containing a valuable Material) a bit past the second enemy group.
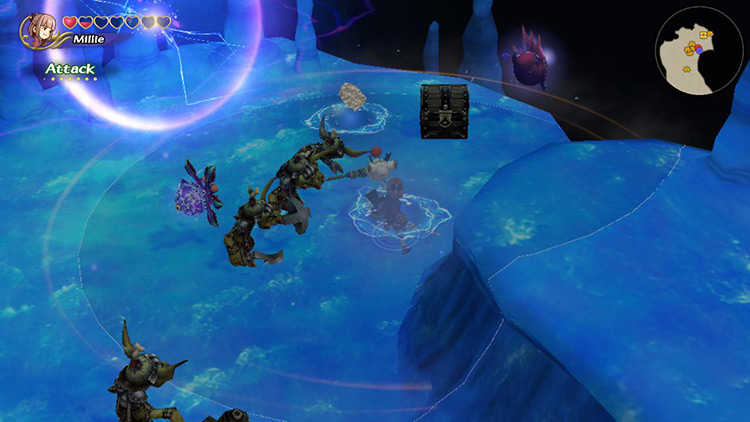
Step #5: Collect Treasure in Area #1 (Second Floor)
Retrace your steps and follow the closest road leading south.
There are no enemies until crossing over into the next area.
But now we’re on the second floor of Area #1. It’s connected to the floor below by elevators, which you’ll have to use to collect the remaining treasure.
Follow the road’s western edge, fighting past an Electric Jellyfish and a Gigas before reaching an elevator.
Use the elevator to go down and collect the chest immediately to the north, protected by an EJ and a Thunder Bomb.
Then go back up and continue moving southward.
You’ll want to brace for combat against many enemies as you go, including a Gigas, an Electric Jellyfish, and a Goblin squad.
Tip: Remember that you can have the enemies chase you away from their original position until some give up. This should make it easier to take them on one by one.
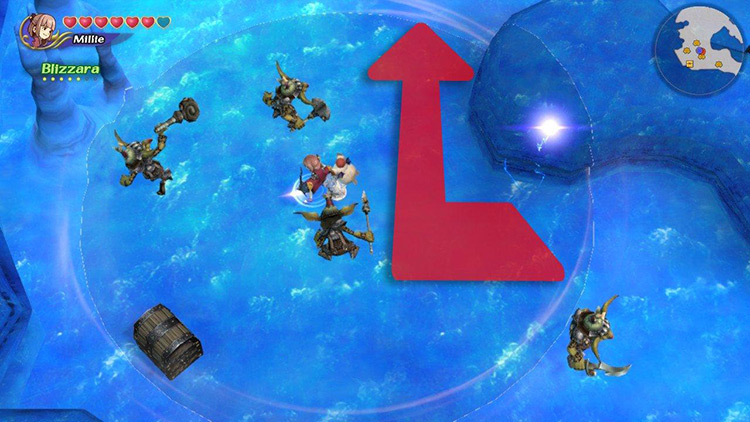
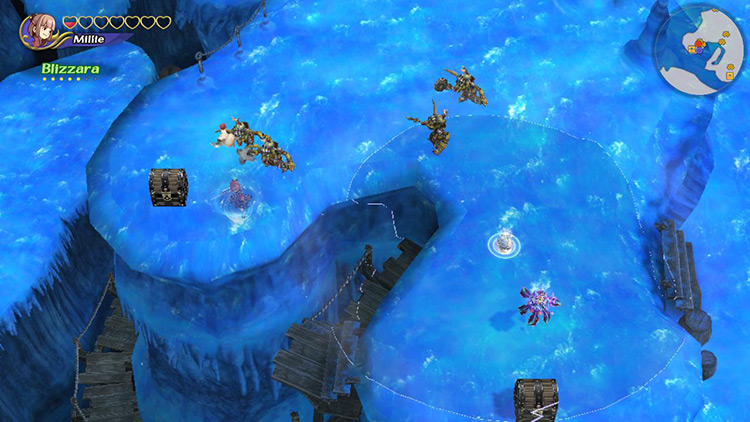
There’s an elevator right past these enemies. Use it to go down and collect three chests:
- One up north, protected by Goblins, an EJ, and a Thunder Bomb. It contains an Artifact.
- One down south, protected by a Gigas and a Goblin Squad. It contains another Artifact.
- One down south and to the east, containing a consumable item.
Once you’ve collected them all, go back up the elevator and continue down the road. Turn westward and climb onto the platform to the left.
Defeat the Goblin squad and both Electric Jellyfish before collecting the two chests here. These chests contain an Artifact and a valuable Material, respectively.
Then go back down the stairs to the east and board the nearby elevator. This will take you back to the starting area.
Step #6: Follow the Right-Side Path to the Boss Room
The path to the boss from here is very straightforward.
Defeat the nearby Goblin squad + EJ combo, then continue eastward until crossing over into Area #2.
Now you simply follow the right wall until you reach a chest containing a consumable item.
You’ll fight through several Gigas, EJs, Thunder Bombs, and Goblin squads on the way up. Just keep going until you reach the chest.
Once you’ve collected the chest’s contents, return south and turn westward at the earliest opportunity. This road will lead you to the boss room entrance.
Defeat the Goblin squad, EJ, and Gigas guarding the boss gate. Then hit both glowing rocks simultaneously to open the door and head inside.
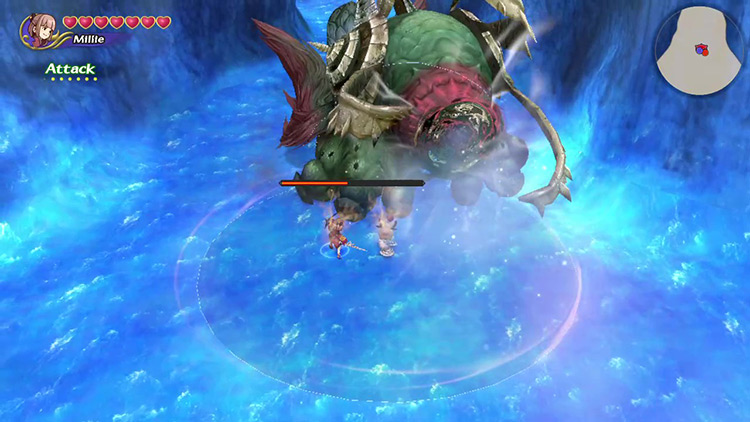
Boss: Abyss Worm
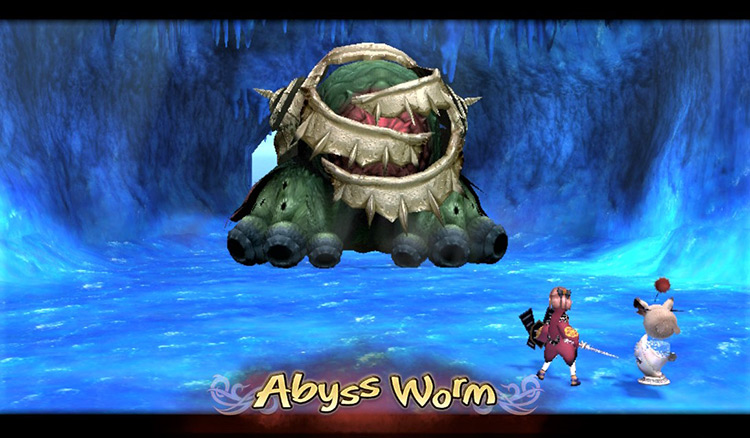
Like the Cave Worm in Selepation Cave, the Abyss Worm is severely limited due to its lack of mobility. Keeping your distance is half the battle.
Here are some more detailed tips on how to beat the Abyss Worm.
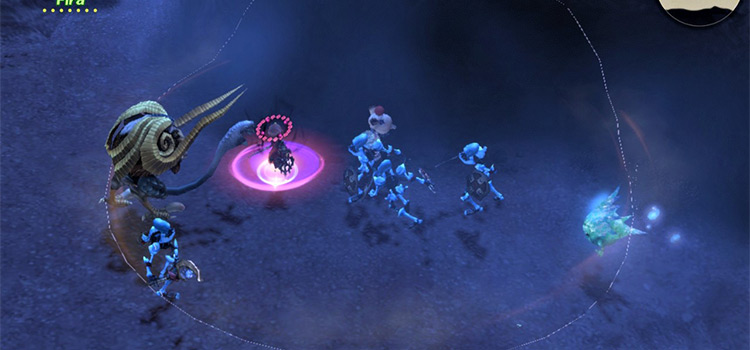
Tip #1: Kill the Electric Jellyfish
You’ll be attacked here by three Electric Jellyfish the moment the fight begins.
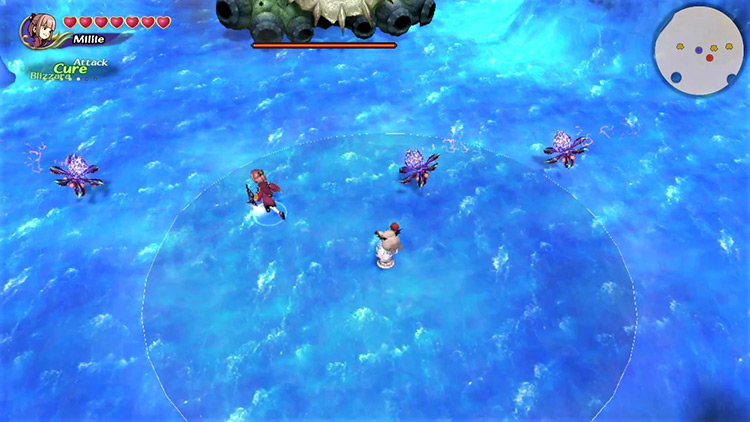
They’re not too strong individually. But together with the boss, they can end you in seconds. It’s essential to kill them ASAP.
The best way to do this is with Blizzara or even Blizzaga. It can freeze the EJs while you cast your second or third spell.
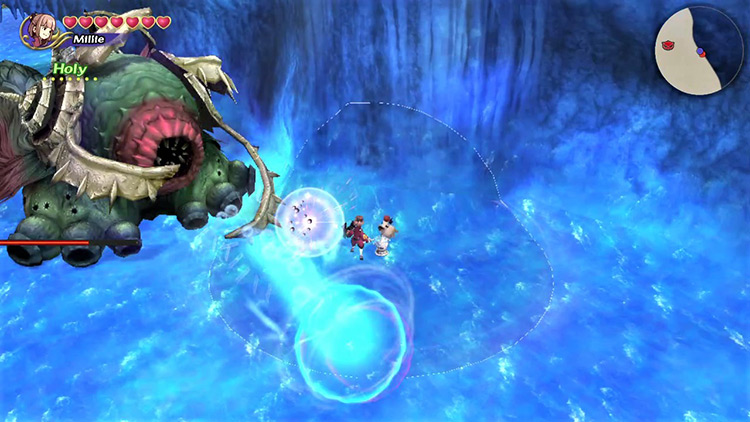
Tip #2: Embrace the Vacuum
The Abyss Worm will try to suck you in with a strong vacuum move whenever you get too far from its meager range.
It looks scary, but it won’t damage you.
This is your chance to unleash devastating melee combos or cast powerful spells.
Just move away from the boss when it ends before it can damage you with short-range moves.
If you keep running away, the boss should keep repeating the vacuum move. This cycle is the easiest and safest way to hurt the Abyss Worm.
Tip #3: Take Some Distance to Heal
No matter how well you play, you’ll take damage eventually.
Luckily, it’s easy to heal in this fight.
Just take enough distance from the boss that the only logical move is to pull you in with the vacuum.

This will give you more than enough time to heal without risking damage.
Tip #4: Hug the Right Wall
Ideally, you want to stay far enough away from the boss that it can’t hit you with its devastating crimson breath or any shorter-range moves like the ground pound.
Staying close to the right-side wall allows you to exit the boss’s lateral range. This renders almost every move useless.
For example, the Slow Bubble is impossible to aim correctly.
Usually it’ll start spamming the vacuum move or, ironically, the Bubble.
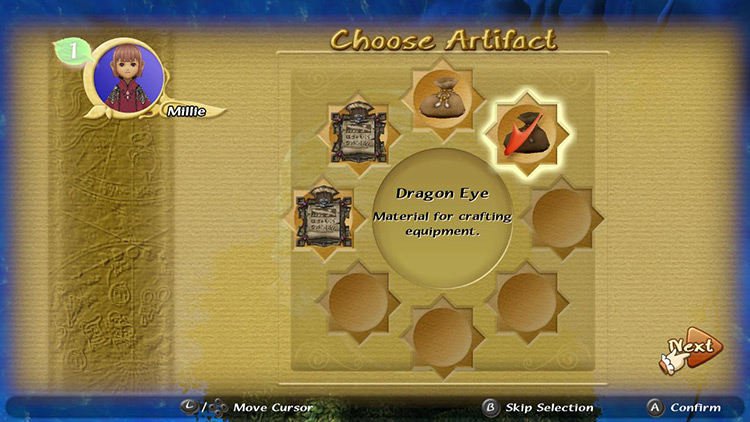
Obtainable Items
You’ll find Artifacts, crafting Recipes, and Materials throughout the dungeon. You get to keep all Recipes and Materials, but you can only choose one Artifact to take with you.
Chest Items
The following items await in the chests at the Pale Cave:
| Artifacts | Materials |
|---|---|
| Ashura Black Hood Book of Light Chicken Knife Faerie Ring Loaded Dice Mjollnir Ogrekiller Onion Sword Ring of Protection Rune Bell Sage’s Staff Silver Spectacles Sparkling Bracer Tome of Ultima |
Dragon Eye Dragon Scale Electrum |
Monster Items
The Gigas in the Pale Cave drop Gigas Claws.
Boss Items
Unlike regular dungeons, the Pale Cave only has one set of Boss Items you can obtain regardless of your Bonus Points.
- Palladium Armor (Recipe)
- Palladium Guard (Recipe)
- Dragon Scale (Material)
- Dragon Eye (Material)
These drops will help you obtain Poison-resistant items that’ll make future attempts at this and other dungeons much easier.
-
Final Fantasy Crystal Chronicles Remastered
- Pale Cave Dungeon Guide + Map (FFCC Remastered)
Related Posts:
 Selepation Cave Dungeon Guide + Map (FFCC Remastered)
 Goblin Wall Dungeon Guide + Map (FFCC Remastered)
 Frozen Sluice Dungeon Guide + Map (FFCC Remastered)
 Goblin Festival Dungeon Guide + Map (FFCC Remastered)
 Misty Mount Kilanda Dungeon Guide + Map (FFCC Remastered)
 Oblivion Village Dungeon Guide + Map (FFCC Remastered)
 Moonlit Desert Dungeon Guide + Map (FFCC Remastered)
 Foggy Swamp Dungeon Guide + Map (FFCC Remastered)