River Belle Path is the first dungeon you’ll encounter in Final Fantasy Crystal Chronicles.
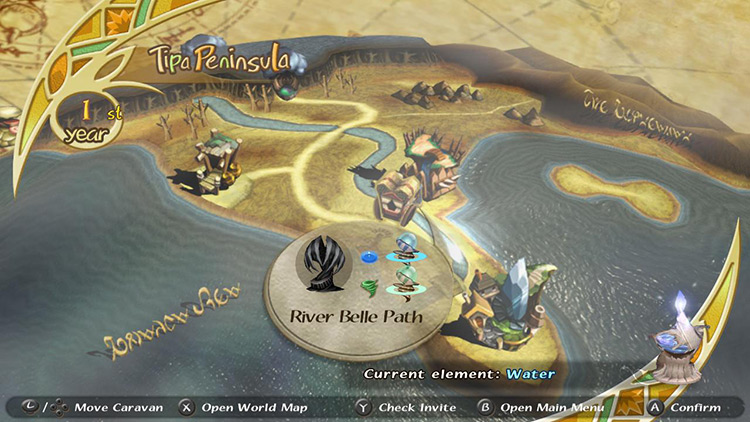
It’s located right next to your hometown in Tipa Peninsula, and it’s widely considered the easiest level in the game.
As a sort of tutorial dungeon, the steps to clearing River Belle Path are straightforward.
- Lower the drawbridge.
- Open gates with half-moon tokens.
- Get the Cure magicite.
- Get your Moogle Stamp.
- Defeat the Giant Crab boss.
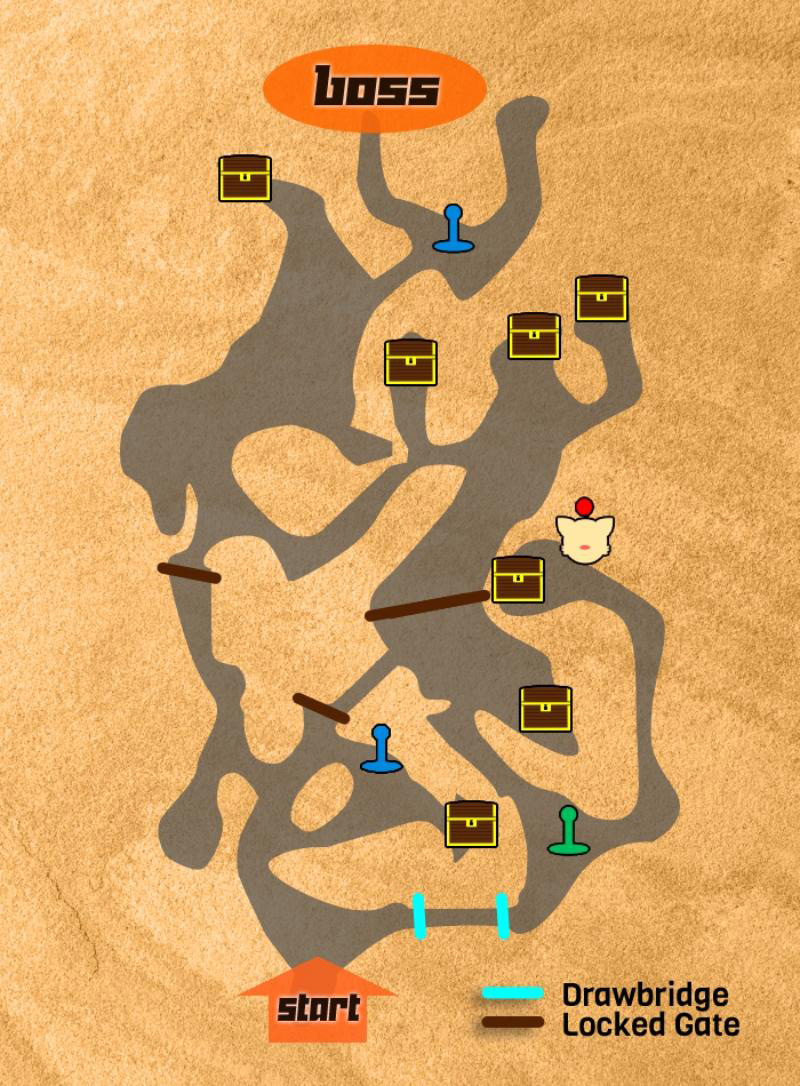
Let’s get into the details, starting with the River Belle Path map.
TABLE OF CONTENTS
Map
Walkthrough
The first thing you see upon entering River Belle Path are two roads heading left and right.
To the right, you’ll find a drawbridge waiting to be lowered.
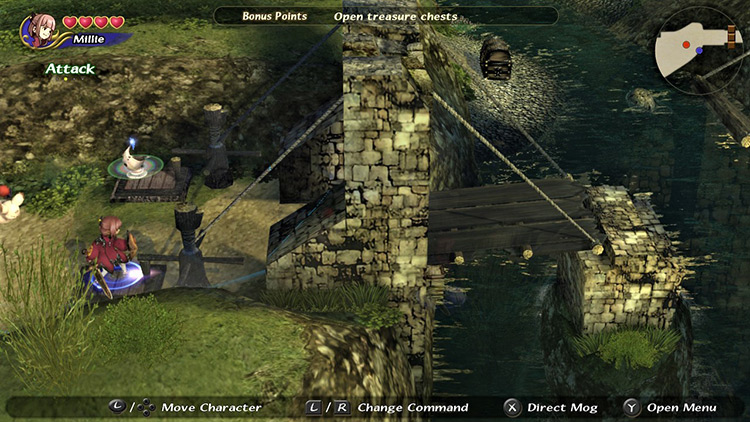
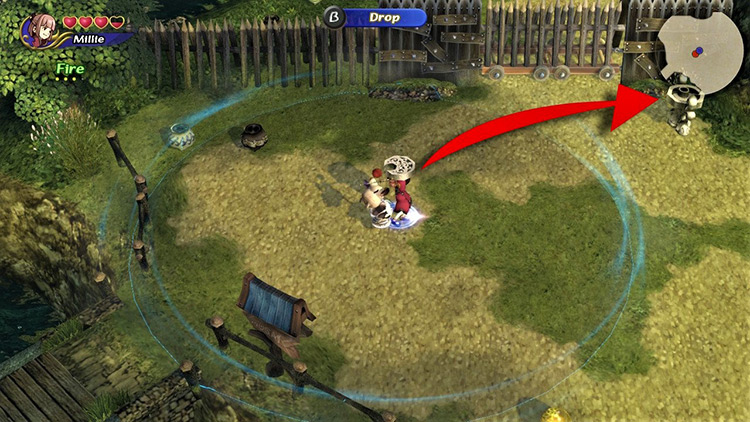
Step #1: Lower the Bridge
Two pressure plates need to be pushed down to lower the bridge. If you’re playing alone, drop your chalice on one side, then stand on the other.
Crossing remains impossible for now, so head back to the beginning and take a left instead.
Step #2: The First Battle
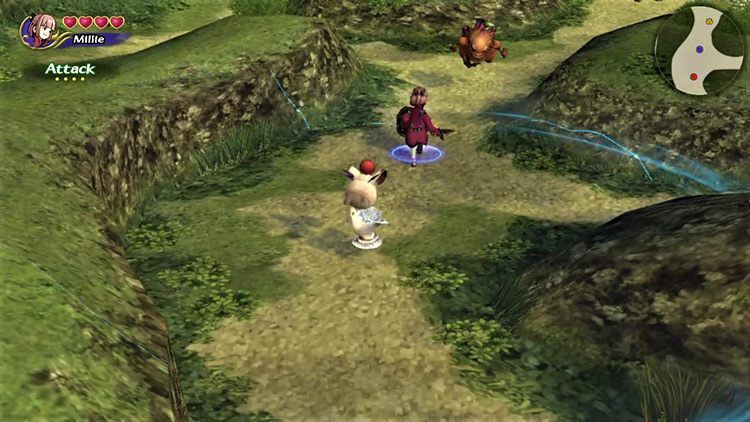
You’ll soon encounter your first enemy: a Goblin.
These guys are weak, but there’s strength in numbers. The stone toss move can stun you and leave you open to damage from other monsters.
Kill the Goblin and pick up your first Phoenix Down.
Tip: This item can revive a teammate or save you from the brink of death if you keep it in an equipment slot.
Ignore the path to the right and keep going north to find a Hedgehog Pie waiting to ambush you.
Their Fire spells can deal quite a bit of damage, but they’re super slow. It’ll go down in a couple of blows.
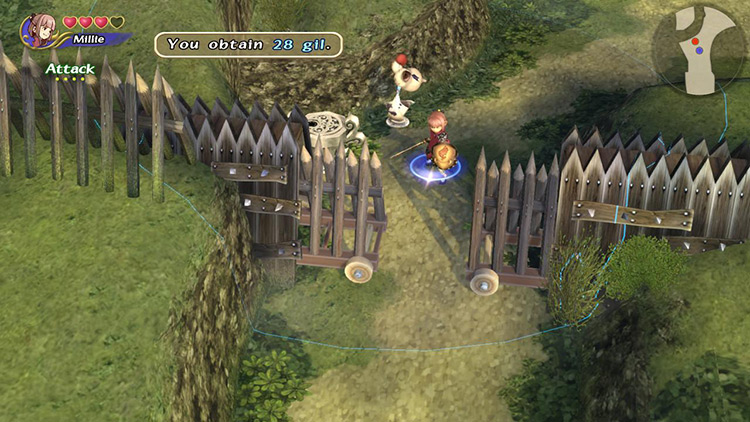
Step #3: Open the First Gate
Pick up any items, and head northeast toward a gate guarded by a Goblin. Kill it to find a half-moon token (and probably some magicite).
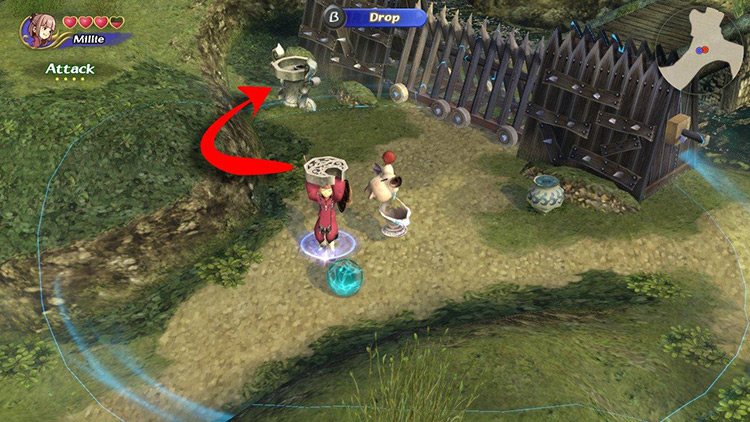
Just pick up the token and drop it on the nearby altar to open the door.
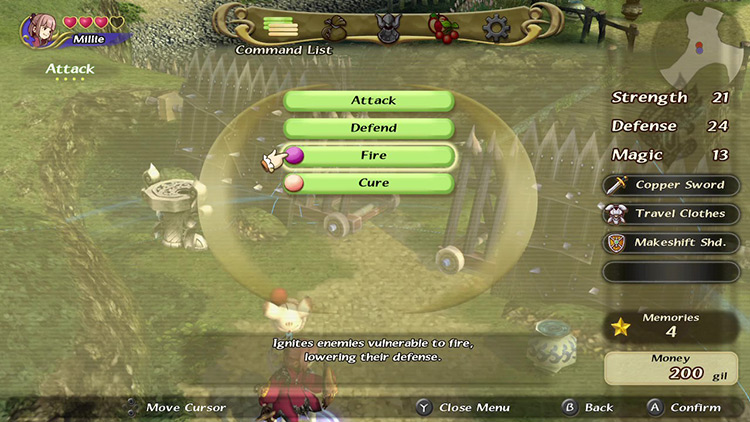
Step #4: Don’t Forget your Cure Magicite
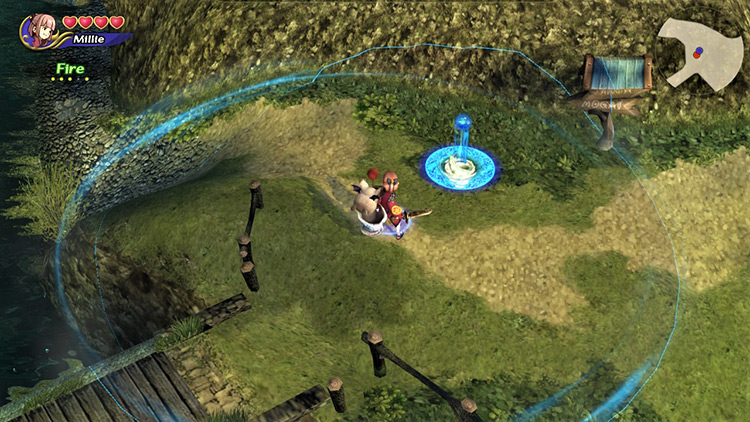
Before crossing the gate, head down to the right. You’ll see a Goblin protecting a Hot Spot with the Water element.
Kill the Goblin and place your chalice on the Hot Spot to acquire the Water element (you’ll need it later).
Tip: The Hot Spot also lets you teleport out of the dungeon.
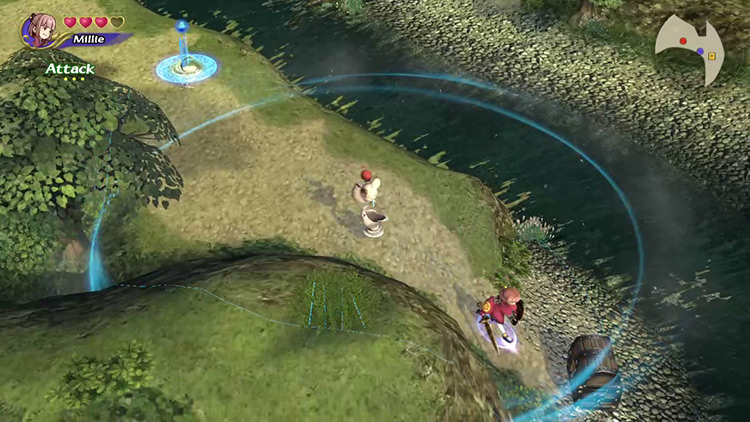
Keep hugging the shore until you reach a treasure chest containing a Cure magicite. This lets you recover your health, which will be key in the coming battles.
Take it and head back to the door we just opened.
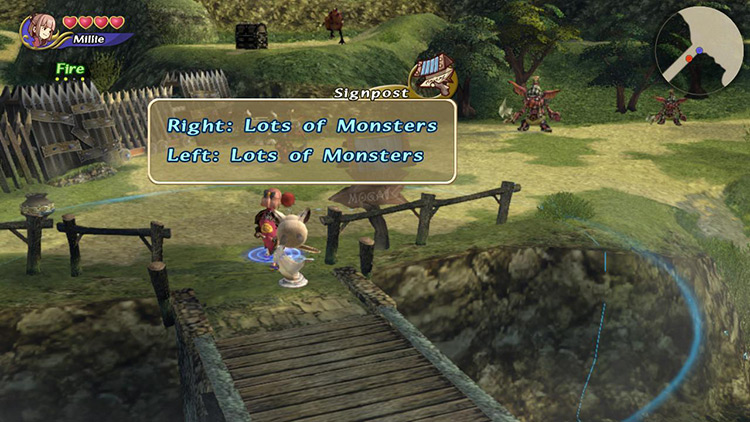
Step #5: Lots of Monsters
Cross the bridge to find a sign that reads “Lots of Monsters.”
A big fight is coming, so now would be a good time to enter your inventory and set your magicite/items.
Tip: You’ll have only a couple of slots available at the beginning of the game, but you’ll get more by obtaining Artifacts throughout your adventure.
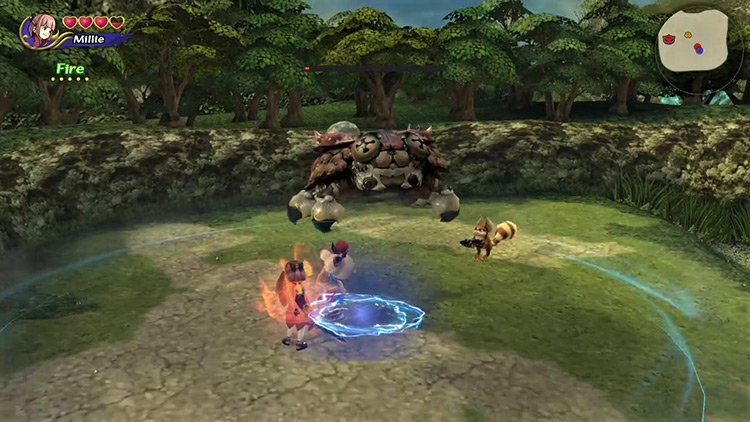
There are two Goblins and a larger Goblin Chieftain waiting for you to the right. Together, they can easily overrun you – but lure them in one by one, and they won’t be a problem.
Both the Goblins and the Chieftain are weak to Fire. It can help you deal with the crowd if you alert more than one simultaneously.

Watch out for flying rocks! If you get stunned once, the Goblins might stone you to death while you remain paralyzed.
The first Goblin will drop a half-moon token you can use to open the door to the north, but we still have some items to pick up.
You’ll find a chest containing a Recipe to the southeast and a road heading downstream along the river to the southwest.
Step #6: Lower the Bridge (again)
Head down the riverside path until you bump into a Hedgehog Pie guarding a Hot Spot (Wind).
Kill the Pie and keep heading south to find the other side of the drawbridge at the beginning of the dungeon.
Lower it using the same method as before to open a shortcut back to the dungeon entrance.
Step #7: Get your Moogle Stamp
Ignore the shortcut and head back to the Hot Spot.
Now take a right and head up the road, keeping an eye out for a Goblin blocking your path.
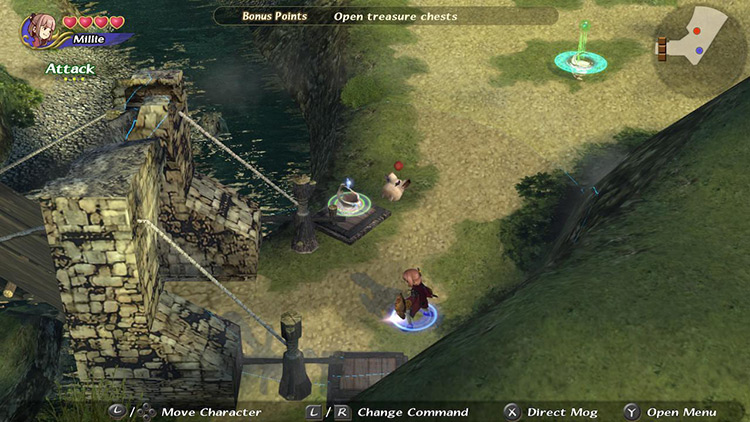
Kill it and keep going up to find a clearing with a Chest guarded by a Hedgehog Pie and a Mu.
Tip: These squirrel-like creatures are fast and can stun you with their tail sweep, so it’s almost always better to take them out first.
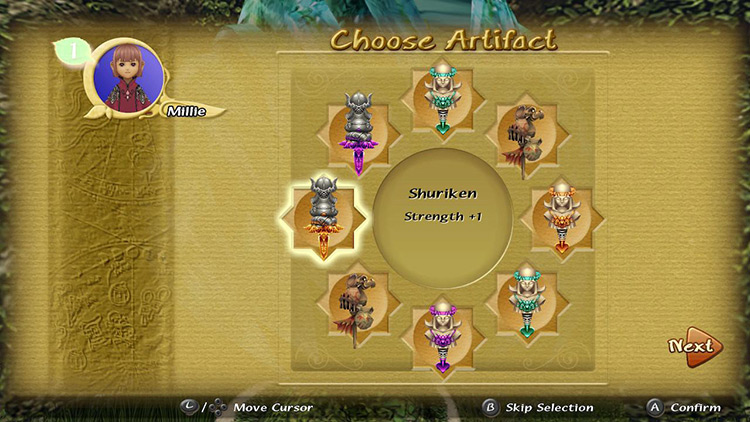
Once they’ve all been dealt with, open the chest to find your first Artifact.
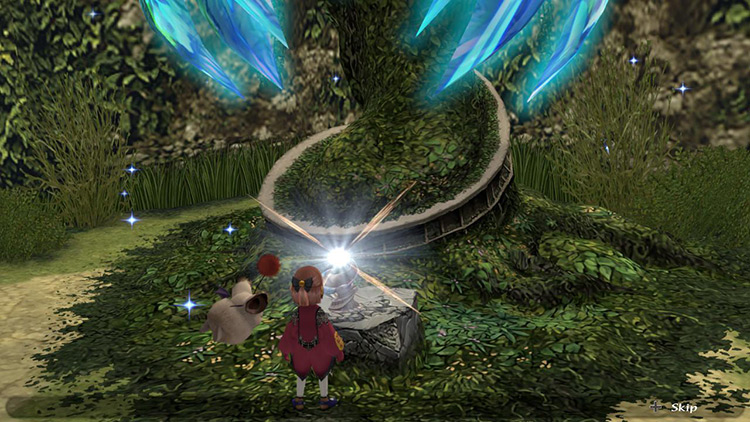
Then look closely at your surroundings. There’s something odd about the boulder to the north…
Examine it to reveal a Moogle Nest.
Go inside to get your first Moogle Stamp, and maybe spray some paint on Mog, kupo.
Step #8: Open the Second Gate
Head back out and return to the door next to the “Lots of Monsters” sign.
Head through the door and prepare for battle. Two Mus will ambush you immediately. Kill them and keep moving forward to find a fork in the road.
First, kill the Goblin Chieftain to the north and open the chest to find a Recipe. Then go up the road to the right for another Recipe chest protected by a regular Goblin.
Head back and pay attention to the broken bridge to the left.
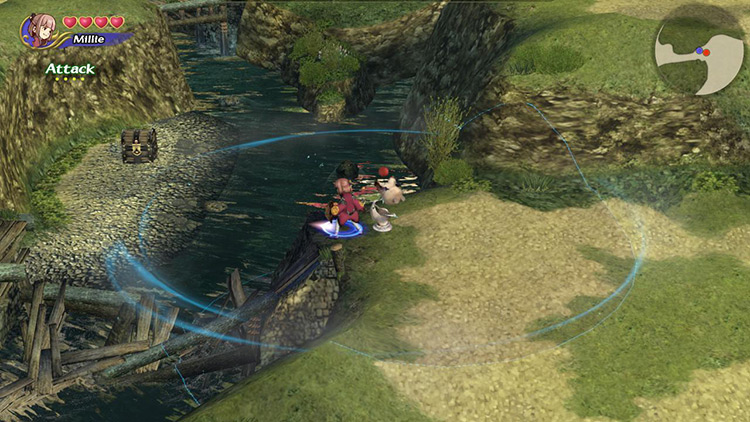
Cross it and immediately head upriver to find a chest with the Raise magicite.
Note: This lets you revive your downed teammates in multiplayer, but it’s useless in single-player.
Step #9: Ignore the Third Gate
Make your way downriver, then follow the path to the left to find another door protected by a Mu. Kill it, and it will drop a half-moon token.
Keep walking north for the biggest group of monsters yet.
First, you’ll get attacked by a Goblin Chieftain and a Mu. Try to lure them south rather than running into the fight, or you might alert three more enemies to the north.
After defeating all five enemies, keep running north until you hit a sign. Take a left for a Recipe chest, or cross the bridge to the right to continue moving forward.
There’s another sign and a Water Hot Spot across the bridge.
You’ll find two Moogles to the right of the sign, but they’ve got nothing to offer.
So head left and up the river to reach the boss.
Boss: Giant Crab
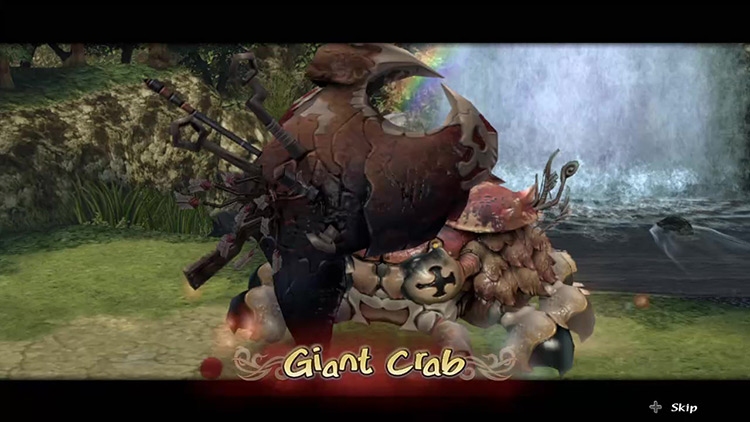
This boss is among the easiest in the game, but it can still prove challenging for beginners still figuring out the combat system.
Here are some things to remember during the battle:
Tip #1: Focus on the Adds
The Giant Crab starts the fight by summoning a Reaver Mu to harass you while it prepares to attack.
It might not look like much, but it’s fast enough to keep you from dealing any damage.
You can defeat it immediately with just a few hits or a well-placed Fire spell.
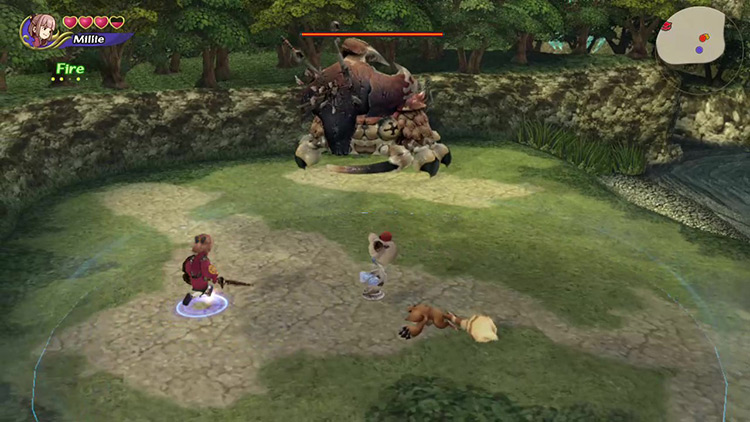
The boss will summon the Reaver Mu again after a couple of minutes. When it does, kill it again.
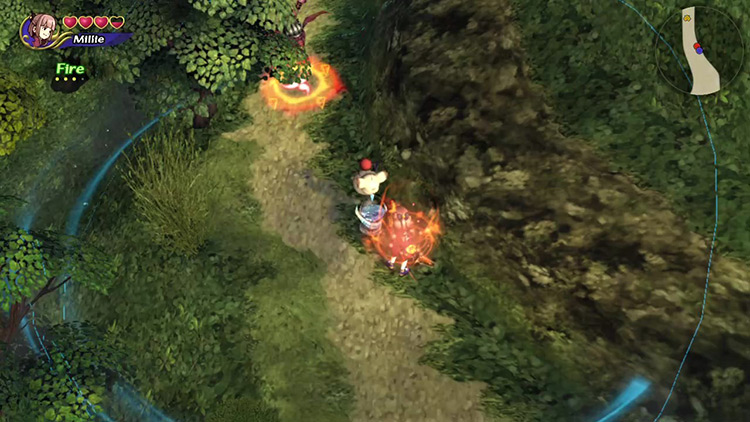
Tip #2: Kill It with Fire!
The Giant Crab has a 100% resistance to Thunder damage, and its physical defense is considerable.
Light it up with fire instead!
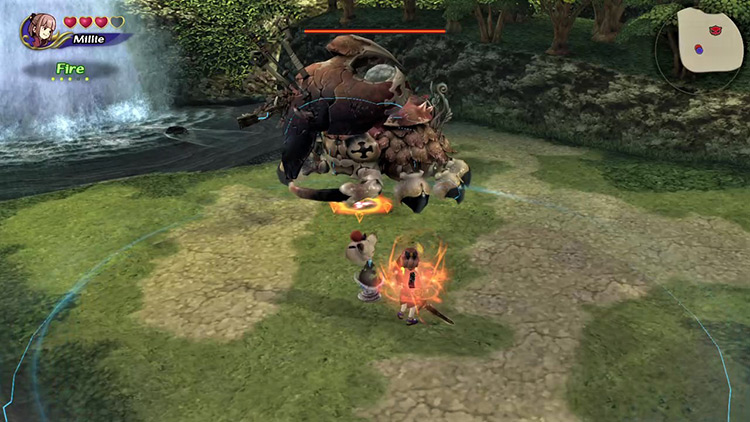
You can combine two Fire magicites in your inventory to create Firaga, which will absolutely devastate both the Giant Crab and the Reaver Mu.
Even the melee-oriented Lilties should still use Fire to reduce the Giant Crab’s physical defense and make their attacks more effective.
Tip #3: Keep Moving
The Giant Crab is a well-rounded boss with both ranged and melee moves, but you can stay out of harm’s way as long as you keep moving.
It’ll spit out very slow water bubbles to lower your movement speed and try to blast you with a blast of thunder, but both of these attacks are slow and easy to avoid.
The hardest-to-avoid attacks are the quick, short-range melee moves. These include crushing you with its gnarly-looking carapace and sweeping at you with its pincer.
The only way to avoid these is to stay clear of the area right in front of the boss.
Tip #4: Watch Out for Missing Parts
The more damage you deal, the more parts the Giant Crab will lose.
First, it’ll lose its pincer and become unable to do its sweeping attack. Sometime later, it’ll lose the carapace. That’s where things get spicy.
After losing its carapace, the boss becomes faster and more aggressive. A pouncing move replaces its melee attacks, and it’ll abuse the bubble-blowing technique.
More importantly, it’ll start casting Thundara more often.
Tip: Make sure to keep your health up during this phase. Thunder can make you become paralyzed, which the crab uses to zap you again right away.
Changes with Dungeon Cycles
After a whole year has passed, you can come back to River Belle Path to claim its Myrrh one more time.
The dungeon will remain largely unchanged, except for stronger monsters and better loot.
The boss will also be stronger. On the third cycle, it’ll upgrade its Thundara to Thundaga, which can hit you almost anywhere on the map.
Note: It’s recommended to bring a Yuke, as they can block against magic.
Obtainable Items
You’ll find Artifacts, crafting Recipes, and Materials throughout the dungeon. The Recipes and Materials you get to keep, but you can only choose one Artifact to take home.
Chest Items
SCROLL
| Cycle | First | Second | Third |
|---|---|---|---|
| Recipes | Bronze Armor Bronze Belt Bronze Gloves Bronze Sallet Iron Shield Novice’s Weapon |
Bronze Armor Bronze Sallet Frost Craft Iron Belt Iron Gloves Iron Sallet Iron Shield Lighting Craft Novice’s Weapon |
Frost Craft Iron Belt Iron Sallet Lightning Craft Mythril Armor Mythril Belt Mythril Gloves Mythril Sallet Mythril Shield Valiant Weapon |
| Artifacts | Buckler Silver Spectacles |
Black Hood Silver Spectacles |
Black Hood Buckler Wonder Bangle |
Monster Items
SCROLL
| Cycle | First | Second | Third |
|---|---|---|---|
| Goblin Chieftain | Bronze (M) Cat’s Bell Double Axe Dragon Whisker Mage Masher Maneater Moogle Pocket Silver Bracer Shuriken |
Bronze (M) Earth Pendant Iron (M) Moogle Pocket |
Earth Pendant Iron (M) Moogle Pocket Mythril (M) |
| Griffin | None | Cat’s Bell Double Axe Flame Craft (R) Flametongue Green Beret Griffin’s Wing (M) Ice Brand Kris Mythril (M) Sage’s Staff Silver Bracer |
Flame Craft (R) Flametongue Griffin’s Wing (M) Ice Brand Loaded Dice Mage’s Staff Mythril (M) Rune Bell Kris Sage’s Staff Sasuke’s Blade |
| Stone Hedgehog | Iron (M) | Iron (M) Mythril (M) |
Boss Items
Each boss has four reward pools per cycle.
Your Bonus Points determine which pool becomes available to you after beating the boss.

You won’t always get to choose from the best-possible reward pool. Higher ranks will sometimes get one of the previous reward pools instead.
SCROLL
| Cycle | First | Second | Third |
|---|---|---|---|
| 0+ BP | Buckler Dragon’s Whisker Moogle Pocket Shuriken |
Buckler, Double Axe Iron (M) Kris |
Loaded Dice Mage’s Staff Mythril (M) Wonder Bangle |
| 95+ BP | Mage Masher Maneater Moogle Pocket Silver Spectacles |
Ice Brand Iron (M) Silver Bracer Silver Spectacles |
Black Hood Flametongue Legendary Weapon Sasuke’s Blade |
| 119+ BP | Buckler, Double Axe Iron (M) Kris |
Loaded Dice Mage’s Staff Mythril (M) Wonder Bangle |
Dragon’s Whisker Orichalcum (M) Shuriken Silver Spectacles |
| 149+ BP | Ice Brand Iron (M) Silver Bracer Silver Spectacles |
Black Hood Flametongue Legendary Weapon Sasuke’s Blade |
Ancient Sword Mage Masher Maneater Save the Queen |

-
Final Fantasy Crystal Chronicles Remastered
- River Belle Path Dungeon Guide + Map (FFCC Remastered)