Veo Lu Sluice is a dungeon in Final Fantasy Crystal Chronicles, accessible from Year 2 onwards.
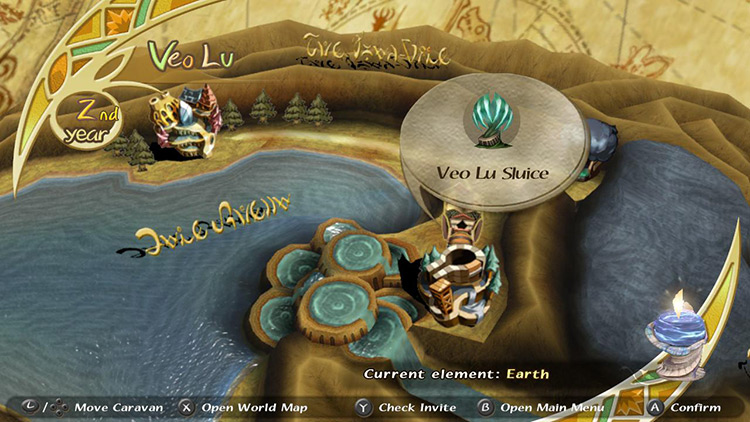
You’ll find it in the Veo Lu region, southeast of the Yuke town of Shella.
From Year 5 to Year 8, a drought causes Veo Lu Sluice to alter its layout, attracting new monsters and revealing new treasures.
To clear Veo Lu Sluice, you must:
- Use a water pump to obtain a key and open the first gate.
- Reach the boss room.
- Visit the Moogle Nest.
- Defeat the Golem.
Let me walk you through it.
TABLE OF CONTENTS
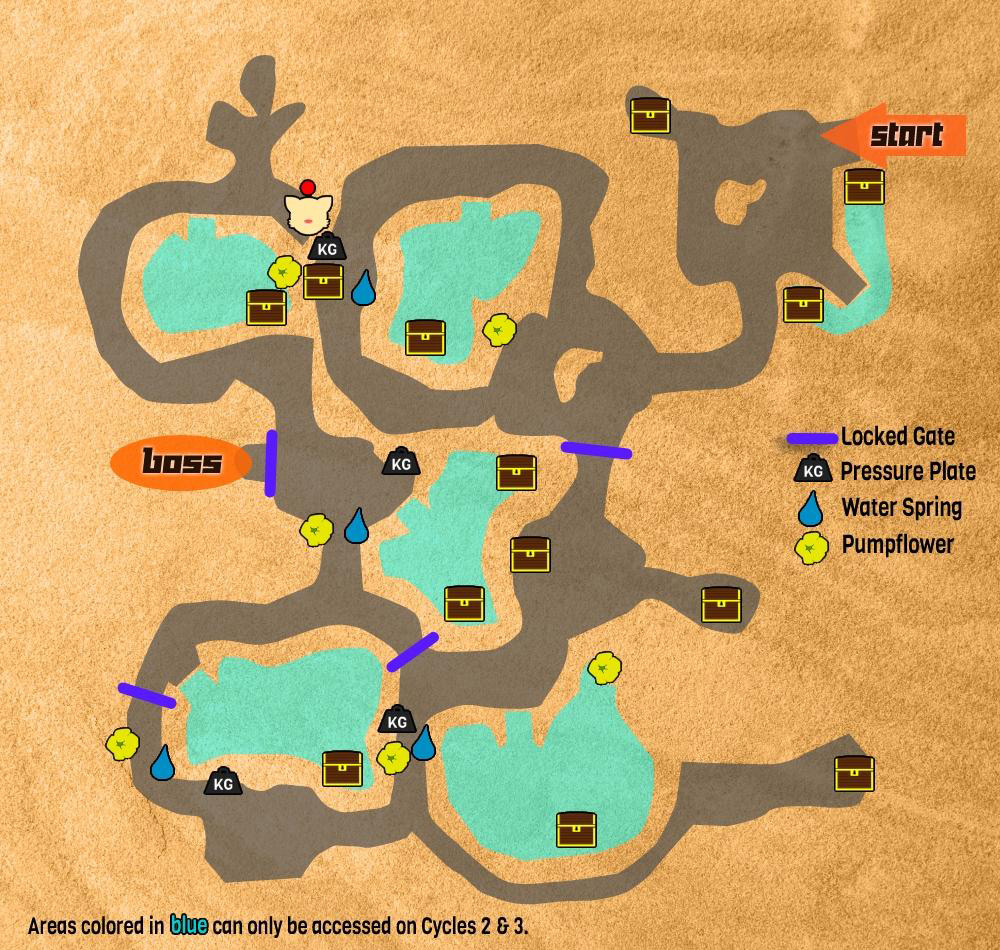
Map
Walkthrough
Veo Lu Sluice is simple the first time you visit in Year 3.
The main gimmick revolves around obtaining the tokens needed to open various gates throughout the level by using water pressure to pump them out of holes in the ground.
Let’s look at it in detail.
Step #1: Open the First Gate
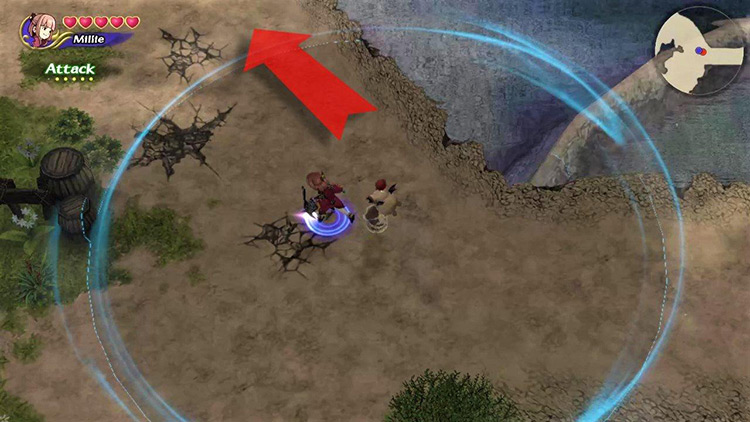
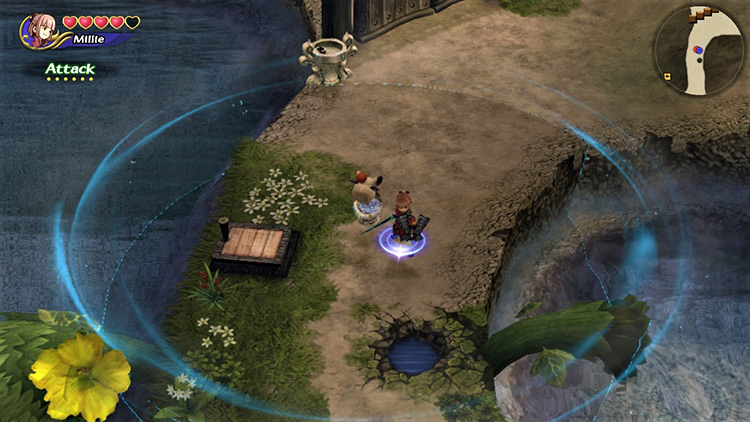
Walk straight to the left of your starting position to find a chest containing a Phoenix Down.

There are some formidable monsters coming up, so you’ll need it.
Head south to find two Lizardmen blocking the way forward.
Tip: Lizardmen with shields can block melee attacks, but they can’t block magic. They’re especially susceptible to Blizzard and are easily Frozen.
Defeat them and keep moving south until you come across a split in the road.
Some monsters protect a gate to the south, but we must head north to get the key to open that gate first.
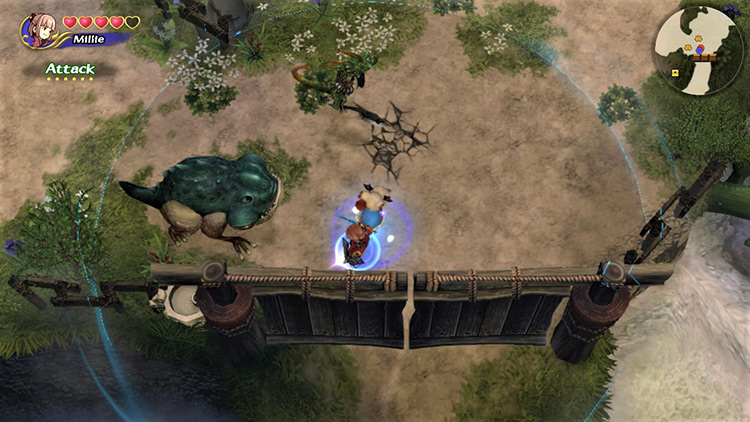
Take the northern path until coming across a Lizardman and a Gigan Toad.
Tip: Gigan Toads cast Ice-based spells that can Freeze you, but they’re slow and easy to dodge. They’re also weak to Fire.
Defeat them before turning your attention to the mechanism around you.
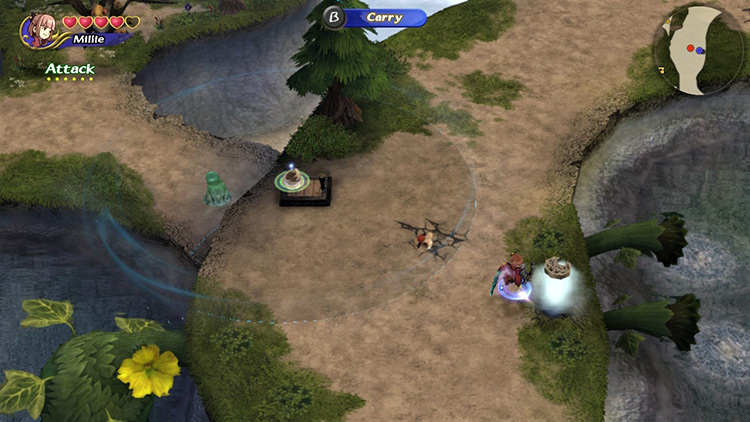
Toss your chalice on the wooden plate to redirect the water flow to the spout to the southeast. This will make a hidden key pop out of the ground at its location.
Leave the chalice and head into the miasma unprotected to collect the key.
The damage will make you drop it immediately after dislodging it from the water spout, but that’s OK. Go pick up your chalice before returning for the crescent moon token.
Keep walking south until running into the enemy group from before. It’s a Lizardman and a Gigantoad guarding the first gate.
Kill them so you can open the gate with the key you just obtained and continue to the next area.
Step #2: Reach the Boss Room
You’ll come across an open area with two Lizardmen near the center and a chest hidden among the trees on the western edge.
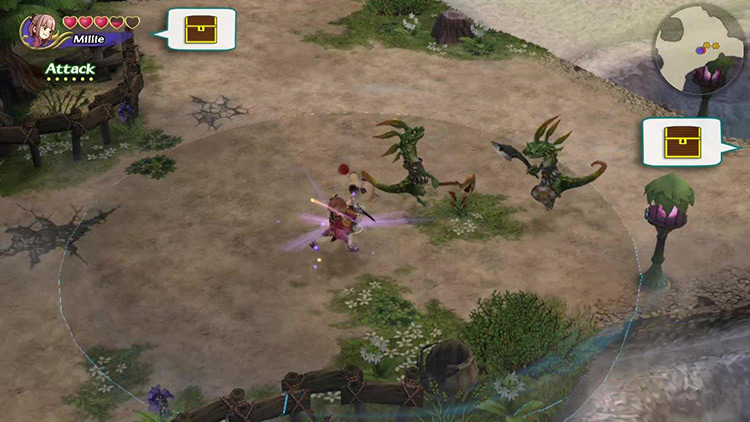
Defeat the enemies, open the chest, and travel to the east to find another treasure chest.
Once you have that, follow the road to the south until coming across another gate right next to a water pump mechanism.
You’re faced with two alternatives:
- Option #1: You open the gate and head through to the boss room entrance immediately.
- Option #2: You keep heading south to claim more treasure and fight more enemies.
The first option is self-explanatory, so I’ll focus on the second one.
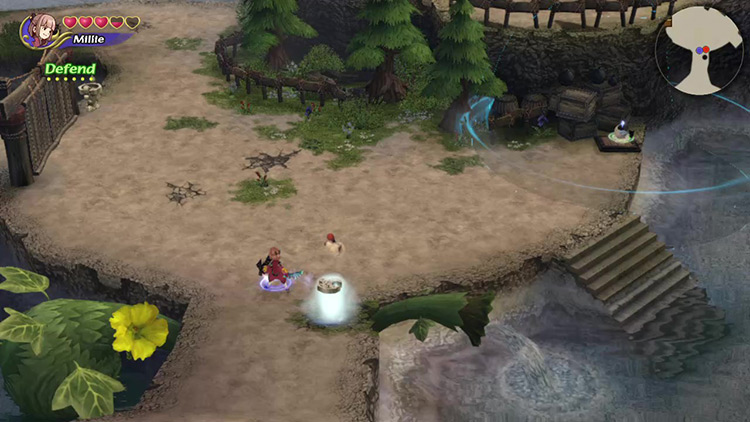
Walk to the southeast and start traversing a long natural corridor beside a large pool.
Kill your first Water Flan and keep going until you reach a chest protected by a Gigan Toad, a Lizardman, and an Ice Bomb.
Tip: Water Flans are weak to Fire.
Grab an Artifact from the chest and return to the main road.
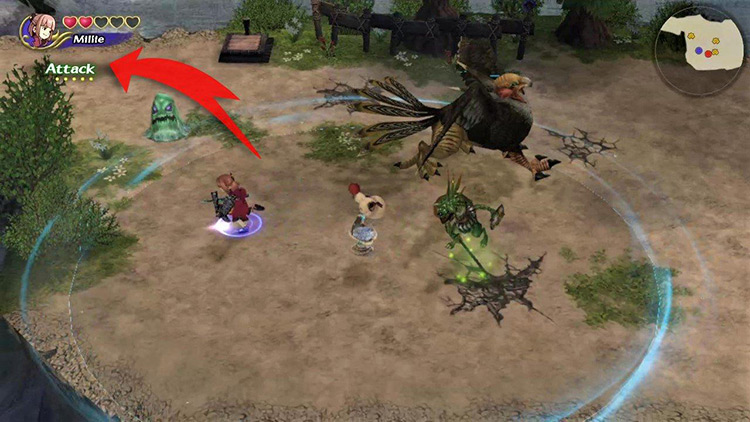
Take a left as you exit the detour to find a large group of monsters protecting a gate and a water pump mechanism. It’s a Lizardman, a Water Flan, and your first Griffin.
Tip: Griffins are hard-hitting and capable of flight. Well-timed Focus Attacks and mid-level magicks like Fira, Blizzara, and Thundara are the easiest way to take it down.
Defeat them so you can obtain the key and open the gate, then walk through it and keep striding north until you reach another open area.
There are two Lizardmen, a Water Flan, and a Griffin guarding the gate to the boss area – as well as the mechanism needed to obtain the key.
Retrieve the crescent moon token and open the gate, but don’t walk in just yet!
Step #3: Getting the Moogle Stamp
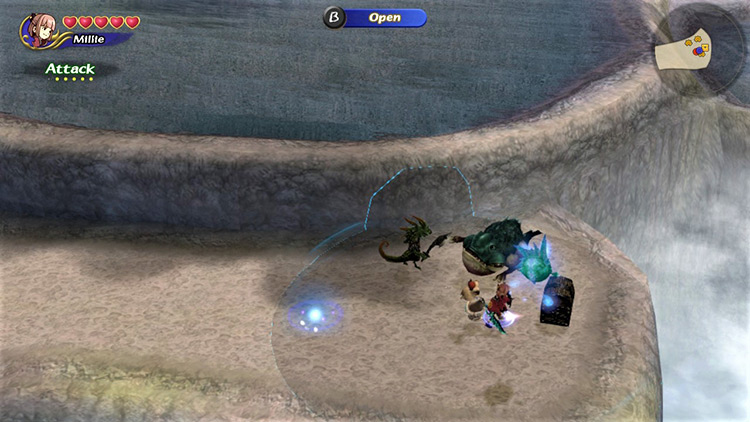
Follow the path north of the boss gate, past a wandering Gigan Toad, until you come across a large group of enemies including a:
- Griffin
- Lizardman
- And Water Flan
Check the eastern wall, behind the Water Flan, to find Veo Lu Sluice’s Moogle Nest.
Get your Moogle Stamp before returning to the boss room.
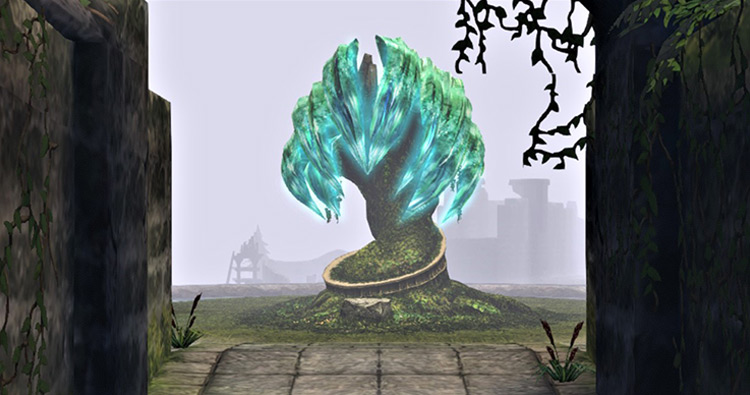
Drought Years
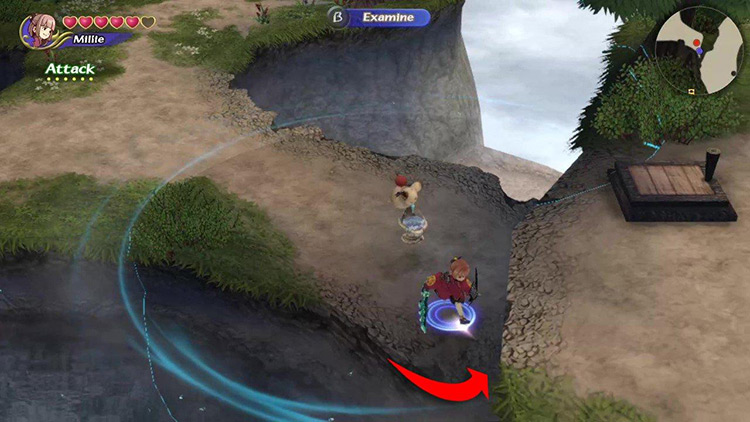
You’ll have noticed a bunch of stairs leading into water bodies and submerged treasure chests you could not reach.
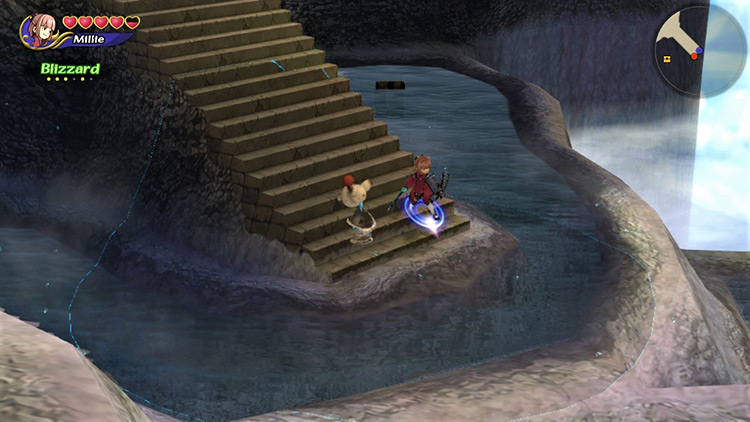
These areas will become traversable between Years 5 and 8 when a major drought will hit the Veo Lu Sluice.
This opens the way to eight new treasure chests, but there are also many more enemies.
You’ll also notice that you can no longer activate the water spouts to obtain keys throughout the dungeon.
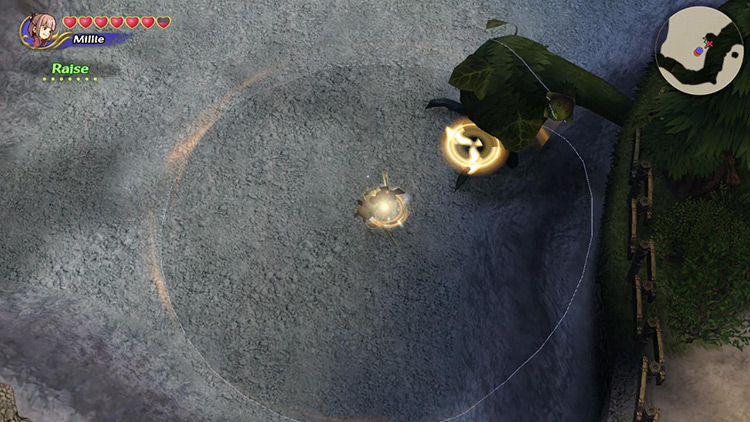
Cast Raise on the nearby Pumpflower plants to reactivate the water flow.
Boss: Golem
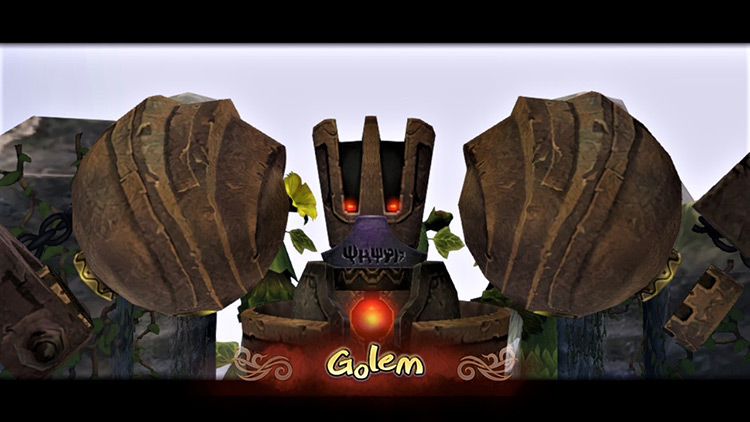
The Golem is a hard-hitting boss with devastating long and short-range attacks. It can also inflict Slow, freeze you, and even set you on fire.
It sounds worse than it is, though.
The Golem is also very easy to read, so you’ll avoid most damage if you pay attention and stay quick on your feet.
Here are other tips for an easier fight:
Tip #1: Eliminate the Flans
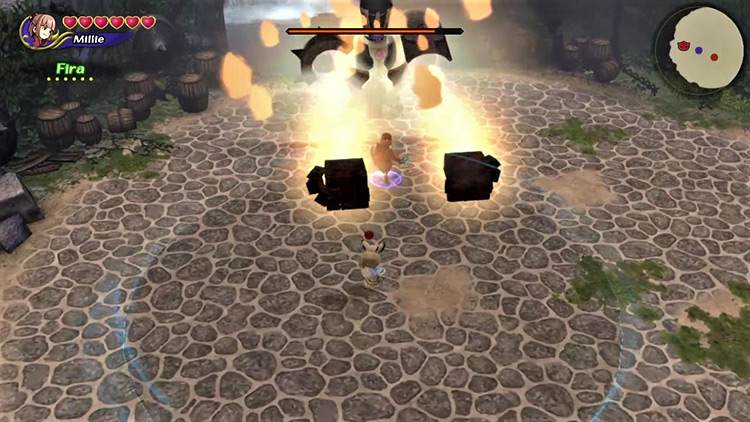
The Golem starts the fight with two Water Flan supporters.
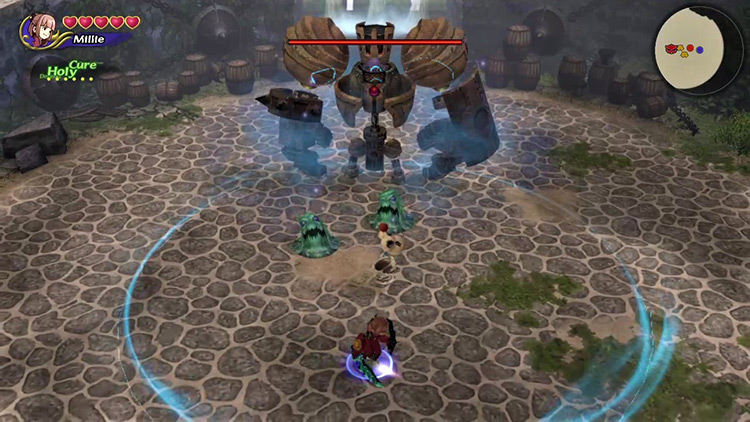
They’re not too strong, but they can Slow your character, leaving you wide open for the Golem.
Removing them should be priority #1.
Tip: Fira makes these chumps a breeze.
The Water Flans will respawn every minute or so. Don’t hesitate to switch your focus back to them when that happens.
Tip #2: Keep Your Distance
The Golem’s short-range attacks are considerably harder to dodge than the long-range ones.
Whether it’s swiping at you with its robotic arm or releasing Slow gas into the atmosphere, the Golem can do it way faster than you can get out of range.
On the other hand, its ranged moves are easy to read – and, therefore, easier to dodge. The rocket punches and freezing blue laser are extremely well-telegraphed.
It’s better to cast magic or prepare Focus Attacks from a distance rather than getting up close and personal with the boss for multi-hit combos.
Tip #3: Use Holy for Magic Damage
The Golem has a heightened resistance to Fire, Thunder, and Blizzard damage – but none to Holy.
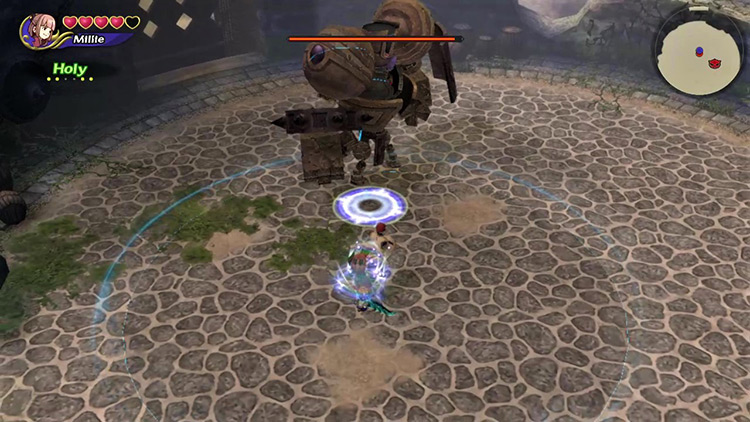
If you decide to go the spellcasting route, fuse Raise and one of the basic elements (Fire, Thunder, Blizzard) to create Holy.
Tip: You may add a second Raise and create Holyra for maximum damage, but remember it’ll take longer to cast.
Tip #4: Watch Out for Pink Laser
After losing over half of its health points, the Golem will add a new move to its arsenal: the Pink Laser.
The Golem will shoot a burning pink/magenta beam from its eyes and spin around quickly, burning anyone caught in the blast.
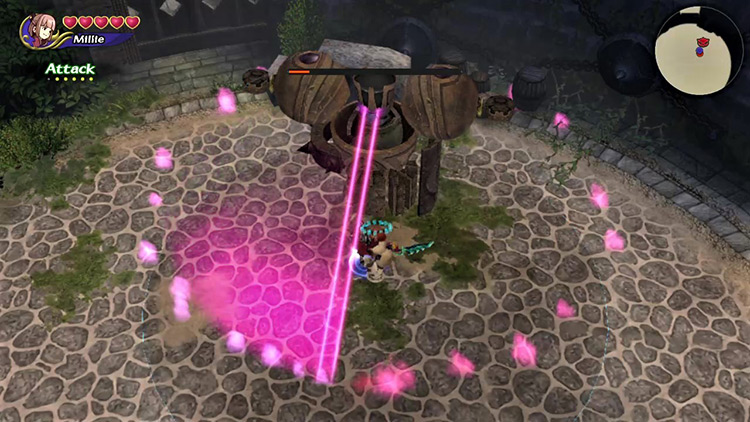
Not only does it deal plenty of damage, but it sets you on fire and lowers your Defense, making the Golem’s melee attacks absolutely devastating.
Don’t let it catch you off-guard!
Changes with Dungeon Cycles
On Cycle 3, the Golem will have a new move on top of the five you’ve already seen.
It’ll extend its arms to the sides and unleash a powerful whirlwind that’ll cause significant damage to anyone caught in the blast radius.
It’s another reason to try and keep your distance from the Golem.
Obtainable Items
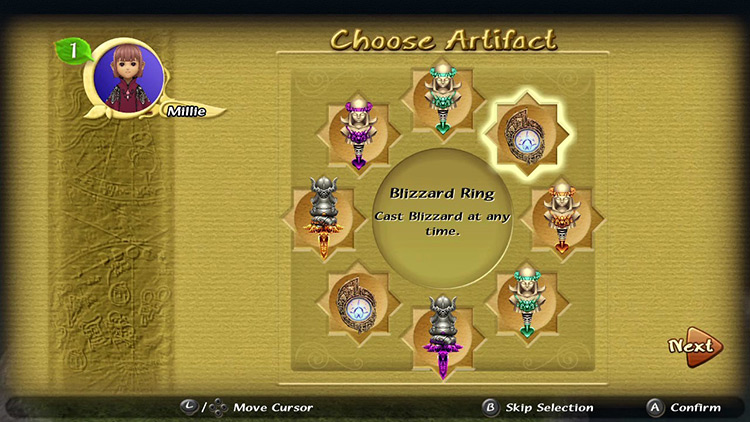
You’ll find Artifacts, crafting Recipes, and Materials throughout the dungeon. You get to keep all Recipes and Materials, but you can only choose one Artifact to take with you.
Chest Items
SCROLL
| Cycle | First | Second | Third |
|---|---|---|---|
| Artifacts | Ashura Book of Light Dragon’s Whisker Drill Kaiser Knuckles Kris Main Gauche Power Wristband Silver Bracer Twisted Headband |
Engetsurin Kris Main Gauche Ogrekiller Power Wristband Rat’s Tail Red Slippers Sage’s Staff Silver Bracer Twisted Headband |
Chicken Knife Dark Matter Engetsurin Masquerade Ogrekiller Onion Sword Rat’s Tail Red Slippers Sage’s Staff Tome of Ultima |
Monster Items
SCROLL
| Cycle | First | Second | Third |
|---|---|---|---|
| Gigan Toad | Alloy Toad Oil |
Alloy Toad Oil |
Gigan Toad |
| Griffin | Alloy (Drought) Blizzard Ring (A) Griffin’s Wing Moon Pendant (A) |
Blizzard Ring (A) Griffin’s Wing Moon Pendant (A) |
Blizzard Ring (A) Griffin’s Wing |
| Ice Bomb | Chilly Gel (Drought) Iron Shard (Drought) |
Iron Shard (Drought) | Iron Shard (Drought) |
| Water Flan | Chilly Gel | Chilly Gel | No drops |
Boss Items
Each boss has four drop pools per cycle.
Your Bonus Points determine which rewards you qualify to get. The higher your points, the more chances you have to get good rewards.

Higher ranks can randomly get any of the previous reward pools. There’s also a tiny chance that the contrary might happen, giving you higher-level rewards at low scores.
Note: Don’t miss this chance to get a Ring of Blizzard. It’ll be valuable in future dungeons.
SCROLL
| Cycle | First | Second | Third |
|---|---|---|---|
| 0+ BP | Blizzard Ring Buckler Ice Brand Silver Bracer |
Cat’s Bell Elven Mantle Fang Charm Moon Pendant |
Heavy Armband Moon Pendant Rat’s Tail Wonder Wand |
| 92+ BP | Green Beret Moon Pendant Sage’s Staff Silver Spectacles |
Blizzard Ring Faerie Ring Shuriken Sparkling Bracer |
Blizzard Ring Loaded Dice Noah’s Lute Orichalcum (M) |
| 115+ BP | Cat’s Bell Elven Mantle Fang Charm Moon Pendant |
Heavy Armband Moon Pendant Rat’s Tail Wonder Wand |
Diamond Helm Green Beret Green Sphere Winged Cap |
| 143+ BP | Blizzard Ring Faerie Ring Shuriken Sparkling Bracer |
Blizzard Ring Loaded Dice Noah’s Lute Orichalcum (M) |
Candry Ring Diamond Armor Fang Charm Taotie Motif |

-
Final Fantasy Crystal Chronicles Remastered
- Veo Lu Sluice Dungeon Guide + Map (FFCC Remastered)
Related Posts:
 Tida Village Dungeon Guide + Map (FFCC Remastered)
 River Belle Path Dungeon Guide + Map (FFCC Remastered)
 Goblin Wall Dungeon Guide + Map (FFCC Remastered)
 Mine of Cathuriges Dungeon Guide + Map (FFCC Remastered)
 Mushroom Forest Dungeon Guide + Map (FFCC Remastered)
 Moschet Manor Dungeon Guide + Map (FFCC Remastered)