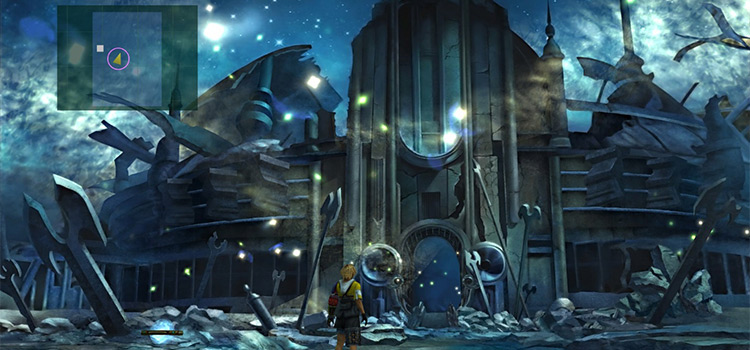
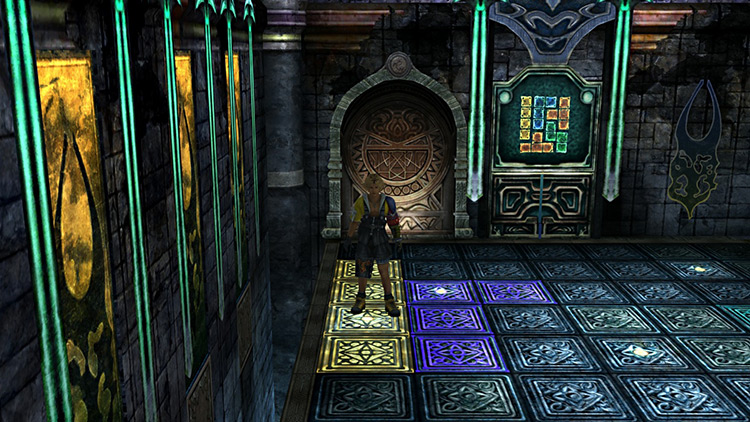
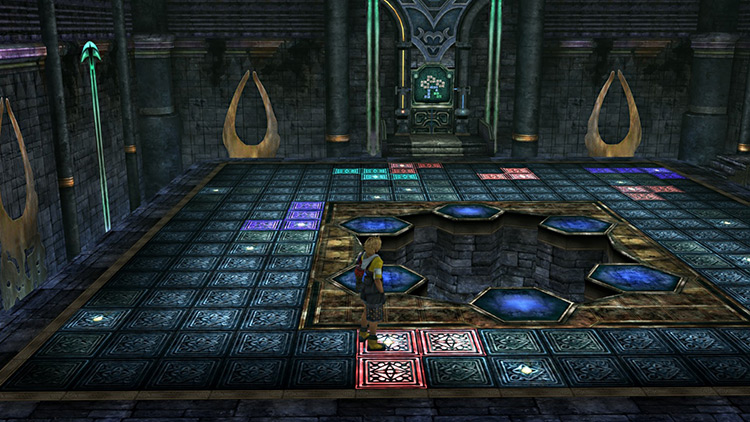
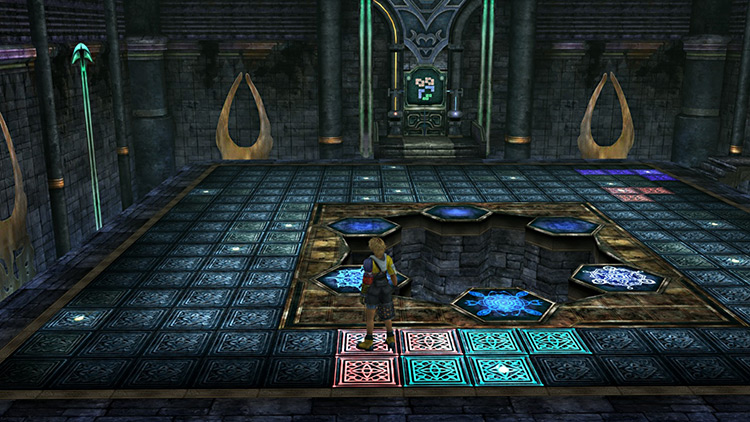
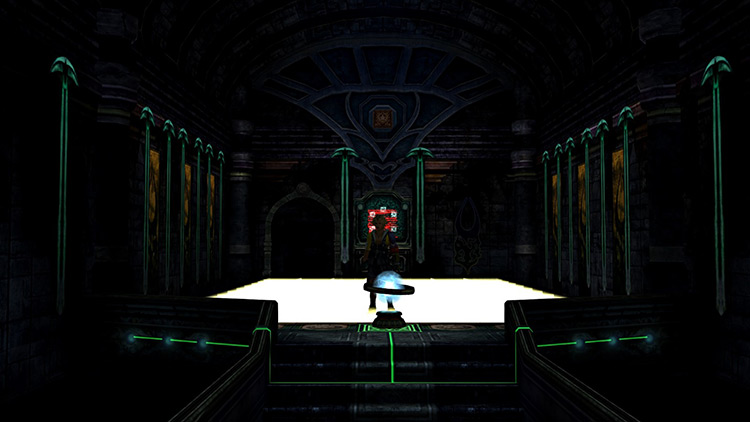
The Zanarkand Cloister of Trials sets itself apart from the previous trials since it does not involve placing certain spheres in specifics spots inside a temple. Instead, you will do a series of puzzles that will have you stepping on tiles to find the right combination of Tetris-like shapes in order to proceed.
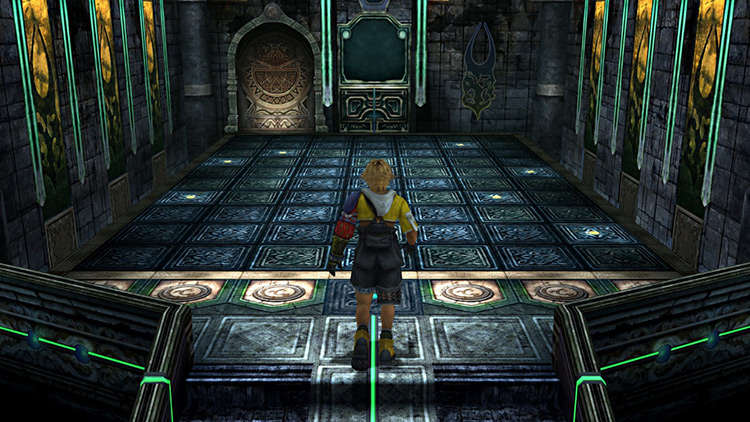
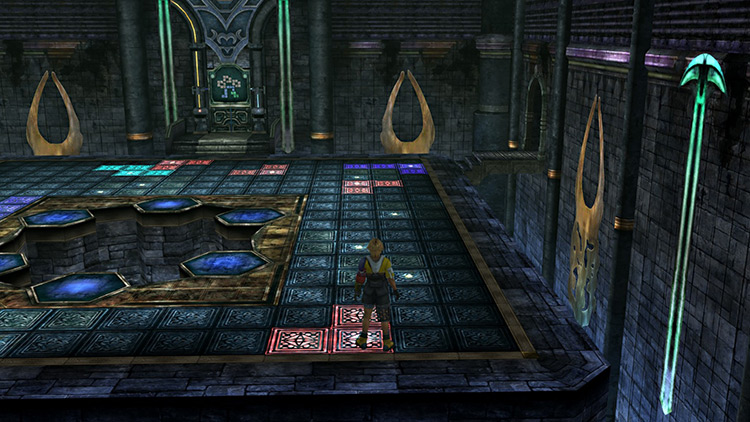
There are two rooms in this trial, and both rooms have grids on the floor that you need to step on to solve the puzzles.
To better navigate these rooms, we’ll plot out each grid and label the correct panels similar to an Excel spreadsheet. Then after the diagrams, we’ll take you through an exact step-by-step guide.
Room 1 Map

Room 2 Map

Note: Each cell marked with an “O” represents a panel you can step on to light up a shape
Step-By-Step Walkthrough
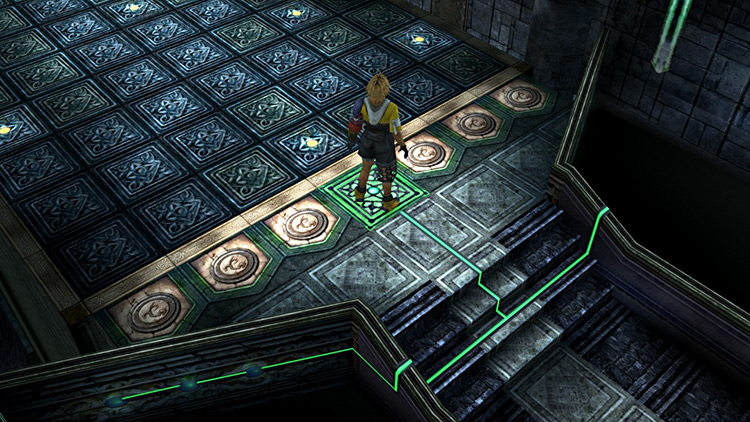
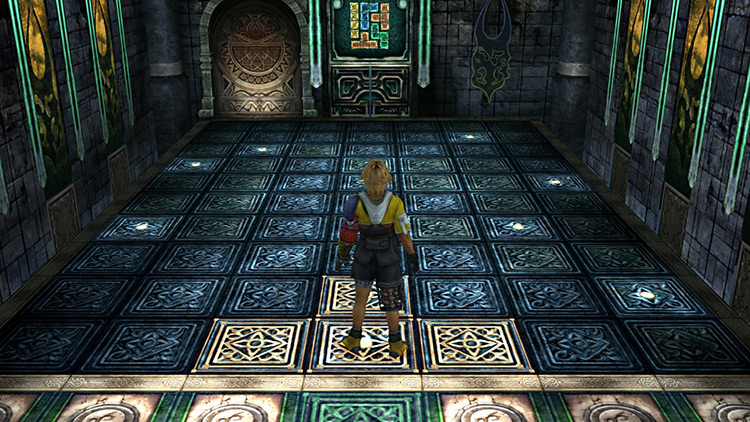
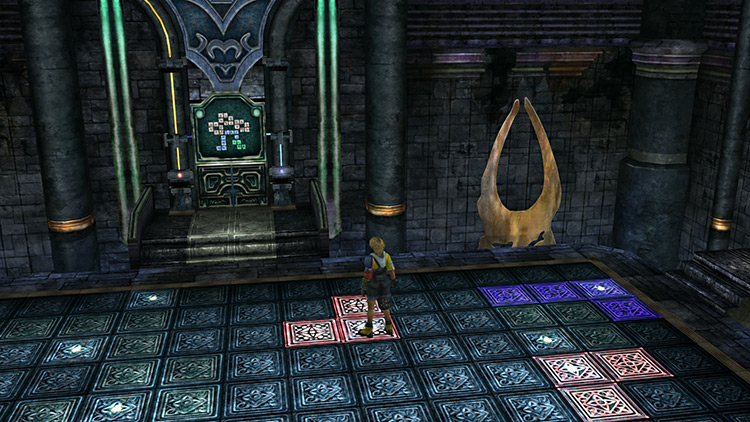
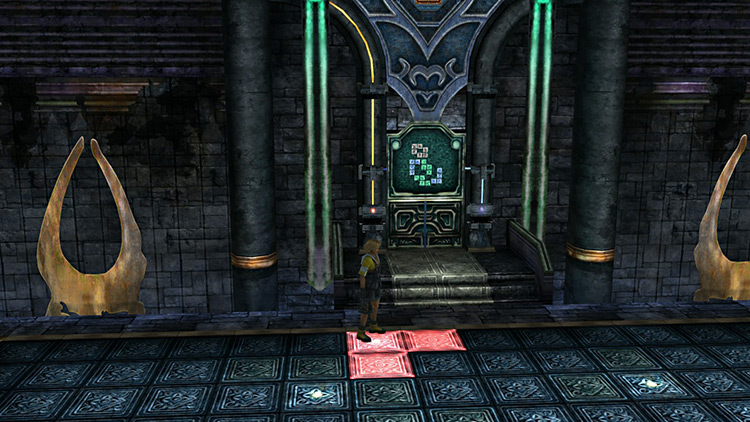
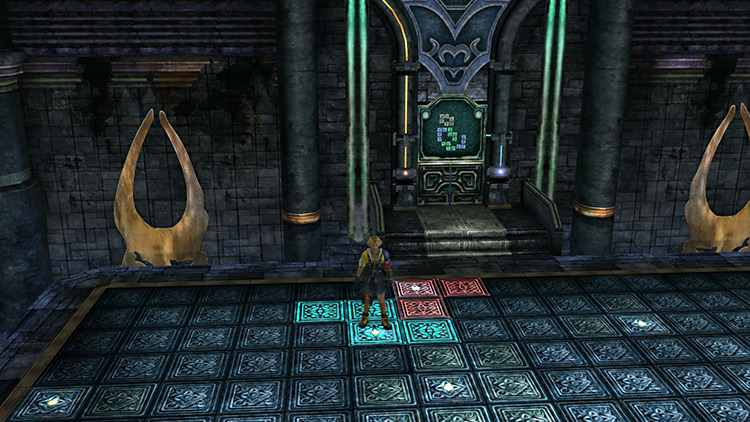
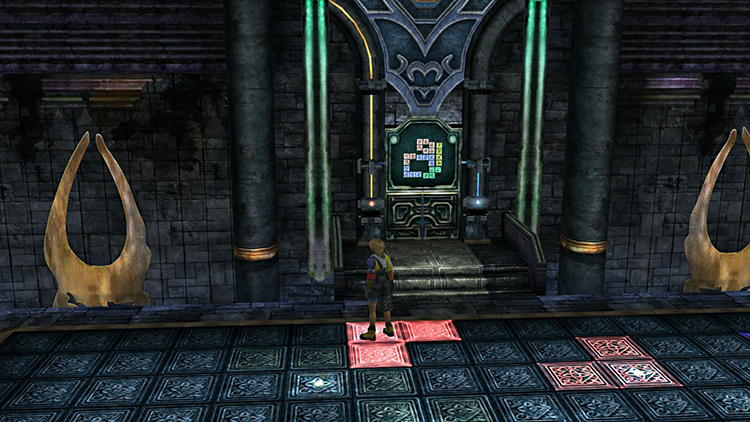
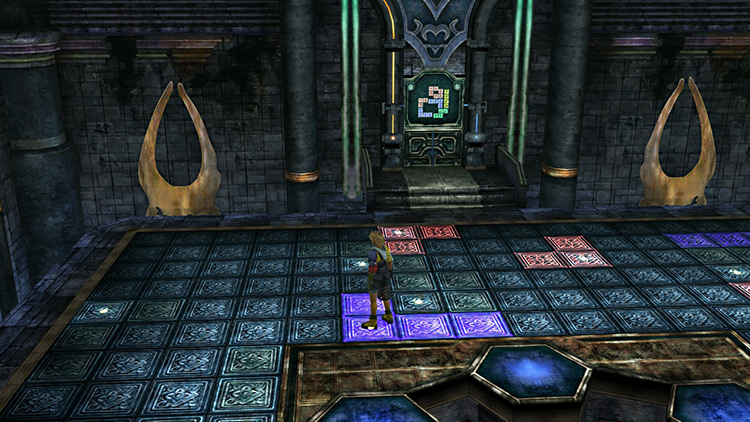
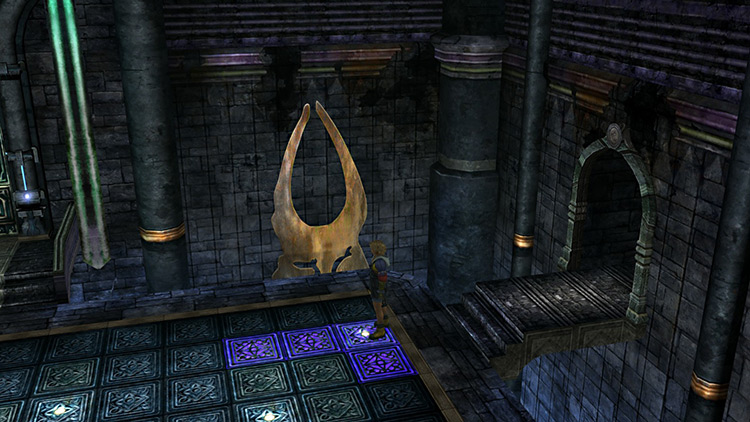
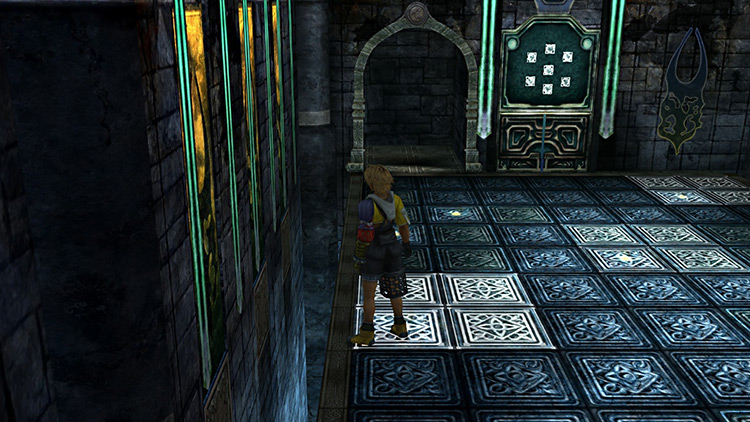
Step 1: Step on the green panel at the edge of the grid to activate the monitor on the other side of the room.
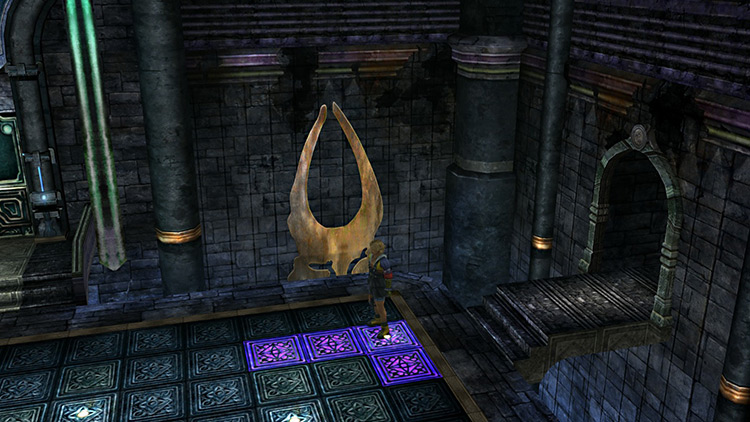
Step 2: You will need to look for the tiles on the grid that activate the same shapes displayed on the monitor. You can start with the panel D10 which is directly in front of you.
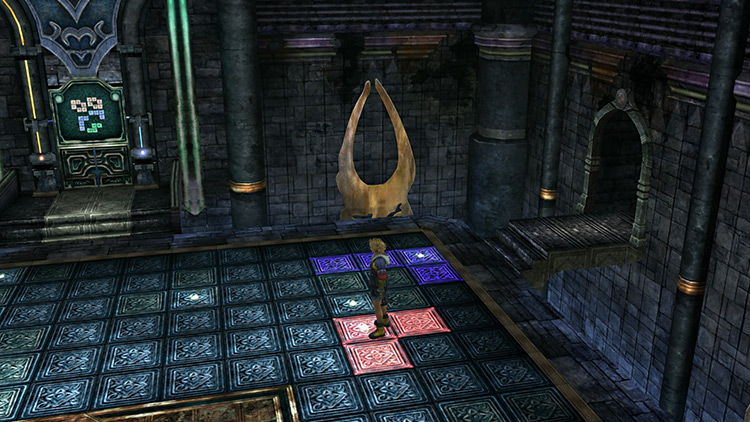
Step 3: Step on the next tile at F7.
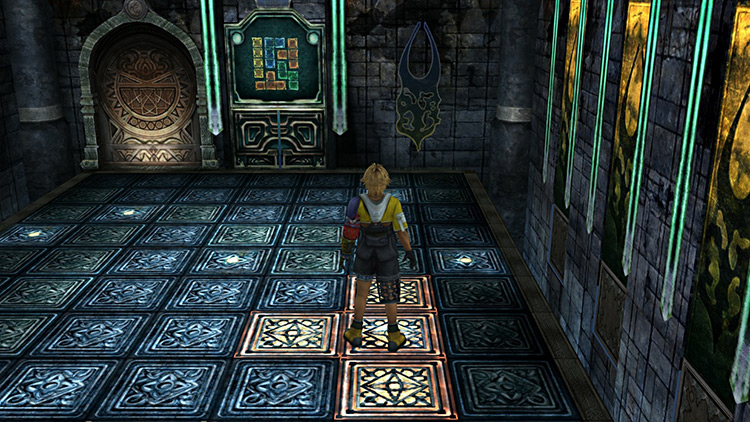
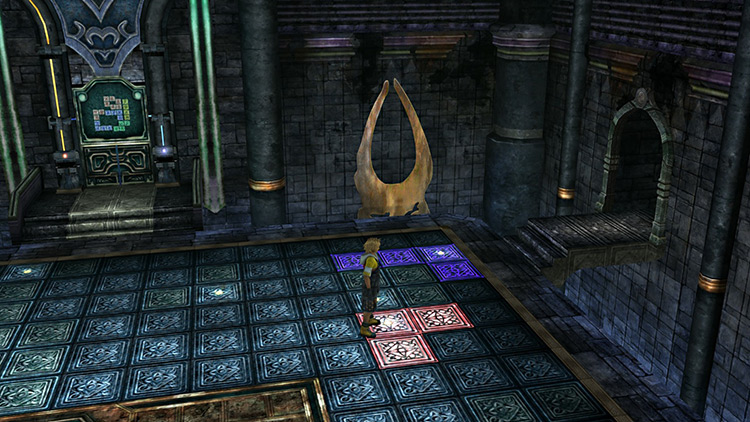
Step 4: Step on tile G5.
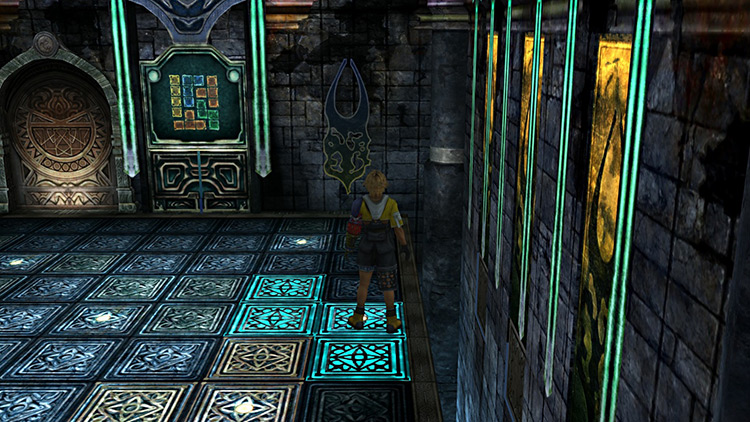
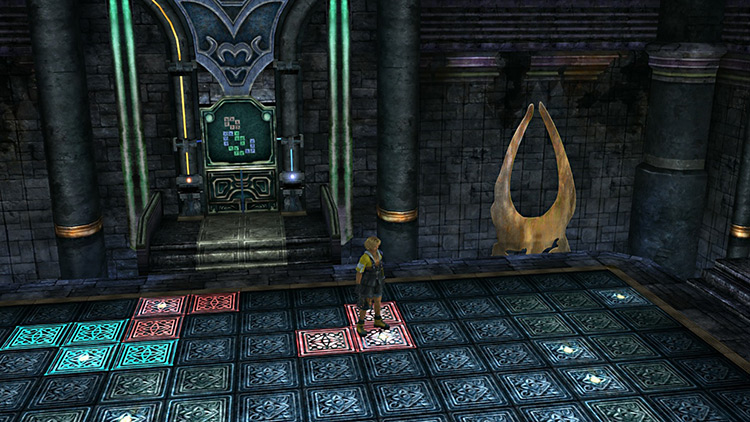
Step 5: Go ahead and activate tile B3.
Step 6: Step on tile A4, which is basically right next to your current position.
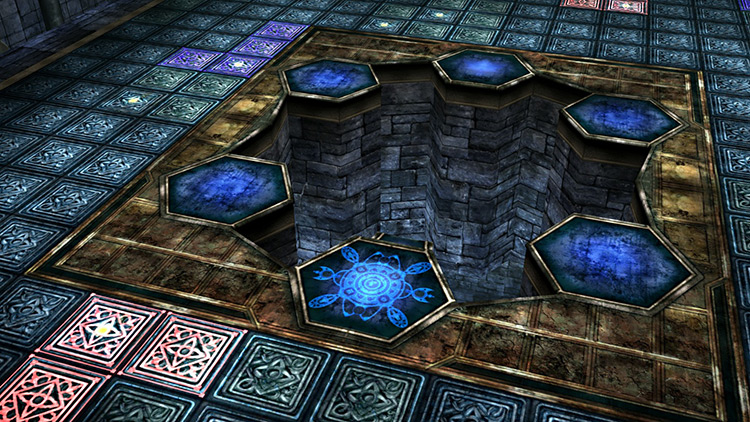
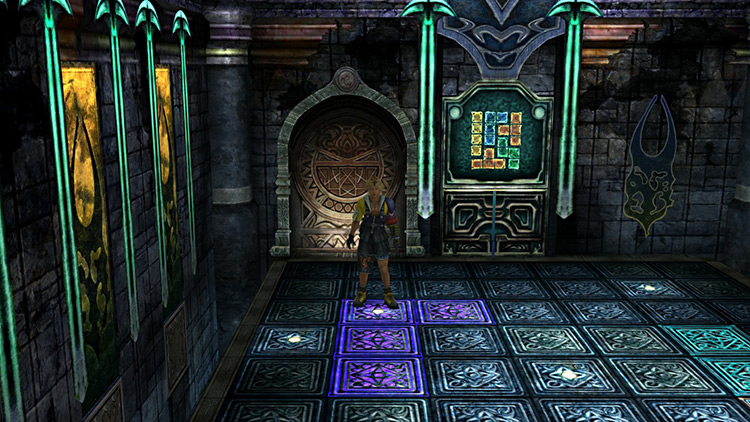
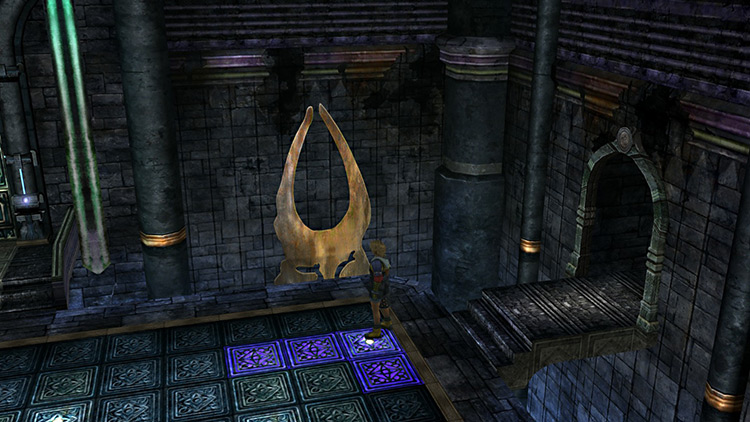
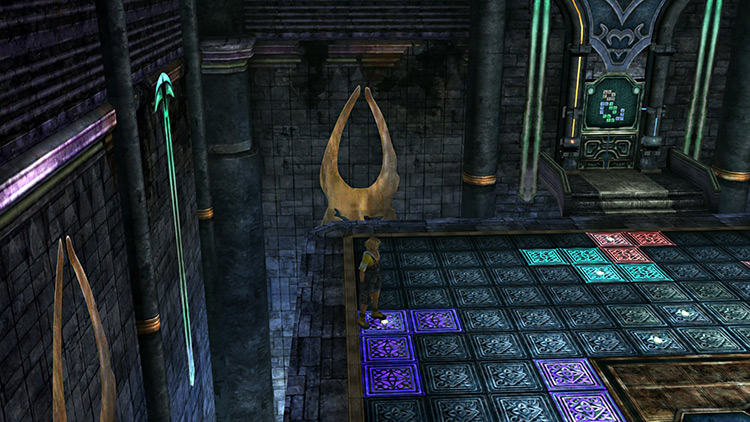
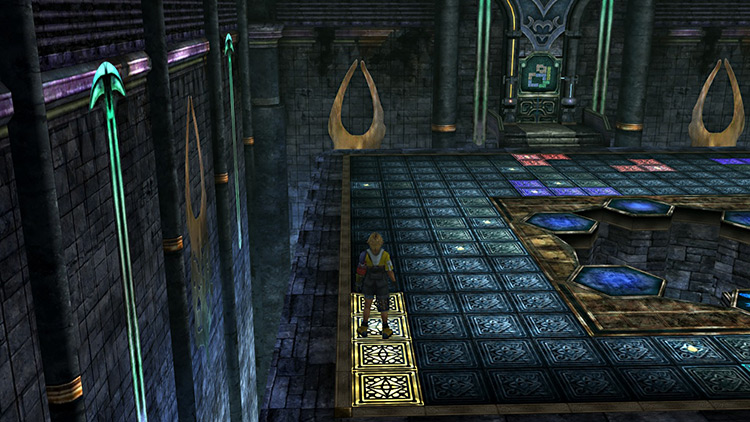
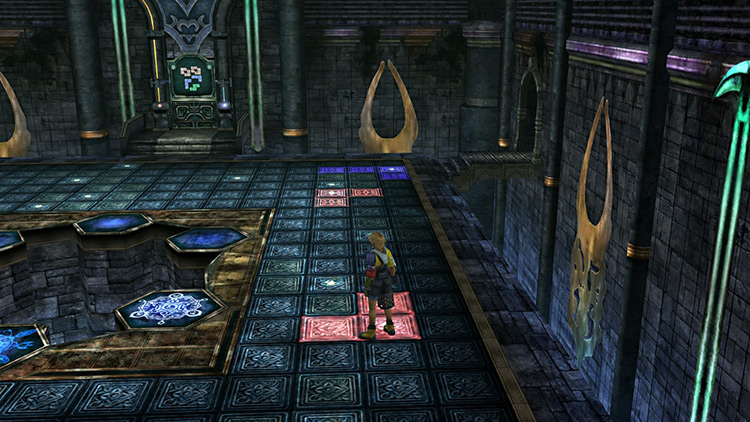
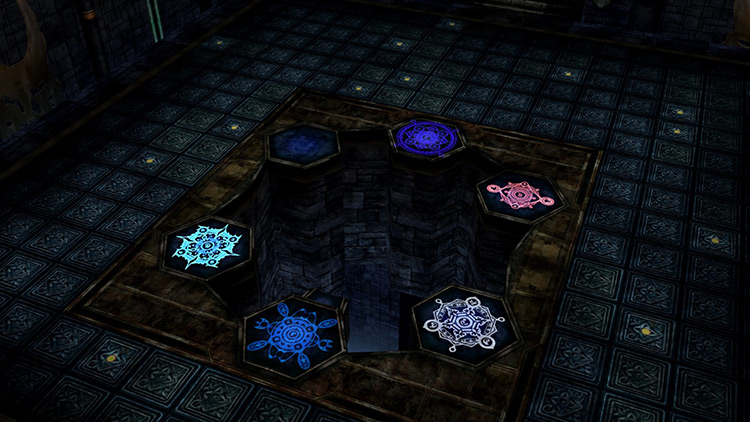
Step 7: Pedestals will emerge from the left and right sides of the room, 3 on each side for a total of six. And the door next to the monitor will open.
Push the pedestal in the northeast corner of the room, and a pattern of shapes will be displayed on the monitor in the second room.
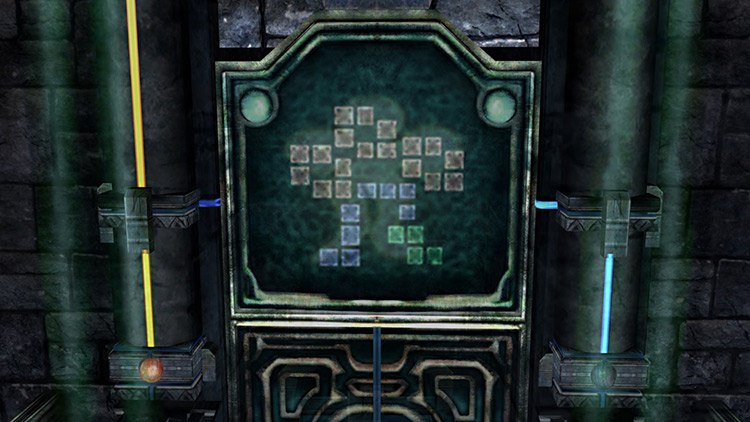
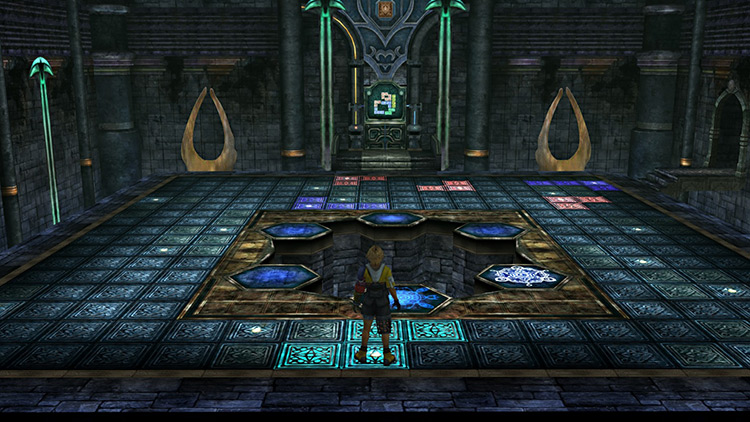
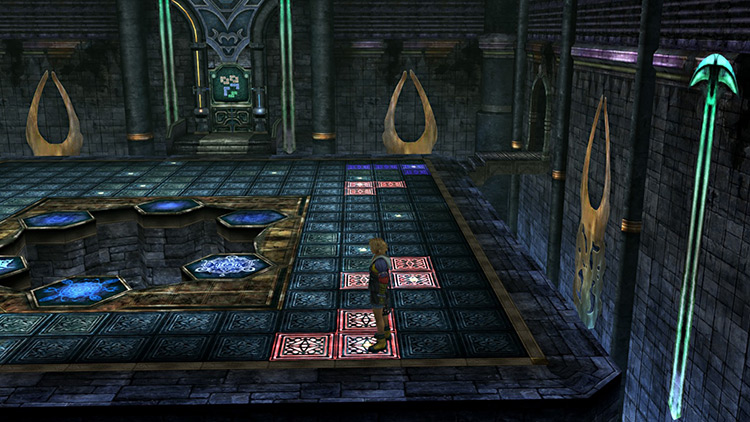
Step 8: You will once again be looking to activate the tiles that light up shapes that coincide with the pattern displayed on the monitor.
For this first one, start with panel P2 since it is closest to the 2nd room entrance.
Step 9: Then activate panel N5.
Step 10: Activate panel K3.
Step 11: Next, go to tile G1.
Step 12: The closest tile you’ll need to activate from here is at F3.
Step 13: Next, go and step on panel D9.
Step 14: Make your way over to panel F16 and activate it that (it’s all the way across the room).
Step 15: Proceed to panel N17 near the right-hand side of the room.
Step 16: Activate panel O14, which should be only a few steps away.
Step 17: At this point the initial puzzle for room #2 will be complete.
Now you can head back to the first room and push the pedestal in the northwest corner of the room.

Step 18: Another pattern will be displayed on the monitor in the second room.
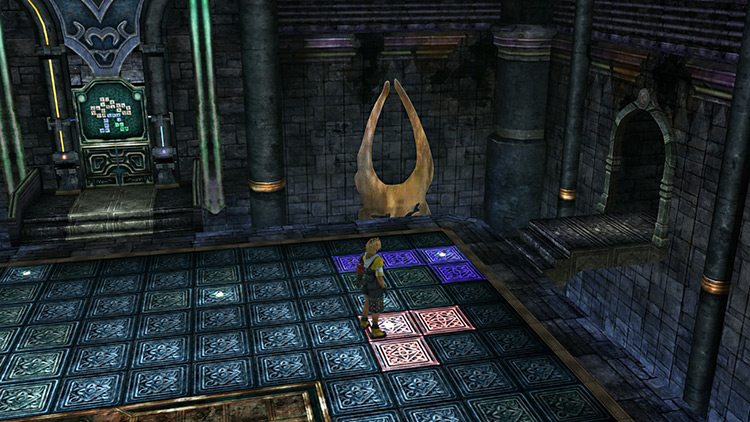
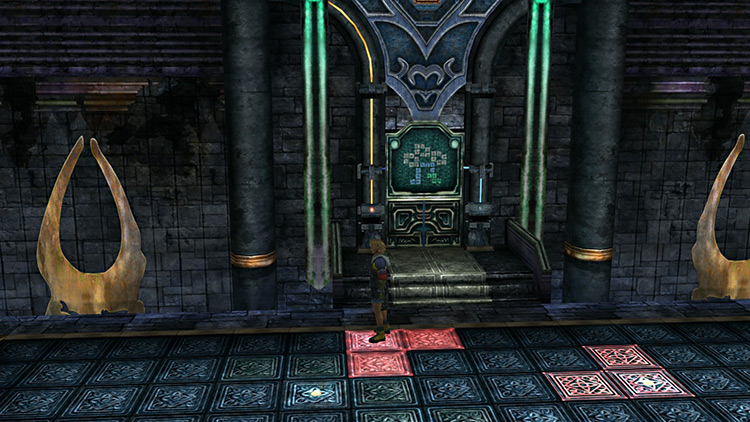
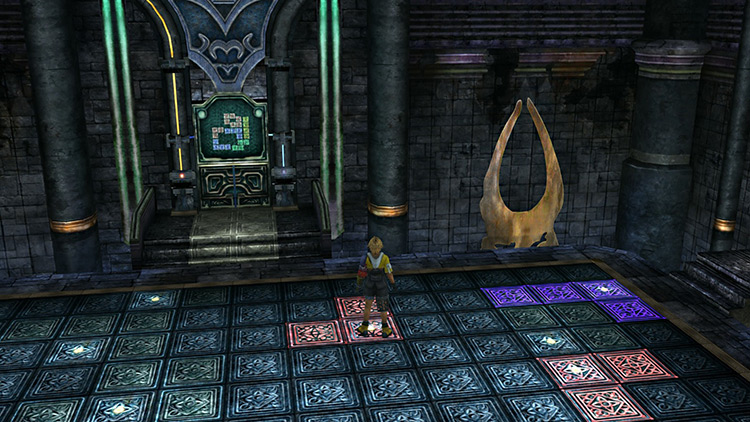
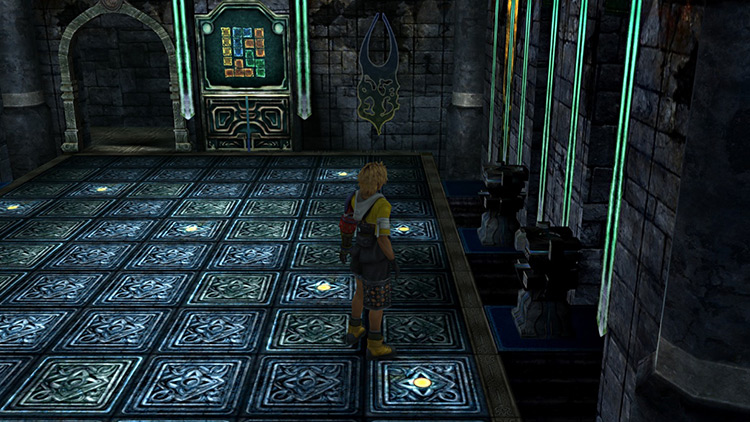
Head back in there and activate tile G1 (pictured below).
Step 19: Then activate panel F3, which is just a couple of steps away.
Step 20: Next, step on tile K3.
Step 21: Make your way to tile N12 and activate it.

Step 22: Go over to panel D9 and step on that next.

Step 23: Activate panel A5 to solve this current puzzle.
Step 24: With the second puzzle solved, backtrack to the first room again. This time, push the pedestal in the southwest corner of the room.
Step 25: Return to the second room and get started on the next puzzle by activating panel P2.
Step 26: Next, step on tile N5.
Step 27: Then you’ll want to activate tile K3.
Step 28: Make your way to panel G1 and activate it.
Step 29: Then proceed to F6 and step on that tile.
Step 30: Head on over to A15 to activate it next.
Step 31: And finally, step on tile H17 to complete the third puzzle.
Step 32: Go back to the first room and push the pedestal in the southeast corner. This will reveal the fourth and final puzzle.
Step 33: You can start this puzzle with the tile at P2.
Step 34: Next, activate panel N5.
Step 35: The next tile to step on is at O14.
Step 36: Just a couple steps south is the next tile to activate at N17.
Step 37: Staying on the same row, head west and step on panel H17.

Step 38: Right next to that is the next panel to activate at F16.
Step 39: Go to the western edge of the grid and step on tile A5. This will complete the fourth puzzle.

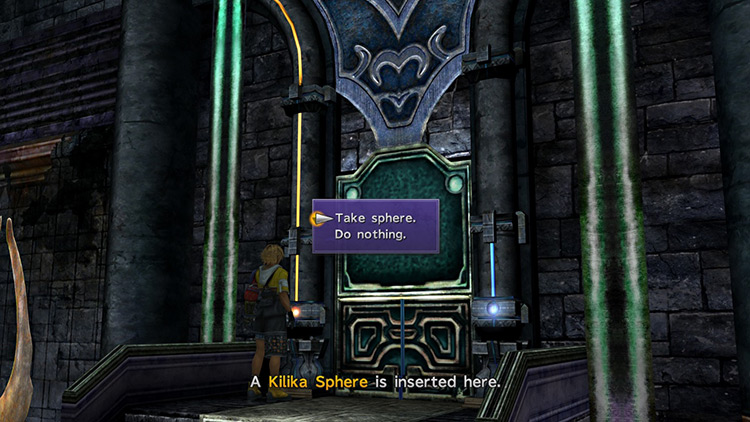
Step 40: With the Tetris shape puzzles done, you will now have access to two spheres.
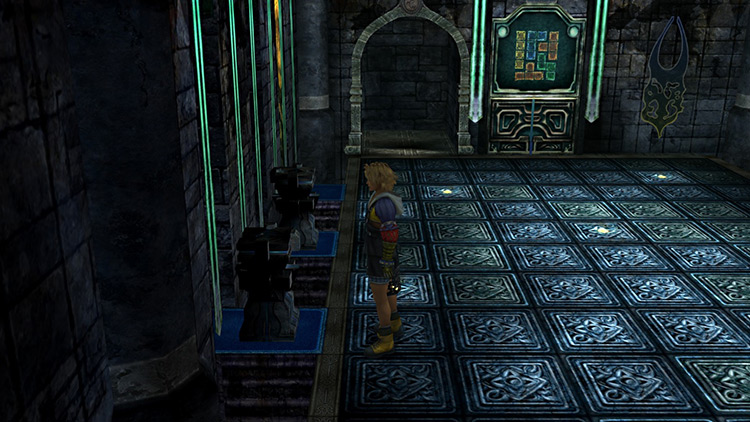
First, take out the Kilika Sphere (on the left) that’s on the recess next to the monitor in the second room. This will kill the lights, causing both rooms to get darker.
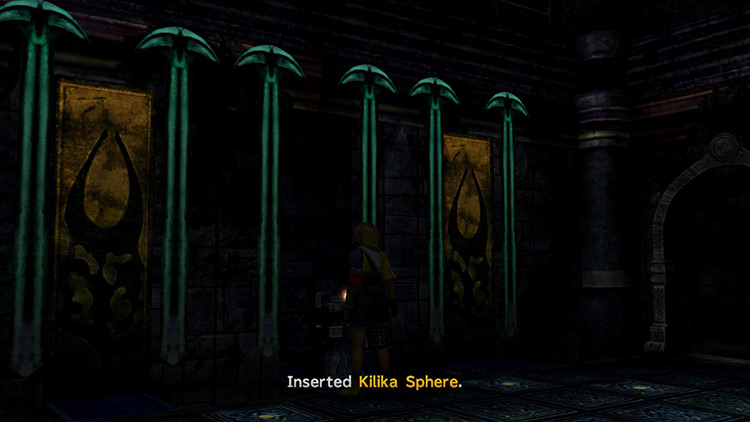
Step 41: Go back to the first room and place the Kilika Sphere on the remaining pedestal on the west wall.
Step 42: Return to the second room again, and this time take the Besaid Sphere on the other side of the monitor.
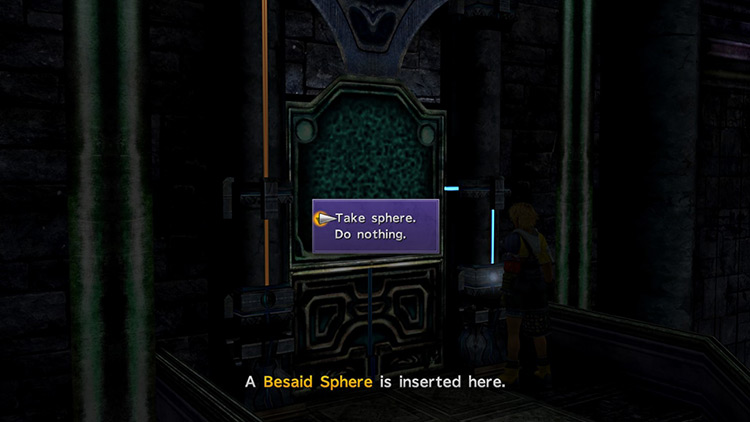
Step 43: Go back to the first room once more and place the Besaid Sphere on the last remaining pedestal on the east wall.
This is the final step for the trial, spawning a Save Sphere in the first room and activating a lift in the second room.
With the trial complete you can now save your game, and then once you’re ready to move forward you can step on the lift.
The Zanarkand Trial’s Hidden Treasure
You may have noticed that at this point you haven’t gotten the opportunity to get a Destruction Sphere for Zanarkand’s hidden treasure – a Magistral Rod.
That’s because you can’t actually get it yet during your first visit to the Dome.
You can get the Destruction Sphere after you gain control of the airship, which happens soon after completing this Cloister of Trials and after defeating the next couple of bosses.
When you return to the Zanarkand Trial, you’ll find that the puzzle will be active again. This time, your goal will be to look for the panels that light up the white squares in both rooms.
- In the first room, you can find these panels on F2, D4, and A7
- For the second room, the panels you’ll need to step on are N4, O9, G5, and C11
Once you’ve found all the white squares, a pedestal containing the Destruction Sphere will appear in the first room.
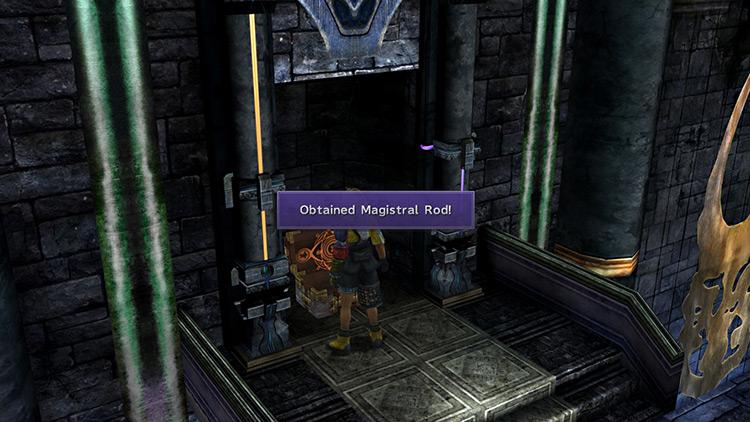
Take the Destruction Sphere and place it on the recess to the right of the monitor in the second room. The monitor will break and reveal the treasure chest with the Magistral Rod. This is a weapon for Yuna that comes with the Half MP Cost auto-ability + two vacant ability slots.
Additional Notes + Tips
- Follow any order you want: Activating tiles for all the puzzles in both rooms can be done in any order, as long as you step on the correct ones. Stepping on an incorrect tile will reset all active tiles, forcing you to go back to the start of your current puzzle.
- Puzzles can be in any order too: The four different puzzles for the second room can also be done in any order.
- Spectral Keeper battle: Entering the second room after solving all puzzles & finishing the Zanarkand Cloister of Trials will immediately trigger the fight with the Spectral Keeper. Since this boss fight can be a bit tricky, be sure to save your game when the Save Sphere spawns in the first room.

-
Final Fantasy X
- Zanarkand Cloister of Trials Guide + Destruction Sphere (FFX)
Related Posts:
 Macalania Cloister of Trials Guide + Destruction Sphere (FFX)
 Bevelle Cloister of Trials Guide + Destruction Sphere (FFX)
 Djose Cloister of Trials Guide + Destruction Sphere (FFX)
 Besaid Cloister of Trials Guide + Destruction Sphere (FFX)
 FFX Cheer Ability: How It Works & Is It Worth Using?
 FFX: How Do You Gain Experience in Blitzball?
 FFX Tough Bangle Location (Step-by-Step Guide)
 FFX Donating to the Crusaders: What You Get + Is It Worth It?