To unlock the Level 50 dungeon Amdapor Keep (Hard), you need to accept the Level 50 quest “For Keep’s Sake” from Lauriane in Mor Dhona (X:22.1, Y:8.6). But since this is the hard mode version of Amdapor Keep, there are a few other prerequisites you need to complete before it can be unlocked (we’ll cover a full step-by-step unlock process here).
These prerequisites include the Level 50 Main Scenario Quest (MSQ) “The Ultimate Weapon” from Raubahn in Northern Thanalan (X:15.0, Y:16.0), and the Level 50 quest “Ghosts of Amdapor” from Nedrick Ironheart in Western Thanalan (X:12.0, Y:14.3).
TABLE OF CONTENTS
Step-by-Step Unlock Guide

- Complete the Level 50 Main Scenario Quest (MSQ) “The Ultimate Weapon” from Raubahn in Northern Thanalan (X:15.0, Y:16.0).
- Finish the Level 50 quest “Ghosts of Amdapor” from Nedrick Ironheart in Western Thanalan (X:12.0, Y:14.3).
- Accept the Level 50 quest “For Keep’s Sake” from Lauriane in Mor Dhona (X:22.1, Y:8.6).
- Speak with Adestan at Camp Tranquil in South Shroud (X:17.1, Y:28.2).
- Talk to Maxinne outside Amdapor Keep in South Shroud (X:24.7, Y:24.9).
Detailed Unlocking Guide
Before you get started with the Amdapor Keep questline, you must first complete the Level 50 Main Scenario Quest (MSQ) “The Ultimate Weapon.” This is the final MSQ of the patch 2.0 Main Scenario Questline, and is a prerequisite to all expert-level dungeons and trials for the A Realm Reborn expansion.
Upon completing “The Ultimate Weapon,” you’ll be able to unlock Amdapor Keep and Amdapor Keep (Hard).
Talk to Nedrick Ironheart in Western Thanalan (X:12.0, Y:14.3) and accept the Level 50 quest “Ghosts of Amdapor” to start the Amdapor Keep questline.
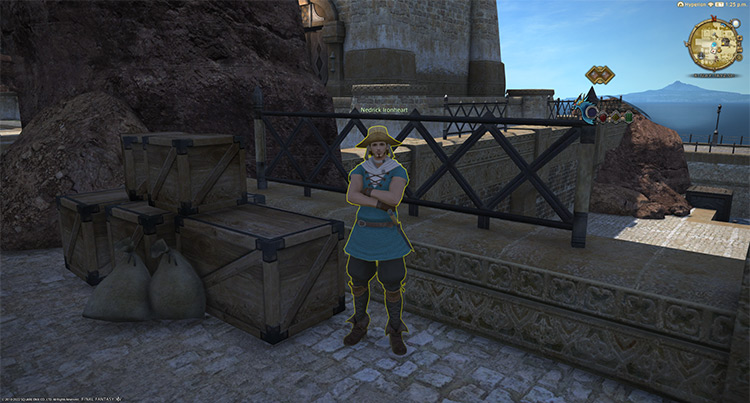
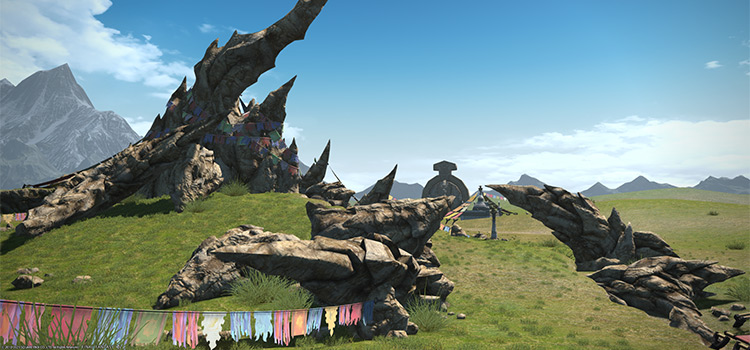
As with every hard mode dungeon in the game, you need to complete its normal version first. In “Ghosts of Amdapor,” you’ll learn about the keep’s history and get your first look inside. Complete the Level 50 dungeon Amdapor Keep to continue.
You’ll need at least a Level 50 Disciple of War or Magic job and an average item level of 45 to enter the normal version.
Once you’ve cleared that dungeon, travel to Mor Dhona (X:22.1, Y:8.6) and accept the Level 50 quest “For Keep’s Sake” from Lauriane to begin unlocking Amdapor Keep (Hard).
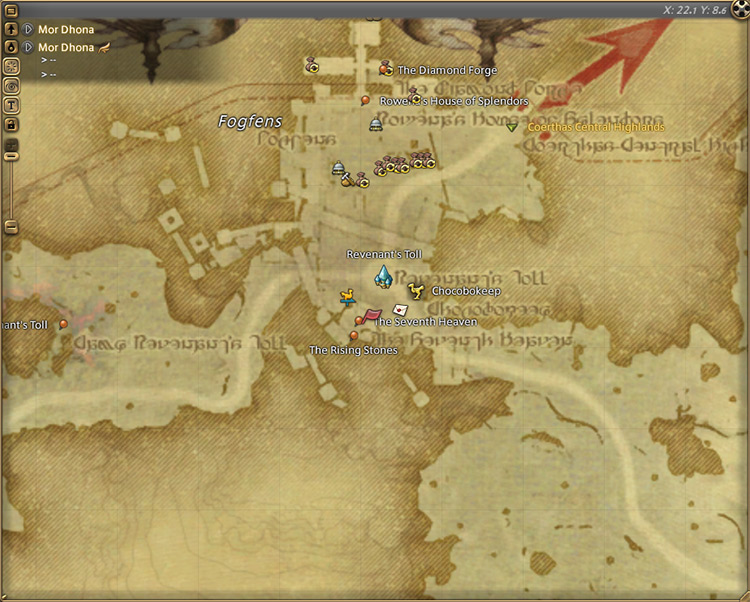
Laurianne will express some curiosity about the adventurer that rid Amdapor Keep of its cultists.
After introducing yourself, it turns out you’re exactly the person she was looking for.
From Laurianne, you’ll learn about a man named Adestan, a hearer residing in Camp Tranquil that needs your help to quell the dark stirrings within the keep.
Speak with Adestan in South Shroud (X:17.1, Y:28.2) to continue.
Unfortunately, Adestan will bear some bad news for you regarding the keep.
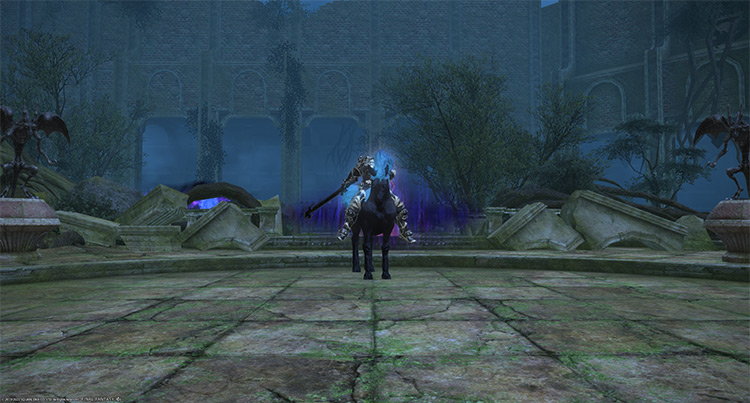
While you and your friends were successful in driving out the Lambs of Dalamud in your first expedition inside the keep, another group completed their rituals and summoned a powerful voidsent lord.
Adestan will have you meet the Wood Wailer Maxinne outside the keep so you may go inside Amdapor Keep again. After talking to Maxinne in South Shroud (X:24.7, Y:24.9), Amdapor Keep (Hard) will be unlocked.
This dungeon requires at least a level 50 Disciple of War or Magic job and an average item level of 90 to enter.
We’ll cover each boss and their corresponding mechanics below to help you during your synced duty roulette runs.
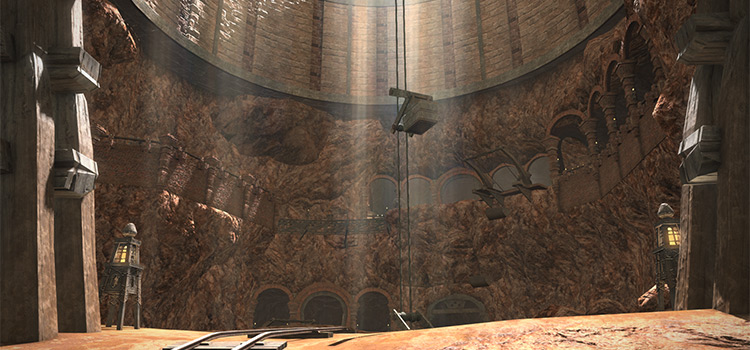
Boss #1: Anchag
Mechanics:
- Foreboding Statue: At the start of the fight, You’ll notice four statues around the arena. These statues are used to mitigate “Yggr” attacks. They can be damaged by every boss, so make sure it only gets hit by “Yggr.” The boss should die before all four statues are destroyed, or your party may wipe.
- Geirrothr: A heavy-hitting tankbuster. Mitigate and heal through the attack.
- Hall of Sorrow: A large circle AoE dropped onto a random player.
- Yggr: The boss will place a red marker on a random player and tether to them after a few seconds. The affected player will be hit up to five times, with each hit applying stacking “Vulnerability Up” and “Infirmity” debuffs for 60 seconds.
To handle this mechanic, transfer the tether to one of the “Forboding Statues” by standing behind them until the boss finishes its attacks. - Valfodr: A knockback line attack toward a targeted player that expands based on their proximity to the boss. Move closer to the boss to reduce incoming damage and point the line AoE away from the statues.
Rewards
- 20 Allagan Tomestone of Poetics
| Name | Type | Rarity |
|---|---|---|
| Bogatyr’s Armillae of Aiming | Bracelets | Dungeon (Green) |
| Bogatyr’s Armillae of Casting | Bracelets | Dungeon (Green) |
| Bogatyr’s Armillae of Healing | Bracelets | Dungeon (Green) |
| Picaroon’s Armillae of Slaying | Bracelets | Dungeon (Green) |
| Varlet’s Armillae | Bracelets | Dungeon (Green) |
| Bogatyr’s Thighboots of Casting | Feet | Dungeon (Green) |
| Bogatyr’s Thighboots of Healing | Feet | Dungeon (Green) |
| Picaroon’s Leggings of Maiming | Feet | Dungeon (Green) |
| Picaroon’s Leggings of Scouting | Feet | Dungeon (Green) |
| Picaroon’s Leggings of Striking | Feet | Dungeon (Green) |
| Varlet’s Sabatons | Feet | Dungeon (Green) |
| Bogatyr’s Ring of Aiming | Ring | Dungeon (Green) |
| Bogatyr’s Ring of Casting | Ring | Dungeon (Green) |
| Bogatyr’s Ring of Healing | Ring | Dungeon (Green) |
| Picaroon’s Ring of Slaying | Ring | Dungeon (Green) |
| Varlet’s Ring | Ring | Dungeon (Green) |
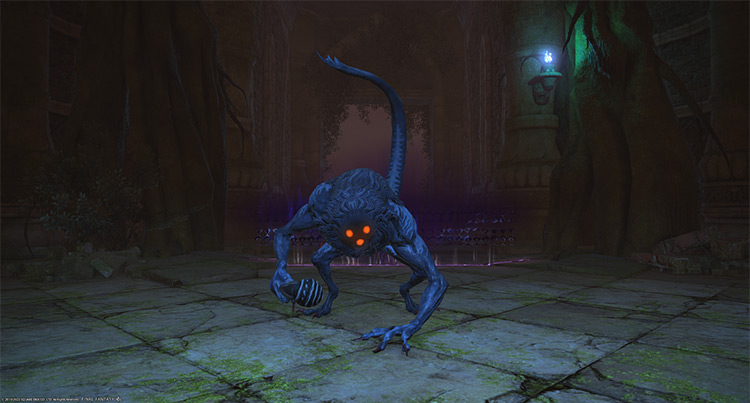
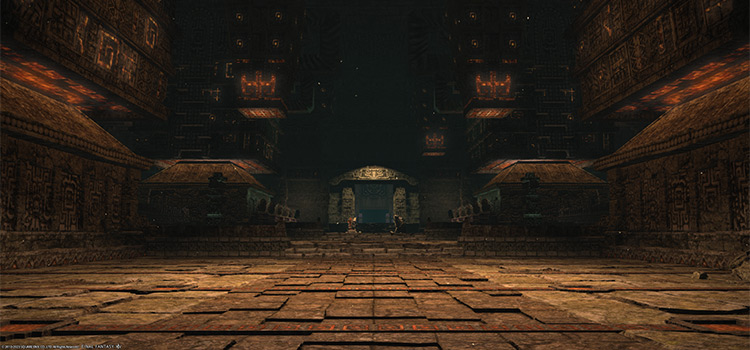
Boss #2: Boogyman
Mechanics:
- Smite of Gloom: A tankbuster attack on the primary target. Use mitigation skills and heal through the damage.
- Invisible: The boss will hide in the shadows and gain a “Damage Up” buff. This skill also spawns a “Luminescence” orb that can be used to bring the boss out of hiding. While hidden, the boss will use a weaker “Smite of Gloom.”
- Luminescence Orb: Kill this orb to get the “Irradiated” buff that lasts for six seconds. Stand near the boss when the timer ends to bring it back out.
- Ripples of Gloom: A room-wide AoE attack. Mitigate and heal through the damage.
- Batter: A telegraphed point-blank AoE that applies a 3-second stun.
- Entrance: A look-away frontal cone AoE attack. Getting hit by this attack will result in a 10-second “Confused” debuff, making you attack your allies. You can stay in the AoE cone and still avoid the attack as long as you look away from the boss when the cast goes off.
- Doppelganger: At 50% HP, the boss will summon a clone while halving his HP. During this time, Bloodmoon mobs will also spawn around the room. Focus on killing one clone at a time.
- Bloodmoon Sacrifice and Bloodmoon Martyr: Two types of Bloodmoon mobs will spawn after “Doppelganger.” Kill the martyrs first before they finish casting their suicide AoE.
- Spontaneous Combustion (Bloodmoon Martyr): A slow-casting, room-wide AoE attack that applies a 30-second “Bleeding” DoT. Kill the martyr or heal through the damage and dispel the debuff.
Rewards
- 30 Allagan Tomestone of Poetics
| Name | Type | Rarity |
|---|---|---|
| Bogatyr’s Earrings of Aiming | Earrings | Dungeon (Green) |
| Bogatyr’s Earrings of Casting | Earrings | Dungeon (Green) |
| Bogatyr’s Earrings of Healing | Earrings | Dungeon (Green) |
| Picaroon’s Earrings of Slaying | Earrings | Dungeon (Green) |
| Varlet’s Earrings | Earrings | Dungeon (Green) |
| Bogatyr’s Gloves of Aiming | Hands | Dungeon (Green) |
| Bogatyr’s Gloves of Casting | Hands | Dungeon (Green) |
| Bogatyr’s Gloves of Healing | Hands | Dungeon (Green) |
| Picaroon’s Armguards of Maiming | Hands | Dungeon (Green) |
| Picaroon’s Armguards of Scouting | Hands | Dungeon (Green) |
| Picaroon’s Armguards of Striking | Hands | Dungeon (Green) |
| Varlet’s Gauntlets | Hands | Dungeon (Green) |
| Bogatyr’s Blinder of Casting | Head | Dungeon (Green) |
| Bogatyr’s Cap of Aiming | Head | Dungeon (Green) |
| Bogatyr’s Circlet of Healing | Head | Dungeon (Green) |
| Picaroon’s Eyepatch of Striking | Head | Dungeon (Green) |
| Picaroon’s Headgear of Maiming | Head | Dungeon (Green) |
| Picaroon’s Mask of Scouting | Head | Dungeon (Green) |
| Varlet’s Sallet | Head | Dungeon (Green) |
| Bogatyr’s Necklace of Aiming | Necklace | Dungeon (Green) |
| Bogatyr’s Necklace of Casting | Necklace | Dungeon (Green) |
| Bogatyr’s Necklace of Healing | Necklace | Dungeon (Green) |
| Picaroon’s Necklace of Slaying | Necklace | Dungeon (Green) |
| Varlet’s Necklace | Necklace | Dungeon (Green) |
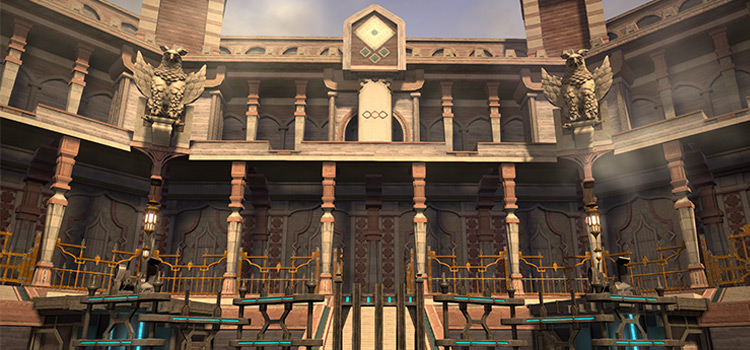
Boss #3: Ferdiad
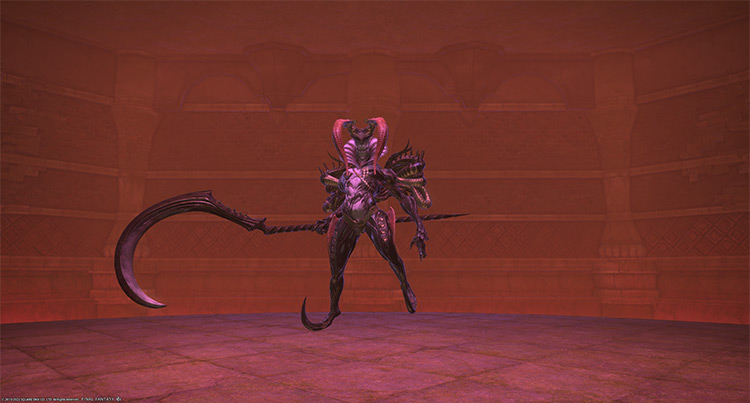
The boss’ normal attacks always cleave. Face him away from the party at all times to avoid unnecessary damage.
Mechanics:
Phase 1: Wild Card #1
- Blackout: A room-wide AoE attack. Mitigate and heal through the damage.
- Jongleur’s X: A hard-hitting tankbuster on the primary target. Shield and heal through the attack.
- Wild Card: The boss will summon three “Wicked Jester” mobs tethered to him along with an expanding AoE underneath him. During this time, he’ll gain immunity to physical and magical attacks.
Kill the jesters to prevent the AoE from expanding further and remove the boss’ immunities. If allowed to go off, the AoE can easily wipe your party with the initial attack or finish you off with the 30-second “Bleeding” DoT it applies. - Jester’s Reap: A “Suppuration” mob will bind onto a random player, rendering them unable to move while the boss readies a frontal cone AoE. Kill the puddle before the AoE goes off. In Phase 1, the affected player can still use attacks.
- Black Wind: The boss will attack and drop “Death Scythes” on a random player twice in a row. These scythes will continuously spin for a few seconds, dealing constant damage to anyone near them. Spread out and bait the scythes away from the party to avoid overlapping damage.
- Abyssal Charge: Four lances will appear on one side of the arena and thrust across the room. Avoid its paths.
Phase 2: Wild Card #2 and Enhanced Skills
- Wild Card #2: On the second “Wild Card,” the jesters will be replaced by a “Troubadour” mob with higher HP. Similar to Phase 1, kill the mob before the AoE covers the entire room.
- Jester’s Reap: The “Suppuration” mob will be replaced by a “Cankerous Gobbet” mob. The affected player won’t be able to move or attack anymore and will get a 10-second “Vulnerability Up” debuff. Kill the gobbet to free up your ally.
- Abyssal Charge: Eight lances will now thrust across the room in a crisscross pattern. Stand in the safe squares in between.
Rewards
- 50 Allagan Tomestone of Poetics
- Demon Wall Triple Triad Card (not guaranteed)
- Ferdiad Triple Triad Card (not guaranteed)
| Name | Type | Rarity |
|---|---|---|
| Bogatyr’s Longcoat of Aiming | Body | Dungeon (Green) |
| Bogatyr’s Longcoat of Casting | Body | Dungeon (Green) |
| Bogatyr’s Longcoat of Healing | Body | Dungeon (Green) |
| Picaroon’s Jacket of Maiming | Body | Dungeon (Green) |
| Picaroon’s Jacket of Scouting | Body | Dungeon (Green) |
| Picaroon’s Jacket of Striking | Body | Dungeon (Green) |
| Varlet’s Hauberk | Body | Dungeon (Green) |
| Bogatyr’s Slops of Aiming | Legs | Dungeon (Green) |
| Bogatyr’s Slops of Casting | Legs | Dungeon (Green) |
| Bogatyr’s Slops of Healing | Legs | Dungeon (Green) |
| Picaroon’s Trousers of Maiming | Legs | Dungeon (Green) |
| Picaroon’s Trousers of Scouting | Legs | Dungeon (Green) |
| Picaroon’s Trousers of Striking | Legs | Dungeon (Green) |
| Varlet’s Breeches | Legs | Dungeon (Green) |
Extra Treasure Coffers
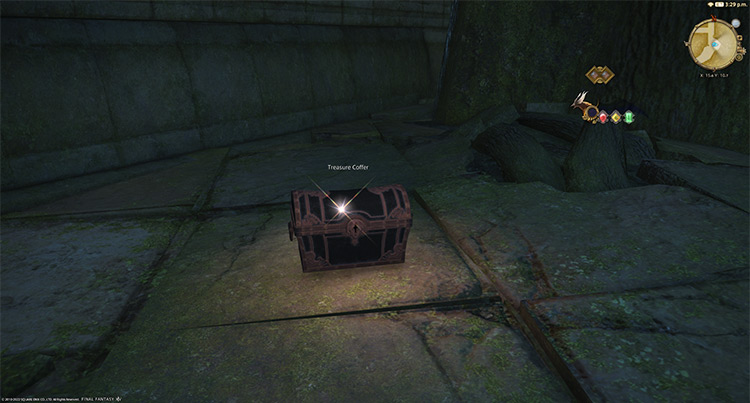
Apart from the boss rewards, there are four treasure coffers located throughout the dungeon that you can open for more gear rewards:
- (X:7.3, Y:9.5)
- (X:11.0, Y:9.7)
- (X:13.2, Y:11.5)
- (X:15.6, Y:10.7)
-
Final Fantasy XIV
- FFXIV Amdapor Keep (Hard): How To Unlock + Dungeon Guide
Related Posts:
 The Lost City of Amdapor (Hard): Unlock + Boss Guide – FFXIV
 FFXIV Dohn Mheg: How To Unlock + Boss Guide
 FFXIV Malikah’s Well: How To Unlock + Dungeon Guide
 FFXIV Bardam’s Mettle: How To Unlock + Full Boss Guide
 FFXIV The Qitana Ravel: Unlock + Boss Guide
 FFXIV Ala Mhigo Dungeon: Unlock + Boss Guide
 FFXIV Pharos Sirius (Normal): How To Unlock + Dungeon Guide
 FFXIV The Tower of Babil: Unlock + Dungeon Guide