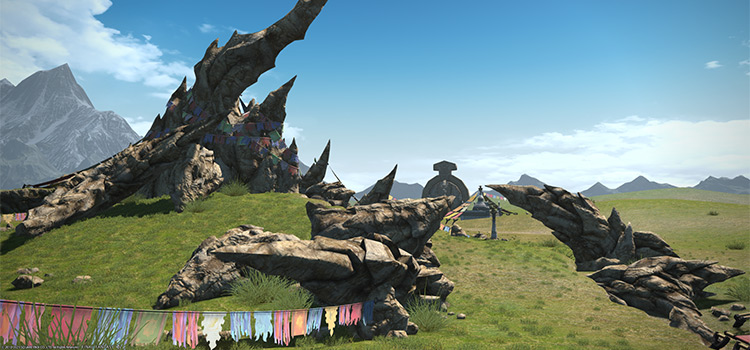
You can unlock the Level 65 Normal-difficulty dungeon Bardam’s Mettle by accepting the Level 65 MSQ “In the Footsteps of Bardam the Brave” from Hien in The Azim Steppe (X:11.3, Y:11.2). This MSQ is part of the patch 4.0 storyline for the Stormblood expansion.
This guide will cover all three bosses and their mechanics, and how to handle them to easily clear the dungeon.
TABLE OF CONTENTS
Unlocking Quest: In the Footsteps of Bardam the Brave
Bardam’s Mettle is the third of six story dungeons released in patch 4.0 of the Stormblood expansion’s Main Scenario Questline.
To start unlocking Bardam’s Mettle, simply accept Level 65 MSQ “In the Footsteps of Bardam the Brave” from Hien in The Azim Steppe (X:11.3, Y:11.2).
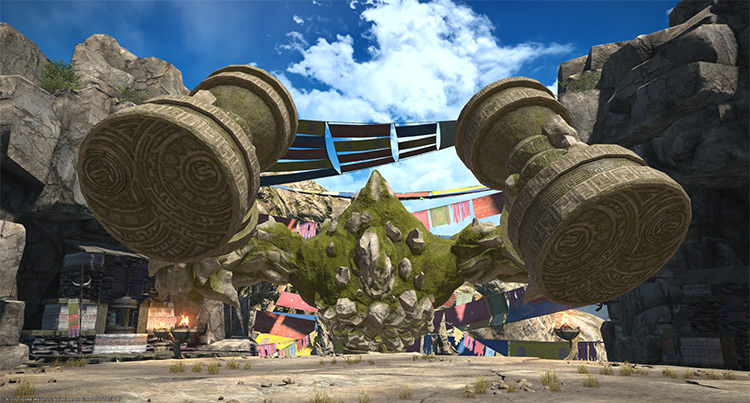
In this part of the story you are tasked with following the legendary hero Bardam’s footsteps through the Steppe in order to be eligible for the Naadam.
Have a brief conversation with Hien to unlock Bardam’s Mettle. This dungeon requires at least a Level 65 Disciple of War or Magic job and an average item level of 250 to enter.
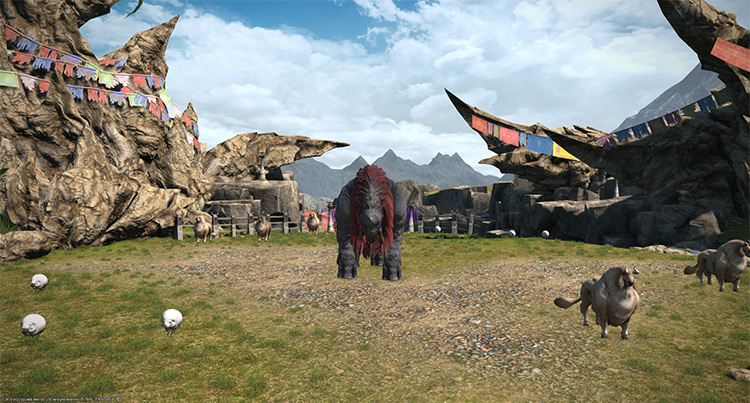
Boss #1: Garula
Mechanics
- Heave: A heavy-hitting frontal cone AoE.
- Crumbling Crust: Four quick-casting AoEs will appear around the boss that deals moderate damage.
- Rush: The boss will tether to a DPS or healer for a proximity-based column attack. Move away from the boss to reduce incoming damage.
- War Cry: A room-wide AoE attack after “Rush” that deals moderate damage and alerts nearby animals. Once alerted, these animals will cast different AoEs depending on the type of animal. Run toward the sheep if you’re marked with “Rush” to lessen incoming AoEs.
- Lullaby (Steppe Sheep): A small point-blank AoE attack that applies “Sleep” for nine seconds.
- Rush (Steppe Yamaa): A column attack that knocks players back on hit.
- Wide Blaster (Steppe Coeurl): A large frontal cone AoE that applies “Paralysis” for 30 seconds. Dispel the debuff as needed.
- Earthquake: A room-wide stun for two seconds immediately after “War Cry.” By the time this stun goes off, multiple animals should be targeting you already. Run out of the AoEs as soon as the stun wears off.
Rewards
| Name | Type | Rarity |
|---|---|---|
| Nomad’s Wristbands of Aiming | Bracelets | Dungeon (Green) |
| Nomad’s Wristbands of Casting | Bracelets | Dungeon (Green) |
| Nomad’s Wristbands of Fending | Bracelets | Dungeon (Green) |
| Nomad’s Wristbands of Healing | Bracelets | Dungeon (Green) |
| Nomad’s Wristbands of Slaying | Bracelets | Dungeon (Green) |
| Nomad’s Boots of Aiming | Feet | Dungeon (Green) |
| Nomad’s Boots of Casting | Feet | Dungeon (Green) |
| Nomad’s Boots of Fending | Feet | Dungeon (Green) |
| Nomad’s Boots of Healing | Feet | Dungeon (Green) |
| Nomad’s Boots of Maiming | Feet | Dungeon (Green) |
| Nomad’s Boots of Scouting | Feet | Dungeon (Green) |
| Nomad’s Boots of Striking | Feet | Dungeon (Green) |
| Nomad’s Ring of Aiming | Ring | Dungeon (Green) |
| Nomad’s Ring of Casting | Ring | Dungeon (Green) |
| Nomad’s Ring of Fending | Ring | Dungeon (Green) |
| Nomad’s Ring of Healing | Ring | Dungeon (Green) |
| Nomad’s Ring of Slaying | Ring | Dungeon (Green) |
Boss #2: Bardam
This fight does not involve any combat. You’ll need to dodge incoming mechanics for three phases. Getting hit by any attacks during this fight will result in one stack of “Bardam’s Price.” If you get more than one, you’ll be incapacitated for the rest of the phase.
At least one player must survive a phase to proceed to the next. The fight will repeat if all players are incapacitated at any point during the trial.
Mechanics
Phase 1: Tremblor, Throwing Spear, and Empty Gaze
Rotation:
Magnetism > Tremblor (Hunter of Bardam) + Empty Gaze > Throwing Spear x3 + Empty Gaze
At the start of the fight, pick one quadrant for each player so everyone has enough space to dodge incoming mechanics.
- Hunter of Bardam: A smaller clone of the boss that will use multiple mechanics throughout the fight. Use your Focus Target on the hunter to see incoming mechanics easier.
- Magnetism (Hunter of Bardam): The hunter will pull everyone toward him.
- Tremblor (Hunter of Bardam): A large point-blank AoE followed by a donut AoE. These two attacks will be telegraphed at the same time. Dodge the initial point-blank AoE, then move toward the boss to avoid the donut AoE.
- Empty Gaze (Hunter of Bardam): During “Tremblor,” the hunter will also cast a look-away attack. Always face your character away from the hunter while dodging “Tremblor.”
- Throwing Spear: Criss-cross AoEs that will be cast multiple times in a row.
Phase 2: Lightning Tower, Comet, and Heavy Strike
Rotation:
Lightning Tower x3 > Bardam’s Ring x2 > Comet > Heavy Strike (Hunter of Bardam) > Comet Impact (Star Shard) x4
- Lightning Tower: A tower that explodes into a room-wide AoE. Stand inside the tower to prevent the AoE.
- Bardam’s Ring: Players will be marked with a large donut AoE. If you’re marked, stand in the center to consolidate the safe zones.
- Comet: Each party member will be targeted with consecutive circle AoEs. Run around in circles within your quadrant once the AoEs start dropping to avoid overlap.
- Heavy Strike (Hunter of Bardam): A 270-degree AoE that expands outward three times. Stand behind the hunter to avoid it entirely.
- Comet Impact (Star Shard): Large AoE circles will appear in each quadrant and eventually drop a “Star Shard.”
Phase 3: Looming Shadow
Rotation:
Looming Shadow > Reconstruct > Throwing Spear > Magnetism > Tremblor (Hunter of Bardam) + Heavy Strike (Warrior of Bardam) x2
- Looming Shadow: A giant comet will crash into the arena for a room-wide AoE. This mechanic will be cast at the beginning of the phase but will only explode at the end. Run behind the remaining “Star Shard” at the end to avoid this attack.
- Reconstruct: The boss will destroy the eastern and western shards and turn them into “Warrior of Bardam” mobs.
- Heavy Strike (Warrior of Bardam): Each warrior will also use “Heavy Strike.”
Rewards
| Name | Type | Rarity |
|---|---|---|
| Nomad’s Earrings of Aiming | Earrings | Dungeon (Green) |
| Nomad’s Earrings of Casting | Earrings | Dungeon (Green) |
| Nomad’s Earrings of Fending | Earrings | Dungeon (Green) |
| Nomad’s Earrings of Healing | Earrings | Dungeon (Green) |
| Nomad’s Earrings of Slaying | Earrings | Dungeon (Green) |
| Nomad’s Armguards of Aiming | Hands | Dungeon (Green) |
| Nomad’s Armguards of Casting | Hands | Dungeon (Green) |
| Nomad’s Armguards of Fending | Hands | Dungeon (Green) |
| Nomad’s Armguards of Maiming | Hands | Dungeon (Green) |
| Nomad’s Armguards of Scouting | Hands | Dungeon (Green) |
| Nomad’s Armlets of Healing | Hands | Dungeon (Green) |
| Nomad’s Armlets of Striking | Hands | Dungeon (Green) |
| Nomad’s Cap of Aiming | Head | Dungeon (Green) |
| Nomad’s Cap of Casting | Head | Dungeon (Green) |
| Nomad’s Cap of Healing | Head | Dungeon (Green) |
| Nomad’s Cap of Maiming | Head | Dungeon (Green) |
| Nomad’s Cap of Scouting | Head | Dungeon (Green) |
| Nomad’s Cap of Striking | Head | Dungeon (Green) |
| Nomad’s Helm of Fending | Head | Dungeon (Green) |
| Nomad’s Choker of Aiming | Necklace | Dungeon (Green) |
| Nomad’s Choker of Casting | Necklace | Dungeon (Green) |
| Nomad’s Choker of Fending | Necklace | Dungeon (Green) |
| Nomad’s Choker of Healing | Necklace | Dungeon (Green) |
| Nomad’s Choker of Slaying | Necklace | Dungeon (Green) |
Boss #3: Yol
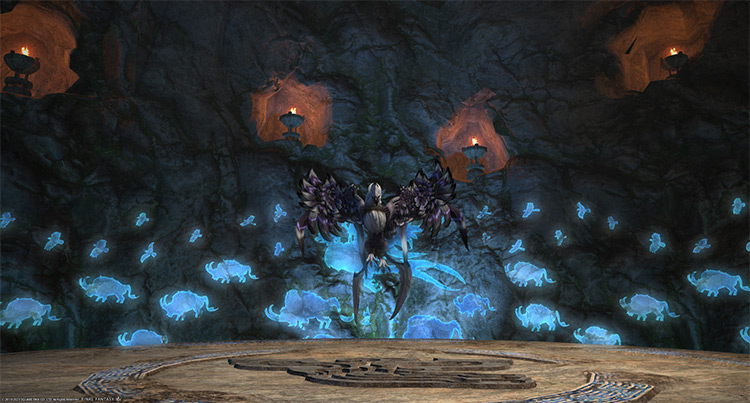
Mechanics
Phase 1: Wind Unbound and Flutterfall
- Feathercut: A frontal cleave attack on the primary target.
- Wind Unbound: A room-wide AoE attack that summons six yol feathers that can’t be targeted.
- Pinion (Yol Feather): A telegraphed line attack on random players.
- Flutterfall: A random player will receive an orange marker. After a few moments, the boss will drop a non-telegraphed AoE on top of them. Move away from the rest of your party if you’re marked.
- Corpsecleaner Eagle: After some time, the boss will disappear and be replaced with a “Corpsecleaner Eagle.” You’ll need to kill two eagles before the boss returns.
- Feather Squall: After killing an eagle, the boss will rush through the arena for a non-telegraphed line attack. Sidestep to avoid.
Phase 2: Wingbeat
After destroying the boss’ wings, the fight will resume from Phase 1 until the boss is dead.
- Left and Right Wing: In Phase 2, the boss’ wings will become targetable. Destroy both wings to end the phase and stun the boss for five seconds.
- Flutterfall (Clockwise): Multiple AoE circles will drop around the arena clockwise.
- Wingbeat: A random player will receive a green marker and eventually be knocked back. Use knockback-immunity skills or sprint back to the center.
Rewards
| Name | Type | Rarity |
|---|---|---|
| Nomad’s Coat of Aiming | Body | Dungeon (Green) |
| Nomad’s Coat of Casting | Body | Dungeon (Green) |
| Nomad’s Coat of Fending | Body | Dungeon (Green) |
| Nomad’s Coat of Healing | Body | Dungeon (Green) |
| Nomad’s Coat of Maiming | Body | Dungeon (Green) |
| Nomad’s Coat of Scouting | Body | Dungeon (Green) |
| Nomad’s Coat of Striking | Body | Dungeon (Green) |
| The Heavens Devoured | Book | Dungeon (Green) |
| The Heavens Reeling | Book | Dungeon (Green) |
| The Crying Wind | Bow | Dungeon (Green) |
| The Voiceless Moon | Cane | Dungeon (Green) |
| The Dancing Reeds | Daggers | Dungeon (Green) |
| The Coming Storm | Firearms | Dungeon (Green) |
| The Everflowing Waters | Fist Weapon | Dungeon (Green) |
| The Impassible Peak | Greataxe | Dungeon (Green) |
| The Blazing Sun | Greatsword | Dungeon (Green) |
| The Impassionate Tide | Gunblade | Dungeon (Green) |
| The Unsullied Skies | Katana | Dungeon (Green) |
| Nomad’s Breeches of Aiming | Legs | Dungeon (Green) |
| Nomad’s Breeches of Casting | Legs | Dungeon (Green) |
| Nomad’s Breeches of Fending | Legs | Dungeon (Green) |
| Nomad’s Breeches of Healing | Legs | Dungeon (Green) |
| Nomad’s Breeches of Maiming | Legs | Dungeon (Green) |
| Nomad’s Breeches of Scouting | Legs | Dungeon (Green) |
| Nomad’s Breeches of Striking | Legs | Dungeon (Green) |
| Mol Paladin’s Arms (IL 276) | Other | Dungeon (Green) |
| The Nimble Beast | Polearm | Dungeon (Green) |
| The Stained Earth | Rapier | Dungeon (Green) |
| The Eloquent Moon | Staff | Dungeon (Green) |
| The Lone Beacon | Star Globe | Dungeon (Green) |
| The Awaited Stars | Throwing Weapons | Dungeon (Green) |
| Road Sparrow | Minion | Basic |
| Most Unworthy Orchestrion Roll | Orchestrion Roll | Basic |
Extra Treasure Coffers
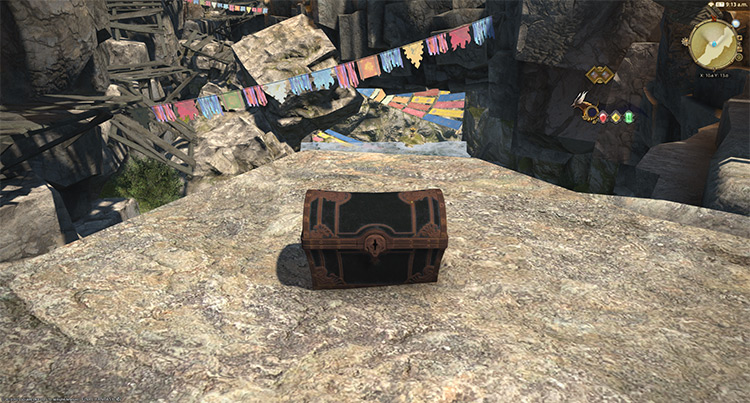
Apart from the boss rewards, there are four treasure coffers located throughout the dungeon that you can open for more gear, crafting material, and crystal rewards. Here are their locations:
- (X:11.3, Y:9.2)
- (X:9.5, Y:10.6)
- (X:11.7, Y:15.7)
- (X:10.7, Y:18.2)
-
Final Fantasy XIV
- FFXIV Bardam’s Mettle: How To Unlock + Full Boss Guide
Related Posts:
 FFXIV The Tower of Babil: Unlock + Dungeon Guide
 FFXIV Lapis Manalis: Unlock + Dungeon Boss Guide
 FFXIV Dohn Mheg: How To Unlock + Boss Guide
 FFXIV The Qitana Ravel: Unlock + Boss Guide
 FFXIV The Great Gubal Library (Hard): Unlock + Dungeon Guide
 FFXIV Malikah’s Well: How To Unlock + Dungeon Guide
 FFXIV Holminster Switch: How To Unlock + Boss Guide
 FFXIV The Tower of Zot: Unlock + Boss Guide