You can unlock the Level 60 trial Containment Bay S1T7, also known as Sephirot NM, by accepting the Level 60 quest “When the Bough Wakes” from Unukalhai in The Rising Stones (X:6.1, Y:5.3).
When the Bough Wakes can only be unlocked after finishing the patch 3.0 main storyline for the Heavensward expansion. You’ll also need to complete the introductory quest for The Warring Triad questline, “Gods of Eld”. You’ll get that quest from Torsefers in The Pillars (X:11.7, Y:11.5).
TABLE OF CONTENTS
Step-by-Step Unlock Guide
- Finish the Level 60 MSQ “Heavensward” from the Guidance Node in Azys Lla (X:16.0, Y:22.0).
- Complete the Level 60 quest “Gods of Eld” from Torsefers in The Pillars (X:11.7, Y:11.5).
- Accept the quest “When the Bough Wakes” from Unukalhai in The Rising Stones (X:6.1, Y:5.3).
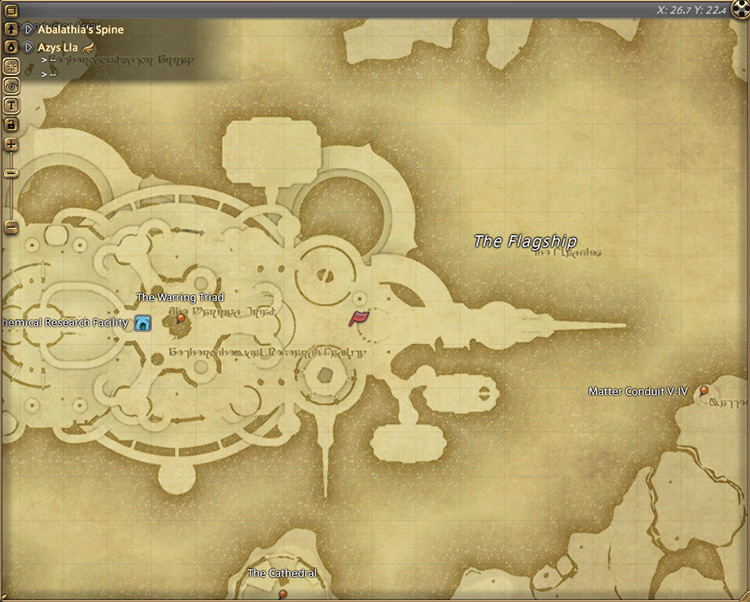
- Meet Unukalhai at The Flagship in Azys Lla (X:26.7, Y:22.4).
Detailed Unlocking Guide
To unlock The Warring Triad questline, you must have already finished the final MSQ for patch 3.0 of the Heavensward expansion.
If not, then you’ll need to complete the Level 60 MSQ “Heavensward” from the Guidance Node in Azys Lla (X:16.0, Y:22.0) to wrap up the main story.
Then talk to Torsefers in The Pillars (X:11.7, Y:11.5) to begin “Gods of Eld.”
In this quest, Torsefers will tell you about a stranger that came looking for you in Ishgard not too long ago.
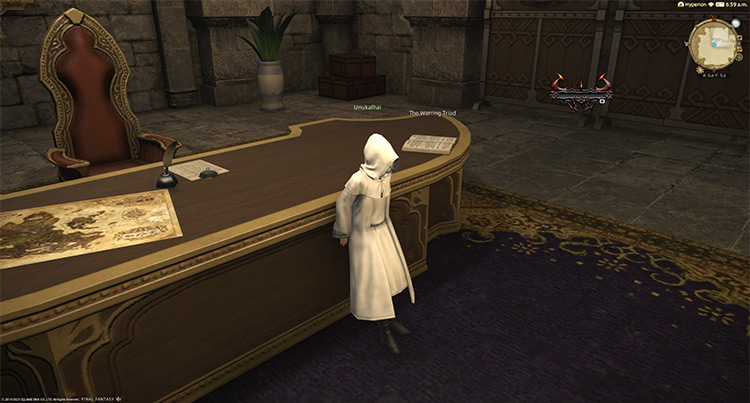
This stranger left a message telling you to meet him in The Rising Stones for an urgent matter.
Talk to your mysterious visitor in The Rising Stones (X:6.1, Y:5.3) to continue.
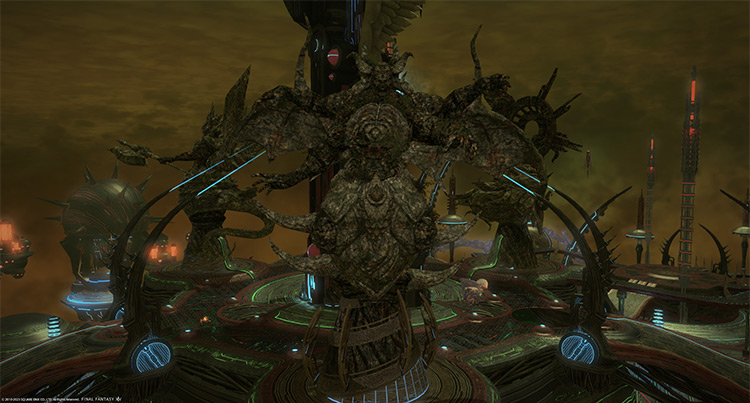
The white-robed stranger will introduce himself as Unukalhai and will warn you about the rising threat of three long-forgotten beings known as eikons. These eikons have been held captive for millennia within The Flagship in Azys Lla by the ancient Allags.
Unfortunately, their seals are slowly weakening and are threatening to break free.
Unukalhai will ask for your assistance in defeating these eikons once and for all.
After the cutscene, accept the quest “When the Bough Wakes” from Unukalhai to continue.
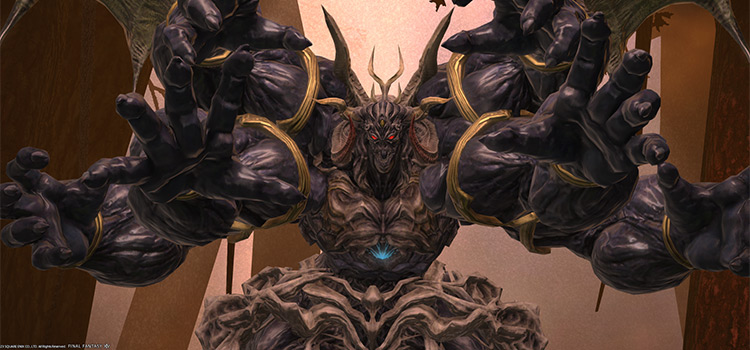
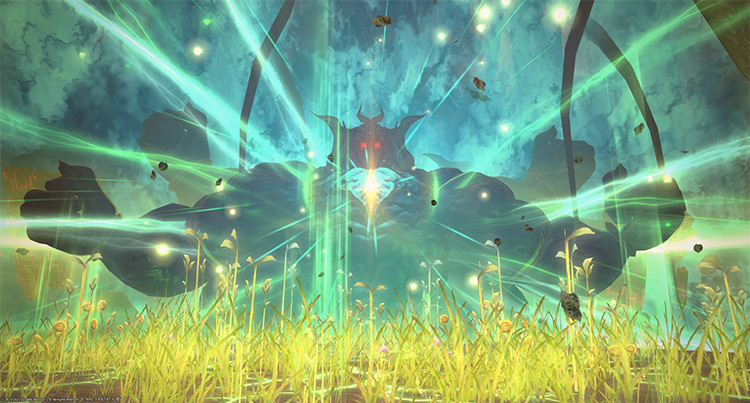
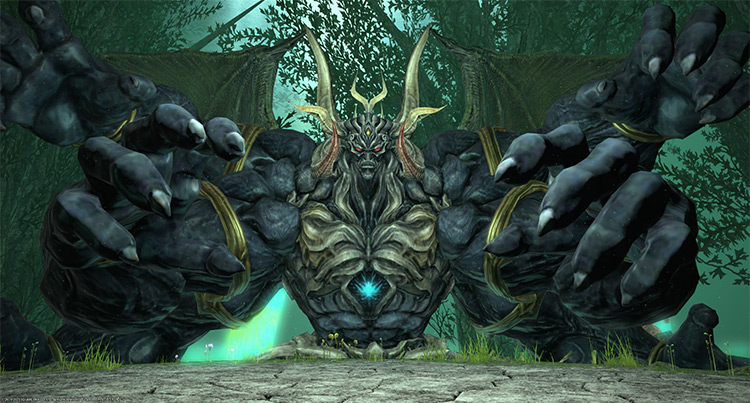
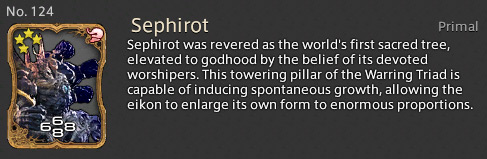
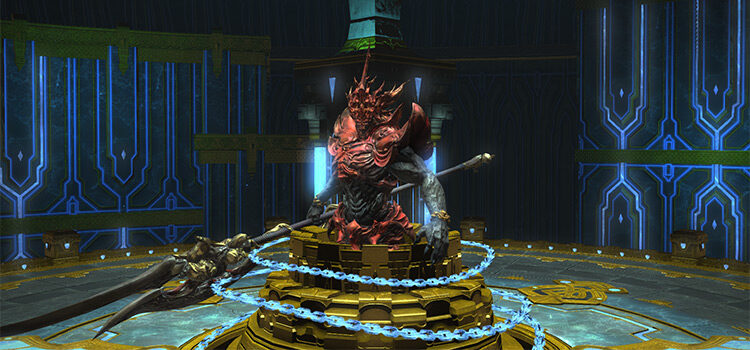
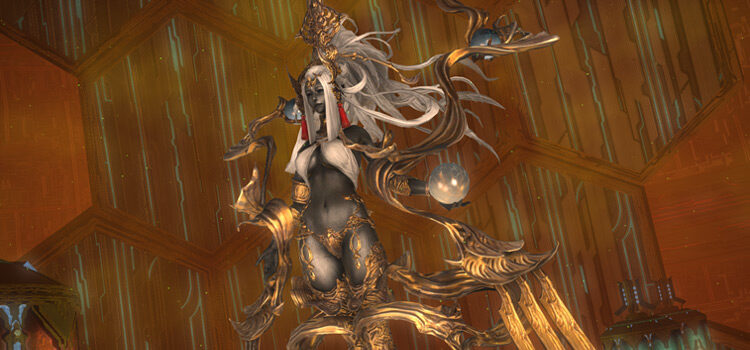
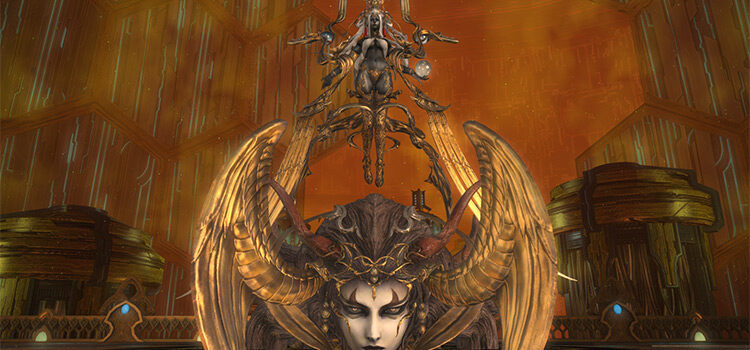
The first on the list of eikons is the fiend Sephirot, who is locked deep inside Containment Bay S1T7.
Meet Unukalhai at The Flagship in Azys Lla (X:26.7, Y:22.4) to begin your expedition inside the ship.
After discussing the plan with your new ally and fellow scions, Containment Bay S1T7 will be unlocked. This trial requires at least a Level 60 Disciple of War or Magic job and an average item level of 190 to enter.
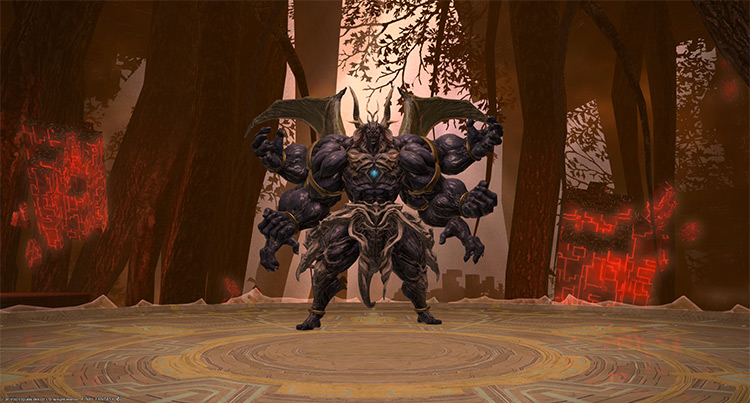
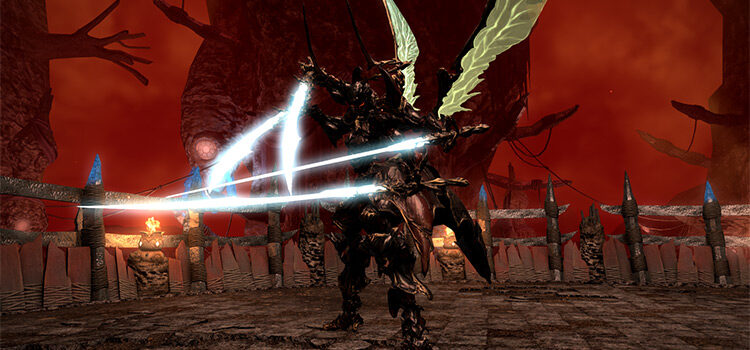
Trial Boss: Sephirot
This trial can be soloed with relative ease using a high-level character. Just enter the trial while unsynced and burn the boss down as quickly as possible.
Just avoid getting knocked off the arena and you should be fine.
If you’re doing this trial for the first time with a Level 60 character, you’ll most likely do it while synced through the Duty Finder. Read about the trial mechanics below so you can clear it smoothly.
Phase 1: Fiendish Rage and Ein
Rotation:
Triple Trial > Tiferet > Fiendish Rage > Tiferet > Chesed > Triple Trial > Ratzon x2 > Ein > Tiferet > Repeat until 59% HP.
- Triple Trial: A non-telegraphed, frontal cone tankbuster attack on the primary target that deals moderate damage. Face the boss away from the party at all times.
- Tiferet: A room-wide AoE attack.
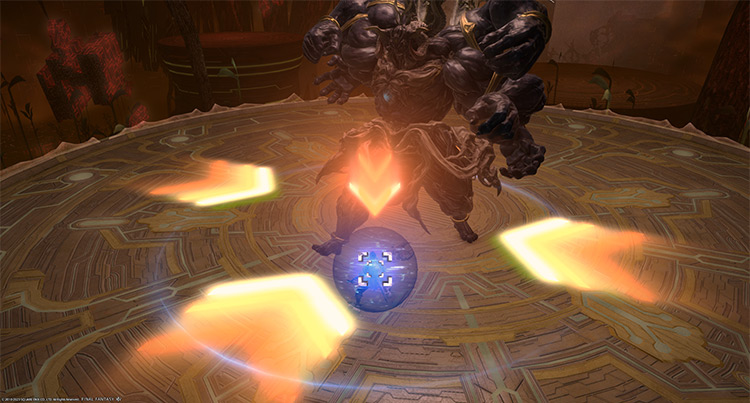
- Fiendish Rage: A stack marker on a random player. Stand next to the affected player to share incoming damage.
- Chesed: The boss will wind up its three left arms for a strong tankbuster attack. Shield and heal through the damage.
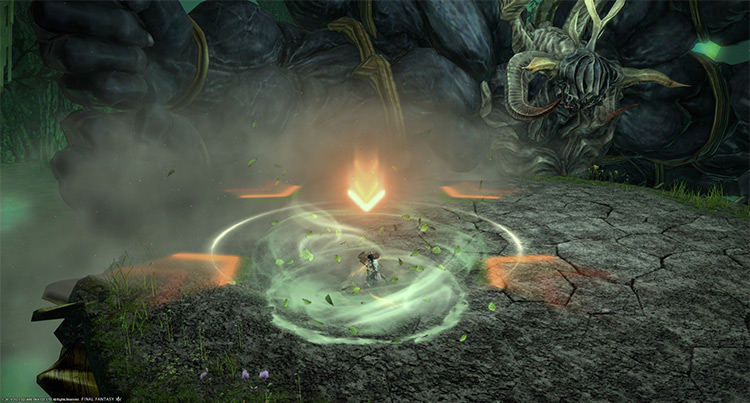
- Ratzon: Targeted circle AoEs on random players. Spread out to avoid overlap.
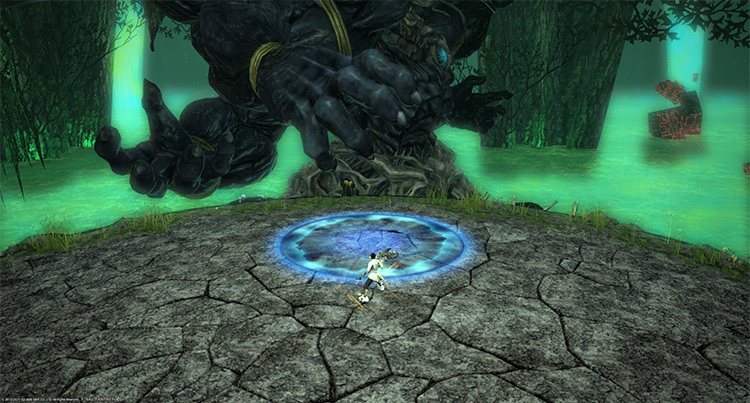
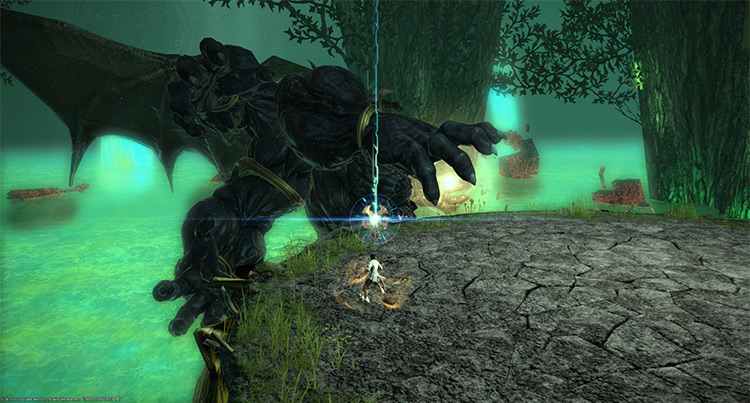
- Ein: The boss will turn toward a random player and charge a non-telegraphed frontal AoE that covers everything in his sight. This AoE knocks players back and applies a 60-second stacking “Vulnerability Up” debuff. When the boss winds up all of his arms, run behind him.
Phase 2: Binah and Cochma
Rotation:
4 Binah + 1 Cochma x2 > Ein Sof Ohr
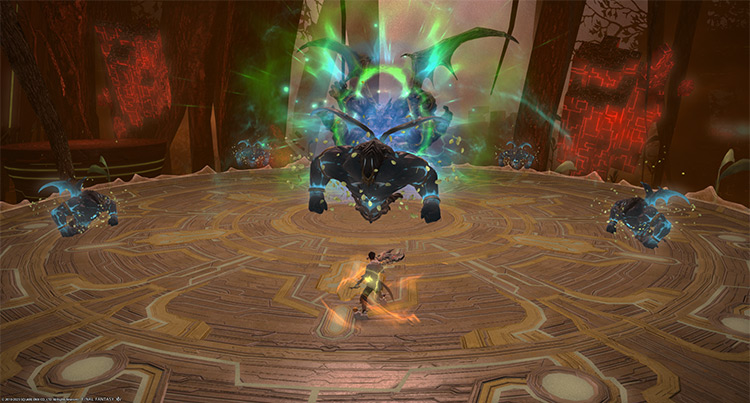
- Binah and Cochma: Sephirot clones that must be destroyed before the Limit Break bar reaches 100.
- Empty Hand (Cochma): A cleaving tankbuster attack that deals moderate damage to the primary target.
- Ein Sof Ohr: A room-wide ultimate attack that deals damage based on the Limit Break bar. Kill the clones as soon as possible.
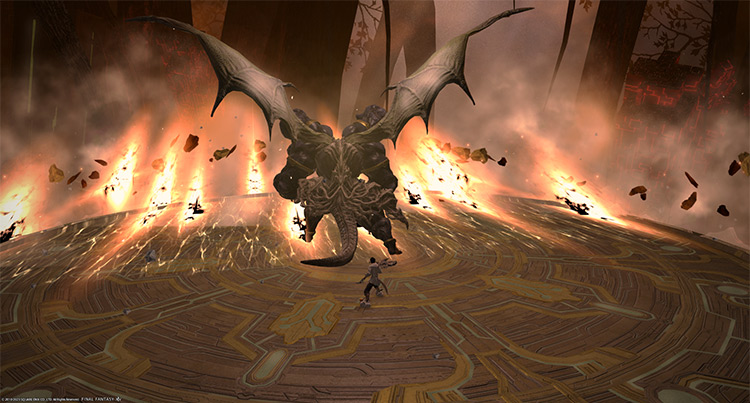
Phase 3: Storm of Words and Pillar of Severity
Rotation:
Pillar of Mercy > Earth Shaker > Malkuth > Binah x2 + The Storm of Words > Yesod > Earth Shaker > Pillar of Severity > Da’at > Gevurah Chesed > Spirit + Life Force > Fiendish Wail > Yesod > Pillars of Mercy > Yesod > Fiendish Wail > Earth Shaker > Da’at + Yesod > Repeat until death.
In this phase, you can now fall off the edges of the arena. Position yourselves properly or use knockback-immunity skills for “Malkuth” and “Pillar of Severity”.
- Pillar of Mercy: The boss will punch three areas of the map for AoE knockback attacks in the following order: North > West > East.
To avoid getting pushed off, run toward the opposite end of the cardinal direction where the boss will attack. For example, when the boss punches the northern quadrant, stand on the southern edge of the AoE.
- Earth Shaker: Multiple players will be marked for narrow frontal cone AoEs. Spread these markers out on the boss’ flanks to avoid overlap.
- Malkuth: A room-wide knockback attack from the north. Stay in the center near the boss’ hitbox.
- Storm of Words: A wind elemental that must be killed immediately. Upon death, the elemental will drop a coronal wind that you must stack on to survive the incoming “Pillar of Severity” attack. Don’t stand inside the coronal wind until the stack marker appears.
- Revelation (Storm of Words): A room-wide knockback attack that dissipates the “Storm of Words.” Kill the elemental before this attack goes off, or you’ll die to “Pillar of Severity”
- Yesod: Ground AoEs will spawn under several players that apply a “Vulnerability Up” debuff for 60 seconds on hit. Stack in one area to bait the AoEs, then move out.
- Pillar of Severity: The boss will drop its three right arms and prepare to swipe across the entire arena. Each time an arm drops, it’ll knock players back a set distance. At this point, you should have the coronal wind stack-up marker ready. Use knockback-immunity skills and run toward the coronal wind.
- Da’at: Consecutive non-telegraphed AoEs on random players. Run away from the rest of the group until the attacks finish.
- Spirit + Life Force: A room-wide AoE attack. Mitigate and heal through the damage.
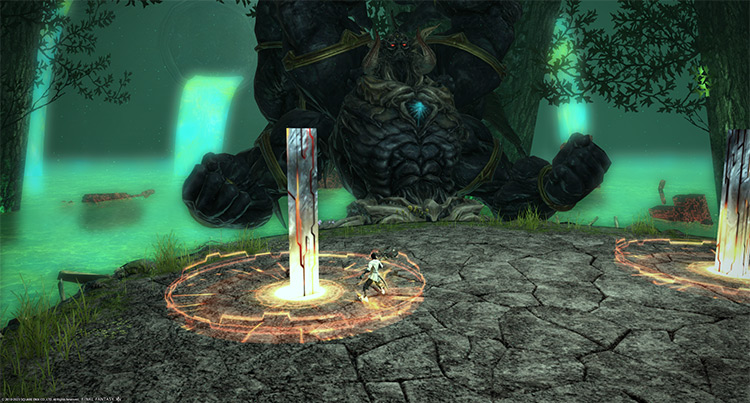
- Fiendish Wail: Two towers will spawn and explode after some time, dealing room-wide AoE damage and applying a stacking “Vulnerability Up” debuff for 60 seconds. Have at least one player stand inside each tower to prevent the AoEs.
Rewards
- Sephirot Triple Triad Card (not guaranteed)
- Sephirot Sap Crafting Material (not guaranteed)
-
Final Fantasy XIV
- FFXIV Containment Bay S1T7 (Normal): Unlock + Trial Guide
Related Posts:
 FFXIV Containment Bay S1T7 (Extreme): Unlock + Trial Guide
 Zurvan EX Unlock & Trial Guide – FFXIV Containment Bay Z1T9 (Extreme)
 Zurvan Normal Unlock & Trial Guide – FFXIV Containment Bay Z1T9 (Normal)
 Sophia EX Unlock & Trial Guide – FFXIV Containment Bay P1T6 (Extreme)
 FFXIV Thok ast Thok (Extreme): How To Unlock + Trial Guide
 FFXIV Containment Bay P1T6 (Normal): Unlock + Trial Guide
 FFXIV The Minstrel’s Ballad: Shinryu’s Domain – Unlock + Trial Guide
 FFXIV The Minstrel’s Ballad: Thordan’s Reign – Unlock + Trial Guide