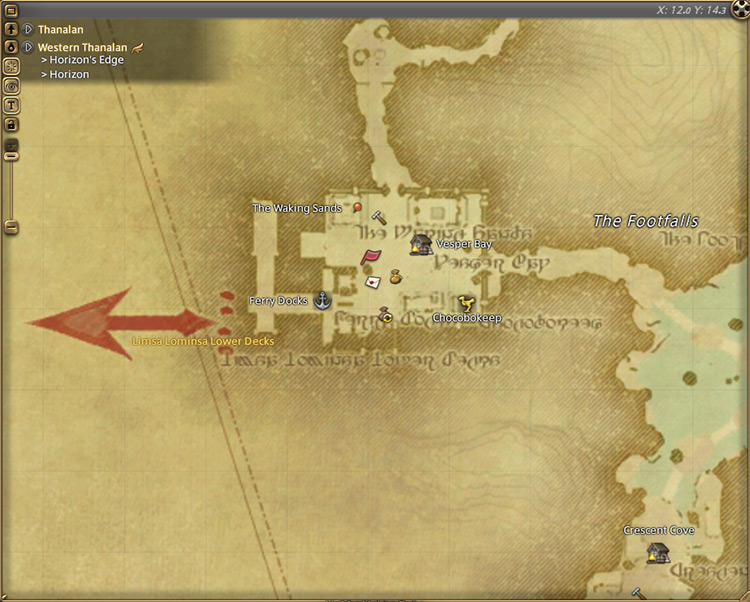
To unlock the Level 20 normal-difficulty dungeon Halatali, you need to accept the Level 20 quest “Hallo Halatali” from Nedrick Ironheart in Western Thanalan (X:12.0, Y:14.3).
We’ll cover a full walkthrough of this unlocking quest below, plus strategies for the dungeon itself.
TABLE OF CONTENTS
Unlocking Quest: Hallo Halatali
“Hallo Halatali” is a Level 20 feature quest in Western Thanalan.
Since this quest isn’t tied to the main story, you’ll be able to accept the quest from Nedrick Ironheart once you meet the level requirement.
Do your FATEs, Main Scenario Quests (MSQs), and dungeon runs until you reach Level 20, then head to Western Thanalan (X:12.0, Y:14.3) to begin.
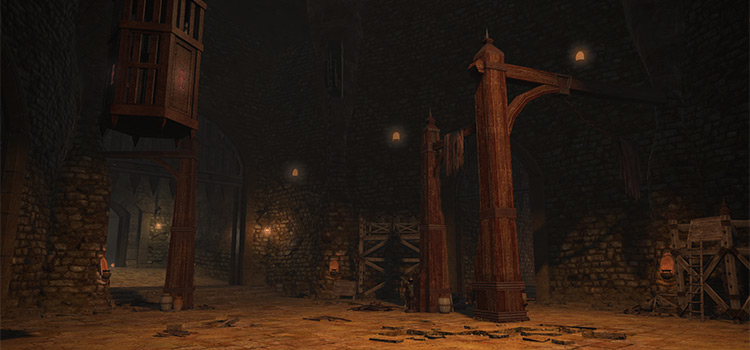
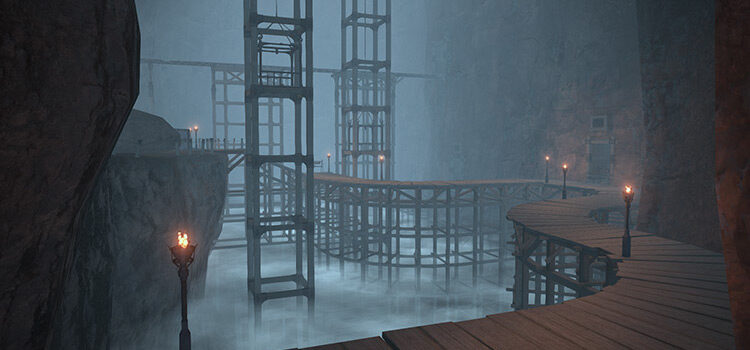
Nedrick Ironheart, an explorer and scion alike, invites you to a storied gladiator training grounds located in Eastern Thanalan. While Halatali has stood for over a hundred years, The Calamity laid waste to the training grounds, making way for bloodthirsty beasts to occupy it.
The Immortal Flames are now keeping watch of Halatali to prevent people from wandering aimlessly inside.
Speak to Fafajoni outside of the dungeon in Eastern Thanalan (X:14.8, Y:30.1) to continue.
Fafajoni will spare you the history lesson and leave you with a warning instead: “There are those within that even the might of the Immortal Flames cannot tame.”
After a brief conversation, the Flame Private will grant you access to Halatali.
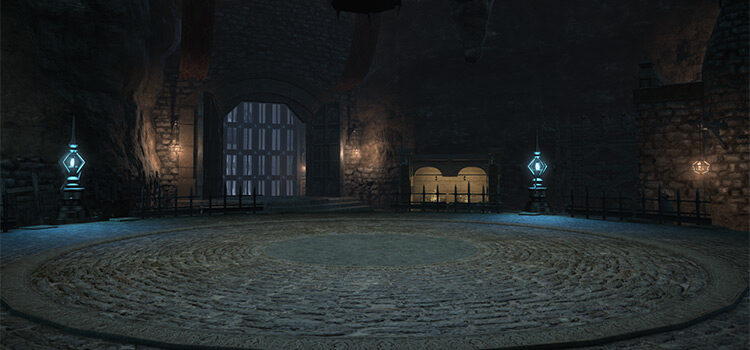
This dungeon requires at least a Level 20 Disciple of War or Magic job to enter and has no average item level requirement.
Boss #1: Firemane
If your healer is confident enough with their gear, you can ignore the wisps entirely and just burn the boss down.
Mechanics:
- Fire: A constant single-target attack on the primary target.
- Damantus: Small fire wisps will spawn from the opened gates and float toward the center pyre. If the orb reaches the center, it’ll explode in a room-wide AoE. Kill the wisps as soon as possible.
- Noxius: A stronger version of “Damantus” that deals more AoE damage if it explodes.
- Scorched Earth: A room-wide AoE attack from the center pyre should “Damantus” or “Noxius” wisps reach the center pyre. Heal through the damage.
Rewards
| Name | Type | Rarity |
|---|---|---|
| Doctore’s Bracers | Hands | Dungeon (Green) |
| Doctore’s Ringbands | Hands | Dungeon (Green) |
| Doctore’s Vambraces | Hands | Dungeon (Green) |
| Coeurl’s Eye | Head | Dungeon (Green) |
| Doctore’s Chain Coif | Head | Dungeon (Green) |
| Doctore’s Hat | Head | Dungeon (Green) |
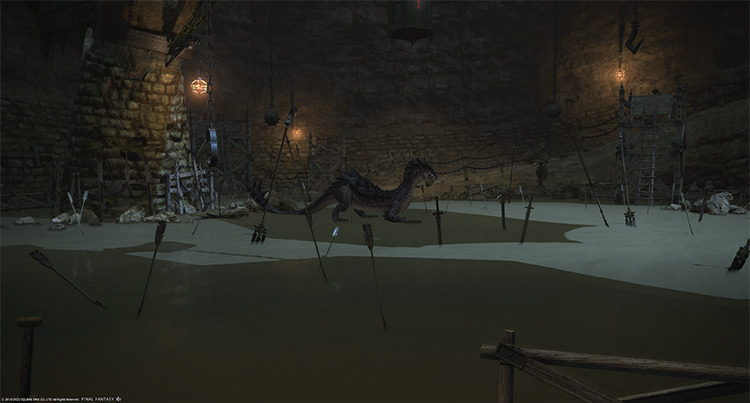
Boss #2: Thunderclap Guivre
Drag the boss up the ramp to avoid getting electrocuted later in the fight.
Mechanics:
- Levinshower: A frontal cone AoE. Face the boss away from the party while standing on the ramp.
- Invulnerability: The boss will start glowing and move to the center of the arena to electrify the water. Standing on the electrified water will result in a constant “Electrocution” DoT.
During this time, it’ll also spawn “Lightning Sprite” mobs that need to be killed to remove the boss’ invincibility. Stand on the ramp while killing the sprites. - Lightning Sprite: Mobs that spawn when the boss becomes invincible. Kill these sprites immediately.
- Thunder (Lightning Sprite): A single-target attack on the primary target.
- Electrify: The boss will target a random player with a large circle AoE.
Rewards
| Name | Type | Rarity |
|---|---|---|
| Doctore’s Chainmail | Body | Dungeon (Green) |
| Doctore’s Harness | Body | Dungeon (Green) |
| Doctore’s Robe | Body | Dungeon (Green) |
| Doctore’s Bracers | Hands | Dungeon (Green) |
| Doctore’s Ringbands | Hands | Dungeon (Green) |
| Doctore’s Vambraces | Hands | Dungeon (Green) |
| Coeurl’s Eye | Head | Dungeon (Green) |
| Doctore’s Chain Coif | Head | Dungeon (Green) |
| Doctore’s Hat | Head | Dungeon (Green) |
| Doctore’s Subligar | Legs | Dungeon (Green) |
| Doctore’s Tights | Legs | Dungeon (Green) |
| Doctore’s Trousers | Legs | Dungeon (Green) |
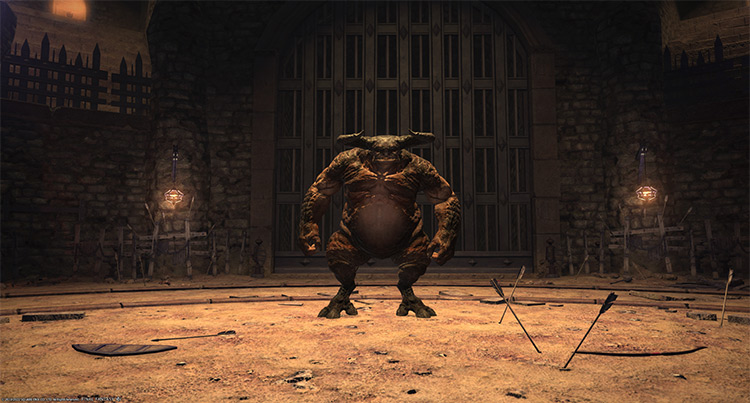
Boss #3: Tangata
This boss borrows a few mechanics from the previous bosses that can be handled in the same way.
Mechanics:
- Double Smash: A frontal cone AoE.
- Firewater: The boss will target a random player with a circle AoE.
- Invincibility: The boss will move to the center of the arena and become invincible. The area within its near vicinity will also start burning, dealing a constant “Burns” DoT to anyone that wanders to it.
To remove the boss’ invincibility, kill the “Fire Sprite” that spawns, similar to the second boss. - Fire (Fire Sprite): A single-target attack on the primary target.
- Damantus: Small fire wisps will spawn from the torches and float toward the boss If a wisp reaches the boss, it’ll explode in a room-wide AoE. Kill the wisps as soon as possible.
- Noxius: A stronger version of “Damantus” that deals more damage if it explodes.
- Scorched Earth: A room-wide AoE attack that goes off should “Damantus” or “Noxius” wisps reach the boss. Heal through the damage.
- Hot Hands: The boss’ hands will glow, increasing its normal attack damage.
- Straight Punch: A tankbuster attack on the primary target. Mitigate and heal through the damage.
Rewards
| Name | Type | Rarity |
|---|---|---|
| Aetherial Coral Armillae | Bracelets | Aetherial (Pink) |
| Aetherial Brass Ear Cuffs | Earrings | Aetherial (Pink) |
| Aetherial Coral Ring | Ring | Aetherial (Pink) |
| Doctore’s Grimoire | Book | Dungeon (Green) |
| Doctore’s Armored Bow | Bow | Dungeon (Green) |
| Doctore’s Crook | Cane | Dungeon (Green) |
| Doctore’s Stilettos | Daggers | Dungeon (Green) |
| Doctore’s Hora | Fist Weapon | Dungeon (Green) |
| Doctore’s Bill | Greataxe | Dungeon (Green) |
| Doctore’s Fork | Polearm | Dungeon (Green) |
| Doctore’s Cudgel | Scepter | Dungeon (Green) |
| Doctore’s Buckler | Shield | Dungeon (Green) |
| Doctore’s Scimitar | Sword | Dungeon (Green) |
| The Ludus Orchestrion Roll | Orchestrion Roll | Basic |
Extra Treasure Coffers
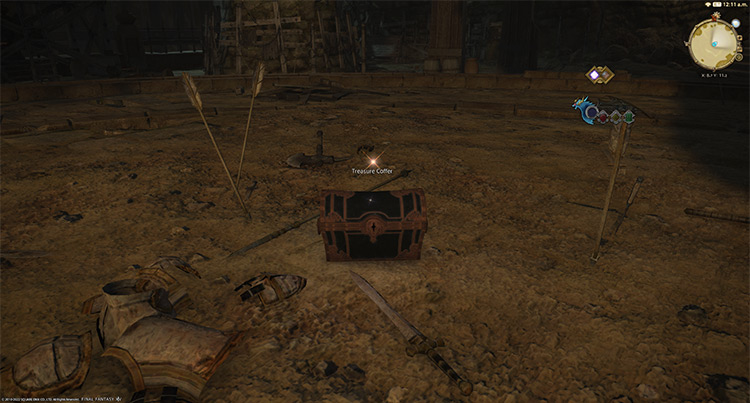
Apart from the boss rewards, there are eight treasure coffers located throughout the dungeon that you can open for more gear rewards. Their locations are:
- (X:14.3, Y:9.9)
- (X:12.7, Y:9.0)
- (X:12.0, Y:9.5)
- (X:11.6, Y:7.4)
- (X:10.4, Y:8.6)
- (X:9.5, Y:8.9)
- (X:11.8, Y:8.5)
- (X:8.7, Y:11.2)
-
Final Fantasy XIV
- FFXIV Halatali (Normal): Unlock + Dungeon Boss Guide
Related Posts:
 FFXIV Cutter’s Cry: How To Unlock + Boss Guide
 FFXIV Haukke Manor (Normal): Unlock + Dungeon Boss Guide
 FFXIV Pharos Sirius (Normal): How To Unlock + Dungeon Guide
 FFXIV Copperbell Mines (Hard): How To Unlock + Boss Guide
 FFXIV Halatali (Hard): How To Unlock + Dungeon Guide
 FFXIV Haukke Manor (Hard): How To Unlock + Boss Guide
 FFXIV The Aurum Vale: How To Unlock + Dungeon Boss Guide
 FFXIV Sohm Al (Normal): How To Unlock + Dungeon Guide