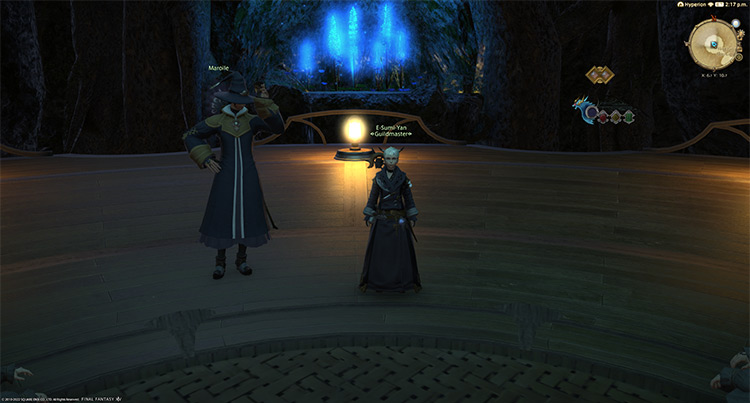
You can unlock Level 50 normal-difficulty dungeon The Lost City of Amdapor by accepting the Level 50 quest “One Night in Amdapor” from E-Sumi-Yan in Old Gridania (X:6.0, Y:10.7).
This quest can only be unlocked once you’ve finished the Level 50 Main Scenario Quest “The Ultimate Weapon” from Raubahn in Northern Thanalan (X:15.0, Y:16.0).
We’ll cover the dungeon’s requirements & boss battle strategies in more detail below:
Step-by-Step Unlock Guide
- Complete the Level 50 Main Scenario Quest (MSQ) “The Ultimate Weapon” from Raubahn in Northern Thanalan (X:15.0, Y:16.0).
- Accept the Level 50 quest “One Night in Amdapor” from E-Sumi-Yan in Old Gridania (X:6.0, Y:10.7).
- Meet Raya-O-Senna at Camp Tranquil in South Shroud (X:18.7, Y:27.0).
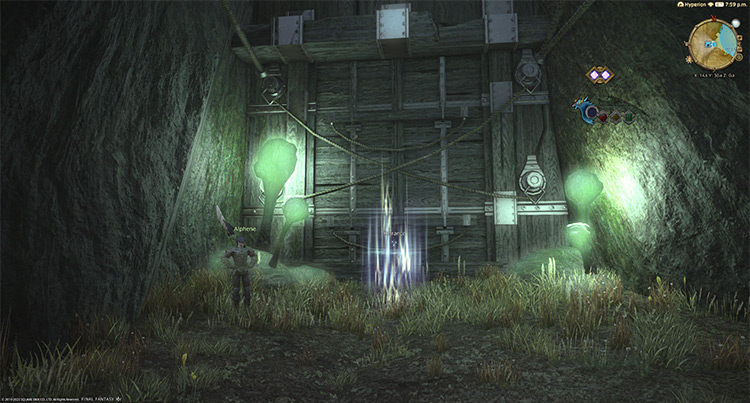
- Talk to Alphene outside the lost city’s entrance in South Shroud (X:14.2, Y:30.6).
Detailed Unlocking Guide
Before you can unlock The Lost City of Amdapor dungeon, you must finish the Level 50 Main Scenario Quest (MSQ) “The Ultimate Weapon” from Raubahn in Northern Thanalan (X:15.0, Y:16.0).
This is the final MSQ for patch 2.0 of A Realm Reborn, so you need to finish every MSQ leading up to “The Ultimate Weapon” before you can start unlocking the dungeon. After doing the required MSQ, head to Old Gridania (X:6.0, Y:10.7) and talk to E-Sumi-Yan.
The guild master of the Conjurer’s guild fears that the seal around the lost city of Amdapor has weakened.
He would have you investigate the cause to prevent the evil within from escaping. Head to Camp Tranquil in South Shroud (X:18.7, Y:27.0) and talk to Raya-O-Senna to continue.
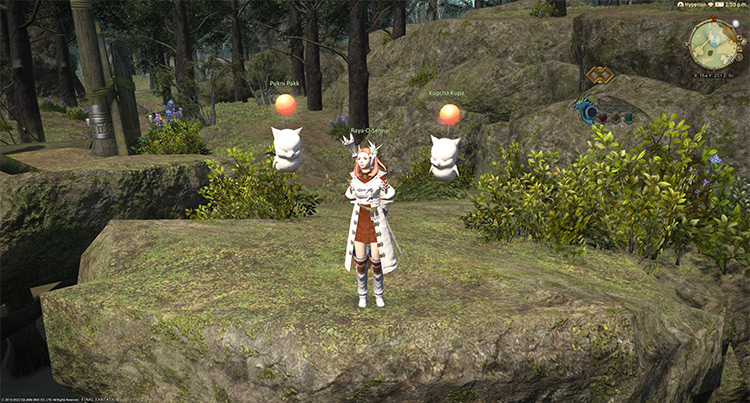
The seedseer’s siblings, Raya-O-Senna and A-Ruhn-Senna, will confirm E-Sumi-Yan’s suspicions. The elementals in the Shroud have become restless due to the darkness stirring within the city.
With catastrophe looming over the Shroud, the Senna siblings will ask for your help with the investigations.
Speak with Alpene outside Amdapor city’s entrance in South Shroud (X:14.2, Y:30.6) to unlock the dungeon.
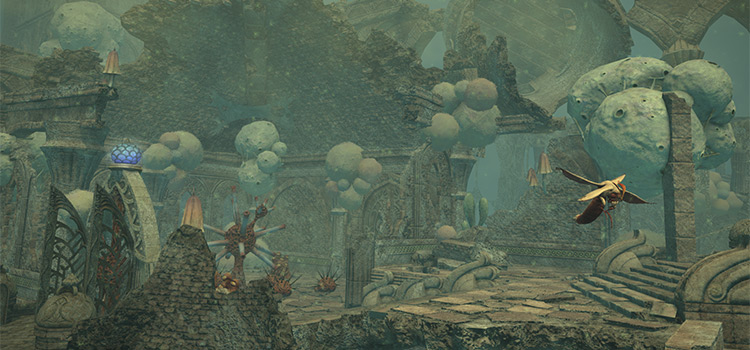
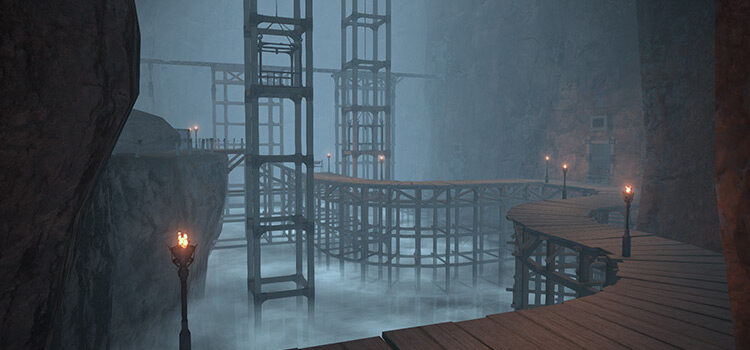
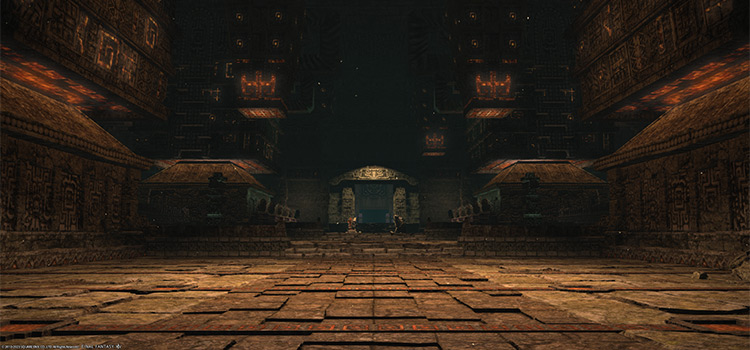
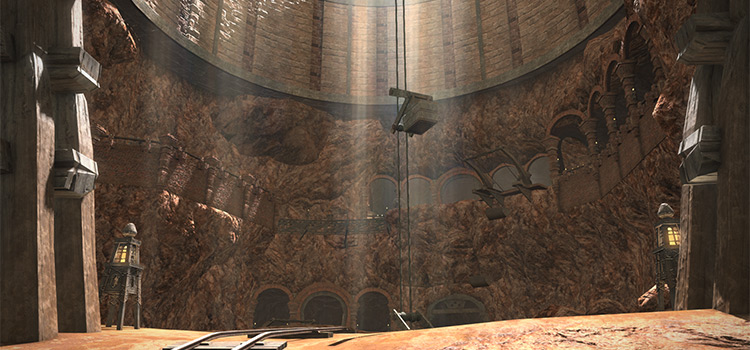
The Lost City of Amdapor requires at least a Level 50 Disciple of War or Magic job and an average item level of 55 to enter. Check out the boss guides below to help you clear this dungeon smoothly in your duty roulettes.
Boss #1: Decaying Gourmand
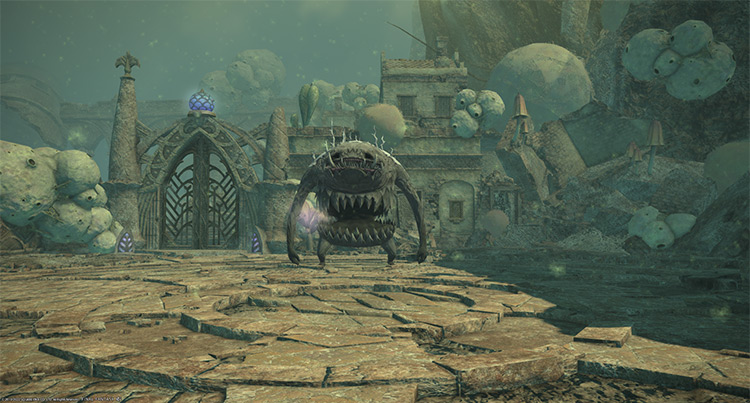
Mechanics:
- Dirty Sneeze: A tankbuster attack on the primary target. Use mitigation skills and heal through the damage.
- Beatdown: A non-telegraphed line attack that knocks players back. Sidestep to avoid.
- Attractant: The boss will target a random player with an orange marker, marking them with a “Prey” debuff for 30 seconds.
- Moldy Phlegm: The boss will target the preyed player with a circle AoE that applies a 30-second “Reduced Immunity” debuff on hit. This debuff reduces HP recovery through healing but can be dispelled. After the attack, the AoE will drop a “Pollen” DoT puddle.
- Inhale + Devour: The targeted player will be stunned for three seconds and pulled toward the boss. Then, the boss will devour the Prey’d player, exposing a targetable “Voracious Maw” on its stomach. Destroy the maw to free the devoured player, or they will die.
- Spit: The boss will spit out the devoured player, instantly killing them. Kill the maw before this attack goes off.
- Spore Cloud: A room-wide AoE attack that applies a stacking “Poison” debuff for 30 seconds. Heal through the damage and dispel the debuff.
Rewards
- 7 Allagan Tomestone of Poetics
| Name | Type | Rarity |
|---|---|---|
| Darklight Bracelet of Aiming | Bracelets | Tomestone (Blue) |
| Darklight Bracelet of Casting | Bracelets | Tomestone (Blue) |
| Darklight Bracelet of Fending | Bracelets | Tomestone (Blue) |
| Darklight Bracelet of Healing | Bracelets | Tomestone (Blue) |
| Darklight Bracelet of Maiming | Bracelets | Tomestone (Blue) |
| Darklight Bracelet of Striking | Bracelets | Tomestone (Blue) |
| Fistfighter’s Jackboots | Feet | Dungeon (Green) |
| Hussar’s Jackboots | Feet | Dungeon (Green) |
| Magician’s Shoes | Feet | Dungeon (Green) |
| Pilgrim’s Shoes | Feet | Dungeon (Green) |
| Protector’s Sollerets | Feet | Dungeon (Green) |
| Shikaree’s Boots | Feet | Dungeon (Green) |
| Darklight Boots of Casting | Feet | Tomestone (Blue) |
| Darklight Boots of Healing | Feet | Tomestone (Blue) |
| Darklight Caligae of Aiming | Feet | Tomestone (Blue) |
| Darklight Caligae of Striking | Feet | Tomestone (Blue) |
| Darklight Sollerets | Feet | Tomestone (Blue) |
| Darklight Band of Aiming | Ring | Tomestone (Blue) |
| Darklight Band of Casting | Ring | Tomestone (Blue) |
| Darklight Band of Fending | Ring | Tomestone (Blue) |
| Darklight Band of Healing | Ring | Tomestone (Blue) |
| Darklight Band of Maiming | Ring | Tomestone (Blue) |
| Darklight Band of Striking | Ring | Tomestone (Blue) |
Boss #2: Arioch
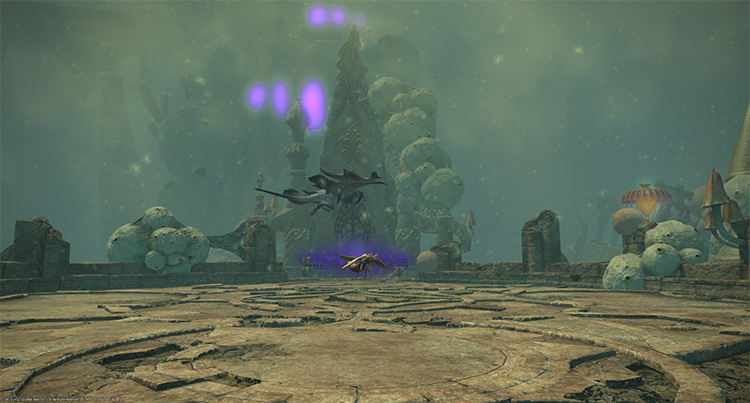
Mechanics:
- Poison Dust (Ranch Wamoura): A frontal cleave attack that applies a stacking “Poison” debuff for 30 seconds.
- Scale Flakes (Ranch Wamoura): A non-telegraphed frontal cleave that applies a stacking, 45-second “Scale Flakes” debuff upon death. This debuff will attract the boss, making it swoop down onto the affected player, allowing players to hit it. Only the tank should be getting hit by this attack.
- Swoop: The boss will drop down onto the player with the “Scaled Flakes” debuff, hitting them with a non-telegraphed circle AoE.
- Stormwind: A cleaving tankbuster on the primary target. Use mitigation skills and heal through the damage.
- Corrosive Gale: A line attack that applies a 30-second “Reduced Immunity” debuff. This debuff reduces HP recovery through healing but can be dispelled.
- Climb: When the “Scale Flakes” timer runs out, the boss will become untargetable again and receive a 10-minute “Regen” buff. Kill a “Ranch Wamoura” near the end of the timer to refresh the debuff.
- Eerie Soundwave: A room-wide attack. Mitigate and heal through the damage.
- Plague Swipe: A backward cone AoE that applies a stacking “Poison” debuff for 30 seconds. Then, the boss will drop an expanding green puddle underneath it. This puddle will apply a constant “Pollen” DoT to anyone caught in it. This puddle will expand twice, so move the boss away from the initial puddle immediately after the attack.
Rewards
- 13 Allagan Tomestone of Poetics
| Name | Type | Rarity |
|---|---|---|
| Darklight Earrings of Aiming | Earrings | Tomestone (Blue) |
| Darklight Earrings of Casting | Earrings | Tomestone (Blue) |
| Darklight Earrings of Fending | Earrings | Tomestone (Blue) |
| Darklight Earrings of Healing | Earrings | Tomestone (Blue) |
| Darklight Earrings of Maiming | Earrings | Tomestone (Blue) |
| Darklight Earrings of Striking | Earrings | Tomestone (Blue) |
| Darklight Bracers of Aiming | Hands | Tomestone (Blue) |
| Darklight Bracers of Striking | Hands | Tomestone (Blue) |
| Darklight Gauntlets | Hands | Tomestone (Blue) |
| Darklight Gloves of Casting | Hands | Tomestone (Blue) |
| Darklight Gloves of Healing | Hands | Tomestone (Blue) |
| Fistfighter’s Gloves | Hands | Dungeon (Green) |
| Heavy Darklight Gauntlets | Hands | Tomestone (Blue) |
| Hussar’s Gloves | Hands | Dungeon (Green) |
| Magician’s Gloves | Hands | Dungeon (Green) |
| Pilgrim’s Gloves | Hands | Dungeon (Green) |
| Protector’s Gauntlets | Hands | Dungeon (Green) |
| Shikaree’s Gloves | Hands | Dungeon (Green) |
| Darklight Eyepatch of Aiming | Head | Tomestone (Blue) |
| Darklight Eyepatch of Striking | Head | Tomestone (Blue) |
| Darklight Helm | Head | Tomestone (Blue) |
| Fistfighter’s Goggles | Head | Dungeon (Green) |
| Hussar’s Goggles | Head | Dungeon (Green) |
| Magician’s Hat | Head | Dungeon (Green) |
| Pilgrim’s Eyepatch | Head | Dungeon (Green) |
| Protector’s Barbut | Head | Dungeon (Green) |
| Shikaree’s Mask | Head | Dungeon (Green) |
| Darklight Choker of Aiming | Necklace | Tomestone (Blue) |
| Darklight Choker of Casting | Necklace | Tomestone (Blue) |
| Darklight Choker of Fending | Necklace | Tomestone (Blue) |
| Darklight Choker of Healing | Necklace | Tomestone (Blue) |
| Darklight Choker of Maiming | Necklace | Tomestone (Blue) |
| Darklight Choker of Striking | Necklace | Tomestone (Blue) |
Boss #3: Diabolos
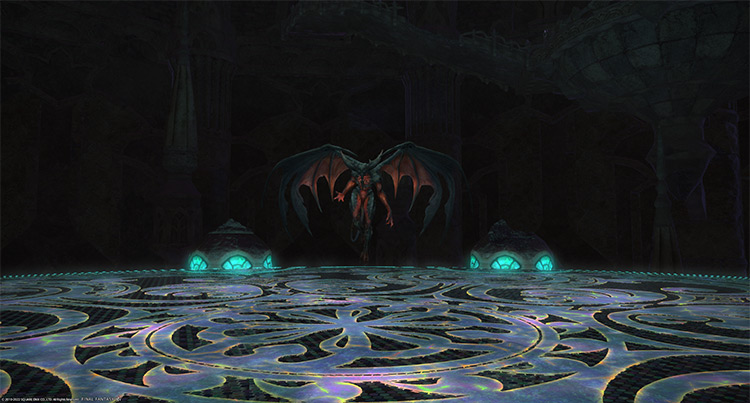
The boss will constantly use cleaving swipes as its normal attack. Always face the boss away from the party to avoid unnecessary damage. This boss is also stunnable.
Mechanics:
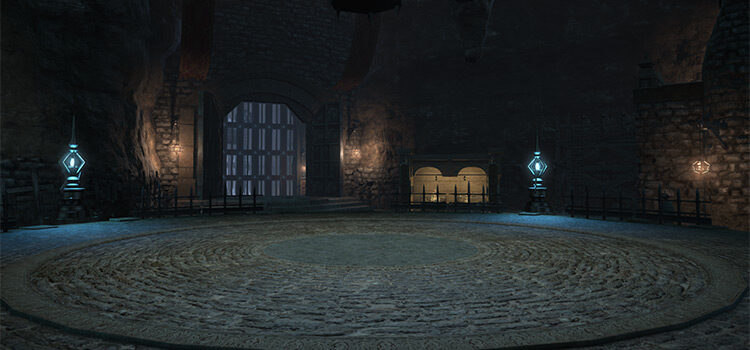
- Diabolical Gates: At the start of the fight, you’ll notice eight gates with corresponding symbols encircling the arena. Mark each gate with waymarkers or signs before the symbols disappear after a few seconds. These symbols will be important in handling incoming mechanics later on.
- Camisado: A targeted tankbuster on the primary target. Use mitigation skills and heal through the damage.
- Nightmare: A room-wide AoE attack that applies a five-second “Nightmare” debuff on the party. Stun the boss before the cast goes off.
- Graviball: The boss will mark a random player for “Graviball.” When the cast goes off, a purple orb will be dropped on the target player’s last position. This orb will explode in a set interval and inflict two debuffs on hit: a stacking “Diabolic Curse” and a 30-second “Heavy.” “Diabolic Curse” debuff increases the damage taken by the affected player. Bait the purple orbs away from the party.
- Ruinous Omen: A slow-casting room-wide AoE that applies “Diabolic Curse” debuffs for three minutes. To avoid this attack, party members must open a gate with the same symbol and go inside before the boss finishes casting. You should be traveling between the gates when the cast goes off to avoid the attack.
- Ultimate Terror: A donut AoE around the boss. Stand inside the boss’ hitbox to avoid.
- Noctoshield: The boss will buff itself for 40 seconds with a shield that prevents stuns.
- Night Terror: A targeted circle AoE on random players.
Rewards
- 20 Allagan Tomestone of Poetics
| Name | Type | Rarity |
|---|---|---|
| Darklight Corselet of Aiming | Body | Tomestone (Blue) |
| Darklight Corselet of Striking | Body | Tomestone (Blue) |
| Darklight Cowl of Casting | Body | Tomestone (Blue) |
| Darklight Cowl of Healing | Body | Tomestone (Blue) |
| Darklight Cuirass | Body | Tomestone (Blue) |
| Fistfighter’s Jackcoat | Body | Dungeon (Green) |
| Heavy Darklight Armor | Body | Tomestone (Blue) |
| Hussar’s Jackcoat | Body | Dungeon (Green) |
| Magician’s Robe | Body | Dungeon (Green) |
| Pilgrim’s Robe | Body | Dungeon (Green) |
| Protector’s Cuirass | Body | Dungeon (Green) |
| Shikaree’s Doublet | Body | Dungeon (Green) |
| Darklight Breeches of Casting | Legs | Tomestone (Blue) |
| Darklight Breeches of Healing | Legs | Tomestone (Blue) |
| Darklight Kecks | Legs | Tomestone (Blue) |
| Darklight Subligar | Legs | Tomestone (Blue) |
| Darklight Trousers | Legs | Tomestone (Blue) |
| Fistfighter’s Breeches | Legs | Dungeon (Green) |
| Heavy Darklight Flanchard | Legs | Tomestone (Blue) |
| Hussar’s Breeches | Legs | Dungeon (Green) |
| Magician’s Slops | Legs | Dungeon (Green) |
| Pilgrim’s Slops | Legs | Dungeon (Green) |
| Protector’s Trousers | Legs | Dungeon (Green) |
| Shikaree’s Gaskin | Legs | Dungeon (Green) |
| Faded Copy of The Scars of Battle | Orchestrion Roll | Basic |
Extra Treasure Coffers
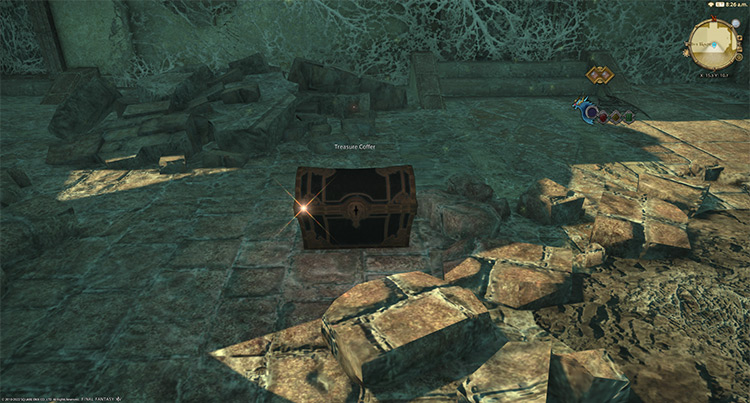
Apart from the boss rewards, there are four treasure coffers located throughout the dungeon that you can open for more gear rewards.
- (X:15.3, Y:10.7)
- (X:13.7, Y:11.6)
- (X:10.5, Y:11.2)
- (X:12.6, Y:10.8)
-
Final Fantasy XIV
- The Lost City of Amdapor (Normal): Unlock + Boss Guide – FFXIV
Related Posts:
 FFXIV Halatali (Hard): How To Unlock + Dungeon Guide
 FFXIV Brayflox’s Longstop (Hard): Unlock + Dungeon Guide
 FFXIV Pharos Sirius (Normal): How To Unlock + Dungeon Guide
 The Lost City of Amdapor (Hard): Unlock + Boss Guide – FFXIV
 FFXIV Copperbell Mines (Hard): How To Unlock + Boss Guide
 FFXIV The Qitana Ravel: Unlock + Boss Guide
 FFXIV Haukke Manor (Hard): How To Unlock + Boss Guide
 FFXIV Malikah’s Well: How To Unlock + Dungeon Guide