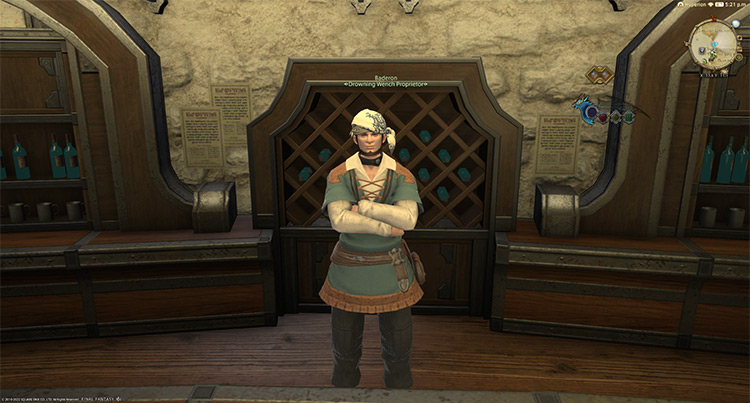
To unlock the Level 15 normal-difficulty dungeon Sastasha, you need to accept the Level 15 MSQ “It’s Probably Pirates” from Baderon in Limsa Lominsa Upper Decks (X:11.6, Y:11.1).
This is the first dungeon you’ll encounter in the game. And it requires you to finish the city-state questline before it can be unlocked.
TABLE OF CONTENTS
Step-by-Step Unlock Guide
- Complete the Level 15 Main Scenario Quest (MSQ) “Call of the Sea.” The NPC who will give you this quest will depend on the city-state you started in.
- Accept the Level 15 MSQ “It’s Probably Pirates” from Baderon in Limsa Lominsa Upper Decks (X:11.6, Y:11.1).
- Speak with V’mellpa at the ferry docks in Limsa Lominsa Lower Decks (X:7.4, Y:15.3).
- Talk to the Seasoned Adventurer in Western La Noscea (X:28.6, Y:24.2) and enter the Hall of the Novice.
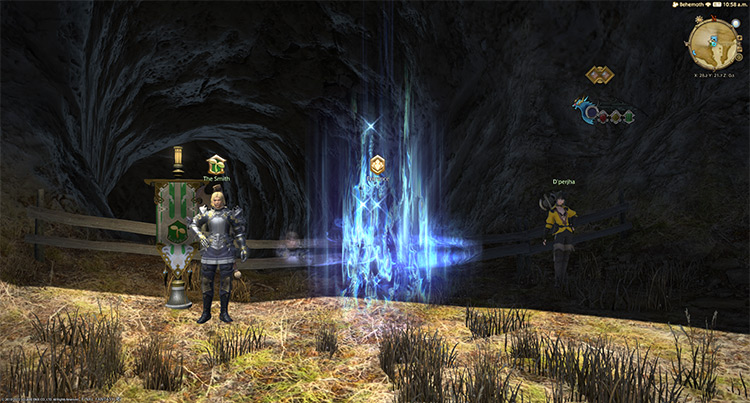
- Speak with the Yellowjacket outside of Sastasha in Western La Noscea (X:28.2, Y:21.8).
Detailed Unlocking Guide
To begin unlocking Sastasha, you must complete the Level 15 MSQ “Call of the Sea.” This is the final quest in your respective city-state questline before you begin the main story.
You’ll accept this quest from a specific NPC, depending on the city-state you picked to begin your FFXIV journey:
| Starting City-State | NPC to Find |
|---|---|
| Limsa Lominsa and Gridania | Bartholomew in Ul’dah – Steps of Thal (X:10.7, Y:12.9) |
| Ul’dah | Serpent Officer in Old Gridania (X:8.0, Y:11.1) |
Accept and complete the quest to reach Limsa Lominsa (if you haven’t already). Once you’re done, head to Limsa Lominsa Upper Decks (X:11.6, Y:11.1) and speak with Baderon to start the quest.
Baderon and Commander Reyner of the Yellowjackets bring disturbing news from Western La Noscea. A ship filled with suspicious men docked in Aleport and made their way to Sastasha Seagrot.
The Yellowjackets are concerned that this group may be the Serpent Reavers that are allied with the Sahagin.
Commander Reyner would ask for your help with the investigations. Talk to V’mellpa at the ferry docks in Limsa Lominsa Lower Decks (X:7.4, Y:15.3) to continue.
Before letting you go to Aleport, V’mellpa will ask you to talk to the Seasoned Adventurer in Western La Noscea (X:28.6, Y:24.2) to prepare you for your journey.
Hall of the Novice is a set of tutorials that will help improve your skills in Final Fantasy XIV as you head into your first dungeon. Check out our Hall of the Novice overview guide for more info.
Once you’ve completed Hall of the Novice, talk to the Yellowjacket outside of Sastasha in Western La Noscea (X:28.2, Y:21.8) to unlock it.
This dungeon requires a Level 15 Disciple of War or Magic job to enter and has no average item level requirement.
Bloody Memo
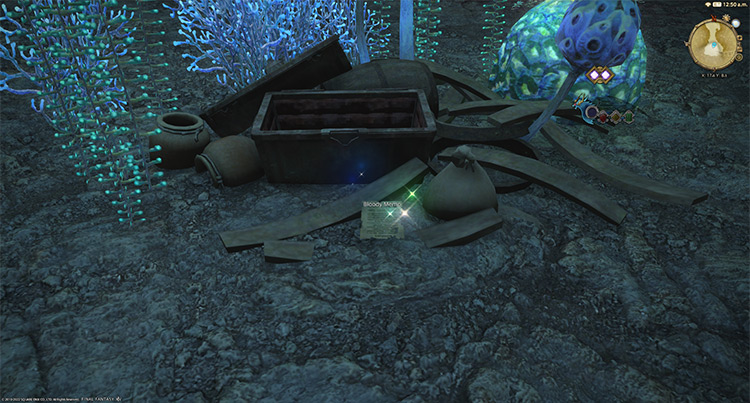
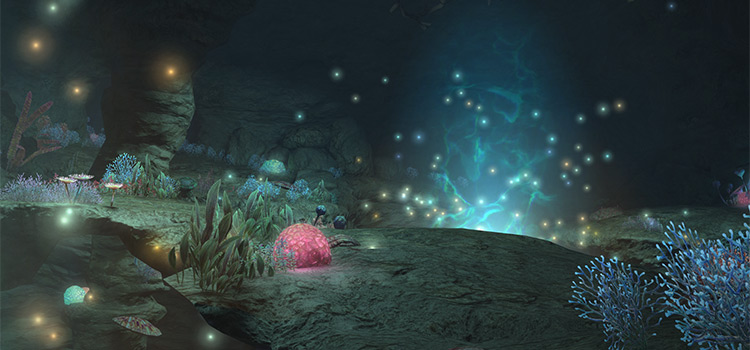
Upon entering the dungeon, you’ll notice a “Bloody Memo” across the hallway. Read the memo to determine how to spawn the first boss properly.
This memo will have one of three texts:
- The Capten lykes his wine Redd
- The Capten lykes his cabege Green
- The Capten lykes his sees Bloo
Coral Formations and Inconspicuous Switch
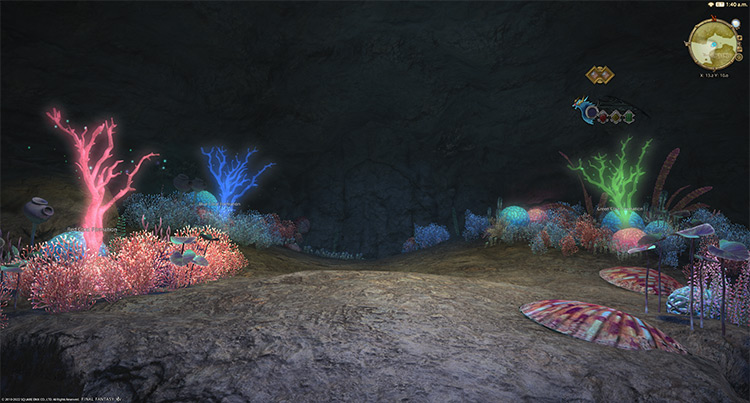
Once you reach the first boss’ spawning location, interact with the correct coral formation based on the color implied in the “Bloody Memo”.
If done correctly, the inconspicuous switch will appear, allowing you to spawn the boss.
If the wrong coral formation is used, the interacting player will get a 120-second “Poison” DoT, and a level 15 “Cave Aurelia” mob will spawn. Kill the mob to reveal the inconspicuous switch.
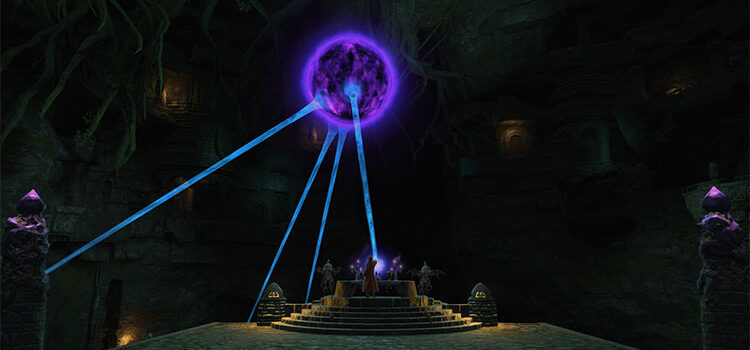
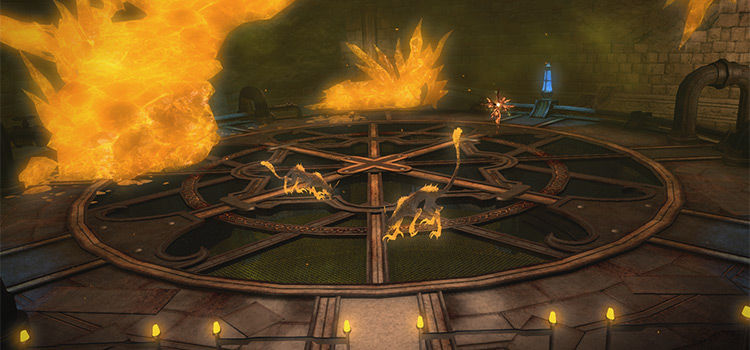
Boss #1: Chopper
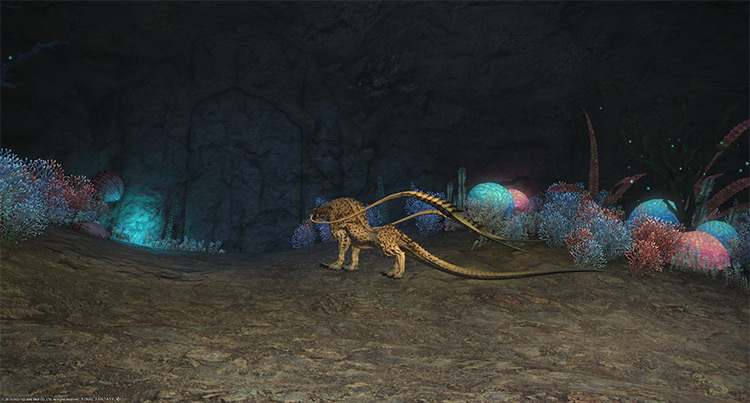
Mechanics:
Charged Whisker: A point-blank AoE attack that applies a 15-second “Paralysis” debuff on hit. This debuff interrupts your casts every three seconds until it wears off.
Rewards
| Name | Type | Rarity |
|---|---|---|
| Aetherial Brass Wristlets | Bracelets | Aetherial (Pink) |
| Aetherial Brass Gorget | Necklace | Aetherial (Pink) |
| Plundered Ear Cuffs | Earrings | Dungeon (Green) |
| Plundered Earrings | Earrings | Dungeon (Green) |
| Acolyte’s Halfgloves | Hands | Dungeon (Green) |
| Foestriker’s Mitts | Hands | Dungeon (Green) |
| Plundered Gauntlets | Hands | Dungeon (Green) |
| Plundered Cavalier’s Hat | Head | Dungeon (Green) |
| Plundered Celata | Head | Dungeon (Green) |
| Plundered Goggles | Head | Dungeon (Green) |
Boss #2: Captain Madison
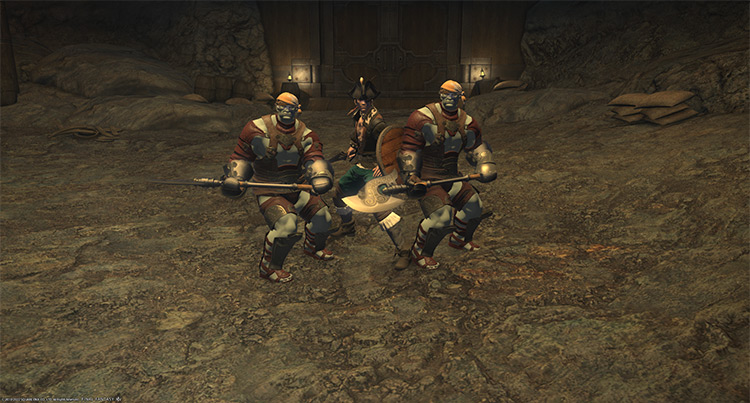
Mechanics:
Phase 1
At around 50% HP, the boss will run away. You’ll need to defeat more mobs on the way to your second encounter with the captain.
- Shallowtail Reaver: Two of the captain’s henchmen will be with him in this phase. Kill them immediately to reduce incoming damage.
- Heavy Swing (Shallowtail Reaver): A hard-hitting attack on the primary target. Heal the tank as necessary.
Phase 2
At around 20% HP, the boss will run away once more, ending the encounter. Focus on killing the extra enemies that spawn throughout the fight. Phase 2 will not drop a treasure chest.
- Fast Blade: A heavy-hitting attack from the boss. Use mitigation skills and heal through the damage.
- Sandslinger: A ranged attack on a random player that inflicts a 15-second “Accuracy Down” debuff.
- Shallowtail Reaver: The boss will be accompanied by two reavers once again. Kill them immediately.
- Scurvy Dogs: At around 50% HP, the boss will summon four dogs that the tank needs to pick up immediately. Kill the dogs to reduce incoming damage to the tank.
Rewards
| Name | Type | Rarity |
|---|---|---|
| Acolyte’s Robe | Body | Dungeon (Green) |
| Foestriker’s Tabard | Body | Dungeon (Green) |
| Plundered Cuirass | Body | Dungeon (Green) |
| Acolyte’s Skirt | Legs | Dungeon (Green) |
| Foestriker’s Skirt | Legs | Dungeon (Green) |
| Plundered Trousers | Legs | Dungeon (Green) |
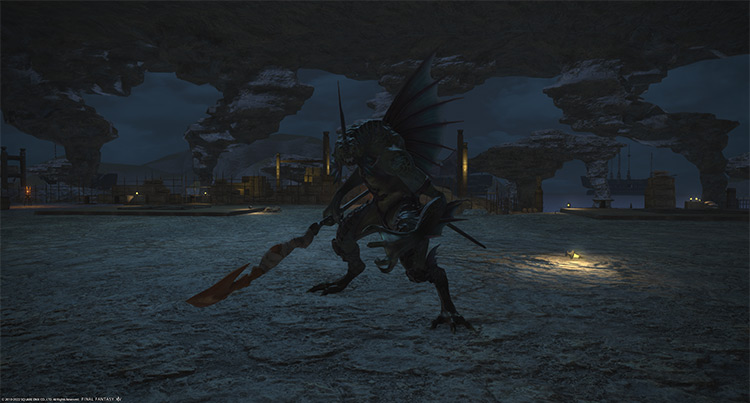
Boss #3: Denn the Orcatoothed
Mechanics:
- True Thrust: A hard-hitting attack on the primary target. Use mitigation skills and heal through the damage.
- Hydroball: A frontal cone AoE attack that applies a 15-second “Silence” debuff that prevents affected players from casting skills. Face the boss away from the party and sidestep to avoid the attack.
- Unnatural Ripples: When the prompt “Bubbles begin forming on the water’s surface” appears, check for bubbling water on the four ripples around the arena. “Baleen Guard” mobs will eventually spawn on the ripples if players don’t interact with it in time.
- Water Cannon (Baleen Guard): A ranged attack on the guard’s primary target. Kill the guards quickly to reduce incoming damage.
Rewards
- Faded Copy of Riptide Orchestrion Roll (not guaranteed)
- Sahagin Triple Triad Card (not guaranteed)
| Name | Type | Rarity |
|---|---|---|
| Plundered Grimoire | Book | Dungeon (Green) |
| Plundered Shortbow | Bow | Dungeon (Green) |
| Plundered Cane | Cane | Dungeon (Green) |
| Plundered Knives | Daggers | Dungeon (Green) |
| Acolyte’s Thighboots | Feet | Dungeon (Green) |
| Foestriker’s Boots | Feet | Dungeon (Green) |
| Plundered Sabatons | Feet | Dungeon (Green) |
| Plundered Knuckles | Fist Weapon | Dungeon (Green) |
| Plundered Battleaxe | Greataxe | Dungeon (Green) |
| Gladiator’s Plundered Arms (Lv. 15) | Other | Dungeon (Green) |
| Plundered Guisarme | Polearm | Dungeon (Green) |
| Plundered Staff | Staff | Dungeon (Green) |
| From the Depths Orchestrion Roll | Orchestrion Roll | Basic |
Extra Treasure Coffers
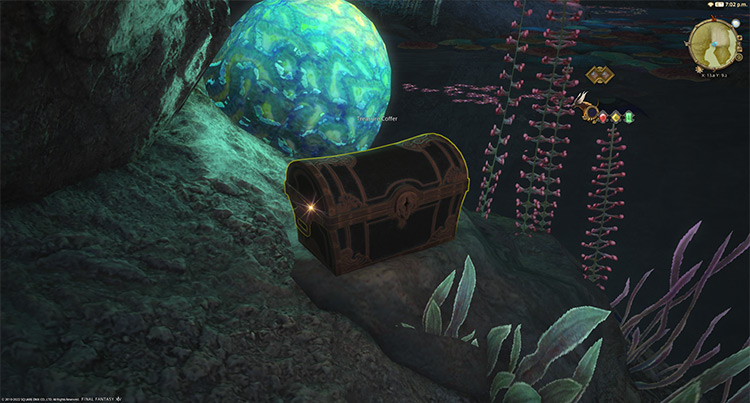
Apart from the boss rewards, there are four treasure coffers located throughout the dungeon that you can open for more gear or crafting material rewards:
- (X:13.8, Y:9.2)
- (X:11.2, Y:14.7)
- (X:10.9, Y:13.2)
- (X:7.9, Y: 3.7)
-
Final Fantasy XIV
- FFXIV Sastasha (Normal): How To Unlock + Dungeon Boss Guide
Related Posts:
 FFXIV Pharos Sirius (Normal): How To Unlock + Dungeon Guide
 FFXIV The Tam-Tara Deepcroft (Normal): Unlock + Dungeon Guide
 FFXIV The Sirensong Sea: How To Unlock + Boss Guide
 FFXIV Pharos Sirius (Hard): How To Unlock + Dungeon Guide
 FFXIV Copperbell Mines (Normal): How To Unlock + Boss Guide
 FFXIV Bardam’s Mettle: How To Unlock + Full Boss Guide
 FFXIV Copperbell Mines (Hard): How To Unlock + Boss Guide
 FFXIV Sohm Al (Normal): How To Unlock + Dungeon Guide