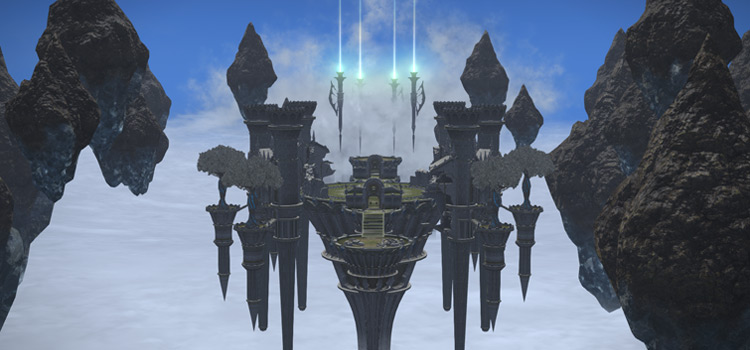
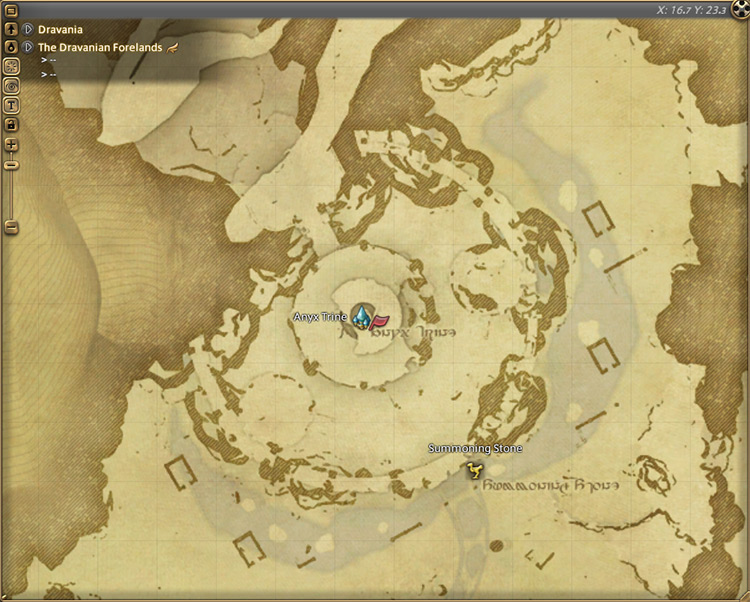
The Level 60 dungeon Sohr Khai can be unlocked by accepting the Level 60 Main Scenario Quest “Winning Over the Wyrm” from Alphinaud in The Dravanian Forelands (X:16.7, Y:23.3).
However since this quest is part of the Main Scenario Questline for patch 3.3 of the Heavensward expansion, you’ll need to finish every MSQ leading up to it before it becomes available.
Step-by-Step Unlock Guide
- Accept the Level 60 MSQ “Winning Over the Wyrm” from Alphinaud in The Dravanian Forelands (X:16.7, Y:23.3).
- Meet Aymeric and Alphinaud outside Moghome in The Churning Mists (X:27.3, Y:34.6).
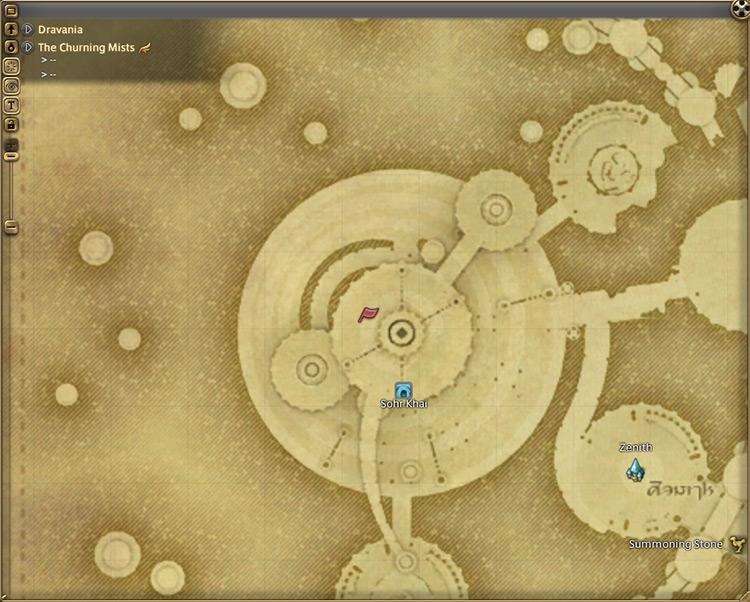
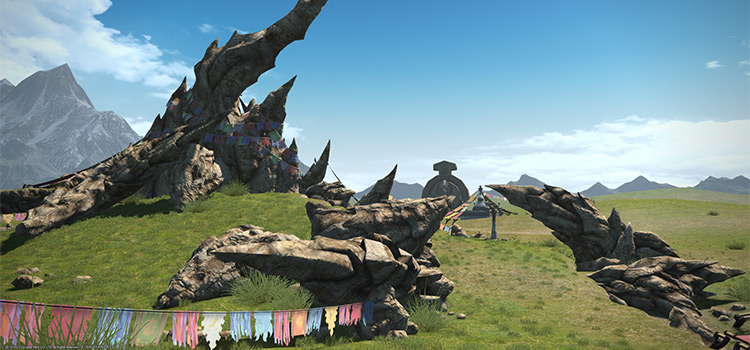
- Travel to Zenith in The Churning Mists (X:7.3, Y:26.8).
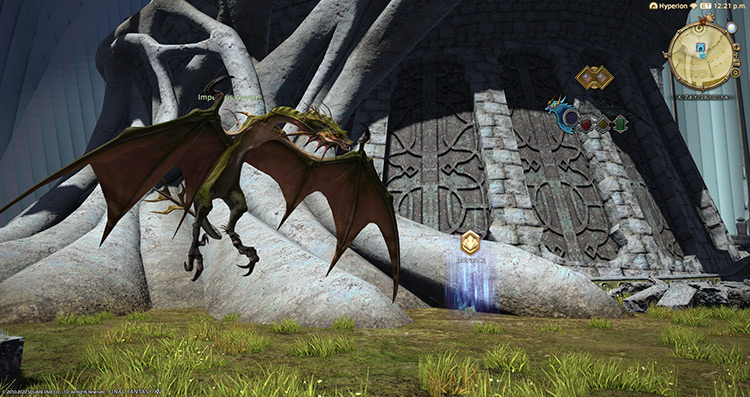
- Speak with the Impervious Wyvern at the base of Zenith in The Churning Mists (X:7.7, Y:27.8).
Detailed Unlocking Guide
To begin unlocking Sohr Khai, you must first catch up with every Main Scenario Quest (MSQ) leading up to “Winning Over the Wyrm”.
This includes every MSQ from the A Realm Reborn expansion and every MSQ in the Heavensward until patch 3.3.
Once you’ve finished the required quests, head to The Dravanian Forelands (X:16.7, Y:23.3) and speak with Alphinaud.
At this point in the story, The Holy See of Ishgard is seeking the help of the great wyrm Hraesvelgr to have any chance of stopping his brother, Nidhogg, from launching another attack on Ishgard.
Despite not getting the blessing of the great wyrm’s daughter, Vidofnir, Aymeric still believes talking to Hraesvelgr again is worth the try.
Meet Aymeric and Alphinaud in The Churning Mists (X:27.3, Y:34.6) to continue. In the brief cutscene that follows, your trio will encounter the moogle Moghan while overlooking your destination.
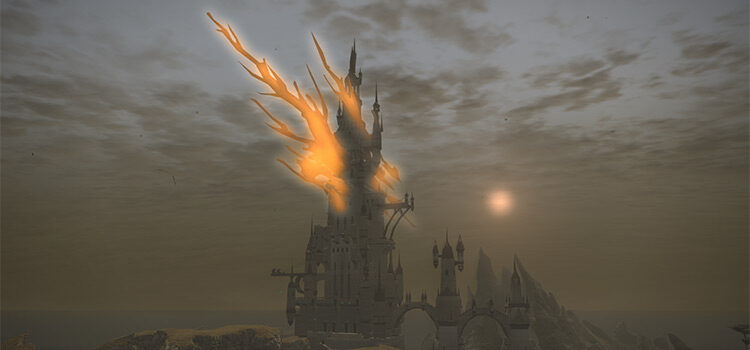
Afterward, head to The Churning Mists (X:7.3, Y:26.8) to call upon the great wyrm.
The next cutscene begins with Hraesvelgr arriving in Zenith.
Despite an impassioned discussion about the future of man and dragon, Hraesvelgr would not change his stance.
Fortunately, the appearance of Midgardsormr (Hraesvelgr’s sire) opens his mind to helping mankind against his brother.
However, the great wyrm will test your strength first before making his decision.
Make your way back to the base of Zenith at The Churning Mists (X:7.7, Y:27.8) and speak with the Impervious Wyvern. After doing so, Sohr Khai will be unlocked.
This dungeon requires at least a Level 60 Disciple of War or Magic and an average item level of 200 to enter.
Sohr Khai is easy to solo with a high-level job, but you’ll need to do it while synced if you encounter this dungeon in duty roulettes.
Let’s go through each of the bosses and their mechanics below:
Boss #1: Chieftain Moglin
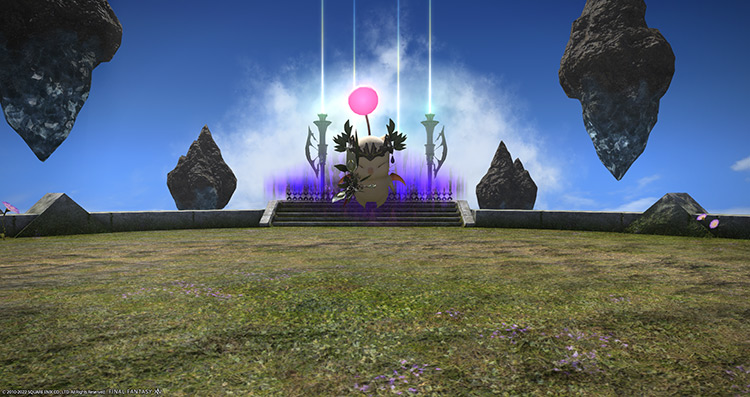
Mechanics:
The boss will summon multiple moogles throughout the fight. Focus on destroying “Captain Mogsun” before any other minions and keep their bodies out of the boss’ resurrection circles.
Boss Skills
- 1000-kuponze Charge: A cleaving tankbuster on the primary target. Face the boss away from the party while healing through the attack.
- Demoniacal Mogcane: The boss will throw his staff on a random spot in the arena. After some time, this cane will use a non-telegraphed cross-shaped attack that applies a stacking “Vulnerability Up” debuff to anyone hit. Have the tank pull the boss away from the cane.
- Invincibility Tether: The boss will tether to “Captain Mogsun” and gain an “Invincibility” buff. Always focus on killing “Captain Mogsun” first to remove this buff.
- Pom Praise: Raises the incapacitated moogles through purple resurrection circles and gives them a stacking “HP Boost” buff with every raise. Push the moogles out of the circles using normal AoEs. One hit is enough to push a moogle away from the resurrection circle.
- Pom Holy: A room-wide AoE attack. Mitigate and heal through the damage.
Minions
| Name | Skill |
|---|---|
| Captain Mogsun | Spinning Mogshield: A point-blank AoE attack around the captain that stuns any player it hits. |
| Pomguard Pomcrier | March of the Moogles: This skill will continuously buff the moogles with a “Damage Up.” This buff can stack up to 16. |
| Pomguard Pomfryer | Pom Flare: A large AoE attack that can cover most of the room. Drag the pomfryer to the edge of the arena to give your party more space to dodge. |
| Pomguard Pomfluffer | Pom Cure: Heals the boss for around 6000 HP. |
| Pomguard Pompincher | Poison Needle: Applies a 30-second “Poison” debuff on the primary target. This debuff can be dispelled. |
| Pomguard Pompiercer | Moogle Eye Shot: A regular ranged attack. |
| Pomguard Pomchopper | No notable skill. |
Rewards
10 Allagan Tomestone of Poetics
| Name | Type | Rarity |
|---|---|---|
| Berserker’s Bangles | Bracelets | Dungeon (Green) |
| Panegyrist’s Bangles | Bracelets | Dungeon (Green) |
| Prophet’s Bangles | Bracelets | Dungeon (Green) |
| Viking Bangles | Bracelets | Dungeon (Green) |
| Wrangler’s Bangles | Bracelets | Dungeon (Green) |
| Berserker’s Leg Guards | Feet | Dungeon (Green) |
| Conqueror’s Sandals | Feet | Dungeon (Green) |
| Panegyrist’s Sandals | Feet | Dungeon (Green) |
| Prophet’s Sandals | Feet | Dungeon (Green) |
| Subjugator’s Sandals | Feet | Dungeon (Green) |
| Viking Leg Guards | Feet | Dungeon (Green) |
| Wrangler’s Boots | Feet | Dungeon (Green) |
| Berserker’s Ring | Ring | Dungeon (Green) |
| Panegyrist’s Ring | Ring | Dungeon (Green) |
| Prophet’s Ring | Ring | Dungeon (Green) |
| Viking Ring | Ring | Dungeon (Green) |
| Wrangler’s Ring | Ring | Dungeon (Green) |
Boss #2: Poqhiraj
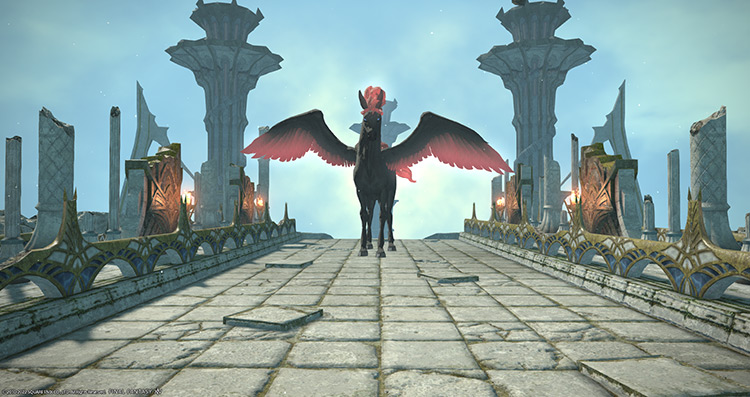
Mechanics:
This encounter has a long and narrow arena with breakable walls on either side. These walls must be preserved as much as possible to mitigate specific attacks. If a wall breaks, an electrically-charged pool will appear underneath it. Walking into this pool will result in a 12-second “Electrocution” DoT.
- Rear Hoof: A non-telegraphed cleaving tankbuster on the primary target. Always face the pegasus away from the party.
- Burning Bright: A non-telegraphed line attack on a random player that can also destroy the walls on both sides of the arena. Tank the boss to the edge of the arena and have the Healer and DPS players stand directly behind the boss to avoid clipping the walls.
- Touchdown: The boss will periodically fly up and place a proximity-based marker on one side of the arena. Move to the opposite edge to mitigate incoming damage.
- Gallop: Immediately after “Touchdown,” the boss will cover the entire arena with a wide knockback attack. Standing directly in the middle of this attack will result in a knock-up and a stacking “Vulnerability Up” debuff. Stand on the edge of the AoE next to a wall to avoid the debuff.
- Cloud Call: The boss will mark a random player and summon a non-targetable “Dark Cloud” mob on top of them after some time. Drop your marker away from the party, preferably next to a destroyed wall.
- Lightning Bolt (Dark Cloud): A non-telegraphed AoE around the cloud. This attack applies a stacking “Vulnerability Up” debuff to anyone hit.
Rewards
15 Allagan Tomestone of Poetics
| Name | Type | Rarity |
|---|---|---|
| Berserker’s Earrings | Earrings | Dungeon (Green) |
| Panegyrist’s Earrings | Earrings | Dungeon (Green) |
| Prophet’s Earrings | Earrings | Dungeon (Green) |
| Viking Earrings | Earrings | Dungeon (Green) |
| Wrangler’s Earrings | Earrings | Dungeon (Green) |
| Berserker’s Armguards | Hands | Dungeon (Green) |
| Conqueror’s Armguards | Hands | Dungeon (Green) |
| Panegyrist’s Armwraps | Hands | Dungeon (Green) |
| Prophet’s Armwraps | Hands | Dungeon (Green) |
| Subjugator’s Armguards | Hands | Dungeon (Green) |
| Viking Armguards | Hands | Dungeon (Green) |
| Wrangler’s Gloves | Hands | Dungeon (Green) |
| Berserker’s Helm | Head | Dungeon (Green) |
| Conqueror’s Turban | Head | Dungeon (Green) |
| Panegyrist’s Mask | Head | Dungeon (Green) |
| Prophet’s Mask | Head | Dungeon (Green) |
| Subjugator’s Turban | Head | Dungeon (Green) |
| Viking Helm | Head | Dungeon (Green) |
| Wrangler’s Hat | Head | Dungeon (Green) |
| Berserker’s Scarf | Necklace | Dungeon (Green) |
| Panegyrist’s Scarf | Necklace | Dungeon (Green) |
| Prophet’s Scarf | Necklace | Dungeon (Green) |
| Viking Scarf | Necklace | Dungeon (Green) |
| Wrangler’s Scarf | Necklace | Dungeon (Green) |
Boss #3: Hraesvelgr

Mechanics:
Most of the boss’ attacks apply stacking “Vulnerability Up” debuffs for 60 seconds, so avoid the easy AoEs as much as possible.
- Wyrmclaw: A red tankbuster marker on the primary target. Use mitigation skills and heal through the damage.
- Hallowed Wings: One of the boss’ wings will glow and cast an AoE that covers half the arena. Run to the other side before it goes off.
- Holy Storm: A room-wide AoE attack. Heal through the damage.
- Hallowed Dive: The boss will fly to one side of the arena and prepare a diving attack down the middle. Meanwhile, circle AoEs will slowly drop on his flanks toward the same direction. Sidestep the initial column AoE, then run back to the middle.
- Ahk Morn: A 6-hit stack marker on a random player. Stand inside the marker to share incoming damage.
- Diamond Storm: The floor will turn to solid ice and cause players to slide around. Avoid unnecessary movement.
- Frigid Drive + Frosted Orb: During “Diamond Storm,” the boss will cast another line attack, followed by multiple ground AoEs. Slide carefully toward the safe spots.
- Holy Breath: Targeted AoEs on every player. Spread out to avoid overlap.
Rewards
- 25 Allagan Tomestone of Poetics
- Hraesvelgr Triple Triad Card (not guaranteed)
| Name | Type | Rarity |
|---|---|---|
| Berserker’s Scale Mail | Body | Dungeon (Green) |
| Conqueror’s Vest | Body | Dungeon (Green) |
| Panegyrist’s Chestwrap | Body | Dungeon (Green) |
| Prophet’s Chestwrap | Body | Dungeon (Green) |
| Subjugator’s Vest | Body | Dungeon (Green) |
| Viking Scale Mail | Body | Dungeon (Green) |
| Wrangler’s Jacket | Body | Dungeon (Green) |
| Berserker’s Hose | Legs | Dungeon (Green) |
| Conqueror’s Brais | Legs | Dungeon (Green) |
| Panegyrist’s Culottes | Legs | Dungeon (Green) |
| Prophet’s Culottes | Legs | Dungeon (Green) |
| Subjugator’s Brais | Legs | Dungeon (Green) |
| Viking Hose | Legs | Dungeon (Green) |
| Wrangler’s Chaps | Legs | Dungeon (Green) |
| Apologies Orchestrion Roll | Orchestrion Roll | Dungeon (Green) |
Extra Treasure Coffers
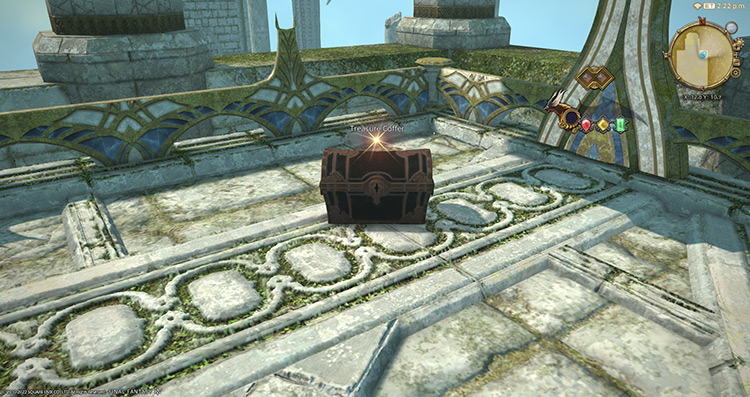
Apart from the boss rewards, there are four treasure coffers located throughout the dungeon that you can open for more gear rewards:
- (X:11.6, Y:12.8)
- (X:12.0, Y:10.7)
- (X:12.7, Y:12.8)
- (X:11.0, Y:13.0)
-
Final Fantasy XIV
- FFXIV Sohr Khai: How To Unlock + Boss Mechanics
Related Posts:
 FFXIV Copperbell Mines (Hard): How To Unlock + Boss Guide
 FFXIV Pharos Sirius (Normal): How To Unlock + Dungeon Guide
 FFXIV Bardam’s Mettle: How To Unlock + Full Boss Guide
 FFXIV Sohm Al (Normal): How To Unlock + Dungeon Guide
 FFXIV The Qitana Ravel: Unlock + Boss Guide
 FFXIV Hullbreaker Isle (Hard): How To Unlock + Boss Guide
 FFXIV Haukke Manor (Hard): How To Unlock + Boss Guide
 FFXIV Dohn Mheg: How To Unlock + Boss Guide