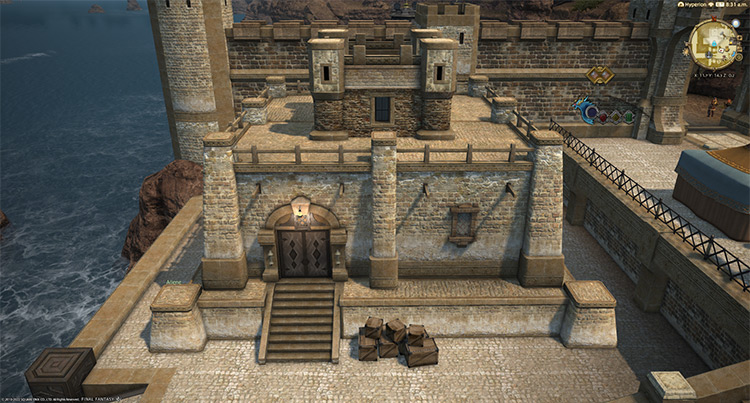
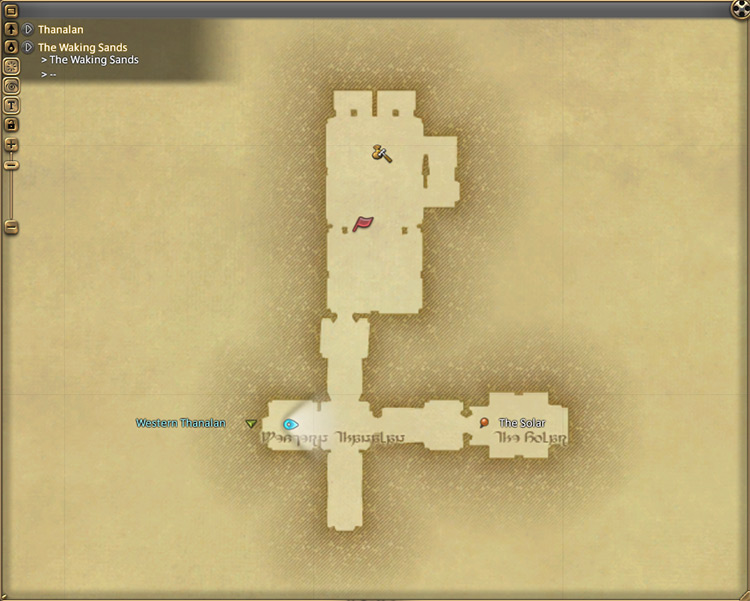
To unlock the Level 50 trial The Bowl of Embers (Hard), also known as Ifrit HM, you need to accept the Level 50 quest “Ifrit Bleeds, We Can Kill It” from Thancred in The Waking Sands (X:6.1, Y:5.1).
But before this quest becomes available, you need to finish the final Main Scenario Quest for patch 2.0 of A Realm Reborn, titled “The Ultimate Weapon”. You’ll get this quest from Raubahn in Northern Thanalan (X:15.0, Y:16.0).
TABLE OF CONTENTS
Step-by-Step Unlock Guide
- Complete the Level 50 Main Scenario Quest (MSQ) “The Ultimate Weapon” from Raubahn in Northern Thanalan (X:15.0, Y:16.0).
- Finish the Level 50 quest “A Recurring Problem” from Minfilia in The Solar (X:6.9, Y:6.1).
- Accept the Level 50 quest “Ifrit Bleeds, We Can Kill It” from Thancred in The Waking Sands (X:6.1, Y:5.1).
- Speak with Flame Commander Swift in the Hall of Flames at Ul’dah – Steps of Nald (X:8.4, Y:8.9).
- Attune to the Zahar’ak Aetheryte in Southern Thanalan (X:35.4, Y:19.9).
Detailed Unlocking Guide
Similar to other Hard-mode trials in the game, you first need to complete the Level 50 Main Scenario Quest (MSQ) “The Ultimate Weapon” from Raubahn in Northern Thanalan (X:15.0, Y:16.0) before The Bowl of Embers (Hard) can be unlocked.
This quest wraps up the Main Scenario Questline for patch 2.0 of A Realm Reborn, so take your time with the cutscenes!
Once you’re done, head back to The Waking Sands and talk to Minfilia in The Solar (X:6.9, Y:6.1) to begin the Primal Questline.

Accept and complete the quest “A Recurring Problem” from Minfilia.
You’ll learn from this quest that the primals you’ve defeated during the Main Scenario Questline are on the verge of being summoned by the beast tribes once again.
Minfilia will warn you that these primals are stronger than the earlier version you’ve faced before.
To make matters worse, Urianger will suggest that the Amal’jaa may have already summoned Ifrit once again. After completing “A Recurring Problem,” talk to Thancred in The Waking Sands (X:6.1, Y:5.1) and accept the Level 50 quest “Ifrit Bleeds, We Can Kill It”.
Thancred will confirm Urianger’s suspicions and ask you to immediately talk to the Flame Commander in Ul’dah so he can arrange your travel to the Lord of Inferno’s domain.
Once you’ve finished talking to Thancred, head to the Hall of Flames at Ul’dah – Steps of Nald (X:8.4, Y:8.9) and speak with Commander Swift.
The Flame Commander’s forces have discovered an Aetheryte leading to Ifrit’s domain.
With no time to waste and Thanalan’s safety hanging in the balance, Commander Swift will have you travel to the Aetheryte to confront the primal. Go to the Zahar’ak Aetheryte in Southern Thanalan (X:35.4, Y:19.9) to continue.

Upon arrival, attune to the Aetheryte to unlock The Bowl of Embers (Hard). This trial requires at least a Level 50 Disciple of War or Magic job and an average item level of 49 to enter.
The Bowl of Embers (Hard) is a four-person trial that can be encountered in Duty Roulette: Trials. While it’s easy to clear this trial on your own with a high-level character while unsynced, you’ll still need to know its mechanics if you ever get it in the Duty Roulette.
We’ll cover the boss’ mechanics and rotations below:
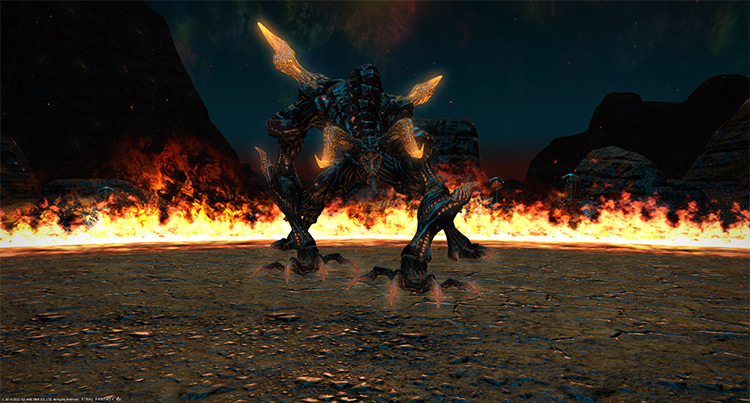
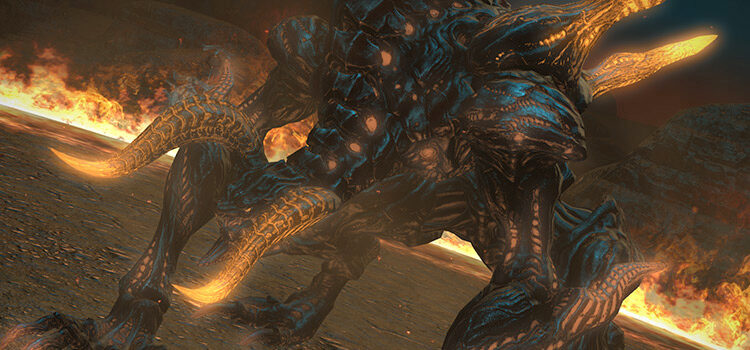
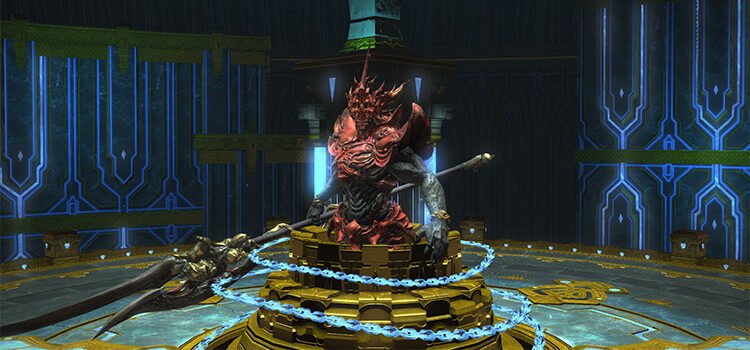
Trial Boss Guide: Ifrit (Hard)
Phase 1: Crimson Cyclone and Eruption
Rotation:
Incinerate > Vulcan Burst > Incinerate x3 > Repeat until 89% HP > Eruption > Incinerate > Crimson Cyclone > Eruption > Incinerate > Eruption > Incinerate > Crimson Cyclone > Eruption > Incinerate > Vulcan Burst > Repeat until 69% HP.
- Incinerate: A non-telegraphed frontal cone tankbuster on the primary target. Always face the boss away from the party to avoid unnecessary cleaves.
- Vulcan Burst: A point-blank knockback AoE. Stay away from melee range if you’re using a ranged character to minimize incoming damage.
- Eruption: The boss will target a random player with an AoE that goes off consecutively (marked by huge cracks on the ground). If you’re targeted, move away from the rest of the group until the AoEs disappear. This attack can be interrupted using stuns up to three times before the boss gains immunity to stuns for 60 seconds.
- Crimson Cyclone (Phase 1): The boss will jump outside the arena and rush across, damaging anyone in its path. Move out of his way.
Phase 2: Sear and Radiant Plume
Once the boss goes under 70%, he will begin to glow, indicating the start of Phase 2. He will gain new mechanics and enhance some of its attacks.
Rotation:
Incinerate + Sear > Vulcan Burst > Eruption + Sear > Radiant Plume (Outer) > Eruption + Sear > Radiant Plume (Inner) > Crimson Cyclone > Repeat until 49% HP.
- Sear: Players near the boss will be hit with an unavoidable attack. Mitigate and heal through the damage.
- Crimson Cyclone (Phase 2): The boss will now have two copies of itself outside the arena.
- Radiant Plume (Outer and Inner): The boss will cover parts of the arena with lava pools that deal high damage. “Radiant” Plume” will have two patterns for Phase 2: Outer and Inner. The Outer pattern will always go first, so pre-position yourself in the center of the arena to avoid it.
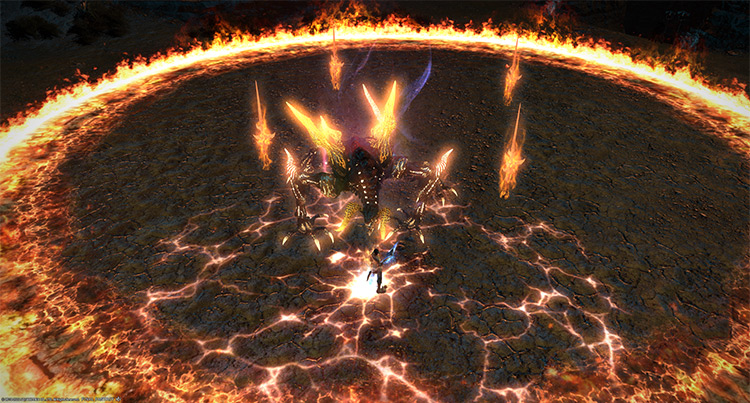
Phase 3: Infernal Nails and Hellfire
When the boss goes under 50% HP, he will drop “Infernal Nails” that need to be destroyed quickly.
Rotation:
Infernal Nails > Incinerate > Vulcan Burst > Eruption > Incinerate > Incinerate > Eruption > Incinerate > Incinerate > Hellfire.
- Infernal Nails: The boss will drop four “Infernal Nails” that need to be destroyed before he finishes his Phase 3 rotation. Each nail that survives the phase will increase his “Hellfire” AoE damage. Ignoring the nails will wipe your party while synced.
- Hellfire: The boss will become invincible and cast a room-wide AoE ultimate attack that deals damage based on the number of surviving “Infernal Nails.” Destroy the nails, then mitigate and heal through the AoE damage.
Phase 4: Repeating mechanics
Rotation:
Incinerate > Vulcan Burst > Eruption + Sear > Crimson Cyclone > Radiant Plume (Outer) > Radiant Plume (Inner) > Eruption + Sear > Radiant Plume (Combo) > Repeat until death.
- Crimson Cyclone (Phase 4): The boss will now have three copies of himself that will rush across the arena.
- Radiant Plume (Combo): The boss will cover most of the arena with lava pools. The only safe spots during this variation will be directly underneath and behind the boss. After the “Eruption + Sear” combo listed in the rotation, move near the boss.
The rotation listed above will now repeat until the boss dies.
To recap, here’s what you need to do for the rest of the fight:
- Mitigate and heal through “Incinerate” and “Vulcan Burst.”
- Bait the “Eruption” AoEs away from the party while healing through “Sear.”
- Move out of the path for each clone during “Crimson Cyclone.”
- Run toward the center, then spread out to the outer edges for the “Radiant Plume” patterns.
- Move away from your party again if you’re marked with “Eruption” and heal through another “Sear.”
- Go directly underneath or behind the boss to avoid “Radiant Plume (Combo).”
- Repeat until the boss is dead.
Rewards
- Ifrit Triple Triad Card (not guaranteed)
- Ifrit’s Horn Crafting Material (not guaranteed)
| Name | Type | Quality |
|---|---|---|
| Ifrit’s Grimoire | Book | Blue (Primal Gear) |
| Ifrit’s Codex | Book | Blue (Primal Gear) |
| Ifrit’s Bow | Bow | Blue (Primal Gear) |
| Ifrit’s Cane | Cane | Blue (Primal Gear) |
| Ifrit’s Kris | Daggers | Blue (Primal Gear) |
| Ifrit’s Musketoon | Firearms | Blue (Primal Gear) |
| Ifrit’s Claws | Fist Weapon | Blue (Primal Gear) |
| Ifrit’s Battleaxe | Greataxe | Blue (Primal Gear) |
| Ifrit’s Faussar | Greatsword | Blue (Primal Gear) |
| Ifrit’s Katana | Katana | Blue (Primal Gear) |
| Ifrit’s Harpoon | Polearm | Blue (Primal Gear) |
| Ifrit’s Rapier | Rapier | Blue (Primal Gear) |
| Ifrit’s Rod | Staff | Blue (Primal Gear) |
| Ifrit’s Star Globe | Star Globe | Blue (Primal Gear) |
| Ifrit’s Blade | Sword | Blue (Primal Gear) |
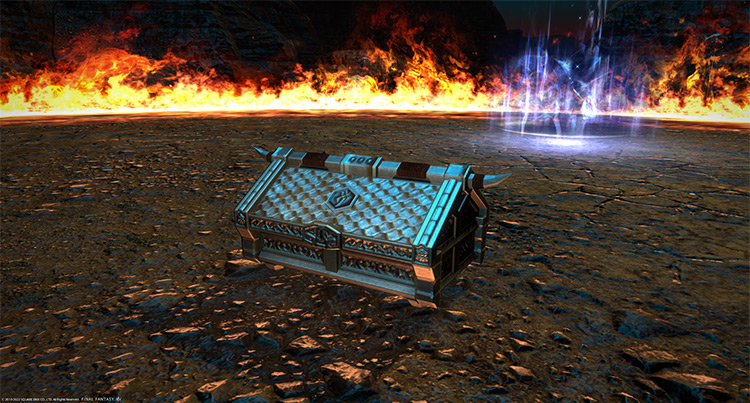
| Inferno Weapon Coffer (IL 60) | Other | Basic |
-
Final Fantasy XIV
- FFXIV The Bowl of Embers (Hard): Unlock + Trial Guide
Related Posts:
 FFXIV The Bowl of Embers (Extreme): Unlock + Trial Guide
 FFXIV The Minstrel’s Ballad: Ultima’s Bane – Unlock + Trial Guide
 The Akh Afah Amphitheatre (Extreme): Unlock + Trial Guide (FFXIV)
 Zurvan EX Unlock & Trial Guide – FFXIV Containment Bay Z1T9 (Extreme)
 FFXIV Emanation (Extreme): How To Unlock + Trial Guide
 Sophia EX Unlock & Trial Guide – FFXIV Containment Bay P1T6 (Extreme)
 FFXIV Hells’ Kier (Extreme): How To Unlock + Trial Guide
 FFXIV The Navel (Hard): How To Unlock + Trial Guide