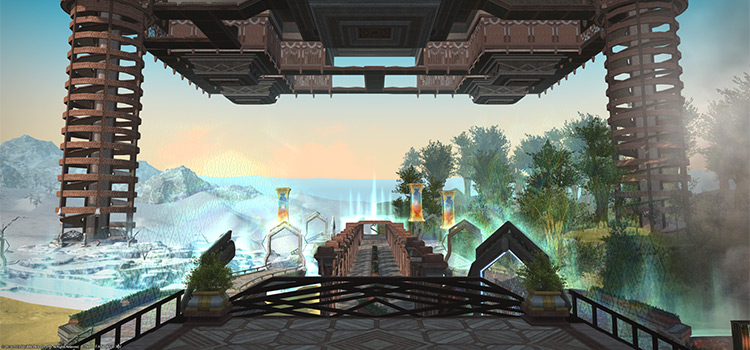
You can unlock the Level 70 dungeon The Burn by accepting the Level 70 MSQ “Feel the Burn” from Hien in Kienkan (X:6.1, Y:6.0). This MSQ is part of the patch 4.4 main storyline for the Stormblood expansion.
We’ll cover the full unlocking quest, plus the mechanics of every boss in this dungeon and the loot they drop.
TABLE OF CONTENTS
Unlocking Quest: Feel the Burn
“Feel the Burn” is a Level 70 MSQ from patch 4.4 of the Stormblood expansion. You’ll need to finish every MSQ leading up to it before it can be unlocked, including MSQs from the previous patches and expansions.
After that, talk to Hien in Kienkan (X:6.1, Y:6.0) to begin unlocking the dungeon.
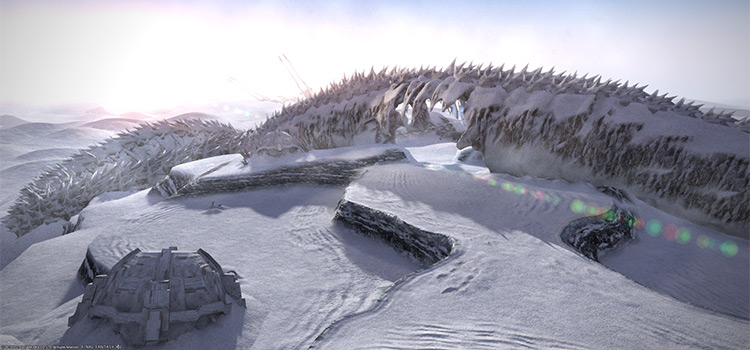
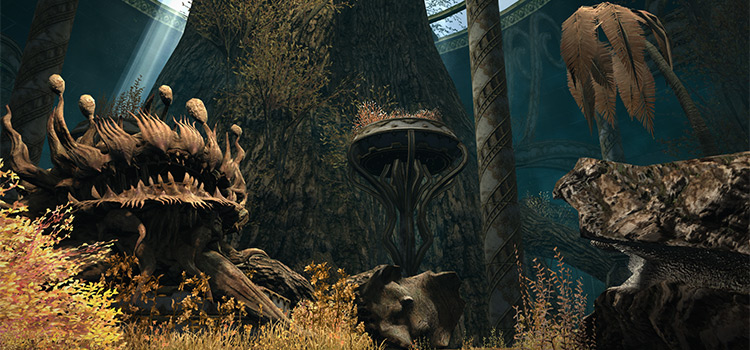
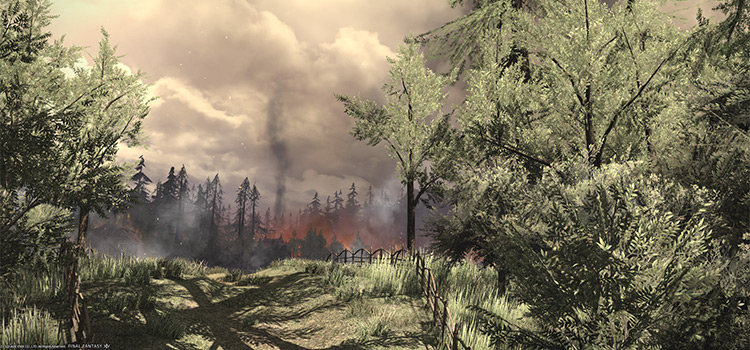
In this part of the main story, Hien believes that Alphinaud and his team have encountered some manner of trouble in the Garlean region known as The Burn.
As a place once teeming with life, The Burn has been transformed into a barren desert after repeated summonings by the Garlean Empire.
Hien proposes a journey to the region to investigate further.
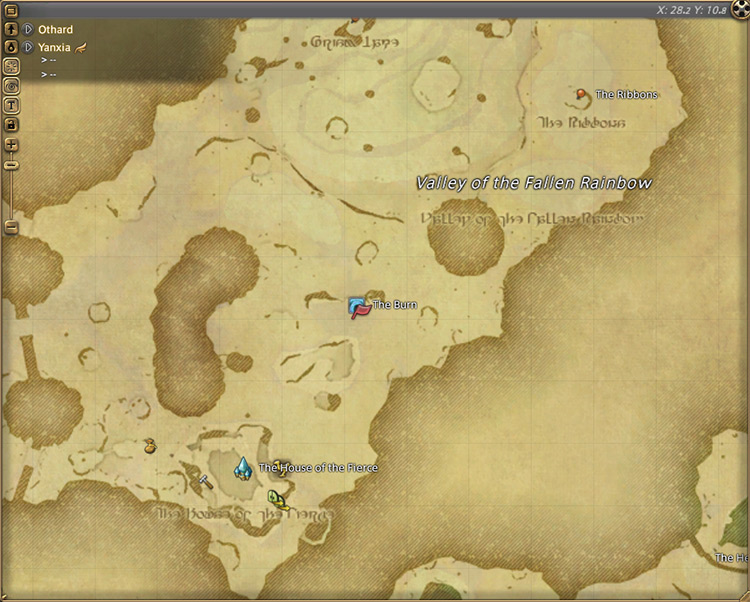
After finalizing the plan, speak with Hien once more in Yanxia (X:28.2, Y:10.8) to unlock The Burn. This dungeon requires at least a Level 70 Disciple of War or Magic job and an average item level of 340 to enter.
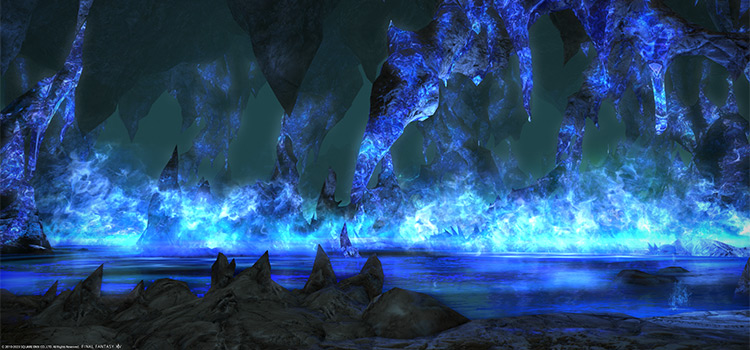
Boss #1: Hedetet
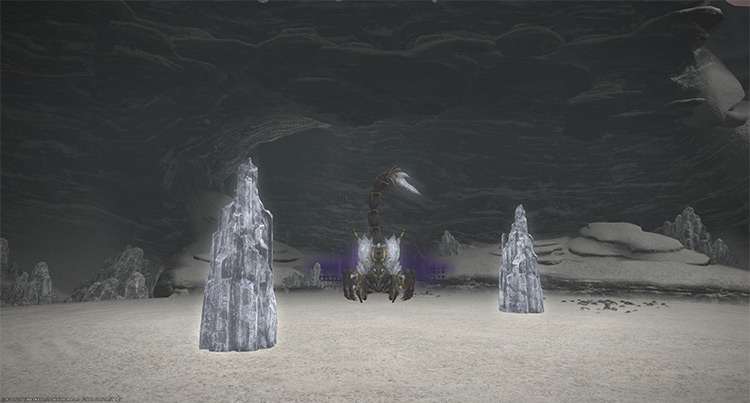
You’ll notice four dim crystals around the room that can be used to avoid incoming damage. If the pillars get hit, they’ll explode into point-blank AoEs.
Mechanics
- Crystal Needle: A red tankbuster marker on the primary target. Move away from the party and heal through the damage.
- Hailfire: One player will receive an orange marker for a non-telegraphed column attack. Hide behind a crystal to avoid, then run out of the AoE afterward.
- Shardstrike: Targeted circle AoEs on random players. Spread them out away from the crystals.
- Shardfall: A room-wide AoE attack that applies a 120-second stacking “Vulnerability Up” debuff and causes every dim crystal to explode. Hide behind a crystal for the room-wide AoE, then move out.
- Dissonance: A room-wide donut AoE immediately after “Shardfall” that also applies a 120-second stacking “Vulnerability Up” debuff.
- Crystalline Fracture (Dim Crystal): Four circle AoEs that drop a new set of dim crystals.
Rewards
- 15 Allagan Tomestone of Poetics
| Name | Type | Rarity |
|---|---|---|
| Royal Volunteer’s Bracelet of Aiming | Bracelets | Dungeon (Green) |
| Royal Volunteer’s Bracelet of Casting | Bracelets | Dungeon (Green) |
| Royal Volunteer’s Bracelet of Fending | Bracelets | Dungeon (Green) |
| Royal Volunteer’s Bracelet of Healing | Bracelets | Dungeon (Green) |
| Royal Volunteer’s Bracelet of Slaying | Bracelets | Dungeon (Green) |
| Royal Volunteer’s Boots of Casting | Feet | Dungeon (Green) |
| Royal Volunteer’s Boots of Scouting | Feet | Dungeon (Green) |
| Royal Volunteer’s Boots of Striking | Feet | Dungeon (Green) |
| Royal Volunteer’s Heavy Boots of Fending | Feet | Dungeon (Green) |
| Royal Volunteer’s Heavy Boots of Maiming | Feet | Dungeon (Green) |
| Royal Volunteer’s Thighboots of Aiming | Feet | Dungeon (Green) |
| Royal Volunteer’s Thighboots of Healing | Feet | Dungeon (Green) |
| Royal Volunteer’s Ring of Aiming | Ring | Dungeon (Green) |
| Royal Volunteer’s Ring of Casting | Ring | Dungeon (Green) |
| Royal Volunteer’s Ring of Fending | Ring | Dungeon (Green) |
| Royal Volunteer’s Ring of Healing | Ring | Dungeon (Green) |
| Royal Volunteer’s Ring of Slaying | Ring | Dungeon (Green) |
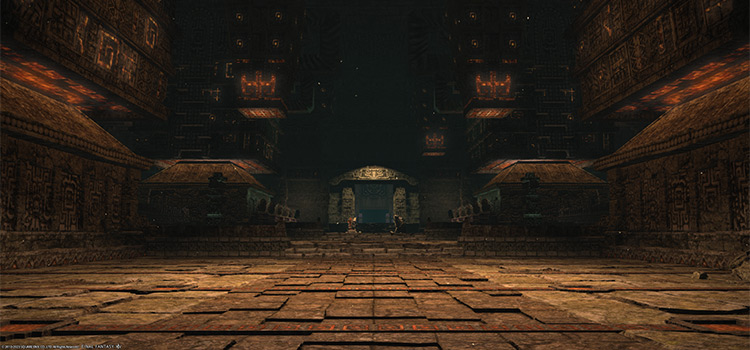
Boss #2: Defective Drone
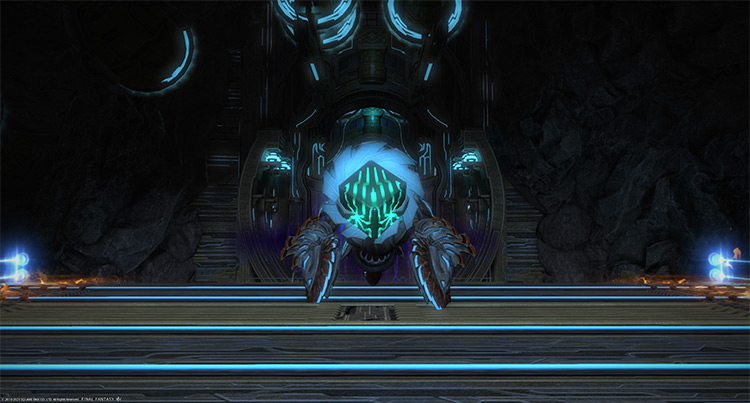
The left and right sides of the arena will apply a constant “Burns” DoT to anyone standing in it.
Mechanics
- Aetherochemical Flame: A room-wide AoE attack. Shield and heal through the damage.
- Aetherochemical Coil: A red tankbuster marker on the primary target. Face the boss away from the party and heal through the damage.
- Aetherochemical Residue: One player will receive an orange marker for a targeted AoE. This AoE will drop a puddle that applies a constant “Leaden” debuff and “Sludge” DoT.
- Full Throttle: The boss will reappear on one side of the arena along with multiple drones. Then, the drones will rush through, knocking players back into the fiery area on the other side. One of the six drones will always be defective. Stand in the defective drone’s path to avoid getting knocked back.
- Adit Driver (Rock Biter): Circular blades that will spin through the arena for long column attacks that knock players back. Move away from its paths.
- Repurposed Dreadnaught: A large mob that spawns after “Throttle.” Kill the dreadnaught immediately to reduce incoming damage.
Rewards
- 20 Allagan Tomestone of Poetics
| Name | Type | Rarity |
|---|---|---|
| Royal Volunteer’s Earrings of Aiming | Earrings | Dungeon (Green) |
| Royal Volunteer’s Earrings of Casting | Earrings | Dungeon (Green) |
| Royal Volunteer’s Earrings of Fending | Earrings | Dungeon (Green) |
| Royal Volunteer’s Earrings of Healing | Earrings | Dungeon (Green) |
| Royal Volunteer’s Earrings of Slaying | Earrings | Dungeon (Green) |
| Royal Volunteer’s Armguards of Casting | Hands | Dungeon (Green) |
| Royal Volunteer’s Armguards of Fending | Hands | Dungeon (Green) |
| Royal Volunteer’s Fingerless Gloves of Healing | Hands | Dungeon (Green) |
| Royal Volunteer’s Gauntlets of Aiming | Hands | Dungeon (Green) |
| Royal Volunteer’s Gauntlets of Maiming | Hands | Dungeon (Green) |
| Royal Volunteer’s Gloves of Scouting | Hands | Dungeon (Green) |
| Royal Volunteer’s Gloves of Striking | Hands | Dungeon (Green) |
| Royal Volunteer’s Beret of Healing | Head | Dungeon (Green) |
| Royal Volunteer’s Halfmask of Casting | Head | Dungeon (Green) |
| Royal Volunteer’s Helm of Fending | Head | Dungeon (Green) |
| Royal Volunteer’s Helm of Maiming | Head | Dungeon (Green) |
| Royal Volunteer’s Hood of Scouting | Head | Dungeon (Green) |
| Royal Volunteer’s Hood of Striking | Head | Dungeon (Green) |
| Royal Volunteer’s Scope of Aiming | Head | Dungeon (Green) |
| Royal Volunteer’s Choker of Aiming | Necklace | Dungeon (Green) |
| Royal Volunteer’s Choker of Casting | Necklace | Dungeon (Green) |
| Royal Volunteer’s Choker of Fending | Necklace | Dungeon (Green) |
| Royal Volunteer’s Choker of Healing | Necklace | Dungeon (Green) |
| Royal Volunteer’s Choker of Slaying | Necklace | Dungeon (Green) |
Boss #3: Mist Dragon

Face the boss toward the edge of the arena to reduce the number of ice puddles from “Frost Breath” and “Chilling Aspiration.”
Mechanics
- Rime Wreath: A strong room-wide AoE attack.
- Frost Breath: The primary target will get a light-blue marker for a non-telegraphed frontal cone AoE that drops ice puddles. Each puddle will apply a “Frostbite” DoT for 30 seconds. Face the boss toward the edge to reduce the number of ice puddles.
- Fog Plume: One player will be targeted with a star-shaped AoE that spawns a multi-directional set of line AoEs afterward. Anyone hit by the AoEs will be trapped in “Mist.” Run between the gaps of the line AoEs to avoid.
- Mist: This trap applies a 10-second “Deep Freeze” DoT and a 60-second stacking “Vulnerability Up” debuff. Hit the “Mist” once to free the affected player.
- Vaporize + Cold Fog: The boss will transform into mist and start casting “Cold Fog,” an expanding point-blank AoE. At the same time, three “Draconic Regard” heads will tether to the boss.
Kill the dragon heads to stop the AoE from expanding. Don’t attack the boss until after it uses “Cold Fog,” or you’ll be trapped in “Mist.” - Chilling Aspiration: A random player will get a blue marker for a column attack that also drops “Frostbite” puddles. Bait the column attack toward the edge to reduce the number of ice puddles.
- Deep Fog: The boss will cover the arena in fog and apply a constant “Dropsy” DoT to everyone.
- Cauterize: Two massive column attacks during “Deep Fog” that will trap players in “Mist.” Sprint around the edges to find where the boss will attack from.
- Touchdown: After “Deep Fog,” a proximity marker will spawn, indicating where the boss will drop back down. Move away from the marker to reduce incoming damage.
Rewards
- 35 Allagan Tomestone of Poetics
- Mist Dragon Triple Triad Card (not guaranteed)
| Name | Type | Rarity |
|---|---|---|
| Royal Volunteer’s Coat of Scouting | Body | Dungeon (Green) |
| Royal Volunteer’s Coat of Striking | Body | Dungeon (Green) |
| Royal Volunteer’s Gambison of Aiming | Body | Dungeon (Green) |
| Royal Volunteer’s Gambison of Casting | Body | Dungeon (Green) |
| Royal Volunteer’s Gambison of Fending | Body | Dungeon (Green) |
| Royal Volunteer’s Gambison of Healing | Body | Dungeon (Green) |
| Royal Volunteer’s Gambison of Maiming | Body | Dungeon (Green) |
| Royal Volunteer’s Trousers of Aiming | Legs | Dungeon (Green) |
| Royal Volunteer’s Trousers of Casting | Legs | Dungeon (Green) |
| Royal Volunteer’s Trousers of Fending | Legs | Dungeon (Green) |
| Royal Volunteer’s Trousers of Healing | Legs | Dungeon (Green) |
| Royal Volunteer’s Trousers of Maiming | Legs | Dungeon (Green) |
| Royal Volunteer’s Trousers of Scouting | Legs | Dungeon (Green) |
| Royal Volunteer’s Trousers of Striking | Legs | Dungeon (Green) |
| A Land Long Dead Orchestrion Roll | Orchestrion Roll | Basic |
Extra Treasure Coffers
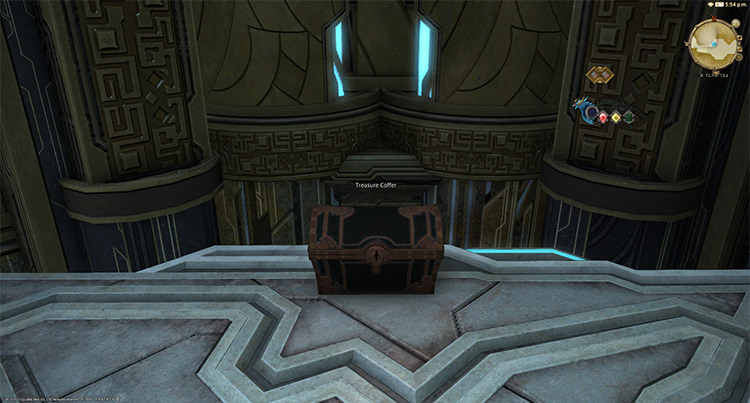
Apart from the boss rewards, there are four treasure coffers located throughout the dungeon that you can open for more gear, crafting material, and crystal rewards:
- (X:12.1, Y:13.1)
- (X:11.4, Y:10.7)
- (X:9.0, Y:7.3)
- (X:5.3, Y:5.1)
-
Final Fantasy XIV
- FFXIV The Burn: Unlock + Dungeon Boss Guide
Related Posts:
 FFXIV Saint Mocianne’s Arboretum (Hard): Unlock + Boss Guide
 FFXIV Bardam’s Mettle: How To Unlock + Full Boss Guide
 FFXIV Malikah’s Well: How To Unlock + Dungeon Guide
 FFXIV Lapis Manalis: Unlock + Dungeon Boss Guide
 FFXIV The Qitana Ravel: Unlock + Boss Guide
 FFXIV Dohn Mheg: How To Unlock + Boss Guide
 FFXIV Holminster Switch: How To Unlock + Boss Guide
 FFXIV Ktisis Hyperboreia: Unlock + Dungeon Boss Guide