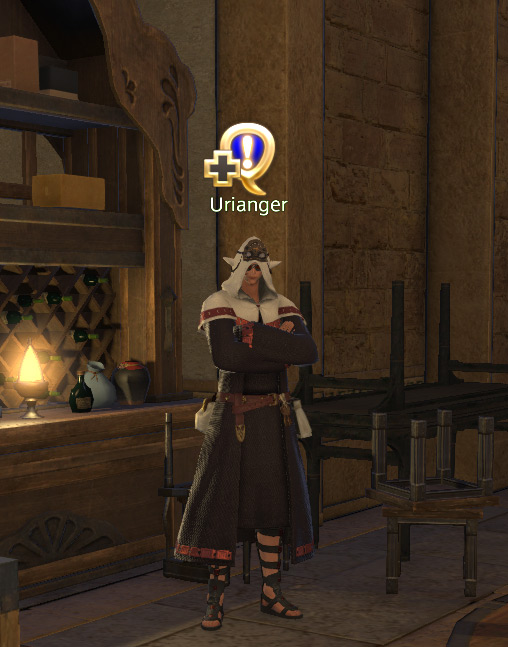
To unlock The Howling Eye (Extreme) trial, also known as Garuda EX, you need to accept the quest called “Gale-force Warning” from Urianger in The Waking Sands (X:6.0, Y:4.9).
But before you can accept “Gale-force Warning,” you will need to finish a couple of prior quests, which we’ll cover below.
Quick Step-by-Step Unlock Guide
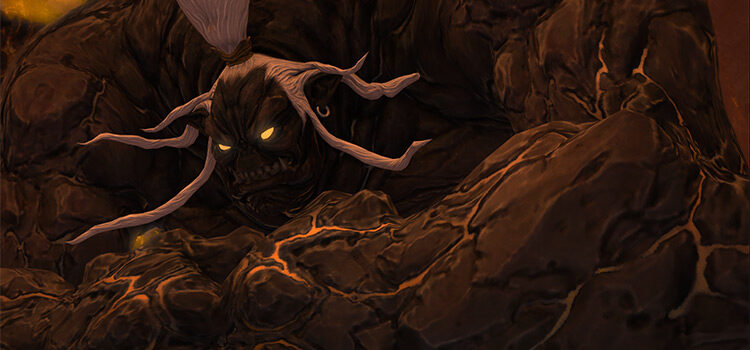
- Complete the Main Scenario Quest “In a Titan Spot” from Y’shtola in The Waking Sands (X:6.1, Y:5.1)
- Complete the quest “Primal Nature” from Urianger in The Waking Sands (X:6.0, Y:4.9)
- Accept the quest “Gale-force Warning” from Urianger in The Waking Sands (X:6.0, Y:4.9)
- Talk to Serpent Commander Vorsaile Heuloix in the Adder’s Nest at New Gridania (X:9.7, Y:11.1)
- Attune yourself to the Natalan Aetheryte in Coerthas Central Highlands (X:34.3, Y:24.9)
Detailed Unlock Guide
To unlock The Howling Eye (Extreme) trial, you must first complete the Main Scenario Quest (MSQ) called “In a Titan Spot” from Y’shtola in The Waking Sands (X:6.1, Y:5.1).
This MSQ is part of the Main Scenario Questline for patch 2.0 of A Realm Reborn. You need to finish every MSQ leading up to “In a Titan Spot” before you can unlock the trial.
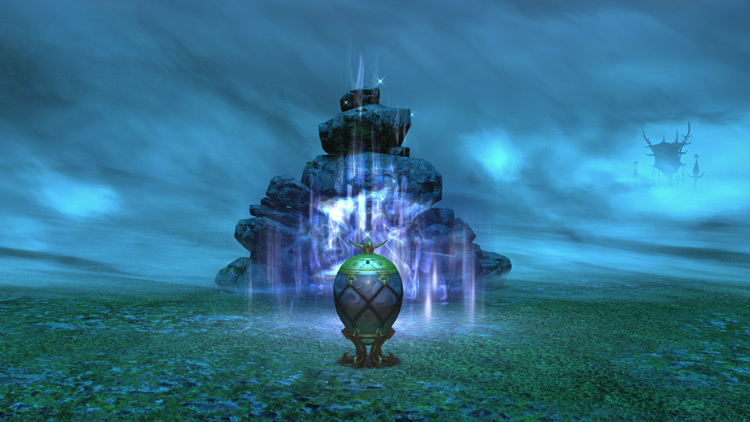
Once you finish the required MSQ, you will need to do the Primal Questline from Urianger in The Waking Sands (X:6.0, Y:4.9), starting with “Primal Nature.” The Primal Questline allows you to unlock the Extreme versions of primals you have previously defeated in the Main Scenario Questline.
The Howling Eye (Extreme) trial is the first of three primal fights you will encounter in this quest line.
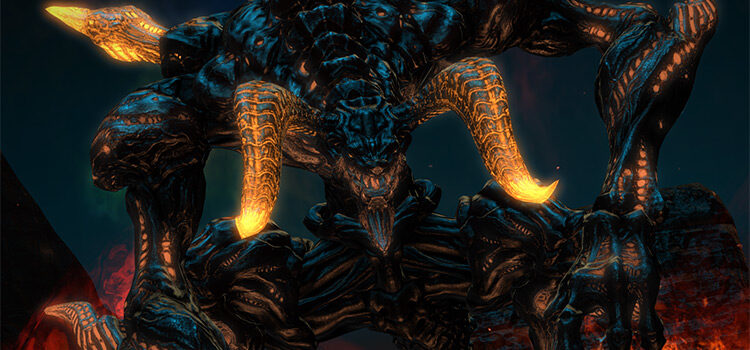
Note: after completing The Howling Eye (Extreme), you’ll also be able to unlock The Navel (Extreme) and The Bowl of Embers (Extreme) through Urianger.
After finishing “Primal Nature,” accept the “Gale-force Warning” quest from Vorsaile Heuloix to start unlocking the trial.

The Serpent Commander will tell you about the tragic deaths of members of the Blue Badgers as they constructed a new watchspire in Coerthas. One surviving engineer will confirm that the primal Garuda destroyed the watchspire, causing the deaths of his colleagues.
With the return of wind primal confirmed, the commander fears that more deaths are looming on the horizon. Vorsaile Heuloix will ask for your help in confronting the rejuvenated Garuda.

After your conversation with the Serpent Commander, head over to Coerthas Central Highlands (X:34.3, Y:24.9) and re-attune to the Natalan Aetheryte.
Once you have re-attuned to the Aetheryte, The Howling Eye (Extreme) trial will be unlocked, allowing you to fight Garuda’s Extreme version. To enter the trial, you’ll need at least an average item level of 65 and a level 50 Disciple of War or Magic job.
And to make the fight smoother for you, here’s a quick breakdown of the mechanics for the trial.
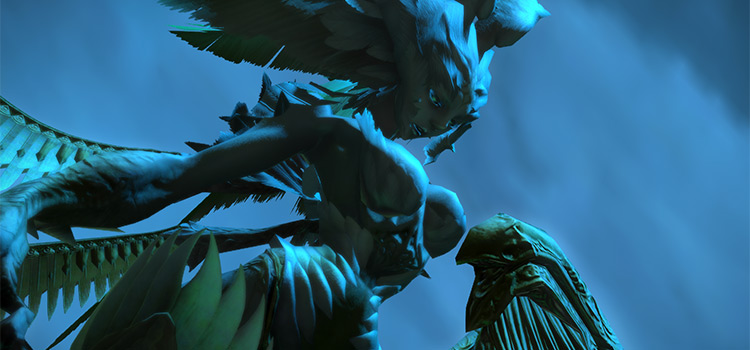
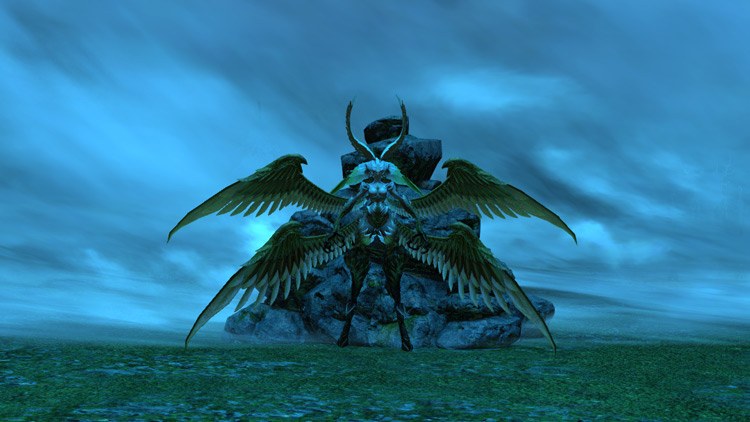
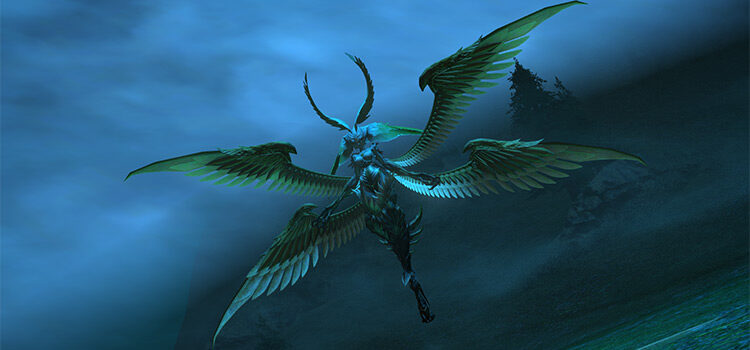
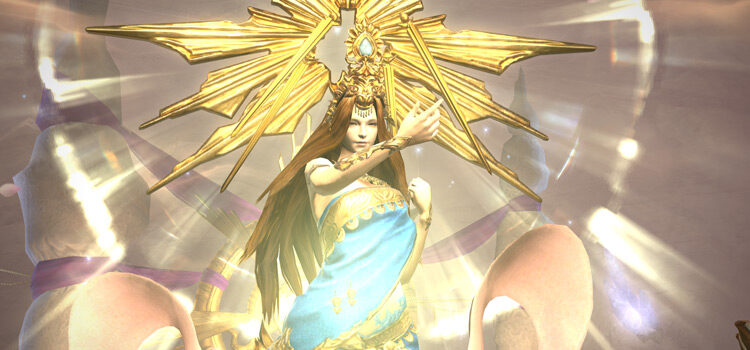
Trial Boss: Garuda (Extreme)
Due to the trial being released way back in patch 2.1, it’s very fast and easy to solo Garuda EX when you enter the trial unsynced with a level 90 or above character.
If you can’t burst Garuda down in the first few seconds of the fight, you may need to destroy two tethered mobs: Chirada and Suparna. If these mobs spawn, they will make Garuda invincible, so take them down as soon as possible. Otherwise, just use your hardest-hitting skills from the start of the fight.
If you’re interested in doing the trial while synced, here are the mechanics:
Note: Upon entering the trial, you’ll notice four rock pillars near the middle of the arena. Keep these pillars in mind throughout the encounter, as they’ll help you get through some of the mechanics.
- Slipstream – A frontal column attack that will stun. The primary target can avoid this attack by moving past Garuda as she’s casting it.
- Downburst – A frontal cleave attack that can’t be dodged. The primary target should face Garuda away from the rest of the party to avoid excess damage.
- Friction – A ranged attack that will damage a targeted player and any stone pillars around the player. The targeted player should go to the center of the arena and allow the team to mitigate and heal through the damage to preserve the stone pillars.
- Feather Rain – After Garuda jumps up in the air, she will drop near-instant ground AoEs that inflict a “Windburn” DoT. These AoEs are hard to avoid, so pre-position yourself away from the center to prevent extra damage. The DoT can be dispelled, so healers should look out for affected players.
- Wicked Wheel – An instant AoE attack that will damage players and stone pillars near Garuda. Keep Garuda away from the center of the room to minimize damage to the stone pillars.
- Mistral Song – Garuda will jump to one side of the arena and cast a strong conal attack without a telegraph. Make sure you have a stone pillar between you and Garuda.
- Razor Plume + Satin Plume – Plume mobs that need to be killed in a specific order. Destroy the Satin Plume first to avoid an AoE that inflicts a “Sleep” debuff. Afterward, destroy the Razor Plumes before they explode and damage the stone pillars.
-
Chirada and Suparna – Garuda’s underlings will spawn and tether to her after some time, buffing each other and making their boss invincible. These mobs must be separated and killed as they will apply a buff toward one another that stacks up if they are too close to each other. The buff will decrease in stacks when the mobs are separated, so each tank should pull one mob to one side before destroying them.
Chirada and Suparna can also use some of Garuda’s attacks, such as “Slipstream” and “Downburst,” so be on the lookout for those.
- Aerial Blast – A room-wide AoE attack that will instantly kill the party if any of Garuda’s underlings are still alive. Make sure that Chirada and Suparna are killed before Garuda jumps in the air. Make sure you have as many stone pillars up as possible to reduce “Aerial Blast’s” damage.
- Razor Plume + Spiny Plume – Spiny Plume is a mob that will give its primary target a stacking debuff. This debuff will cause an explosion once it reaches three stacks. The off-tank should switch onto the Spiny Plume before it reaches three stacks. Destroy all the Razor Plumes as soon as possible. Destroy the Spiny Plume when Garuda jumps in the air to create a safe zone for the party.
- Mistral Shriek – Garuda will teleport to the middle of the arena and cast a large AoE attack after the “Razor Plume + Spiny Plume” phase. Hide inside the safe zone created by the Spiny Plume to survive.
During the latter phase of the fight, Garuda will spawn five tornadoes throughout the arena that will knock back any player that touches them. Have specific players grouped up to drag Chirada and Suparna away from each other toward the safe zones between the tornadoes to avoid the mobs’ stacking buffs.
Trial Rewards
| Name | Type | Quality |
|---|---|---|
| Vortex Ring of Aiming | Ring | Blue (Primal Gear) |
| Vortex Ring of Casting | Ring | Blue (Primal Gear) |
| Vortex Ring of Fending | Ring | Blue (Primal Gear) |
| Vortex Ring of Healing | Ring | Blue (Primal Gear) |
| Vortex Ring of Slaying | Ring | Blue (Primal Gear) |
| Vortex Feather | Crafting Material | Basic |
| Faded Copy of Fallen Angel | Crafting Material | Basic |
| Xanthos Whistle | Other | Basic |
| Nightmare Whistle | Other | Basic |
| Garuda Card | Triple Triad Card | Basic |
-
Final Fantasy XIV
- FFXIV The Howling Eye (Extreme): How To Unlock + Trial Guide
Related Posts:
 FFXIV The Howling Eye (Hard): How To Unlock + Trial Guide
 FFXIV The Bowl of Embers (Extreme): Unlock + Trial Guide
 FFXIV The Navel (Extreme): How To Unlock + Trial Guide
 FFXIV The Navel (Hard): How To Unlock + Trial Guide
 FFXIV Containment Bay S1T7 (Extreme): Unlock + Trial Guide
 The Akh Afah Amphitheatre (Extreme): Unlock + Trial Guide (FFXIV)
 FFXIV The Bowl of Embers (Hard): Unlock + Trial Guide
 FFXIV Emanation (Extreme): How To Unlock + Trial Guide