The Limitless Blue (Hard) trial, also known as Bismarck HM, can be unlocked by accepting the Level 57 MSQ “Bolt, Chain, and Island” from Alphinaud in The Sea of Clouds (X:10.8, Y:13.5).
This is the second of three story trials introduced during patch 3.0 of the Heavensward expansion.
TABLE OF CONTENTS
Step-by-Step Unlock Guide
- Accept the Level 57 MSQ “Bolt, Chain, and Island” from Alphinaud in The Sea of Clouds (X:10.8, Y:13.5).
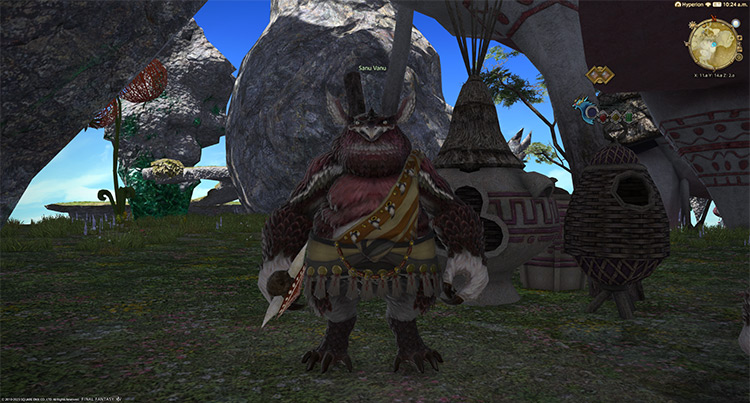
- Speak with the chief Sonu Vanu in The Sea of Clouds (X:11.8, Y:14.8).
- Meet Cid and Wedge at The Sea of Clouds (X:19.4, Y:11.7).
Detailed Unlocking Guide
The MSQ “Bolt, Chain, and Island” is deep into the patch 3.0 main storyline for the Heavensward expansion. You’ll need to clear every MSQ leading up to this quest, including all the MSQs from A Realm Reborn.
After doing all that, accept the quest “Bolt, Chain, and Island” from Alphinaud in The Sea of Clouds (X:10.8, Y:13.5) to begin.
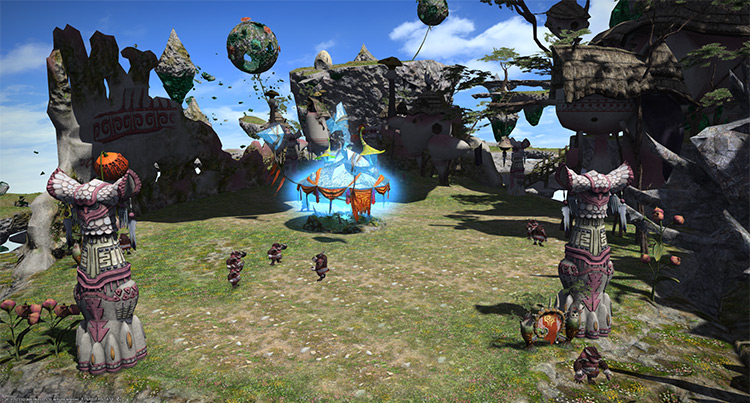
At this point in the main story, the hunt for the primal Bismarck has taken you to the Sea of Clouds in search of an island suitable for the fight ahead. Given the nature of Bismarck’s threat to the Sea of Clouds, Alphinaud is willing to bet that the nearby Zundu tribe may help your cause.
Speak with chief Sonu Vanu in The Sea of Clouds (X:11.8, Y:14.8) to find out.
It wouldn’t take long to convince the Vanu chief to lend you his aid.
He willingly agrees to your plan and has promised to provide you with a suitable island for your fight against their false savior.
After talking to Sonu Vanu, head to The Sea of Clouds (X:19.4, Y:11.7) and talk to Cid about the final preparations.
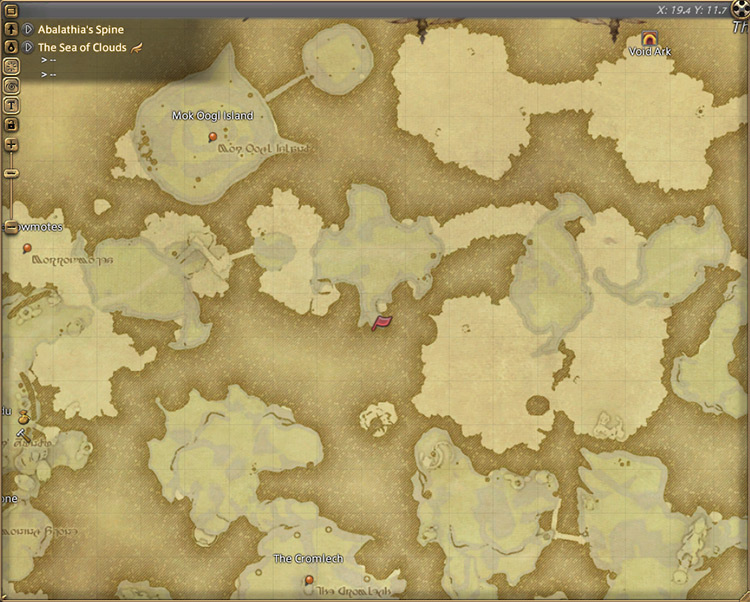
With the arrival of the Ishgardian dragonkillers and the magitek field generator, Cid reports that his preparations are complete.
Once you’re ready to depart, talk to Wedge nearby to unlock The Limitless Blue (Hard).
This trial requires at least a Level 57 Disciple of War or Magic job and has no item level requirement.
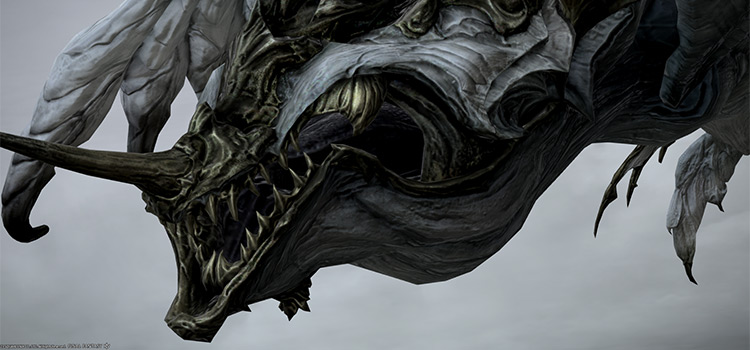
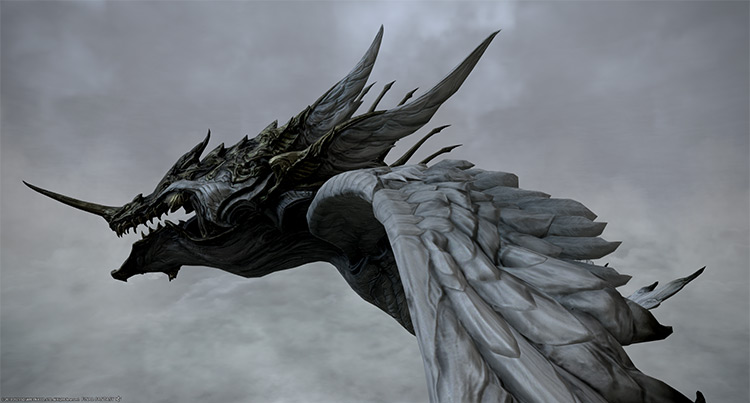
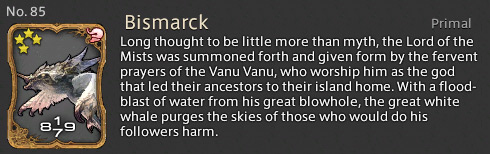
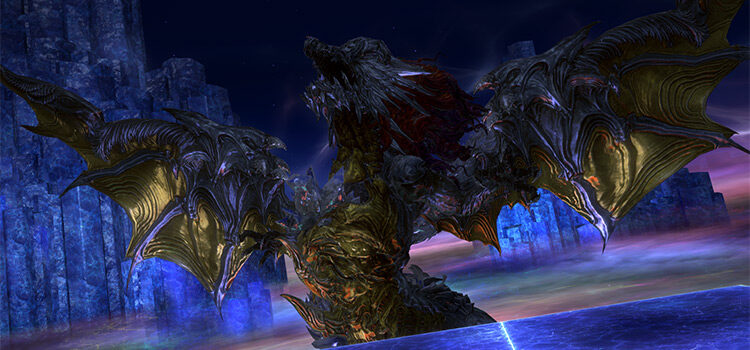
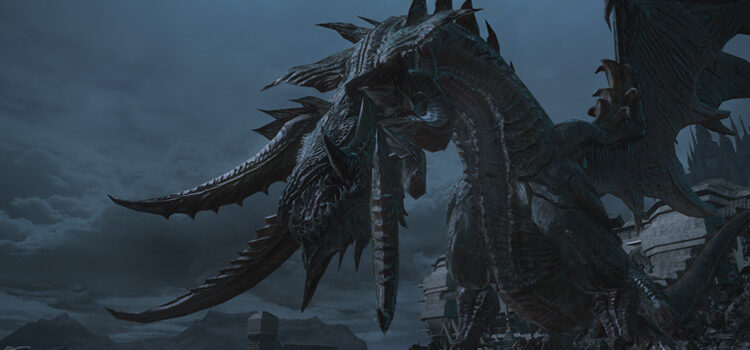
Trial Boss: Bismarck (Hard)
This storyline trial can be easily soloed with a high-level character if you enter it while unsynced. But if you’re a new player, you’ll most likely need to do this while synced.
Follow the mechanics and rotations below so you can easily clear this trial.
Phase 1: Cetacean Rage and Dragonkillers
Rotation:
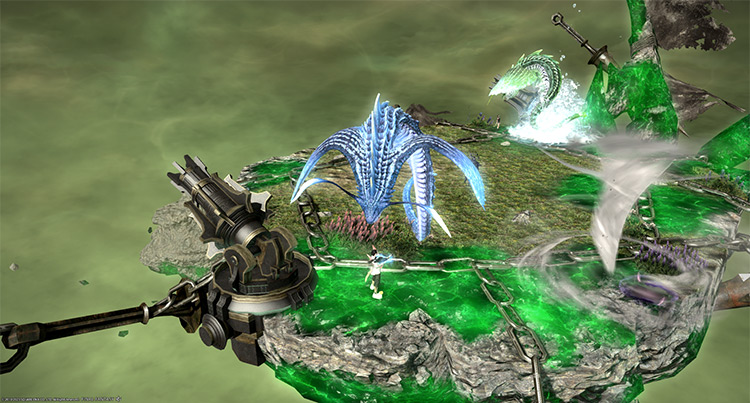
Cetacean Rage > Vundu Mobs > Baleen Bomb x2 > Use Magitek Field Generator > Cetacean Rage > Use Dragonkillers > Baleen Bomb > Attack Chitin Carapace.
- Island Integrity bar: This bar serves as an enrage timer. If the island’s integrity reaches 0, you will wipe.
- Bismarck Vitality bar: The boss’ vitality bar will only be damaged during Phase 3 when its “Corona” is exposed.
- Cetacean Rage: A room-wide AoE attack that staggers everyone and reduces the Island Integrity bar by 20. Use the Magitek Field Generator before the cast goes off to lower its damage to 6 and avoid the stagger.
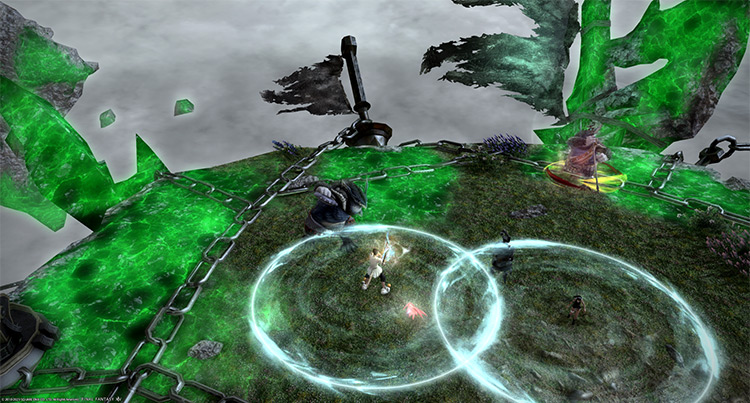
- Baleen Bomb: Random players will be targeted with white circle AoEs.
- Vundu Mobs: Two Vundus that must be killed so you can use the Dragonkillers. Focus on killing “Lan’maii Vundu” first.
- Howling Wing (Lan’maii Vundu): A line knockback attack. Use knockback-immunity skills if necessary.
- Powerful Gust (Vuk’maii Vundu): A basic ranged attack.
- Extreme Wind (Vuk’maii Vundu): A targeted AoE on its primary target.
- Morrowmotes (Lan’maii V& Vuk’maii Vundu): “Damage Up” buff.
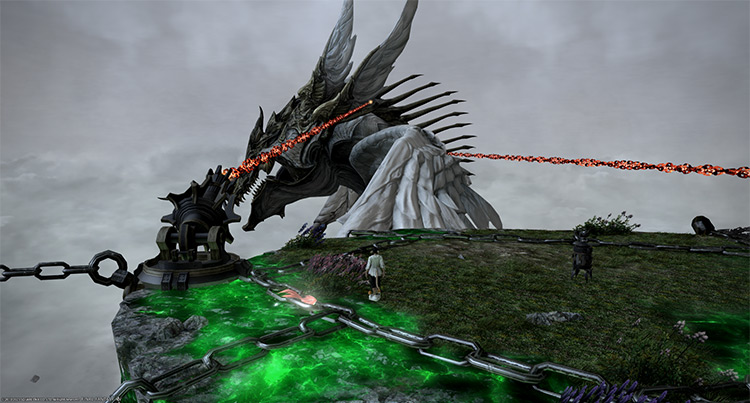
- Dragonkillers: After the boss uses “Cetacean Rage” for the second time (assuming the Vundu mobs are dead), the two “Dragonkillers” will become useable. Interact with these harpoons before its disabled to make the boss targetable.
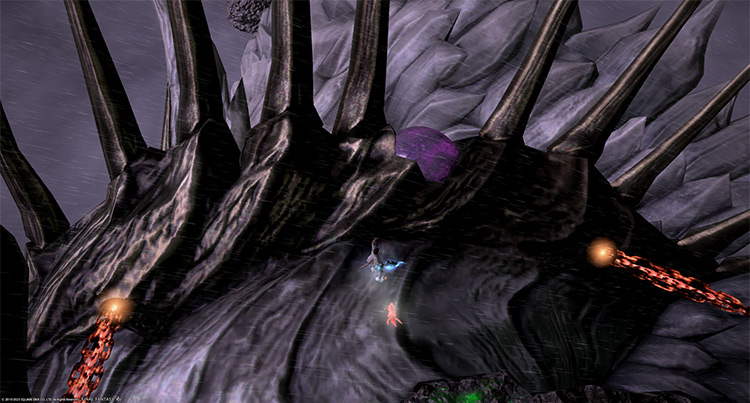
- Chitin Carapace: Once the boss is pulled toward the floating platform, jump on top of it and attack its carapace. Don’t jump on the boss before it crashes onto the island, or you fall to your death. You’ll also deal 0 damage to the carapace if you attack it from the floating platform.
Phase 2: Sanuwa Mobs
Rotation:
Sanuwa Mobs > Whirlwinds > Vacuum Wave > Breach Blast.
- Sanuwa Mobs: Two massive sanuwas will appear that need to be killed before the boss casts “Breach Blast.” Have each tank pick up one sanuwa and move them toward opposite sides to avoid the “Vulnerability Down” tether.
- Dry Fin and Wet Fin (Sanuwa Mobs): Non-telegraphed frontal cone AoEs. Face the sanuwas away from the party.
- Whirlwinds: Several whirlwinds will spawn and knock up players that touch them.
- Vacuum Wave: A constant room-wide AoE with minimal damage throughout Phase 2.
- Breach Blast: A room-wide ultimate attack that will instantly wipe the party if any Sanuwa mobs are still alive when it goes off.
Phase 3: Windcaller, Vapor Bubbles, and Repeating Mechanics
Rotation:
Vundu Mobs > Cetacean Rage > Windcaller > Magicked Bubble > Baleen Bomb > Use Dragonkillers > Attack Corona > Repeat until the boss or the island is destroyed
In Phase 3, you won’t be able to use the Magitek Field Generator anymore. Destroy the boss before the island breaks, or you will die.
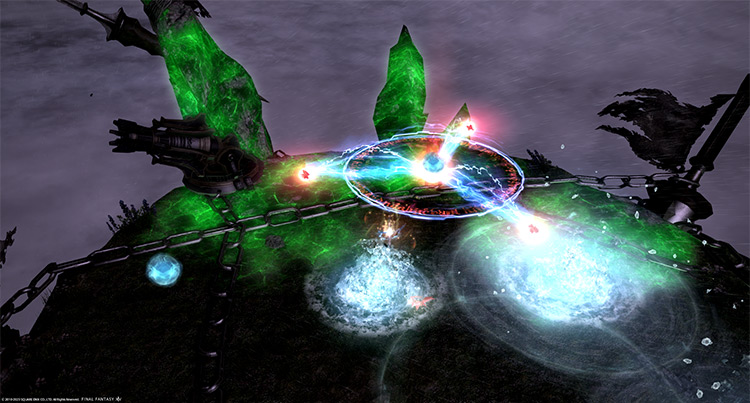
- Windcaller + Magicked Bubble: When the boss uses “Windcaller,” the weather will be altered into one of two states: rain and thunderstorm. The resulting weather will determine how you interact with the “Vapor Bubbles” that spawn soon after. If it’s raining, kill the bubbles; if it’s a thunderstorm, leave them alone.
- Lightning Bolt (Thunderstorm Weather): Non-telegraphed AoEs on two random players. Spread out to avoid overlapping damage.
- Thunderhead (Thunderstorm Weather): After “Lightning Bolt,” the boss will target two more players with stronger AoEs. Keep the “Vapor Bubbles” alive to mitigate this attack.
- Deep Draught: If the “Vapor Bubbles” are kept alive long enough during rainy weather, the boss will eventually buff them with “Damage Up,” making their auto-attacks and AoEs much more dangerous. Kill them as soon as possible during rainy weather.
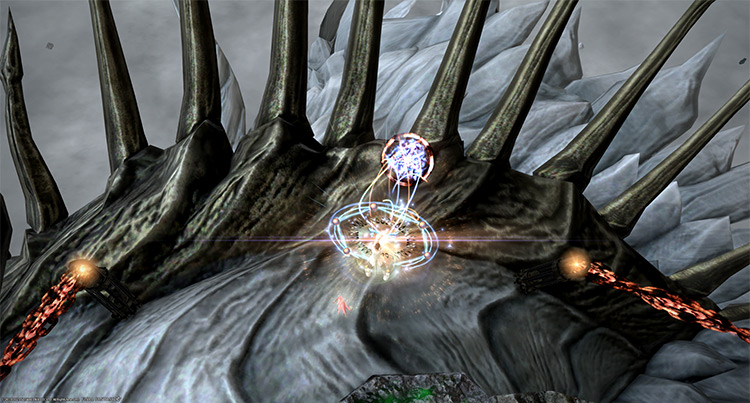
- Corona: Attacking the boss’ “Corona” is the only way to lower its vitality bar. Jump on top of its back and burn it down. Use your melee or ranged limit breaks if it’s still available. Depending on your party’s DPS, you may need to repeat this multiple times.
Rewards
- Bismarck Triple Triad Card (not guaranteed)
- Bismarck’s Baleen Crafting Material (not guaranteed)
-
Final Fantasy XIV
- FFXIV The Limitless Blue (Hard): Unlock + Trial Guide
Related Posts:
 FFXIV The Limitless Blue (Extreme): Unlock + Trial Guide
 FFXIV The Minstrel’s Ballad: Thordan’s Reign – Unlock + Trial Guide
 Zurvan EX Unlock & Trial Guide – FFXIV Containment Bay Z1T9 (Extreme)
 FFXIV Containment Bay S1T7 (Extreme): Unlock + Trial Guide
 FFXIV The Minstrel’s Ballad: Shinryu’s Domain – Unlock + Trial Guide
 FFXIV Thok ast Thok (Extreme): How To Unlock + Trial Guide
 FFXIV Minstrel’s Ballad: Nidhogg’s Rage – Unlocking + Trial Guide
 FFXIV Emanation (Extreme): How To Unlock + Trial Guide