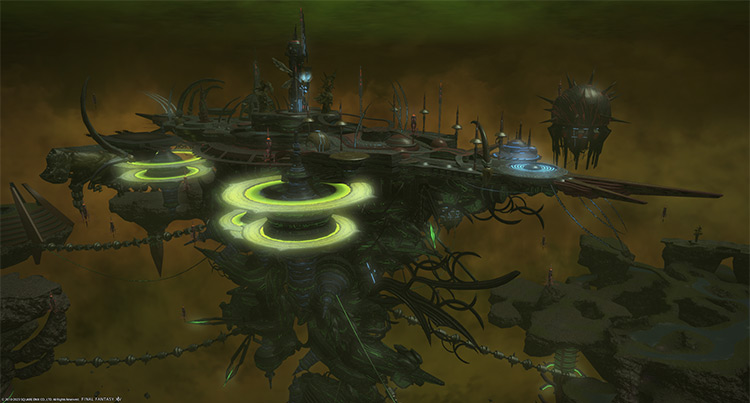
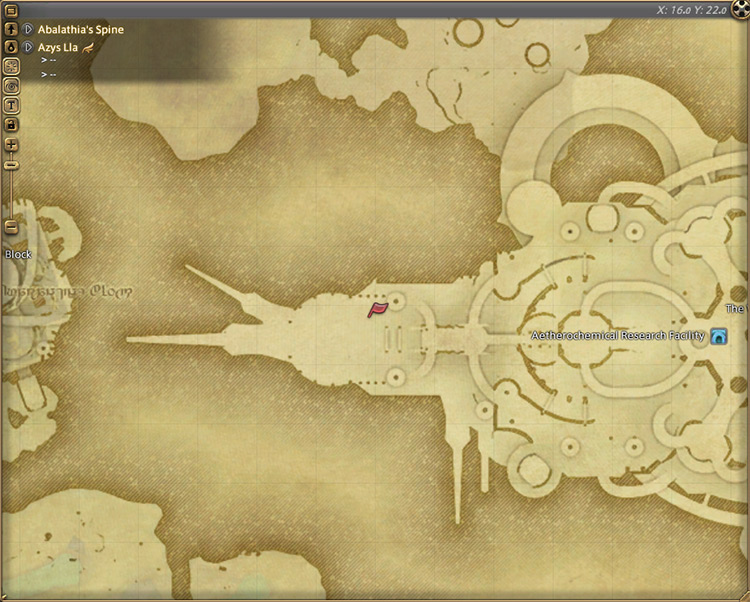
The Level 60 trial The Singularity Reactor, also known as Thordan Normal (or Thordan NM), can be unlocked by accepting the Level 60 MSQ “Heavensward” from the Guidance Node in Azys Lla (X:16.0, Y:22.0).
In the Heavensward MSQ, you’ll also need to finish the Aetherochemical Research Facility dungeon before you can unlock The Singularity Reactor.
Singularity Reactor is the final trial for the patch 3.0 main storyline for Heavensward.
TABLE OF CONTENTS
Step-by-Step Unlock Guide
- Accept the Level 60 MSQ “Heavensward” from the Guidance Node in Azys Lla (X:16.0, Y:22.0).
- Interact with the Guidance Node once more in Azys Lla (X:21.2, Y:22.4) and defeat any enemies that may appear.
- Clear the Aetherochemical Research Facility dungeon, and then watch the cutscene that follows.
Detailed Unlocking Guide
“Heavensward” is the penultimate MSQ for patch 3.0 of the Heavensward expansion. To access The Singularity Reactor you’ll need to go through every prior MSQ, including every MSQ in the ARR base game.
When you’ve caught up with the story, interact with the Guidance Node in Azys Lla (X:16.0, Y:22.0) to begin unlocking the trial.
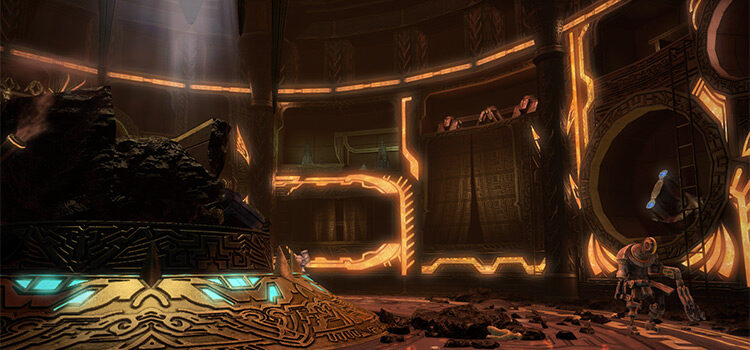
Your chase for the Archbishop and his knights has led you to the Aetherochemical Research Facility in Azys Lla.
With the help of the nearby Guidance Node, you’ll be able to enter the old research center.
Follow it deeper into the facility in Azys Lla (X:21.2, Y:22.4) and defeat any Garlean troops that appear.
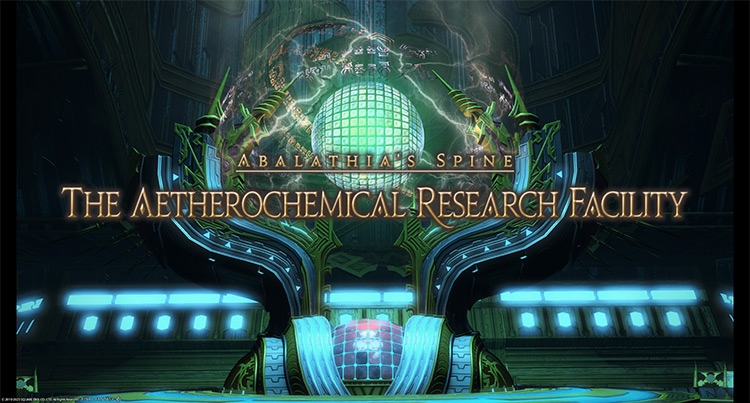
When the coast is clear, interact with the Guidance Node once more to unlock the Aetherochemical Research Facility dungeon.
You’ll need to clear that dungeon before you can proceed.
A cutscene will immediately trigger after you exit the dungeon.
Following your victory over Lahabrea and Igeyorhm, you’ll see Igeyorhm desperately try to flee.
Using the white auracite from Moenbryda, you manage to trap Igeyorhm and use the remaining power of Nidhogg’s eye to destroy her for good.
But with no other method to deal with Lahabrea, the ascian seems to be slipping from your grasp once more.
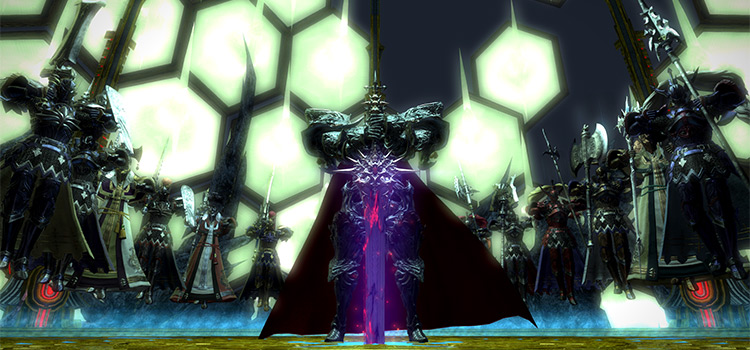
Then with a stroke of luck, Archbishop Thordan VII and his knights enter the fray and approach Lahabrea.
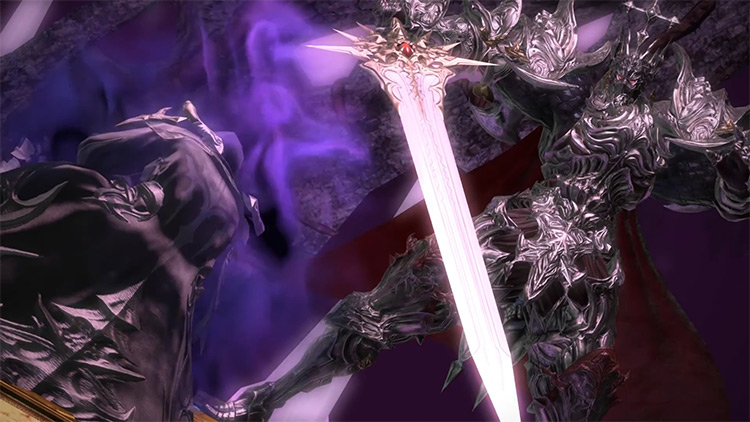
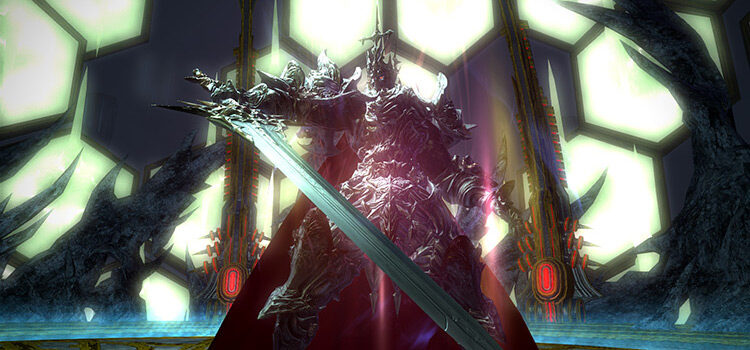
Thordan transforms into a primal using the other eye of Nidhogg they’ve retrieved, and executes Lahabrea once and for all. With both ascians out of the picture, Thordan challenges you to a duel to cement his status as god-king.
After the cutscene, The Singularity Reactor will be unlocked.
This trial requires at least a Level 60 Disciple of War or Magic job and an average item level of 142 to enter.
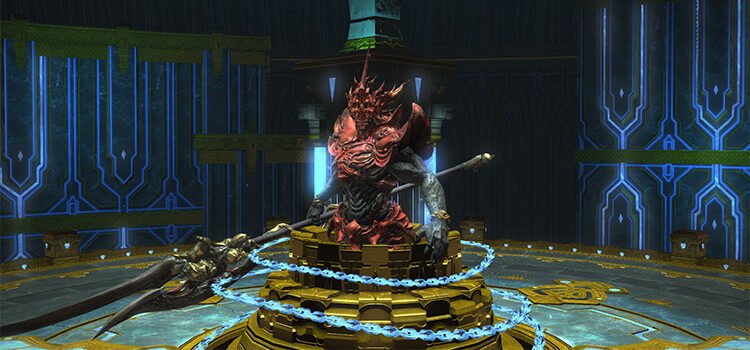
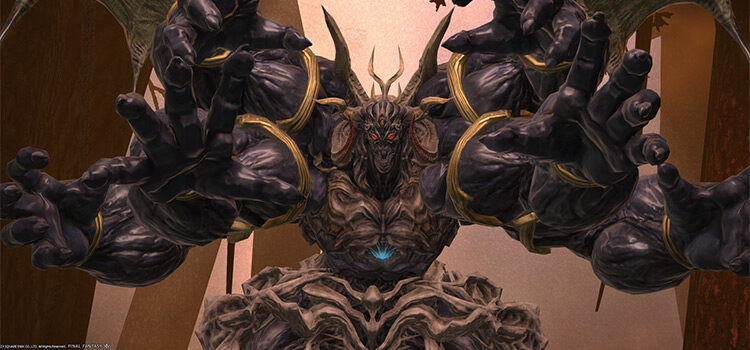
Trial Boss: King Thordan
Due to The Singularity Reactor begin released a long time ago, it can be easily soloed with a high-level character if you enter the trial while unsynced.
However if you’re a new player, you’ll most likely do it through the Duty Finder while synced.
Check out the boss’ mechanics and rotations below to help you clear the trial smoothly.
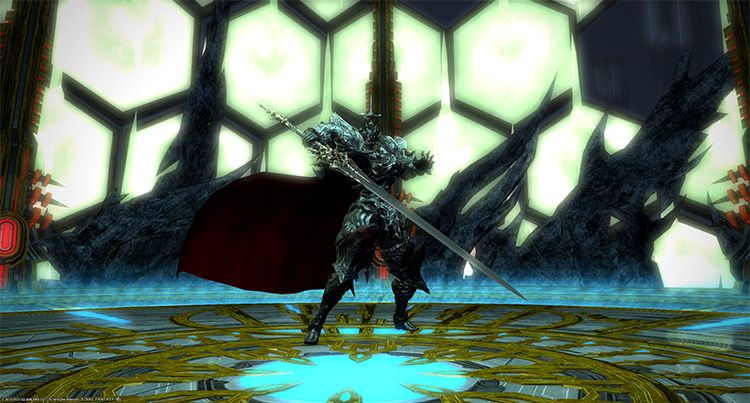
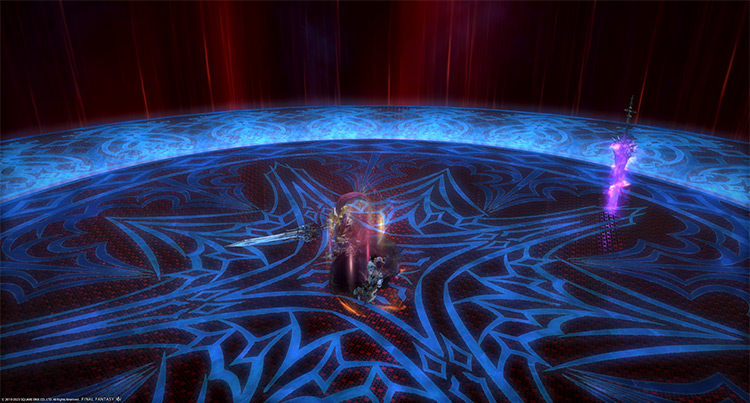
Phase 1: Ascalon Attacks and Ancient Quaga
Rotation:
Ascalon’s Might > Ascalon’s Mercy > Ascalon’s Might > Ancient Quaga > Ascalon’s Might > Lightning Storm > Meteorain > Repeat until 85% HP
- Ascalon’s Might: A frontal cone tankbuster attack on the primary target. Face the boss away from the party.
- Ascalon’s Mercy: A room-wide frontal cone AoE that applies a “Windburn” DoT for 30 seconds. Dispel the DoT as necessary.
- Ancient Quaga: A room-wide AoE attack. Shield and heal through the damage.
Phase 2: Knights of the Round
Rotation:
Knights of the Round > Ascalon’s Might > Shining Blade > Ascalon’s Mercy > Ascalon’s Might > Knights of the Round > Ascalon’s Might > Spiral Thrust > Lightning Storm > Ascalon’s Might x2 > Ascalon’s Mercy > Ancient Quaga > Ascalon’s Might > Repeat until 49% HP
- Knights of the Round: This skill indicates that knights will soon enter the arena and use their unique skills. The boss will occasionally cast this throughout Phases 2 and 3.
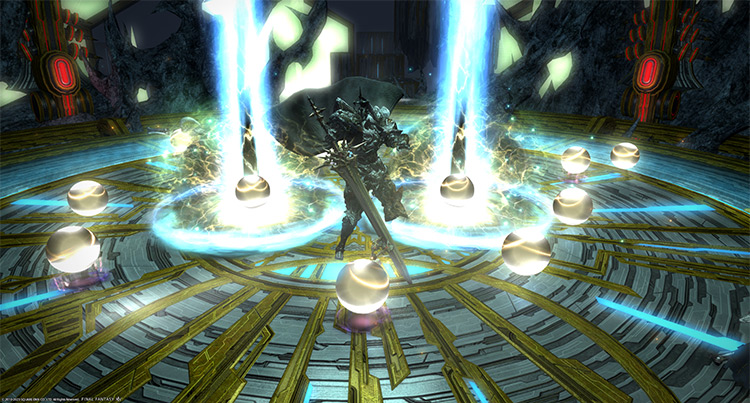
- Shining Blade: Two knights will dash around the arena and drop three sets of light orbs. After a few seconds, these orbs will explode into point-blank AoEs that apply a 30-second “Bleeding” DoT. Move away from the orbs, or dispel the DoT afterward.
- Spiral Thrust: A large line attack originating from outside the arena.
- Lightning Storm: Targeted AoEs on random players. Spread out to avoid overlapping damage.
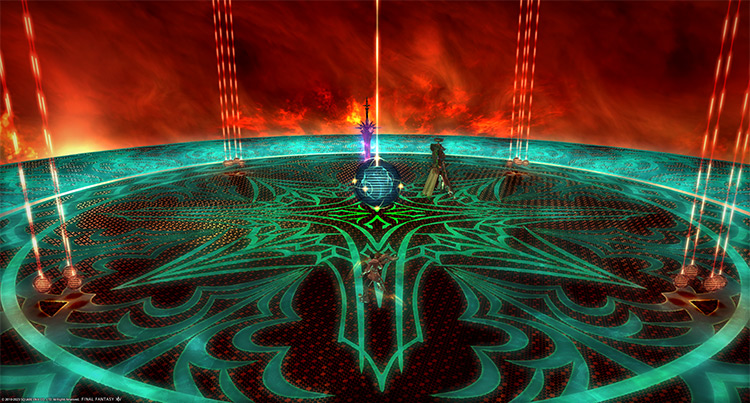
Phase 3: The Dragon’s Gaze
Rotation:
The Dragon’s Eye > The Dragon’s Gaze > Ascalon’s Might > Lightning Storm > Ancient Quaga > Ascalon’s Might > The Dragon’s Gaze > Knights of the Round > Conviction > Ascalon’s Might > Knights of the Round > Ascalon’s Might > Hiemal Storm + Meteorain > Ascalon’s Might > The Dragon’s Gaze > Ascalon’s Might > Meteorain > Repeat from Ancient Quaga until 10% HP
- The Dragon’s Eye: A “Damage Up” buff.
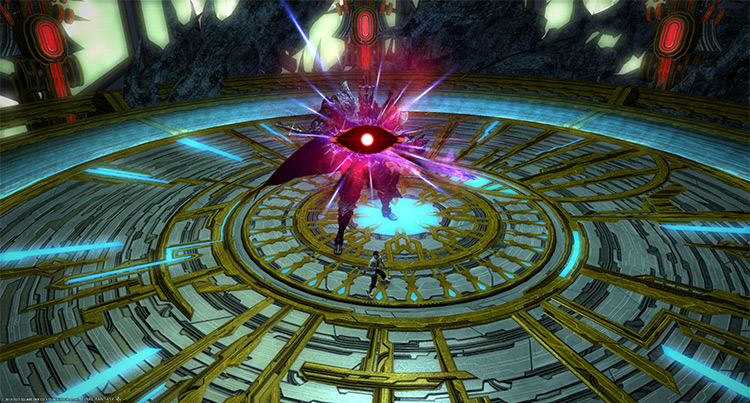
- The Dragon’s Gaze: A look-away attack that applies a 4-second “Terror” stun and a 40-second stacking “Vulnerability Up” debuff. Face your character away from the boss to avoid.
- Conviction: A knight will spawn three towers that need at least one person standing inside them. If the towers are left unattended, they will explode into room-wide AoEs that apply “Paralysis” for 11 seconds.
- Hiemal Storm: Several players will be marked with targeted AoEs that drop a frozen puddle. Drop the puddles near the edges of the arena to avoid the constant DoT and “Heavy” debuffs.
- Meteorain: Ground AoEs will spawn under random players. This attack will be used together with “Hiemal Storm.” Bait the AoEs in one area near melee range, then move out to avoid.
Phase 4: Heaven’s Ward Flurry
Rotation:
Heavensflame > Conviction > Sacred Cross > Spiral Thrust > Knight Duo > Skyward Leap > Spiral Pierce + Hiemal Storm > Dimensional Collapse > Holy Meteor > Heavy Impact > The Light of Ascalon x7 > Ultimate End
When the boss drops to about 10% HP, he’ll disappear and summon his knights to try and finish you off. If you survive the knights’ flurry of attacks, a weakened Thordan will reappear with a “Damage Down” debuff and only use auto-attacks until you kill him.
- Heavensflame: Consecutive circle AoEs will spawn from the center.
- Sacred Cross: A slow-charging, room-wide AoE that deals damage based on Ser Zephirin’s HP. Lower the knight’s HP as much as possible to reduce incoming damage.
- Knight Duo: Two knights will spawn that need to be killed immediately. Both knights will use the following skills:
- Holiest of Holy: A room-wide AoE attack.
- Holy Bladedance: A single-target tankbuster attack on the primary target.
- Skyward Leap: A proximity marker will appear on one side of the arena. Move as far away as possible to reduce incoming damage.
- Spiral Pierce: One knight will target a random player with an extending line AoE from the edge of the arena. Move closer to the knight to mitigate the damage.
- Dimensional Collapse: Black circle AoEs will spawn underneath players and slowly grow over time.
- Holy Meteor: Targetable comet and meteor circles will appear around the arena. Destroy these circles immediately to avoid room-wide AoEs and “Burn” DoTs. If the meteor crashes in the center, you’ll most likely wipe.

- Heavy Impact: While the comet and meteor circles are up, one knight will use a 270-degree AoE that extends outward three times. Wait for the first set of AoEs to go off, then move into the safe zone.
- The Light of Ascalon: After “Holy Meteor” is dealt with, the boss and his knights will cast room-wide AoEs with knockback. This attack does little damage and can be ignored.
- Ultimate End: The boss’ room-wide ultimate AoE attack based on the number of deaths during Phase 4. If you’ve done all the mechanics correctly, this attack can be easily mitigated.
-
Final Fantasy XIV
- FFXIV The Singularity Reactor: How To Unlock + Trial Guide
Related Posts:
 FFXIV The Minstrel’s Ballad: Thordan’s Reign – Unlock + Trial Guide
 FFXIV Containment Bay S1T7 (Extreme): Unlock + Trial Guide
 FFXIV The Fractal Continuum (Normal): Unlock + Dungeon Guide
 Sophia EX Unlock & Trial Guide – FFXIV Containment Bay P1T6 (Extreme)
 FFXIV The Minstrel’s Ballad: Shinryu’s Domain – Unlock + Trial Guide
 Zurvan EX Unlock & Trial Guide – FFXIV Containment Bay Z1T9 (Extreme)
 FFXIV Thok ast Thok (Extreme): How To Unlock + Trial Guide
 FFXIV Containment Bay S1T7 (Normal): Unlock + Trial Guide