You can unlock the Level 61 dungeon The Sirensong Sea by accepting the MSQ “Not without Incident” from Lyse in Mor Dhona (X:22.2, Y:8.5). This MSQ is part of the patch 4.0 Main Scenario Questline for the Stormblood expansion.
And in this guide we’ll cover the battle mechanics for all bosses in the dungeon, along with all of their drops & rewards.
TABLE OF CONTENTS
Step-by-Step Unlock Guide
- Accept the Level 61 MSQ “Not without Incident” from Lyse in Mor Dhona (X:22.2, Y:8.5).
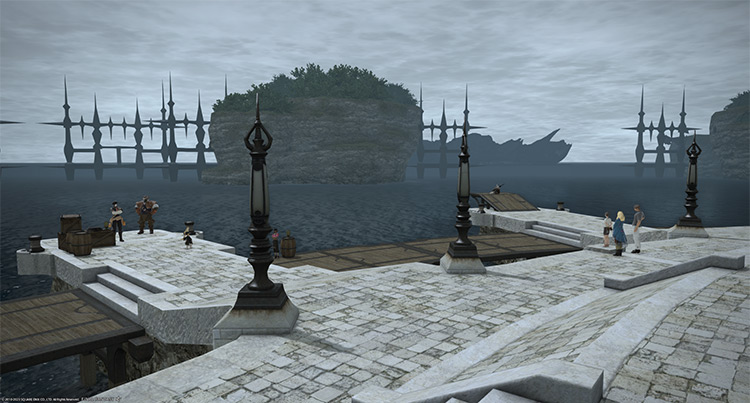
- Speak with Alphinaud at the Ferry Docks in Limsa Lominsa – Lower Decks (X:4.1, Y:12.0).
- Speak with the Kraken’s Arms deckhand in Limsa Lominsa – Lower Decks (X:4.1, Y:12.0).
- Speak with Carvallain in the Misery (X:6.2, Y:5.3).
Detailed Unlocking Guide
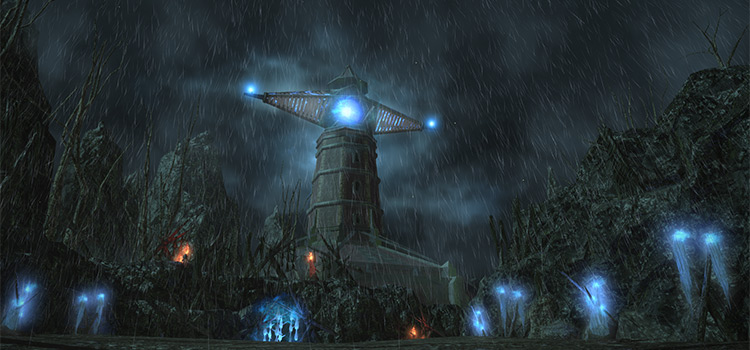
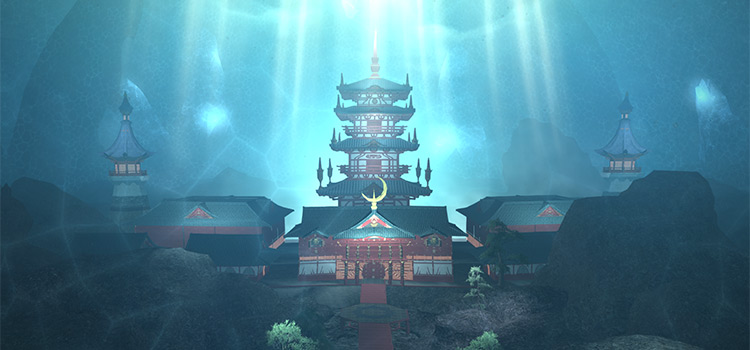
The Sirensong Sea is the first of the six story dungeons made available in patch 4.0 of the FFXIV Stormblood expansion.
To unlock it, you’ll need to accept the Level 61 MSQ “Not without Incident” from Lyse in Mor Dhona (X:22.2, Y:8.5).
In this MSQ, the Scions of the Seventh Dawn are preparing to depart for Doma.
After rendezvousing with Lyse, join Alphinaud and the rest of the Scions at the Ferry Docks in Limsa Lominsa – Lower Decks (X:4.1, Y:12.0) to continue.
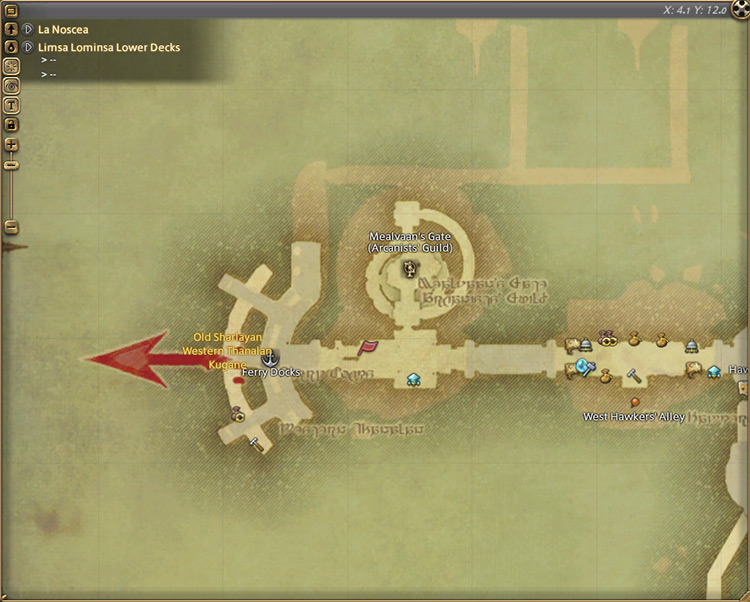
Have a quick chat with Alphinaud before talking to the Kraken’s Arms deckhand nearby. Board the Misery to trigger a cutscene to learn about how the scions seem to have lost their way at sea.
Then talk to Carvallain in the Misery (X:6.2, Y:5.3) to trigger another cutscene and unlock The Sirensong Sea.
This dungeon requires at least a Level 61 Disciple of War or Magic job and an average item level of 240 to enter.
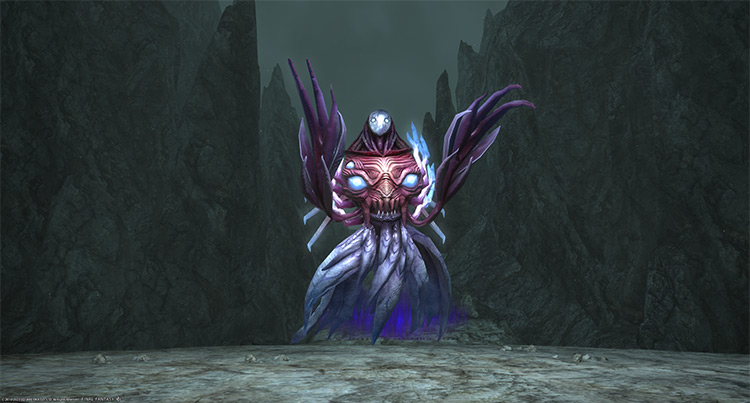
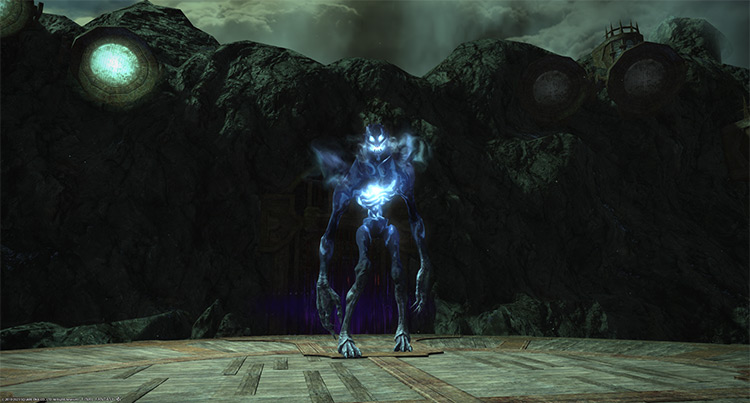
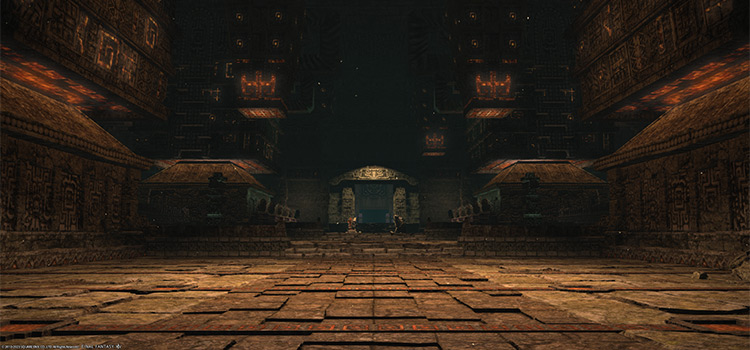
Boss #1: Lugat
Mechanics
- Amorphous Applause: A room-wide frontal AoE that knocks players back. Move behind the boss to avoid.
- Hydroball: One player will be targeted with a stack marker. Stand inside the marker to share incoming damage.
- Sea Swallows All + Concussive Oscillation: The boss will suck players toward the center, then drop multiple ground AoEs around the arena.
- Overtow + Hydroball: A room-wide knockback AoE followed by a stack marker. Stand together during “Overtow” to avoid unnecessary movement during “Hydroball.”
Rewards
| Name | Type | Rarity |
|---|---|---|
| Ghost Barque Bracelet of Aiming | Bracelets | Dungeon (Green) |
| Ghost Barque Bracelet of Casting | Bracelets | Dungeon (Green) |
| Ghost Barque Bracelet of Fending | Bracelets | Dungeon (Green) |
| Ghost Barque Bracelet of Healing | Bracelets | Dungeon (Green) |
| Ghost Barque Bracelet of Slaying | Bracelets | Dungeon (Green) |
| Ghost Barque Boots of Aiming | Feet | Dungeon (Green) |
| Ghost Barque Leggings of Fending | Feet | Dungeon (Green) |
| Ghost Barque Open-toed Boots of Scouting | Feet | Dungeon (Green) |
| Ghost Barque Sandals of Healing | Feet | Dungeon (Green) |
| Ghost Barque Sandals of Maiming | Feet | Dungeon (Green) |
| Ghost Barque Shoes of Casting | Feet | Dungeon (Green) |
| Ghost Barque Sollerets of Striking | Feet | Dungeon (Green) |
| Ghost Barque Ring of Aiming | Ring | Dungeon (Green) |
| Ghost Barque Ring of Casting | Ring | Dungeon (Green) |
| Ghost Barque Ring of Fending | Ring | Dungeon (Green) |
| Ghost Barque Ring of Healing | Ring | Dungeon (Green) |
| Ghost Barque Ring of Slaying | Ring | Dungeon (Green) |
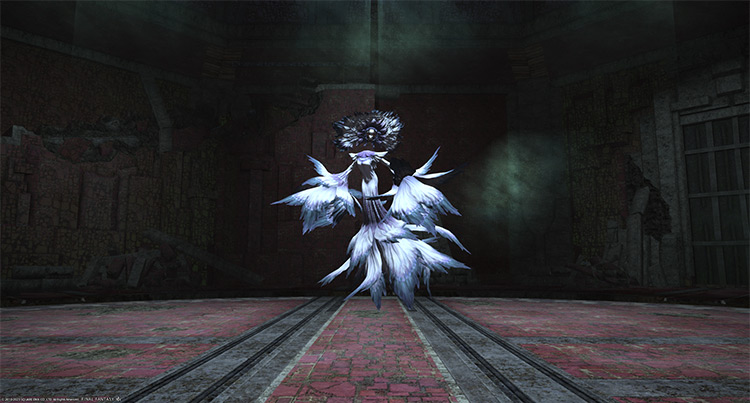
Boss #2: The Governor
Mechanics
- Bloodburst: A room-wide AoE attack. Mitigate and heal through the damage.
- Shadowflow: The boss will move to the center and spawn black conal puddles that apply stacking “Magic Vulnerability Up” debuffs for 45 seconds to anyone standing inside. Stand between the gaps to avoid.
- Enter Night: The boss will tether to a random player, pull them in, and continuously apply more “Magic Vulnerability Up” debuffs. Move away from the boss until the tether dissipates.
- Shadowsplit: During “Shadowflow,” the boss may spawn multiple clones that transform into black puddles, making the safe zones even narrow. Use “Sprint” to reposition quickly as needed.
Rewards
| Name | Type | Rarity |
|---|---|---|
| Ghost Barque Earrings of Aiming | Earrings | Dungeon (Green) |
| Ghost Barque Earrings of Casting | Earrings | Dungeon (Green) |
| Ghost Barque Earrings of Fending | Earrings | Dungeon (Green) |
| Ghost Barque Earrings of Healing | Earrings | Dungeon (Green) |
| Ghost Barque Earrings of Slaying | Earrings | Dungeon (Green) |
| Ghost Barque Armguards of Healing | Hands | Dungeon (Green) |
| Ghost Barque Armlets of Maiming | Hands | Dungeon (Green) |
| Ghost Barque Gauntlets of Aiming | Hands | Dungeon (Green) |
| Ghost Barque Gloves of Casting | Hands | Dungeon (Green) |
| Ghost Barque Gloves of Fending | Hands | Dungeon (Green) |
| Ghost Barque Long Gloves of Scouting | Hands | Dungeon (Green) |
| Ghost Barque Vambraces of Striking | Hands | Dungeon (Green) |
| Ghost Barque Cap of Casting | Head | Dungeon (Green) |
| Ghost Barque Circlet of Fending | Head | Dungeon (Green) |
| Ghost Barque Helm of Aiming | Head | Dungeon (Green) |
| Ghost Barque Hood of Scouting | Head | Dungeon (Green) |
| Ghost Barque Mask of Maiming | Head | Dungeon (Green) |
| Ghost Barque Turban of Healing | Head | Dungeon (Green) |
| Ghost Barque Turban of Striking | Head | Dungeon (Green) |
| Ghost Barque Choker of Aiming | Necklace | Dungeon (Green) |
| Ghost Barque Choker of Casting | Necklace | Dungeon (Green) |
| Ghost Barque Choker of Fending | Necklace | Dungeon (Green) |
| Ghost Barque Choker of Healing | Necklace | Dungeon (Green) |
| Ghost Barque Choker of Slaying | Necklace | Dungeon (Green) |
Boss #3: Lorelei
Mechanics
- Ill Will: A single-target attack that does moderate damage.
- Head Butt: A strong tankbuster attack on the primary target that usually follows “Ill Will.” Use mitigation skills and heal through the damage.
- Somber Melody: A room-wide AoE attack. Shield and heal through the damage.
- Virgin Tears: The boss will spawn blue AoE puddles that apply constant “Bleeding” DoTs. This mechanic will also cover the outer edges of the arena later in the fight.
- Void Water III: A large ground AoE on one random player.
- Morbid Advance or Morbid Retreat: The boss will force all players to move forward or backward relative to the current direction they’re facing. Position yourselves to be forced to move along the narrow safe spaces during “Virgin Tears.”
Rewards
| Name | Type | Rarity |
|---|---|---|
| Ghost Barque Chestwrap of Maiming | Body | Dungeon (Green) |
| Ghost Barque Coat of Aiming | Body | Dungeon (Green) |
| Ghost Barque Coat of Striking | Body | Dungeon (Green) |
| Ghost Barque Coatee of Casting | Body | Dungeon (Green) |
| Ghost Barque Himation of Scouting | Body | Dungeon (Green) |
| Ghost Barque Tabard of Fending | Body | Dungeon (Green) |
| Ghost Barque Vest of Healing | Body | Dungeon (Green) |
| Ghost Barque Codex | Book | Dungeon (Green) |
| Ghost Barque Grimoire | Book | Dungeon (Green) |
| Ghost Barque Composite Bow | Bow | Dungeon (Green) |
| Ghost Barque Cane | Cane | Dungeon (Green) |
| Ghost Barque Cinquedeas | Daggers | Dungeon (Green) |
| Ghost Barque Revolver | Firearms | Dungeon (Green) |
| Ghost Barque Katars | Fist Weapon | Dungeon (Green) |
| Ghost Barque Battleaxe | Greataxe | Dungeon (Green) |
| Ghost Barque Claymore | Greatsword | Dungeon (Green) |
| Ghost Barque Gunblade | Gunblade | Dungeon (Green) |
| Ghost Barque Katana | Katana | Dungeon (Green) |
| Ghost Barque Bottoms of Casting | Legs | Dungeon (Green) |
| Ghost Barque Bottoms of Scouting | Legs | Dungeon (Green) |
| Ghost Barque Brais of Healing | Legs | Dungeon (Green) |
| Ghost Barque Culottes of Maiming | Legs | Dungeon (Green) |
| Ghost Barque Gaskins of Aiming | Legs | Dungeon (Green) |
| Ghost Barque Skirt of Striking | Legs | Dungeon (Green) |
| Ghost Barque Trousers of Fending | Legs | Dungeon (Green) |
| Paladin’s Ghost Barque Arms (IL 260) | Other | Dungeon (Green) |
| Ghost Barque Partisan | Polearm | Dungeon (Green) |
| Ghost Barque Degen | Rapier | Dungeon (Green) |
| Ghost Barque Rod | Staff | Dungeon (Green) |
| Ghost Barque Astrometer | Star Globe | Dungeon (Green) |
| Ghost Barque War Quoits | Throwing Weapons | Dungeon (Green) |
| Ghido | Minion | Basic |
| Dawnbound Orchestrion Roll | Orchestrion Roll | Basic |
Extra Treasure Coffers
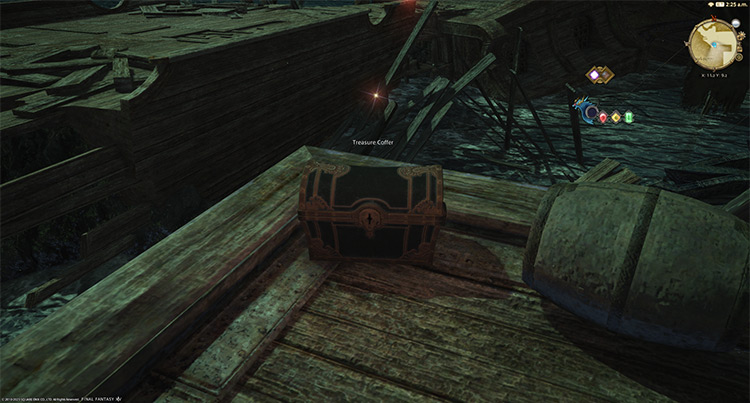
Apart from the boss rewards, there are four treasure coffers located throughout the dungeon that you can open for more gear, crafting material, and crystal rewards. Here are their coordinates:
- (X:11.3, Y:9.2)
- (X:9.5, Y:10.6)
- (X:11.7, Y:15.7)
- (X:10.7, Y:18.2)
-
Final Fantasy XIV
- FFXIV The Sirensong Sea: How To Unlock + Boss Guide
Related Posts:
 FFXIV Dohn Mheg: How To Unlock + Boss Guide
 FFXIV The Qitana Ravel: Unlock + Boss Guide
 FFXIV Bardam’s Mettle: How To Unlock + Full Boss Guide
 FFXIV Malikah’s Well: How To Unlock + Dungeon Guide
 FFXIV Shisui of the Violet Tides: Unlock + Boss Guide
 FFXIV Holminster Switch: How To Unlock + Boss Guide
 FFXIV Lapis Manalis: Unlock + Dungeon Boss Guide
 FFXIV The Tower of Zot: Unlock + Boss Guide