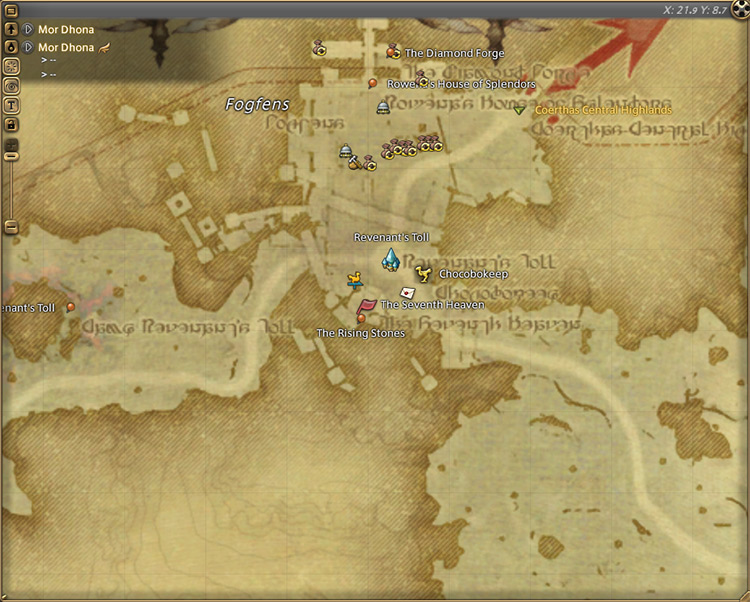
You can unlock the Level 50 dungeon The Sunken Temple of Qarn (Hard) by accepting the Level 50 quest “The Wrath of Qarn” from Hugubert in Mor Dhona (X:21.9, Y:8.7).
This quest requires you to finish the final MSQ for patch 2.0 A Realm Reborn before it can be unlocked.
TABLE OF CONTENTS
Step-by-Step Unlock Guide
- Complete the Level 50 Main Scenario Quest “The Ultimate Weapon” from Raubahn in Northern Thanalan (X:15.0, Y:16.0).
- Accept the Level 50 quest “The Wrath of Qarn” from Hugubert in Mor Dhona (X:21.9, Y:8.7).
- Talk to Seserukka at Ul’dah – Steps of Thal (X:11.0, Y:14.1 – Merchant Strip).
- Speak with Bibimu at The Sunken Temple of Qarn in Southern Thanalan (X:25.1, Y:12.5).
Detailed Unlocking Guide
As with every endgame dungeon in A Realm Reborn, you need to complete the Level 50 MSQ “The Ultimate Weapon” from Raubahn in Northern Thanalan (X:15.0, Y:16.0) before you can unlock “The Wrath of Qarn”.
Once you’ve finished the main story, you’ll be able to accept the quest from Hugubert.
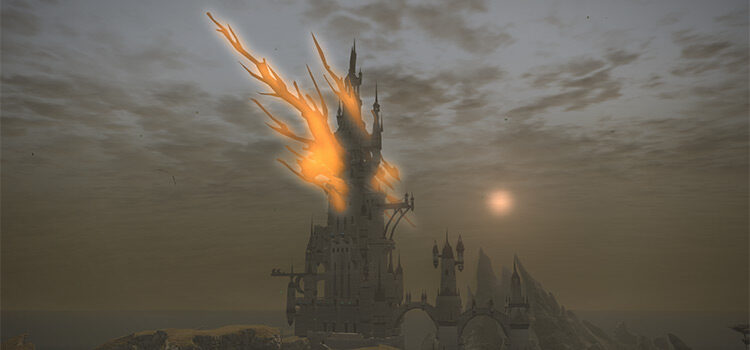
Speak to him in Mor Dhona (X:21.9, Y:8.7) to continue.
Hugubert offers you a business opportunity with the Amajina & Sons Mineral Concern, which needs adventurers.
Your clients are the twins Seserukka and Popokkuli, who you can find in the Miners’ Guild.
Speak with Seserukka at Ul’dah – Steps of Thal (X:11.0, Y:14.1 – Merchant Strip) to learn more.
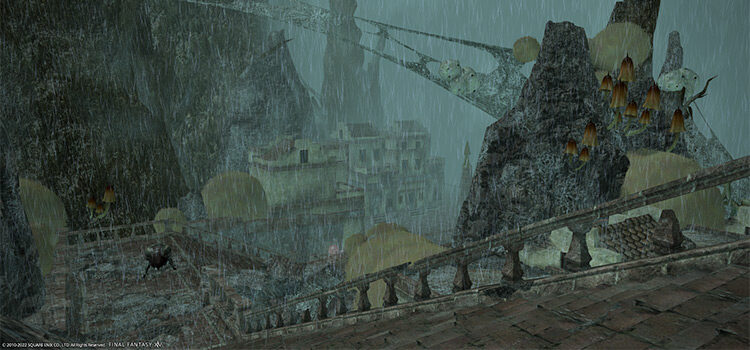
The twins plan on mounting a rescue of their little sister Nenekko, who was leading a research team inside The Sunken Temple of Qarn to uncover its secrets.
Relic raiders set off a trap as Nenekko explored the temple, trapping her inside.
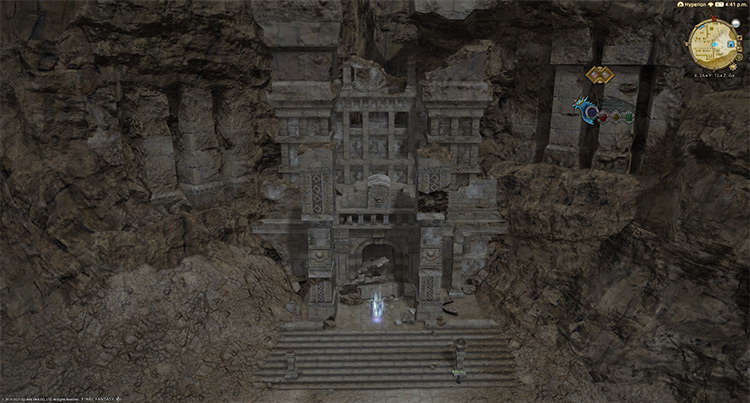
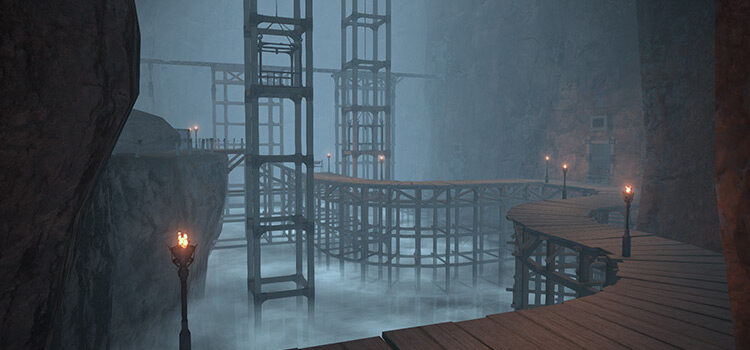
Head to Bibimu outside the temple in Southern Thanalan (X:25.1, Y:12.5) to begin the rescue.
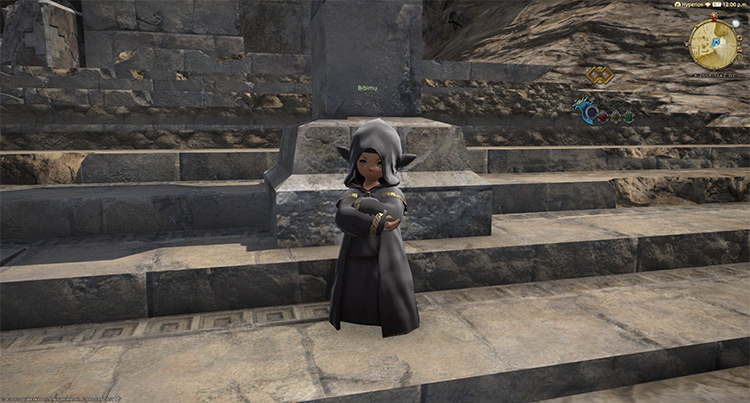
After a quick chat with the Lalafellin explorer where you’ll learn more about the siblings’ true identities, The Sunken Temple of Qarn (Hard) will be unlocked.
This dungeon requires at least a Level 50 Disciple of War or Magic job and an average item level of 80 to enter.
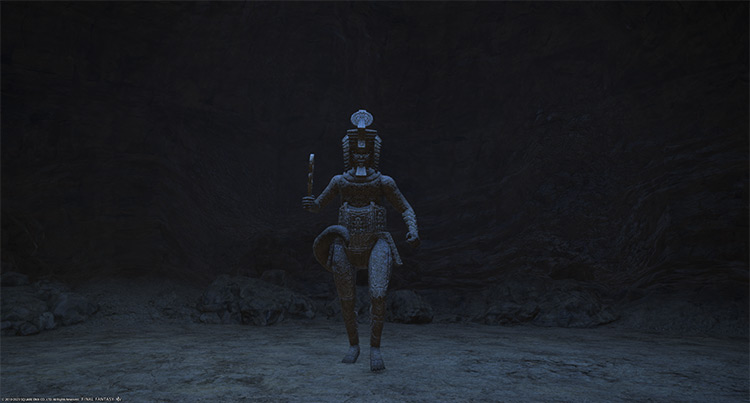
Boss #1: Damaged Adjudicator
Mechanics
- Adjudicator Body Parts: Several of the boss’ body parts will be exposed. Destroy the glowing body part to incapacitate the boss and deal 25-35% HP damage. Destroying the correct body parts three times will bring the boss down to 5% HP. The boss will only get a “Damage Down” debuff should you destroy the wrong body part.
- Desert Storm: A frontal line AoE attack.
- Dust to Dust: An orange marker on a random player that drops a ball of sand. The ball will explode into non-telegraphed, point-blank AoEs eight times. Drop the marker away to the edge of the arena.
- Sandblast: A cleaving tankbuster attack on the primary target. Face the boss away from the party.
- Ruins Crawler: Multiple crawlers will spawn whenever the boss becomes incapacitated. Kill them all to resume the fight.
- Shifting Sands: Huge quicksands will appear over time. You have nine seconds to move out of them, or you’ll instantly die.
Rewards
- 15 Allagan Tomestone of Poetics
| Name | Type | Rarity |
|---|---|---|
| Hero’s Ring of Aiming | Ring | Tomestone (Blue) |
| Hero’s Ring of Casting | Ring | Tomestone (Blue) |
| Hero’s Ring of Fending | Ring | Tomestone (Blue) |
| Hero’s Ring of Healing | Ring | Tomestone (Blue) |
| Hero’s Ring of Slaying | Ring | Tomestone (Blue) |
| Antique Sollerets | Other | Dungeon (Green) |
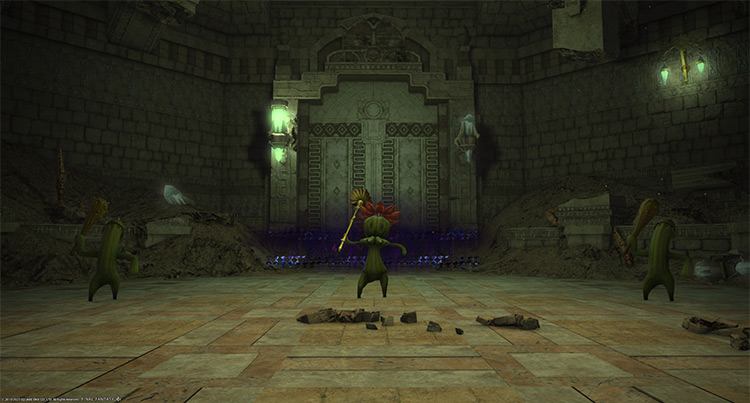
Boss #2: Sabotender Emperatriz
Mechanics
- Sabotender Soldado: Extra mobs that respawn throughout the fight. Defeat them to reduce incoming damage.
- Sabotendash: Ranged attacks on random targets.
- 3000 Needles: A large targeted circle AoE on random players that deals 3,000 damage.
- 100000 Needles: A room-wide AoE attack that hits for 100,000 damage and instantly wipes a synced party. Hit the boss hard enough before the cast goes off, or your party will wipe.
- Sabotender Guardia: A bigger sabotender with unique skills. Kill this sabotender as soon as it spawns.
- 5000 Needles (Sabotender Guardia): A point-blank AoE attack.
- Cactguard (Sabotender Guardia): The guardia will tether to the boss and give it a “Vulnerability Down” buff. Kill the guardia to remove the tether.
Rewards
- 20 Allagan Tomestone of Poetics
| Name | Type | Rarity |
|---|---|---|
| Hero’s Bracelet of Aiming | Bracelets | Tomestone (Blue) |
| Hero’s Bracelet of Casting | Bracelets | Tomestone (Blue) |
| Hero’s Bracelet of Fending | Bracelets | Tomestone (Blue) |
| Hero’s Bracelet of Healing | Bracelets | Tomestone (Blue) |
| Hero’s Bracelet of Slaying | Bracelets | Tomestone (Blue) |
| Hero’s Earrings of Aiming | Earrings | Tomestone (Blue) |
| Hero’s Earrings of Casting | Earrings | Tomestone (Blue) |
| Hero’s Earrings of Fending | Earrings | Tomestone (Blue) |
| Hero’s Earrings of Healing | Earrings | Tomestone (Blue) |
| Antique Gauntlets | Other | Dungeon (Green) |
| Antique Helm | Other | Dungeon (Green) |
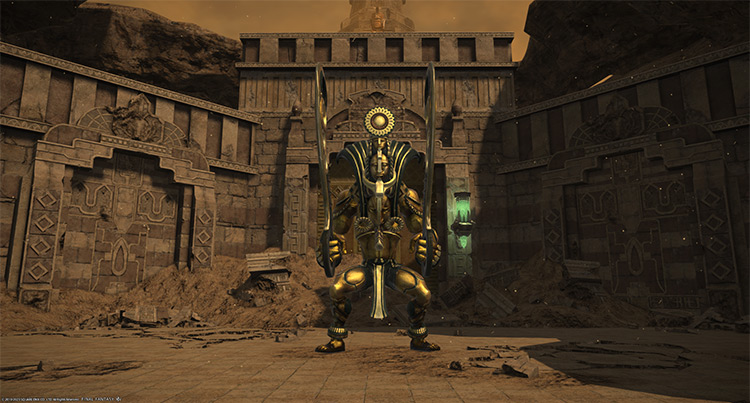
Boss #3: Vicegerent to the Warden
Mechanics
- Smite of Fury: A cleaving tankbuster attack on the primary target. Face the boss away from the party.
- Sarcophagi: Mummies will rush out of sarcophagi from the edges that apply a stacking “Curse of the Mummy” debuff. If a player receives four debuff stacks, they’ll be trapped in a sarcophagus and turned into a mummy after some time. Avoid the mummies’ path.
- Whispers of Ire: A “Damage Up” buff to the boss.
- Light of Anathema: The boss will charge non-telegraphed line attacks that apply “Curse of the Mummy” on hit. Move behind the boss to avoid it.
- Chains of Malison: The boss will pull players towards it, then tether to a random player. This tether will constantly apply stacks of “Curse of the Mummy.” Pass the tether to one player after one stack is applied to spread them out evenly.
- Flurry of Rage: A single-target attack on a random player that applies “Curse of the Mummy.” Move behind the boss to avoid.
Rewards
- 35 Allagan Tomestone of Poetics
- Vicegerent to the Warden Triple Triad Card (not guaranteed)
| Name | Type | Rarity |
|---|---|---|
| Hero’s Necklace of Aiming | Necklace | Tomestone (Blue) |
| Hero’s Necklace of Casting | Necklace | Tomestone (Blue) |
| Hero’s Necklace of Fending | Necklace | Tomestone (Blue) |
| Hero’s Necklace of Healing | Necklace | Tomestone (Blue) |
| Hero’s Necklace of Slaying | Necklace | Tomestone (Blue) |
| Antique Breeches | Other | Dungeon (Green) |
| Antique Mail | Other | Dungeon (Green) |
| Mummy’s Little Mummy | Minion | Basic |
-
Final Fantasy XIV
- The Sunken Temple of Qarn (Hard): How To Unlock + Boss Guide for FFXIV
Related Posts:
 The Lost City of Amdapor (Normal): Unlock + Boss Guide – FFXIV
 FFXIV Brayflox’s Longstop (Hard): Unlock + Dungeon Guide
 FFXIV Halatali (Hard): How To Unlock + Dungeon Guide
 The Sunken Temple of Qarn (Normal): Unlock + Dungeon Guide for FFXIV
 FFXIV The Temple of the Fist: Unlock + Boss Guide
 FFXIV Pharos Sirius (Normal): How To Unlock + Dungeon Guide
 FFXIV Copperbell Mines (Hard): How To Unlock + Boss Guide
 The Lost City of Amdapor (Hard): Unlock + Boss Guide – FFXIV