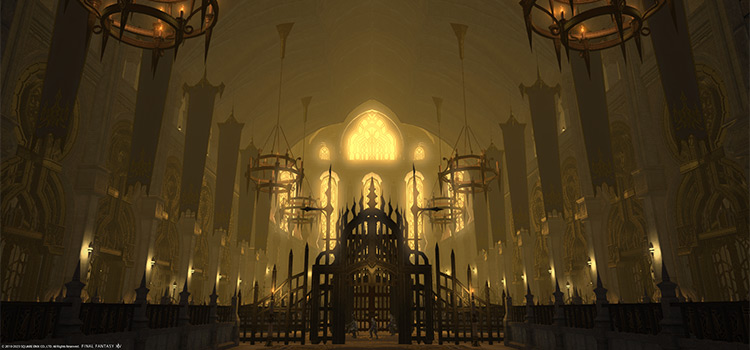
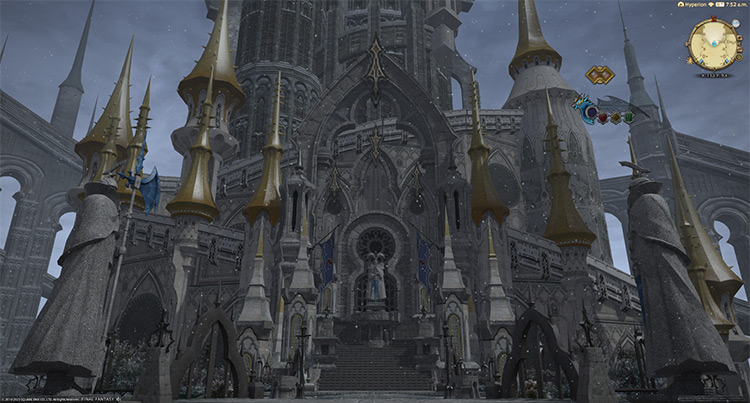
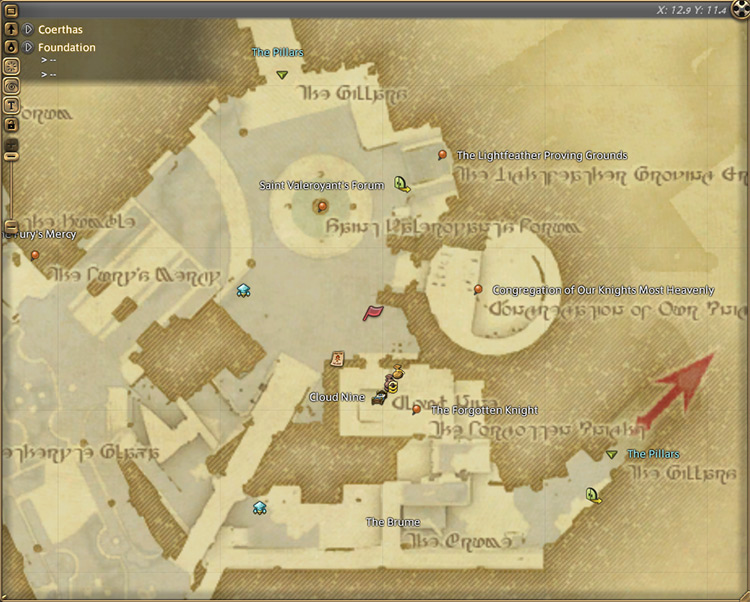
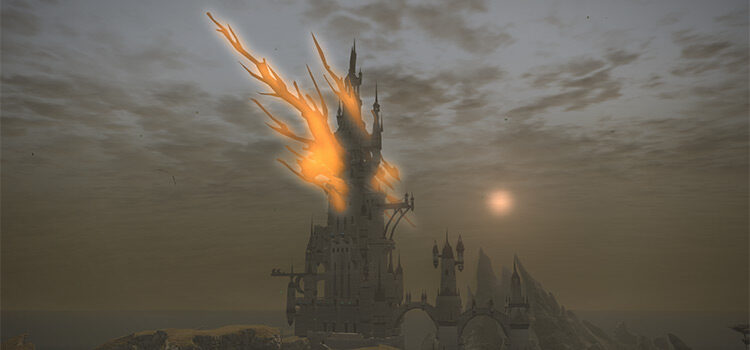
The Level 57 dungeon The Vault can be unlocked by accepting the Level 57 MSQ “A Knight’s Calling” from Hilda in The Foundation (X:12.9, Y:11.4).
This MSQ is part of the patch 3.0 main story questline for Heavensward.
TABLE OF CONTENTS
Step-by-Step Unlock Guide
- Accept the Level 57 MSQ “A Knight’s Calling” from Hilda in The Foundation (X:12.9, Y:11.4).
- Speak with Lucia in The Foundation (X:12.9, Y:11.4).
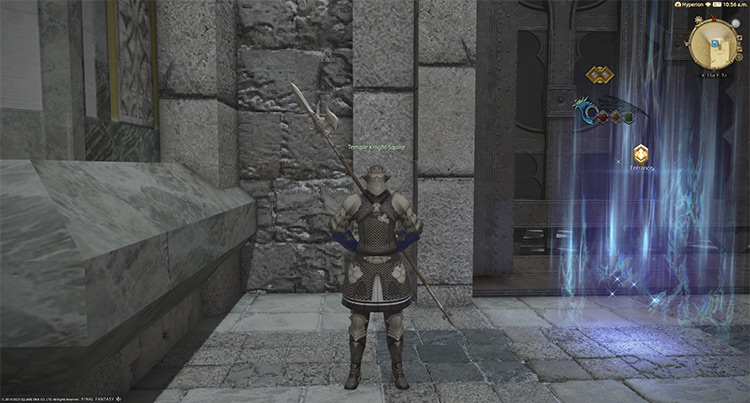
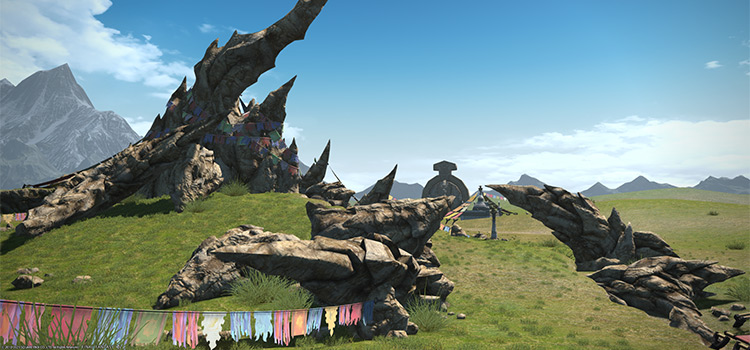
- Talk to the Temple Knight Squire at The Vault’s entrance in The Pillars (X:11.1, Y:7.1).
Detailed Unlocking Guide
The Vault is part of the storyline dungeons for patch 3.0 of Final Fantasy XIV: Heavensward.
You need to have finished every quest leading up to “A Knight’s Calling” before it can be unlocked. Once you’ve caught up to the story, talk to Hilda in The Foundation (X:12.9, Y:11.4) to begin.
In the story, the Heaven’s Wards abducted Ser Aymeric and blamed Hilda and “the heretics” for the civil unrest.
Upon talking to Hilda, you’ll learn the truth and figure out the real culprit: Archbishop Thordan VII and his knights.
Lucia will propose a plan to save Ser Aymeric and hold the Archbishop accountable.
Talk to Lucia in The Foundation (X:12.9, Y:11.4) to learn more.
Lucia will split up the group and have you chase the Heaven’s Wards while she and the rest focus on finding Ser Aymeric.
Once everyone is in agreement, she’ll point you toward The Vault’s entrance. Speak with the Temple Knight Squire at The Vault’s entrance in The Pillars (X:11.1, Y:7.1).
A quick chat with the knight is all you need to unlock The Vault.
This dungeon requires at least a Level 57 Disciple of War or Magic job and an average item level of 115 to enter.
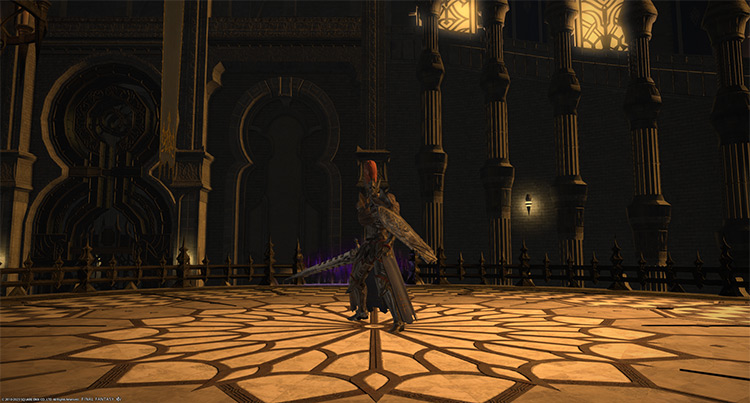
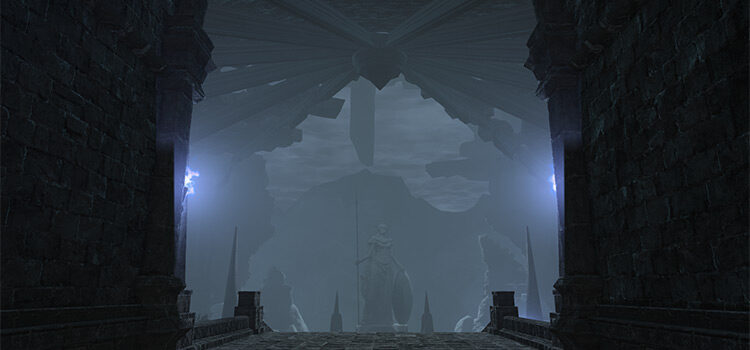
Boss #1: Ser Adelphel Brightblade
Mechanics
Phase 1: Regular Form + Vault mobs
After defeating Adelphel for the first time, he’ll transform into his Heaven’s Ward form with a new set of skills. Kill the extra mobs first to avoid unnecessary damage.
- Vault Ostiary: Two gladiators that use “Fast Blade” single-target attacks.
- Vault Deacon: A mage that uses “Fire” ranged attacks.
- Bloodstain: A point-blank AoE attack.
- Fast Blade: A tankbuster that deals moderate damage to the primary target.
- Advent: A room-wide AoE that knocks players back. This attack also signals the start of Phase 2.
Phase 2: Heaven’s Ward Form
- Holiest of Holy: The boss will move to the center and use another room-wide AoE attack.
- Heavenly Slash: A strong tankbuster attack on the primary target. Shield and heal through the damage.
- Holy Shield Bash + Solid Ascension: The boss will target a random player and stun them for three seconds. Then, he’ll use a strong tankbuster attack on them. Use mitigation and healing on the affected player.
- Shining Blade + Bright Flare + Execution: The boss will dash across the room, dropping balls of light. Touching a ball of light will result in a 30-second “Bleeding” that can be dispelled. Then, he’ll drop onto a targeted player, dealing point-blank AoE damage. Move away from the balls and the affected player to avoid overlapping damage.
Rewards
| Name | Type | Rarity |
|---|---|---|
| Halonic Auditor’s Bracelets | Bracelets | Dungeon (Green) |
| Halonic Exorcist’s Bracelets | Bracelets | Dungeon (Green) |
| Halonic Friar’s Bracelets | Bracelets | Dungeon (Green) |
| Halonic Inquisitor’s Bracelets | Bracelets | Dungeon (Green) |
| Halonic Priest’s Bracelets | Bracelets | Dungeon (Green) |
| Halonic Auditor’s Jackboots | Feet | Dungeon (Green) |
| Halonic Exorcist’s Thighboots | Feet | Dungeon (Green) |
| Halonic Friar’s Jackboots | Feet | Dungeon (Green) |
| Halonic Inquisitor’s Sollerets | Feet | Dungeon (Green) |
| Halonic Ostiary’s Sollerets | Feet | Dungeon (Green) |
| Halonic Priest’s Thighboots | Feet | Dungeon (Green) |
| Halonic Vicar’s Jackboots | Feet | Dungeon (Green) |
| Halonic Auditor’s Ring | Ring | Dungeon (Green) |
| Halonic Exorcist’s Ring | Ring | Dungeon (Green) |
| Halonic Friar’s Ring | Ring | Dungeon (Green) |
| Halonic Inquisitor’s Ring | Ring | Dungeon (Green) |
| Halonic Priest’s Ring | Ring | Dungeon (Green) |
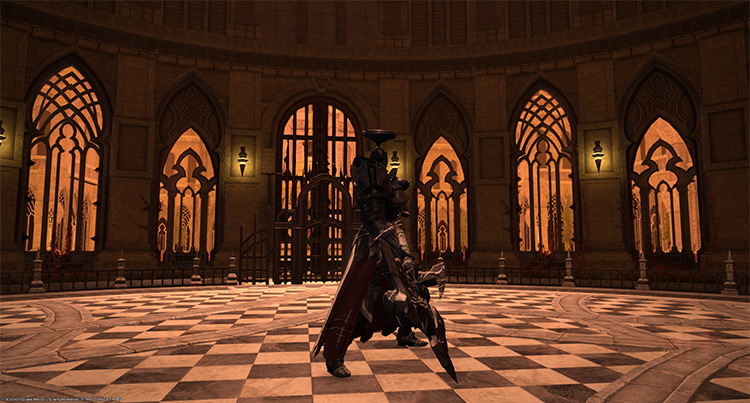
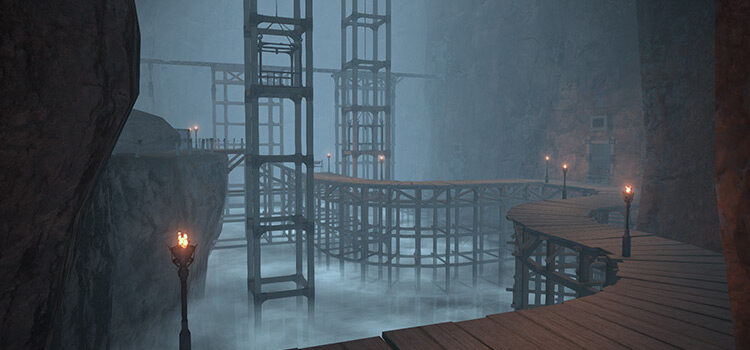
Boss #2: Ser Grinnaux The Bull
Mechanics
Phase 1: Regular Form
Similar to the first boss, Grinnaux will transform into his Heaven’s Ward form with a new set of skills.
- Overpower: A non-telegraphed frontal cone AoE. Face the boss away from the party.
- Rive: A narrow line attack toward a random player.
- Advent: A room-wide AoE that knocks players back. This attack also signals the start of Phase 2.
Phase 2: Heaven’s Ward Form
- Hyperdimensional Slash: A wide line attack that knocks players back and spawns an “Aetherial Tear”.
- Aetherial Tear: A tear will tether to any player that stands too close to it. While tethered, the player will repeatedly receive stacking “Vulnerability Up” debuffs. Stay away from the tears.
- Faith Unmoving: A room-wide AoE attack that knocks players back. Position yourselves so you don’t get knocked into the tears, or use knockback-immunity skills.
- Dimensional Collapse: Curved AoEs will spawn around the arena.
- Heavy Swing: A stronger, non-telegraphed frontal cone AoE.
- Dimensional Rip: Targeted AoEs that spawn black puddles. Touching these puddles will cause them to explode, drag players toward its center, and apply a “Heavy” debuff for 20 seconds.
Rewards
| Name | Type | Rarity |
|---|---|---|
| Halonic Auditor’s Earrings | Earrings | Dungeon (Green) |
| Halonic Exorcist’s Earrings | Earrings | Dungeon (Green) |
| Halonic Friar’s Earrings | Earrings | Dungeon (Green) |
| Halonic Inquisitor’s Earrings | Earrings | Dungeon (Green) |
| Halonic Priest’s Earrings | Earrings | Dungeon (Green) |
| Halonic Auditor’s Gloves | Hands | Dungeon (Green) |
| Halonic Exorcist’s Gloves | Hands | Dungeon (Green) |
| Halonic Friar’s Gloves | Hands | Dungeon (Green) |
| Halonic Inquisitor’s Gauntlets | Hands | Dungeon (Green) |
| Halonic Ostiary’s Gauntlets | Hands | Dungeon (Green) |
| Halonic Priest’s Gloves | Hands | Dungeon (Green) |
| Halonic Vicar’s Gloves | Hands | Dungeon (Green) |
| Halonic Auditor’s Helm | Head | Dungeon (Green) |
| Halonic Exorcist’s Hat | Head | Dungeon (Green) |
| Halonic Friar’s Helm | Head | Dungeon (Green) |
| Halonic Inquisitor’s Helm | Head | Dungeon (Green) |
| Halonic Ostiary’s Helm | Head | Dungeon (Green) |
| Halonic Priest’s Klobuk | Head | Dungeon (Green) |
| Halonic Vicar’s Helm | Head | Dungeon (Green) |
| Halonic Auditor’s Choker | Necklace | Dungeon (Green) |
| Halonic Exorcist’s Choker | Necklace | Dungeon (Green) |
| Halonic Friar’s Choker | Necklace | Dungeon (Green) |
| Halonic Inquisitor’s Choker | Necklace | Dungeon (Green) |
| Halonic Priest’s Choker | Necklace | Dungeon (Green) |
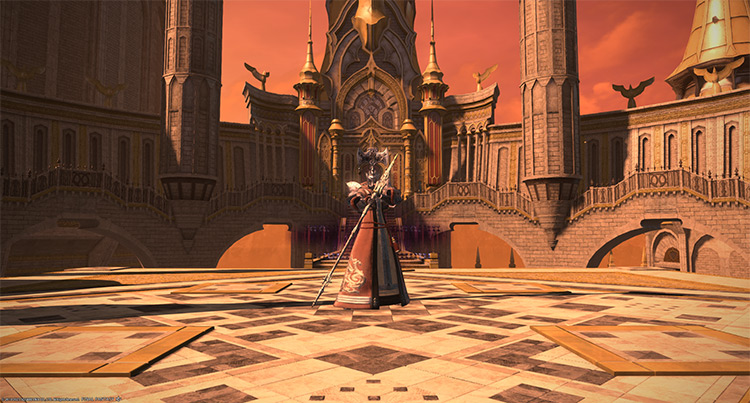
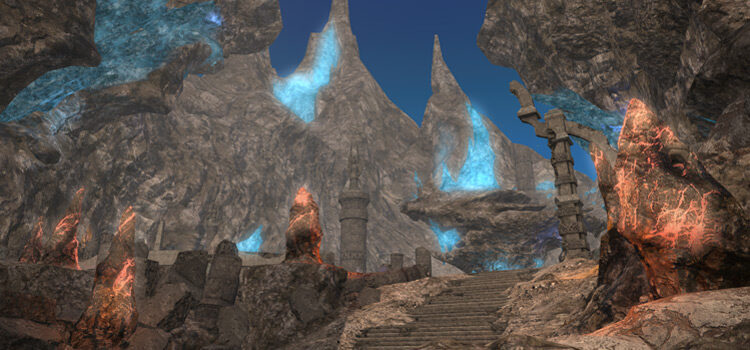
Boss #3: Ser Charibert
Mechanics
Phase 1: Holy Chain and Turret Charge
- Altar Candle: A ranged tankbuster attack on the primary target. Use mitigation skills and heal through the attack.
- Heavensflame: Fiery AoEs will spawn under all players. Bait the AoEs in one area, then spread out.
- Holy Chain: Two players will be chained together and receive constant DoTs. Move away from each other until the chain breaks.
- Altar Pyre: A strong room-wide AoE attack. Mitigate and heal through the damage.
- Turret Charge: Black and white knights will charge across the arena. The black knight will apply a 30-second “Bleeding” DoT and the white knight will apply a 20-second “Slow” debuff to anyone in their way. Dispel the debuffs should anyone get hit.
Phase 2: Holy Flame and Pure of Heart
After “Pure of Heart,” the fight will go back to Phase 1, and some of the boss’ skills will occur more frequently.
- Holy Flame: At around 60% HP, the boss will become untargetable and spawn eight fireballs around the arena. After some time, these fireballs will explode in room-wide AoE attacks. Destroy them as quickly as possible.
- Black and White Knight’s Tour: Both knights will fire line attacks toward random players.
- Pure of Heart: A room-wide AoE attack based on the number of “Holy Flame” mobs still standing. After using “Pure of Heart,” the boss will become targetable again.
- Turret Charge (Phase 2): Two sets of knights will now charge across the arena.
- Heavensflame (Phase 2): Two sets of AoEs will now appear under players.
Rewards
- Charibert Triple Triad Card (not guaranteed)
- Hallowed Halls Orchestrion Roll (not guaranteed)
| Name | Type | Rarity |
|---|---|---|
| Halonic Auditor’s Cuirass | Body | Dungeon (Green) |
| Halonic Exorcist’s Robe | Body | Dungeon (Green) |
| Halonic Friar’s Cuirass | Body | Dungeon (Green) |
| Halonic Inquisitor’s Cuirass | Body | Dungeon (Green) |
| Halonic Ostiary’s Cuirass | Body | Dungeon (Green) |
| Halonic Priest’s Alb | Body | Dungeon (Green) |
| Halonic Vicar’s Cuirass | Body | Dungeon (Green) |
| Halonic Exorcist’s Grimoire | Book | Dungeon (Green) |
| Halonic Priest’s Codex | Book | Dungeon (Green) |
| Halonic Auditor’s Bow | Bow | Dungeon (Green) |
| Halonic Priest’s Crook | Cane | Dungeon (Green) |
| Halonic Vicar’s Main Gauches | Daggers | Dungeon (Green) |
| Halonic Auditor’s Musketoon | Firearms | Dungeon (Green) |
| Halonic Friar’s Patas | Fist Weapon | Dungeon (Green) |
| Halonic Inquisitor’s Axe | Greataxe | Dungeon (Green) |
| Halonic Inquisitor’s Greatsword | Greatsword | Dungeon (Green) |
| Halonic Friar’s Katana | Katana | Dungeon (Green) |
| Halonic Auditor’s Brais | Legs | Dungeon (Green) |
| Halonic Exorcist’s Breeches | Legs | Dungeon (Green) |
| Halonic Friar’s Hose | Legs | Dungeon (Green) |
| Halonic Inquisitor’s Trousers | Legs | Dungeon (Green) |
| Halonic Ostiary’s Trousers | Legs | Dungeon (Green) |
| Halonic Priest’s Breeches | Legs | Dungeon (Green) |
| Halonic Vicar’s Hose | Legs | Dungeon (Green) |
| Paladin’s Halonic Inquisitor Arms (IL 142) | Other | Dungeon (Green) |
| Halonic Ostiary’s Halberd | Polearm | Dungeon (Green) |
| Halonic Exorcist’s Foil | Rapier | Dungeon (Green) |
| Halonic Exorcist’s Rod | Staff | Dungeon (Green) |
| Halonic Priest’s Planisphere | Star Globe | Dungeon (Green) |
| Unicolt | Minion | Basic |
| Stigma Orchestrion Roll | Orchestrion Roll | Basic |
| Toll of the Bells Orchestrion Roll | Orchestrion Roll | Basic |
Extra Treasure Coffers
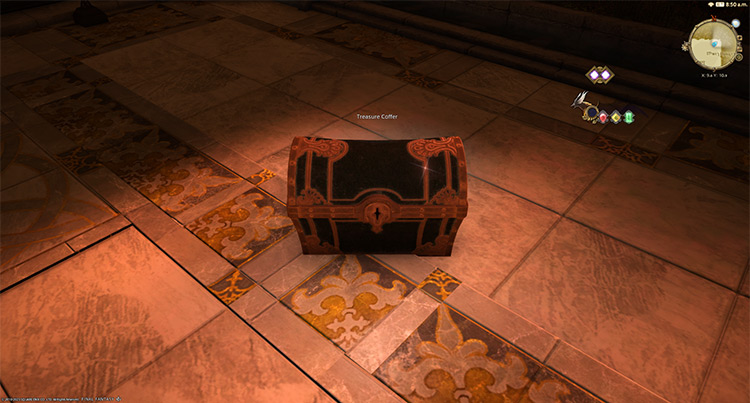
Apart from the boss rewards, there are four treasure coffers located throughout the dungeon that you can open for more gear dye or prism rewards. Here are their coordinates:
- (X:12.7, Y:10.6)
- (X:12.5, Y:10.9)
- (X:9.6, Y:10.9)
- (X:10.0, Y:10.8)
-
Final Fantasy XIV
- FFXIV The Vault: How To Unlock + Boss Guide
Related Posts:
 FFXIV Bardam’s Mettle: How To Unlock + Full Boss Guide
 FFXIV The Dusk Vigil: Unlock + Dungeon Guide
 FFXIV Sohm Al (Normal): How To Unlock + Dungeon Guide
 FFXIV Copperbell Mines (Hard): How To Unlock + Boss Guide
 FFXIV The Tower of Babil: Unlock + Dungeon Guide
 FFXIV Dohn Mheg: How To Unlock + Boss Guide
 FFXIV Pharos Sirius (Normal): How To Unlock + Dungeon Guide
 FFXIV The Qitana Ravel: Unlock + Boss Guide