The Level 60 trial Thok ast Thok (Extreme), also known as Ravana EX, can be unlocked by accepting the Level 60 quest “Thok Around the Clock” from Unukalhai in The Rising Stones (X:6.1, Y:5.3).
But this quest is locked behind two other Level 60 quests:
- The MSQ “Heavensward” from the Guidance Node in Azys Lla (X:16.0, Y:22.0)
- And the quest “Gods of Eld” from Torsefers in The Pillars (X:11.7, Y:11.5)
TABLE OF CONTENTS
- Step-by-Step Unlock Guide
- Detailed Unlocking Guide
- Trial Boss: Ravana (Extreme)
- Waymarks
- Ravana’s Avatars
- Phase 1: Dragonfly Avatar and Directional Parry Barriers
- Phase 2: Scorpion Avatar, Prelude to Liberation, and Liberation
- Phase 3: Gana Mobs, Laughing Moon, and Chandrahas
- Phase 4: Beetle Avatar and Rose Attacks
- Phase 5: Scorpion Avatar, Swift Liberation, and Final Liberation
- Phase 6: Repeated Avatars, More Liberation Attacks, and Enrage
- Rewards
Step-by-Step Unlock Guide
- Complete the Level 60 MSQ “Heavensward” from the Guidance Node in Azys Lla (X:16.0, Y:22.0).
- Finish the Level 60 quest “Gods of Eld” from Torsefers in The Pillars (X:11.7, Y:11.5).
- Accept the quest “Thok Around the Clock” from Unukalhai in The Rising Stones (X:6.1, Y:5.3).
- Talk to the Vath Storyteller in The Dravanian Forelands (X:24.0, Y:19.7).
- Attune to the Gnathic Aetheryte Entrance in The Dravanian Forelands (X:27.7, Y:41.0).
Detailed Unlocking Guide
As with every extreme trial in Heavensward expansion, you need to first complete the MSQ “Heavensward” from the Guidance Node in Azys Lla (X:16.0, Y:22.0).
Once that’s all set, talk to Torsefers in The Pillars (X:11.7, Y:11.5) and accept the quest “Gods of Eld.”
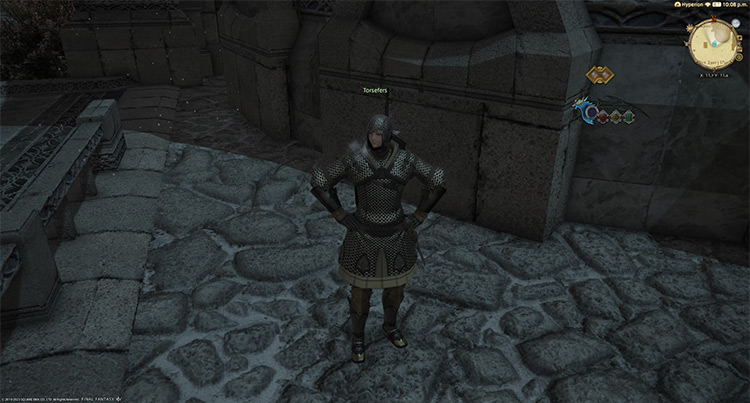
In “Gods of Eld,” Torsefers will tell you about a message left by a stranger who seems to be interested in meeting you.
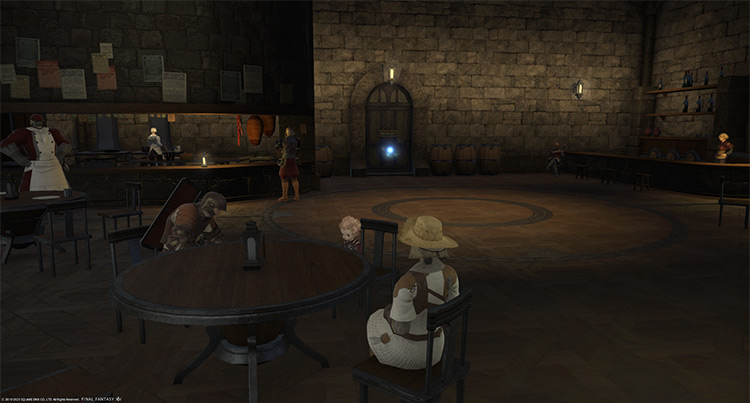
Talk to the stranger in The Rising Stones (X:6.1, Y:5.3) to continue.
The stranger will introduce himself as Unukalhai and warn you about the rising threat of the old Allagan beings known as eikons. While this story doesn’t focus on Ravana, you’ll need to finish it to unlock Thok ast Thok (Extreme).
After completing “Gods of Eld,” talk to Unukalhai once more and accept the quest “Thok Around the Clock.”
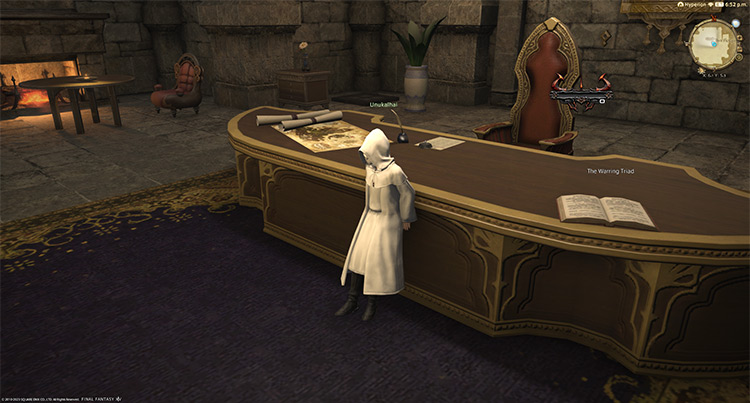
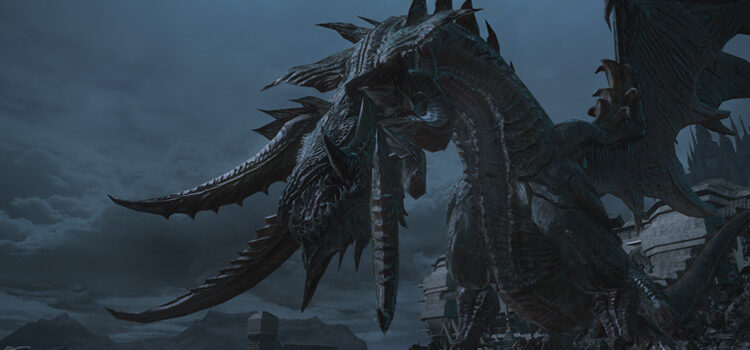
Unukalhai will ask you to return to the Lord of the Hive’s domain and defeat the insect primal once more. The Gnath have resurrected their god and is stronger than ever.
Speak with the Vath Storyteller in The Dravanian Forelands (X:24.0, Y:19.7) to learn more about the situation.
The storyteller will inform you that the Vath have recently discovered an aetheryte deep inside the Gnath’s territory, which you can use to enter Ravana’s domain.
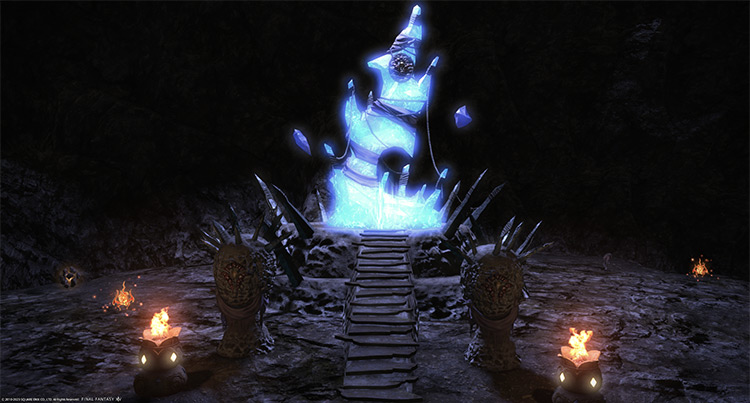
Fight your way to the Gnathic Aetheryte Entrance in The Dravanian Forelands (X:27.7, Y:41.0) to continue.
Upon arriving, simply attune to the aetheryte to unlock Thok ast Thok (Extreme). This trial requires a Level 60 Disciple of War or Magic job and an average item level of 175 to enter.
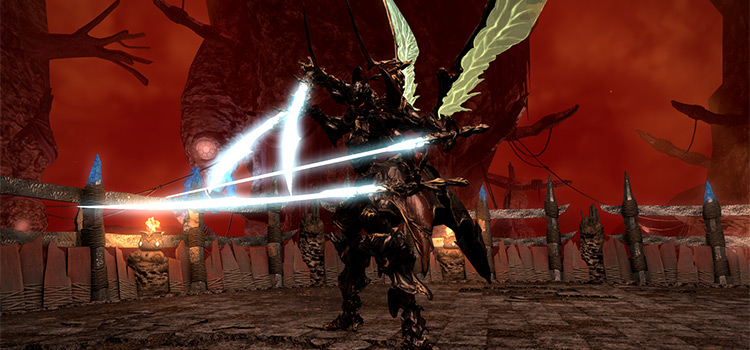
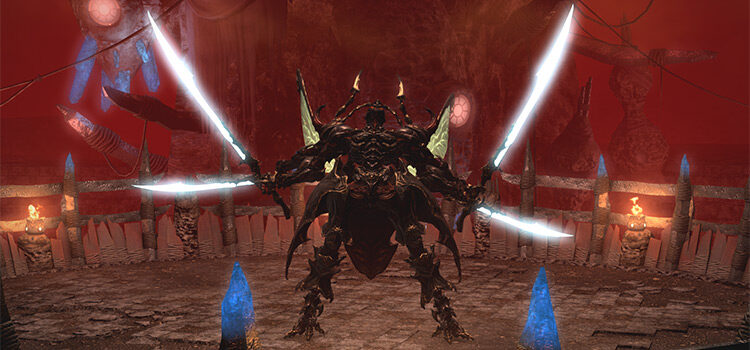
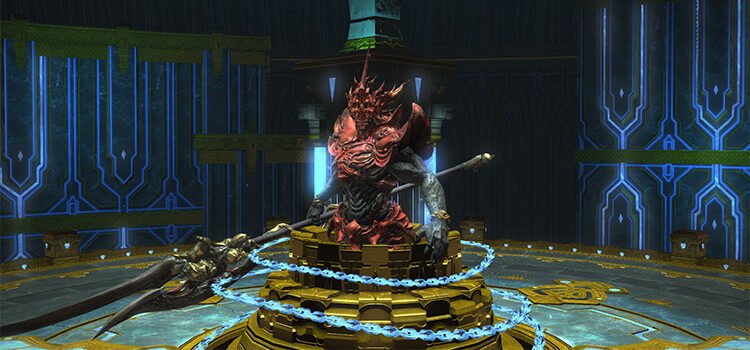
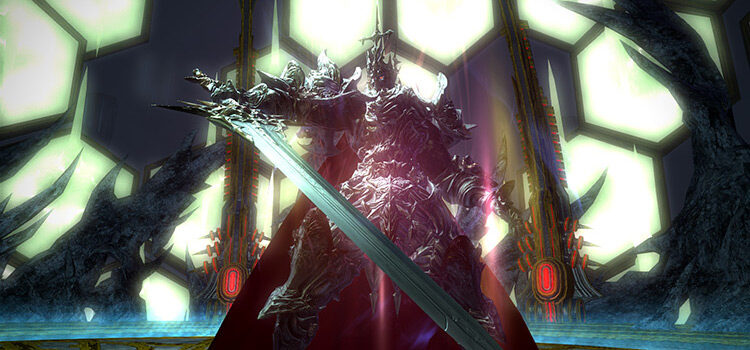
Trial Boss: Ravana (Extreme)
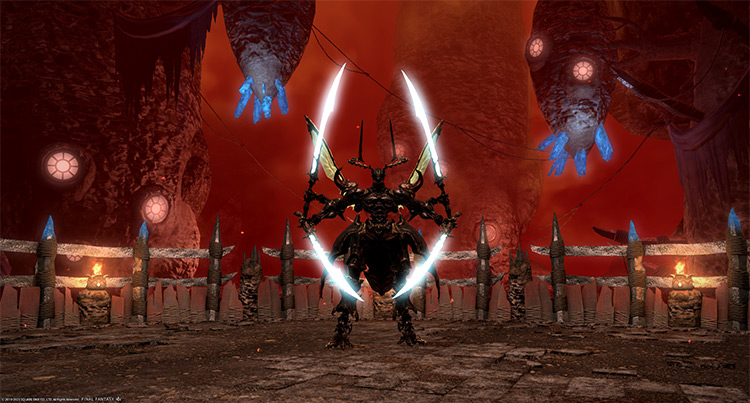
Ravana EX can be easily soloed with a high-leveled character if you enter the trial while unsynced. Just burn the boss down as quickly as possible and you’ll skip most of its mechanics.
Just be wary of the breakable outer barriers so you don’t fall off.
If you want to do the trial with your friends while synced, familiarize yourself with its mechanics below:
Waymarks
At the start of the fight, place four waymarks on the four cardinal directions. These markers will be used to handle incoming mechanics in the later phases of the fight.
Place the markers as follows:
- North: A
- East: B
- West: C
- South: D
Ravana’s Avatars
The boss will cycle through three avatars throughout the fight. Whenever the Bloodlust bar reaches 100, the boss will get a stacking “Damage Up” buff and use one of its avatars:
- Dragonfly Avatar (Neutral Stance): This is the boss’ default stance.
- Scorpion Avatar (Offensive Stance): This stance unlocks the Liberation attacks.
- Beetle Avatar (Defensive Stance): This stance unlocks the Rose attacks.
Also note that most of the boss’ Liberation and Rose attacks apply stacking “Vulnerability Up” debuffs for 180 seconds.
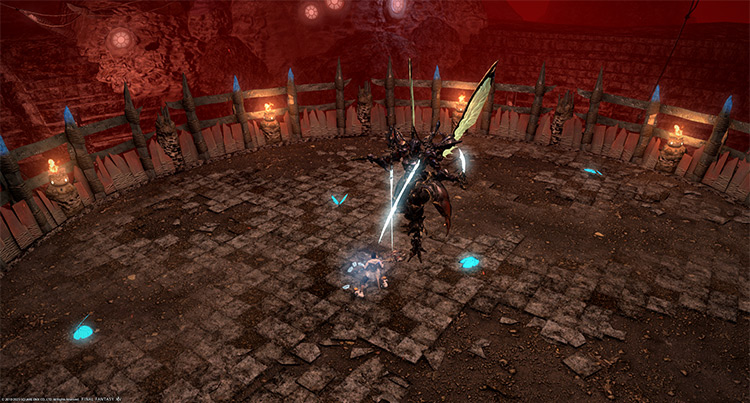
Phase 1: Dragonfly Avatar and Directional Parry Barriers
Rotation:
Blinding Blade > Directional Parry > Atma-Linga > Tapasya > Atma-Linga > Blinding Blade > Directional Parry > Atma-Linga > Repeat until 87% HP
Tank the boss in the center at all times to avoid damaging the breakable outer barriers.
- Blinding Blade: A cleaving tankbuster attack on the primary target that can be mitigated by sharing the cleave with the off-tank. Have both tanks stand in front of the boss during its cast. If solo-tanking, share the damage with the rest of the party and heal through the damage.

- Directional Parry: The boss will use one of three skills to put up 6-second directional barriers that can knock players back and apply a 15-second “Slow” debuff. This shield only applies to physical damage, so casters can ignore this.
If you’re a melee, ranged, or tank player, check which side doesn’t have a barrier and attack the boss from there.- The Seeing Left: Attack the boss from the right side
- The Seeing Right: Attack the boss from the left side
- The Seeing Wings: Attack the boss from the front.
- Atma-Linga: A room-wide AoE attack. Mitigate and heal through the damage.
- Tapasya: A three-hit tankbuster attack that can damage the outer barriers. The first hit is unavoidable, but you can run behind the boss to avoid the remaining hits.
Phase 2: Scorpion Avatar, Prelude to Liberation, and Liberation
Rotation:
Scorpion Avatar > Prelude to Liberation > Liberation > Dragonfly Avatar > Warlord Shell > Directional Parry x2
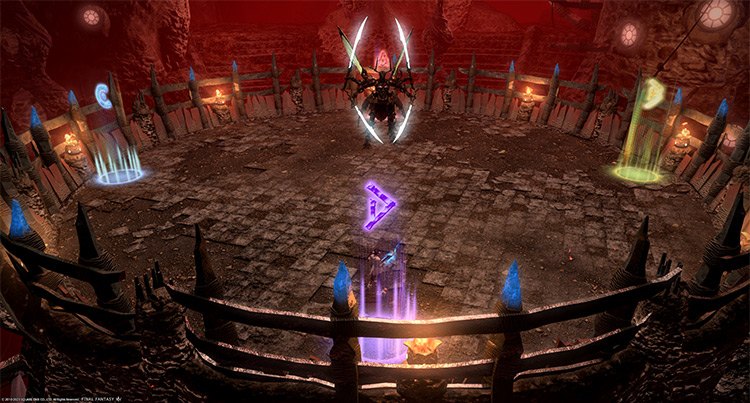
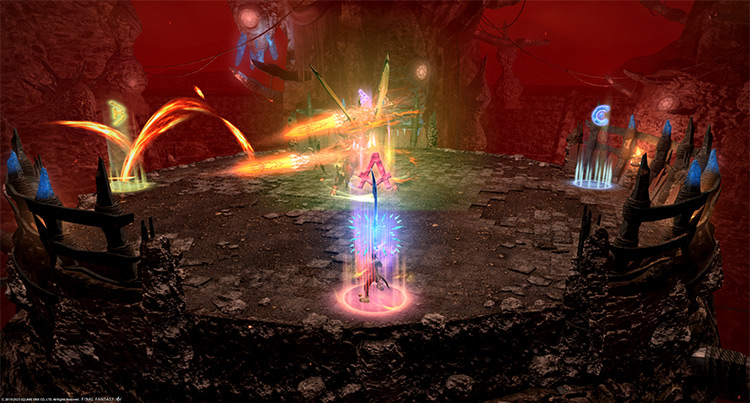
- Prelude to Liberation: A point-blank knockback AoE followed by line attacks and fire puddles, then finished off with 4-5 marked AoEs on random players. To handle this mechanic:
- Move far away from the boss’ hitbox to avoid the initial AoE.
- Stand between the gaps of the huge line attacks.
- Run away from the fire puddles and dispel any “Burns” DoT on affected players.
- Spread the circle AoE markers out at the edges of the arena to avoid overlap.

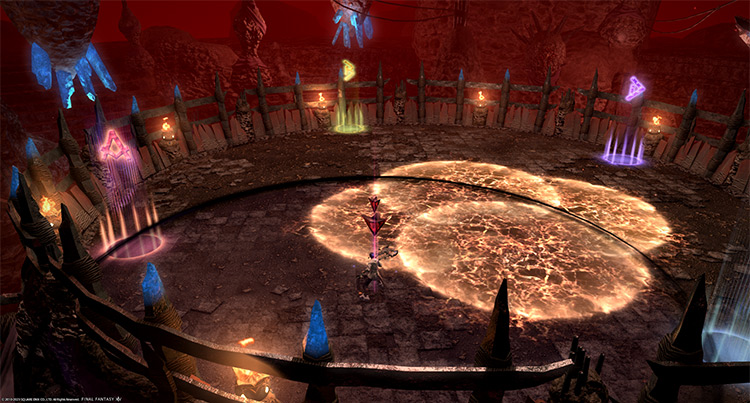
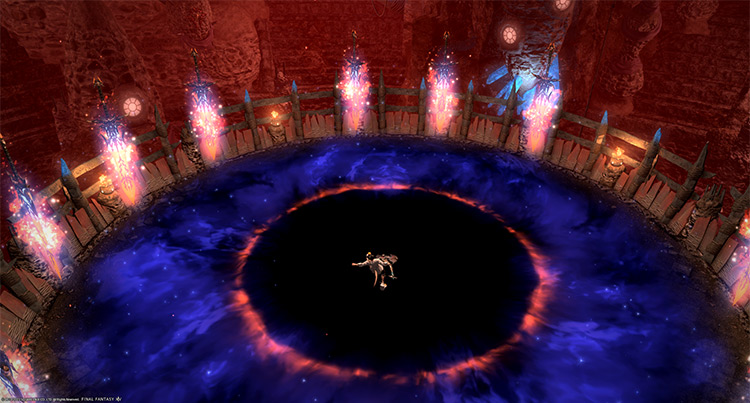
- Liberation: A non-telegraphed 270-degree AoE that knocks players back, followed by four consecutive circle AoEs, and finished off with four rushing attacks. To handle this mechanic:
- Stand behind the boss to avoid the initial knockback AoE.
- Stay in the center and wait for the circle AoEs to drop. These AoEs will leave a Ravana clone in their place, indicating where the rushing attacks will come from.
- Run to the side of the first clone to avoid the first rushing attack. Don’t stand too close, or you might get clipped.
- Continue running toward the side of the remaining clones to avoid the rest.
- Warlord Shell: A 20-second barrier that soaks up any damage the boss receives. If this barrier isn’t broken before the timer runs out, the boss will get a 15-second “Blessing of Fire” buff that increases its damage and crit rate and use “Warlord Flame.”
- Warlord Flame: A room-wide AoE knockback attack if the “Warlord Shell” isn’t broken in time. Use knockback-immunity skills and heal through the damage.
Phase 3: Gana Mobs, Laughing Moon, and Chandrahas
Rotation:
Gana Mobs > Tapasya > Blinding Blade > Directional Parry > Atma-Linga > Tapasya > Atma-Linga > Blinding Blade > Atma-Linga > Tapasya > Blinding Blade > Directional Parry > Atma-Linga x2 > Bloody Fuller > Laughing Moon + Chandrahas
- Gana Mobs: The boss will summon “Spirit Gana” and “Moon Gana” mobs that need to be killed as soon as they appear. Each Gana mob will try to cast “Falling Laughter” which turns them into swords that the boss can use during its ultimate attack.
- Bloody Fuller: A room-wide stun as the boss prepares its ultimate attack.
- Laughing Moon + Chandrahas: The boss will cast “Laughing Moon,” a room-wide AoE attack that inflicts stacking “Vulnerability Up” debuffs for every sword left by Gana mobs.
Then, the boss will use its “Chandrahas” ultimate attack to try and finish you off. If the boss picks up too many swords, “Chandrahas” will most likely wipe your party. Kill the Gana mobs immediately.
Phase 4: Beetle Avatar and Rose Attacks
Rotation:
Beetle Avatar > Pillars of Heaven > Laughing Rose > Surpanakha > Rose of Conviction + Rose of Hate > Surpanakha > Pillars of Heaven > Laughing Rose > Surpanakha > Rose of Conviction + Rose of Hate
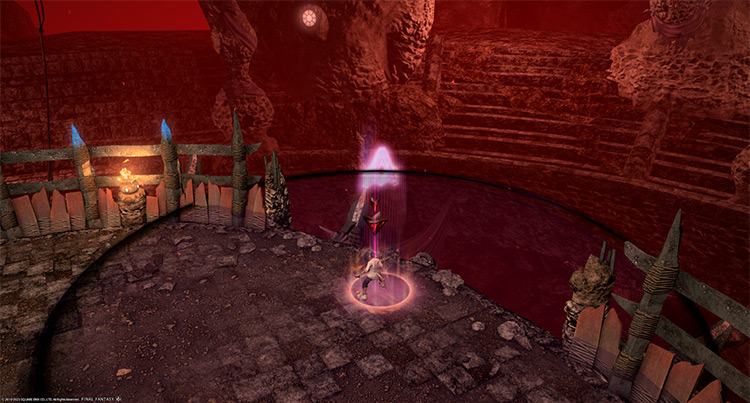
As soon as the fight transitions into Phase 4, certain sections of the outer barrier will be destroyed.
Make sure you have a barrier behind you before “Pillars of Heaven” goes off, or you’ll fall off.
- Pillars of Heaven: A proximity-based knockback AoE attack. Stand near a barrier to mitigate incoming damage and avoid falling off.
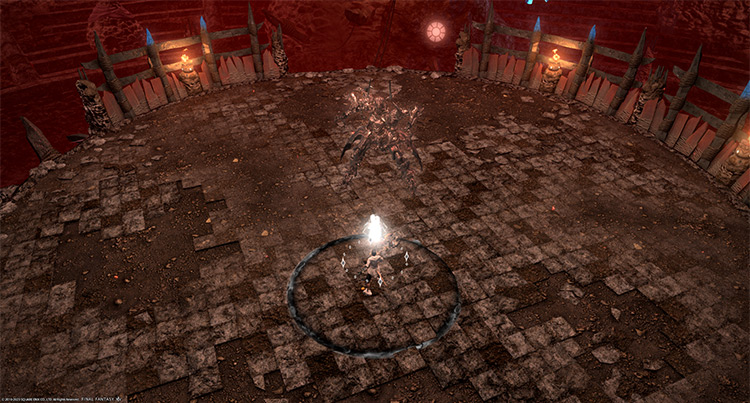
- Laughing Rose: A random player will be marked with a white AoE circle that can destroy the outer barrier. Move toward the center and stand inside the AoE to share incoming damage.
- Surpanakha: One player will be marked with “Prey.” After a few seconds, the boss will spam a large frontal cone AoE. If you’re marked, run toward the main tank to pass the marker off.
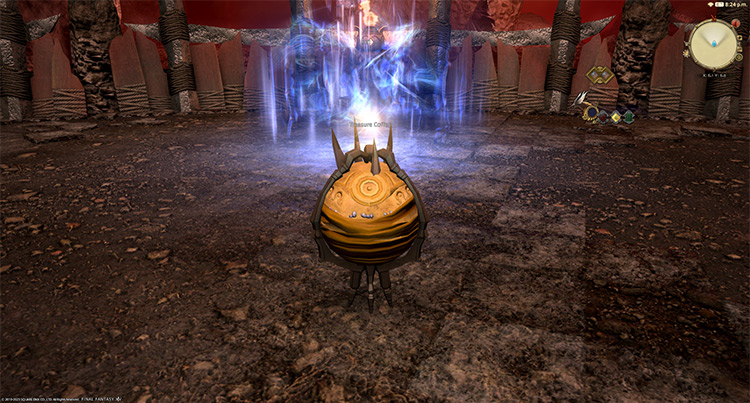
- Rose of Conviction + Rose of Hate: The main tank will be targeted with a line knockback attack. At the same time, five players will be tethered to a “Rose of Conviction” orb. To handle this mechanic:
- Have the rest of the party stack on Waymark D while the main tank sidesteps the line attack.
- When the tethers appear, run clockwise along the edges of the arena onto Waymark C and so on until the tethers dissipate.
- During this time, have the main tank rotate the boss clockwise to avoid cleaving the party with the Surpanakha attacks that will follow.
Phase 5: Scorpion Avatar, Swift Liberation, and Final Liberation
Rotation:
Scorpion Avatar > Swift Liberation > Final Liberation > Dragonfly Avatar > Warlord Shell > Directional Parry > Atma-Linga > Directional Parry > Blinding Blade > Atma-Linga > Tapasya > Atma-Linga > Blinding Blade > Atma-Linga x2 > Tapasya > Blinding Blade > Atma-Linga > Repeat from first Blinding Blade until the Bloody Fuller bar reaches 100
- Swift Liberation: The tanks and healers will be targeted with numbered markers on top of their heads, indicating the order in which the boss will attack. Then, the boss will rush toward the marked players one by one. Each rushing attack will apply a “Physical Vulnerability Up” debuff for 12 seconds.
Afterward, the arena will be cut into four quadrants by two fiery line AoEs while four DPS players are marked with large circle AoEs.
To handle this combo of mechanics:- Have each numbered player go to their corresponding lettered waymarks. #1 to A, #2 to B, and so on.
- Meanwhile, have the rest of the party stack in the center of the arena.
- After each rushing attack, the affected player should run counterclockwise to the next waymark before running back to the center to avoid the remaining rushing attacks.
- Spread the circle AoEs toward the four waymarkers while avoiding the line attacks. Use “Sprint” to quickly reposition if needed.
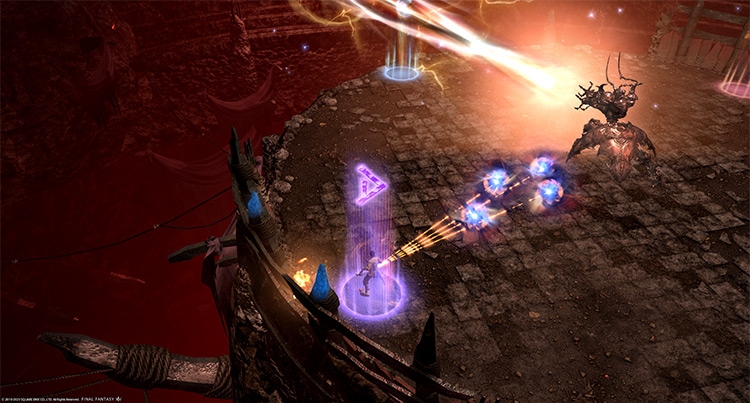
- Final Liberation: Two players will be marked with “Prey.” Then, the boss’ clones will charge from the center onto the preyed players. This mechanic will happen twice in a row. During this time, three players will be marked with circle AoEs.
Once the “Prey” + AoE combo is done, a room-wide donut AoE will appear, followed by a circular, point-blank knockback AoE in the center.
To handle this combo of mechanics:- Have the first two preyed players move to Waymarks A and C while the rest of the group moves to Waymark B.
- When the three circle AoEs appear, have two of the marked players take the “Prey” markers away from the players at Waymarks A and C. The third player affected by the circle AoEs should stay at Waymark B.
- The newly preyed players must keep running toward the middle of their assigned waymark and Waymark D. The rest of the party should run toward the center.
- Have everyone stack in the center to avoid the donut AoE.
- Immediately after, run out toward the edges of the arena to avoid the point-blank AoE. Don’t try to cast anything or attack after avoiding the donut AoE, or you’ll get clipped by the point-blank AoE and likely fall to your death.
Phase 6: Repeated Avatars, More Liberation Attacks, and Enrage
Rotation:
Beetle Avatar > Pillars of Heaven > Laughing Rose > Surpanakha > The Rose of Conviction + The Rose of Hate > Surpanakha > Pillars of Heaven > Swift Liberation > Final Liberation > Dragonfly Avatar > Bloody Fuller (instant-wipe)
At this point, you’ve seen all of the boss’ mechanics.
Handle the incoming mechanics as you did in previous phases and burn down the boss as soon as possible. If it reaches the final “Bloody Fuller” listed in the rotation above, your party will wipe.
Rewards
Note: Hive Totems can be traded for weapon loot (10 fragments) or for the Rose Lanner Whistle (99 fragments) with Bertana in Idyllshire (X:5.9 Y:5.2).
- 15 Allagan Tomestones of Poetics
- Ravana’s Forewing (not guaranteed)
- Ravana Triple Triad Card (not guaranteed)
- Hive Totem (1 per clear)
| Name | Type | Quality |
|---|---|---|
| Hive Grimoire | Book | Blue (Primal Gear) |
| Hive Codex | Book | Blue (Primal Gear) |
| Hive Bow | Bow | Blue (Primal Gear) |
| Hive Cane | Cane | Blue (Primal Gear) |
| Hive Kris | Daggers | Blue (Primal Gear) |
| Hive Musketoon | Firearms | Blue (Primal Gear) |
| Hive Claws | Fist Weapon | Blue (Primal Gear) |
| Hive Battleaxe | Greataxe | Blue (Primal Gear) |
| Hive Claymore | Greatsword | Blue (Primal Gear) |
| Hive Katana | Katana | Blue (Primal Gear) |
| Paladin’s Hive Arms (IL 190) | Other | Blue (Primal Gear) |
| Hive Spear | Polearm | Blue (Primal Gear) |
| Hive Rapier | Rapier | Blue (Primal Gear) |
| Hive Longpole | Staff | Blue (Primal Gear) |
| Hive Planisphere | Star Globe | Blue (Primal Gear) |
| Hive Forewing | Crafting material | Basic |
| Faded Copy of The Hand That Gives the Rose | Orchestrion Roll | Basic |
| Faded Copy of Unbending Steel | Orchestrion Roll | Basic |
| Hive Weapon Coffer (IL 190) | Other | Basic |
| Rose Lanner Whistle | Other | Basic |
-
Final Fantasy XIV
- FFXIV Thok ast Thok (Extreme): How To Unlock + Trial Guide
Related Posts:
 FFXIV Thok ast Thok (Hard): How To Unlock + Trial Guide
 Zurvan EX Unlock & Trial Guide – FFXIV Containment Bay Z1T9 (Extreme)
 FFXIV Emanation (Extreme): How To Unlock + Trial Guide
 Sophia EX Unlock & Trial Guide – FFXIV Containment Bay P1T6 (Extreme)
 The Akh Afah Amphitheatre (Extreme): Unlock + Trial Guide (FFXIV)
 FFXIV The Minstrel’s Ballad: Shinryu’s Domain – Unlock + Trial Guide
 FFXIV Minstrel’s Ballad: Nidhogg’s Rage – Unlocking + Trial Guide
 FFXIV The Minstrel’s Ballad: Thordan’s Reign – Unlock + Trial Guide