The Level 50 trial Thornmarch (Extreme), also known as Moogle EX, can be unlocked by accepting the Level 50 quest “The King Lives from Urianger in The Waking Sands (X:6.0, Y:4.9).
This quest is locked behind the Main Scenario Quest (MSQ) “On the Properties of Primals”, which you can get from Raya-O-Senna in South Shroud (X:18.6, Y:27.1).
TABLE OF CONTENTS
Step-by-Step Unlock Guide
- Finish the Level 50 MSQ “On the Properties of Primals” from Raya-O-Senna in South Shroud (X:18.6, Y:27.1).
- Accept the Level 50 quest “The King Lives” from Urianger in The Waking Sands (X:6.0, Y:4.9).
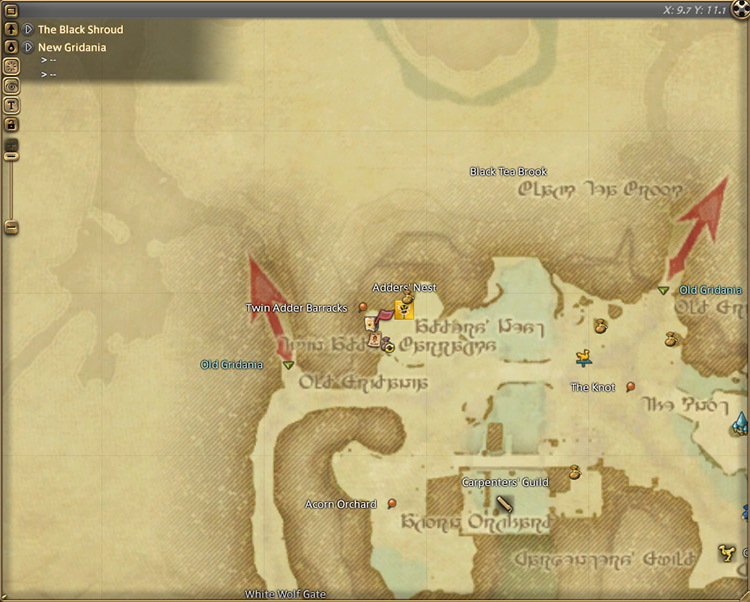
- Speak with Vorsaile Heuloix in New Gridania (X:9.7, Y:11.1).
- Speak with Kuplo Kopp in East Shroud (X:15.1, Y:20.8).
Detailed Unlocking Guide
You’ll begin unlocking Thornmarch (Extreme) by finishing the Level 50 MSQ “On the Properties of Primals” from Raya-O-Senna in South Shroud (X:18.6, Y:27.1).
This MSQ is part of the main story questline for patch 2.1 of A Realm Reborn.
Once that’s all set, talk to Urianger in The Waking Sands (X:6.0, Y:4.9).
Upon arriving, Urianger will tell you about the return of King Moggle Mog XII. The royal Mogglesguards have successfully re-summoned their king, and he suspects the Ascians may have had a hand in this recent summoning.
Speak with Vorsaile Heuloix at New Gridania (X:9.7, Y:11.1) to learn more.
The Serpent Commander will tell you about Kuplo Kopp’s efforts to persuade his fellow moogles from re-summoning their king but to no avail.
Instead, the Mogglesguards went into a frenzy and attempted another ritual, and it appears they’ve succeeded.
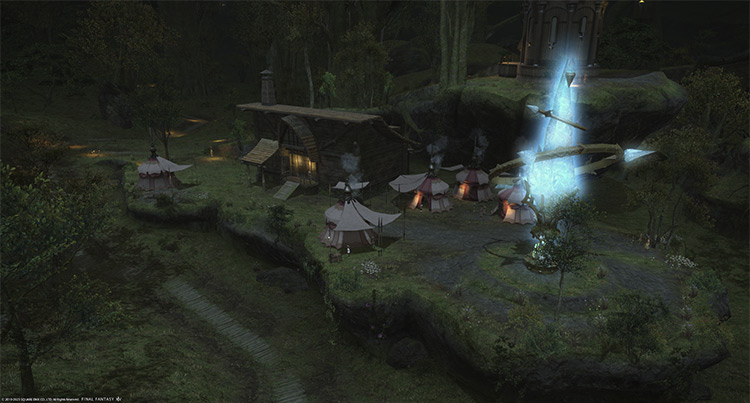
After talking to the commander, talk to Kuplo Kopp in East Shroud (X:15.1, Y:20.8) to proceed.
The worried Kuplo Kopp will be relieved to see you and plead for your help in defeating the primal once and for all.
Once your preparations with Kuplo Kopp are complete, Thornmarch (Extreme) will be unlocked.
This trial requires at least a Level 50 Disciple of War or Magic and an average item level of 80 to enter.
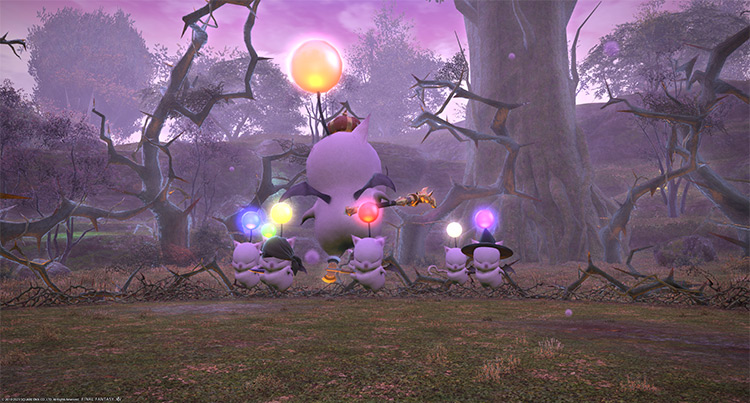
Trial Boss: Good King Moggle Mog XII (Extreme)
Moogle Mog EX can be easily soloed with an unsynced high-level character. Kill the boss’ minions to remove his invincibility, then burst him down.
If you want to do the trial with your friends while synced, then we’ve covered the mechanics below.
Phase 1: Solo Moogle Mog XII
This phase will end once the boss reaches 89% HP and summons his moogle minions.
- 1000-kuponze Charge: A non-telegraphed line attack that also drains 5000 mana.
- Mog Creation: A non-telegraphed line attack.
- To Arms: The boss will become invincible and summon his seven moogle guards.
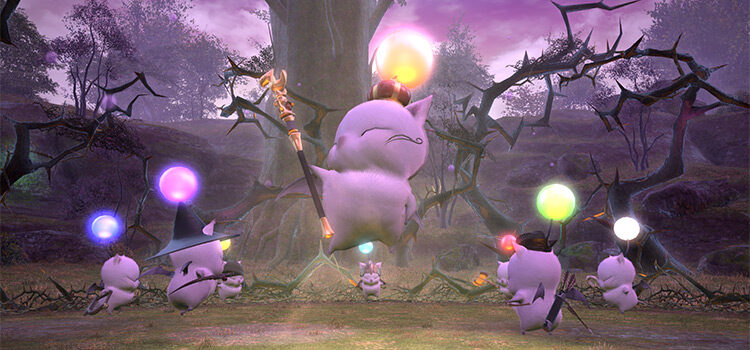
Phase 2: Mogglesguards
This phase can be very hectic due to the number of enemies in the arena. Familiarize yourself with each mechanic and follow the tips below to handle the phase correctly.
- Royal Rouse: A room-wide AoE buff that provides moogle minions a stacking “Damage Up” and an HP recovery buff.
- Mooglesse Oblige: Resurrects a fallen moogle at the cost of the boss’ own HP.
- Delta Mog Attack: A large triangle AoE in the middle of the arena formed by three moogles. Move toward the moogles’ flanks near the edge of the arena to avoid.
- Mog Overpower: Players will be marked for narrow room-wide frontal cone AoEs from Whiskerwall and Ruffletuft. Bait the AoEs away from the party.
- Mog Meteor: A room-wide AoE attack. Shield and heal through the damage. Once this attack goes off, Phase 3 will begin.
Here are all the mechanics each moogle minion will use for Phase 2:
| Moogle Minion | Mechanics |
|---|---|
| Whiskerwall Kupdi Koop | Searing Moglight: A non-telegraphed frontal cone AoE that applies a “Moglight Resistance Down” debuff. This debuff increases the damage you receive from “Stifling Mogdark.” |
| Ruffletuft Kupta Kapa | Stifling Mogdark: A non-telegraphed frontal cone AoE that applies a “Mogdark Resistance Down” debuff. This debuff increases the damage you receive from “Searing Moglight.” |
| Woolywart Kupqu Kogi | Moogle Eye Shot: A four-hit ranged attack on a marked player. |
| Furryfoot Kupli Kipp | Pom Holy: A huge AoE attack that can easily wipe the party. Hit Furryfoot five times or deal 1000+ damage to interrupt. Pom Cure: Heals one moogle per cast. |
| Puksi Piko the Shaggysong | March of the Moogles: A point-blank AoE that gives moogles a “Damage Up” buff. |
| Pukna Pako the Tailturner | Hair Splitter: A strong single-target attack on its primary target. |
| Pukla Puki the Pomburner | Pom Flare: A huge AoE attack similar to “Pom Holy.” Hit Pukla five times or deal 1000+ damage to interrupt. Pom Meteor: Targeted circle AoEs on random players. |
Tips on how to handle the second phase:
- Have the main tank pull Whiskerwall and the boss toward the north.
- Have the off-tank pull Ruffletuft toward the south.
- Always interrupt “Pom Holy” and “Pom Meteor.”
- Pull the boss away from his minions whenever he casts “Royal Rouse.”
- Attack all the moogles until their HPs drop to around 10%.
- Kill the moogles one by one in this order:
- Pukla Puki the Pomburner
- Furryfoot Kupli Kipp
- Woolywart Kupqu Kogi
- Pukna Pako the Tailturner
- Puksi Piko the Shaggysong
- Whiskerwall Kupdi Koop
- Ruffletuft Kupta Kapa
Lowering all the minions’ HP to 10% before killing them ensures that the boss takes a ton of damage once he revives them.
Once all the moogles are revived for the first time, they’ll cast “Mog Meteor” to signal the start of Phase 3.
Phase 3: Minions’ Special Attacks
This phase will feature some of the minions’ special attacks that you need to be aware of while handling mechanics from previous phases.
| Moogle Minion | Mechanics |
|---|---|
| Whiskerwall Kupdi Koop | Come at Me Kupo: Applies a “Thrown for a loop” debuff on the three players farthest from Whiskerwall and forces them towards him. At the same time, he’ll drop a green DoT puddle. Dispel the debuff as soon as possible. |
| Ruffletuft Kupta Kapa | Bemoggled: Two players will receive a “Bemoggled” debuff that increases the damage they take from “Moogle-Go-Round.” Dispel this debuff quickly. Moogle-Go-Round: A strong room-wide AoE attack that happens shortly after “Bemoggled.” |
| Woolywart Kupqu Kogi | Mograin of Death: Random players will be marked for non-telegraphed circle AoEs. Move away from the party to avoid overlapping damage. |
Tips on how to handle the third phase:
- Keep Whiskerwall and the boss toward the north.
- Keep Ruffletuft toward the south.
- Always interrupt “Pom Holy” and “Pom Meteor.”
- Pull the boss away from his minions whenever he casts “Royal Rouse.”
- Dispel “Bemoggled” and “Thrown for a loop” immediately.
- Attack all the moogles until their HPs drop to around 10%.
- Kill the moogles in the same order as Phase 2.
Phase 4: Memento Moogle DPS check
After the boss revives his minions for the second time, he’ll begin slow-casting “Memento Moogle”.
Kill the moogles in the same order as Phase 1 and 2 to remove the king’s invulnerability, then DPS him down.
- Memento Moogle: A room-wide AoE ultimate attack that deals 30000 damage and wipes any synced party. Kill the boss before this goes off.
Rewards

- Good King Moggle Mog XII Triple Triad Card (not guaranteed)
| Name | Type | Quality |
|---|---|---|
| Ribbon of Fending | Necklace | Blue (Primal Gear) |
| Ribbon of Slaying | Necklace | Blue (Primal Gear) |
| Ribbon of Aiming | Necklace | Blue (Primal Gear) |
| Ribbon of Casting | Necklace | Blue (Primal Gear) |
| Ribbon of Healing | Necklace | Blue (Primal Gear) |
| Kingly Whisker | Crafting material | Basic |
| Faded Copy of Good King Moggle Mog XII | Orchestrion Roll | Basic |
-
Final Fantasy XIV
- FFXIV Thornmarch (Extreme): How To Unlock + Trial Guide
Related Posts:
 FFXIV Thornmarch (Hard): How To Unlock + Trial Guide
 Zurvan EX Unlock & Trial Guide – FFXIV Containment Bay Z1T9 (Extreme)
 FFXIV The Minstrel’s Ballad: Thordan’s Reign – Unlock + Trial Guide
 FFXIV Sohr Khai: How To Unlock + Boss Mechanics
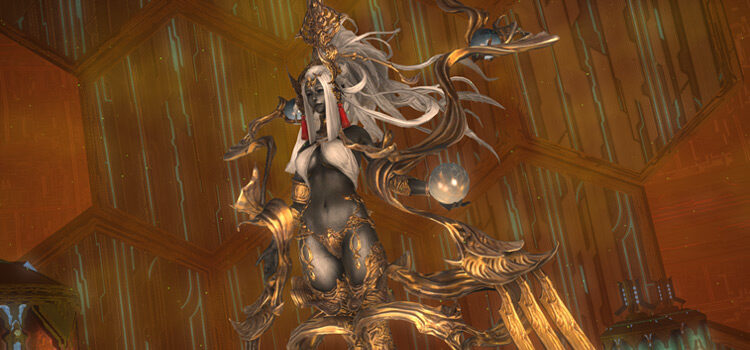 Sophia EX Unlock & Trial Guide – FFXIV Containment Bay P1T6 (Extreme)
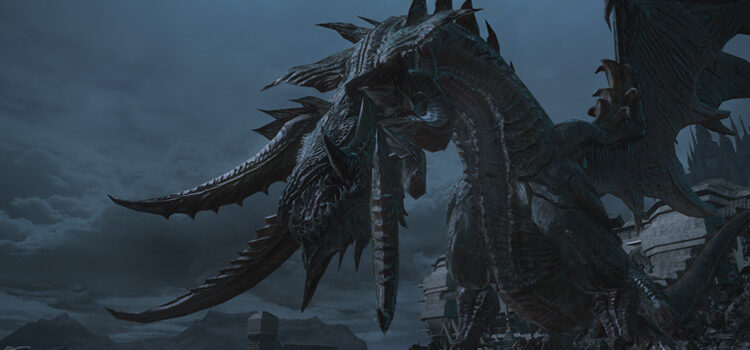 FFXIV Minstrel’s Ballad: Nidhogg’s Rage – Unlocking + Trial Guide
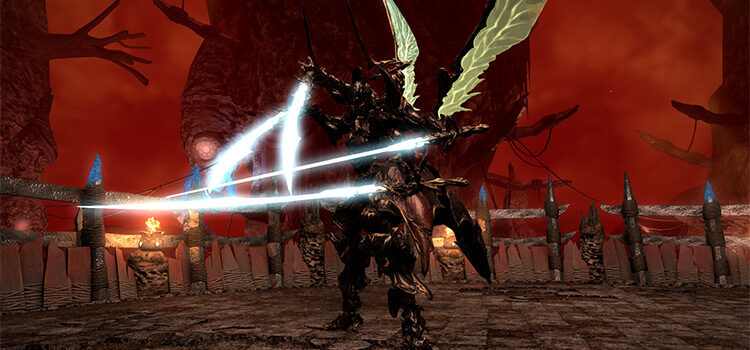 FFXIV Thok ast Thok (Extreme): How To Unlock + Trial Guide
 FFXIV Emanation (Extreme): How To Unlock + Trial Guide