
To unlock the Level 50 trial Thornmarch (Hard), also known as Moggle Mog HM, you need to accept the Level 50 Main Scenario Quest “You Have Selected Regicide” from E-Sumi-Yan in Old Gridania (X:6.0, Y:10.7).
We’ll go through the unlocking requirements in more in detail below, along with a full guide to the trial mechanics.
TABLE OF CONTENTS
Step-by-Step Unlock Guide
- Accept the Level 50 Main Scenario Quest (MSQ) “You Have Selected Regicide” from E-Sumi-Yan in Old Gridania (X:6.0, Y:10.7).
- Convince Kuplo Kopp to assist you with the keystones, starting from Old Gridania (X:14.9, Y:6.3).
- Attune yourself to the warded entrance at East Shroud (X:15.2, Y:20.8).
Detailed Unlocking Guide
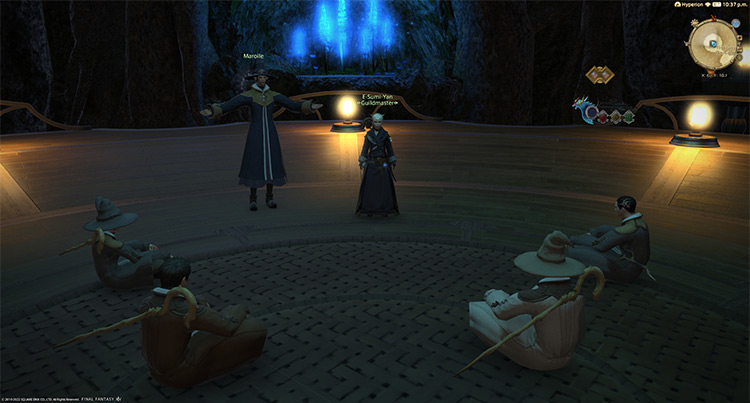
Begin unlocking the trial by accepting the Level 50 Main Scenario Quest (MSQ) “You Have Selected Regicide” from E-Sumi-Yan in Old Gridania (X:6.0, Y:10.7).
At this point in the main questline, a moogle named Kuplo Kopp has possession of the magical keystones needed to open a pathway toward the lair of the Good King Moggle Mog XII.
E-Sumi-Yan’s attempt to find other means of entering the lair has been unsuccessful. So you must convince the reluctant Kuplo Kopp to assist you.
From the Conjurer’s Guild Aetheryte, travel to the Lancers’ Guild Aetheryte and talk to Kuplo Kopp in Old Gridania (X:14.9, Y:6.3).
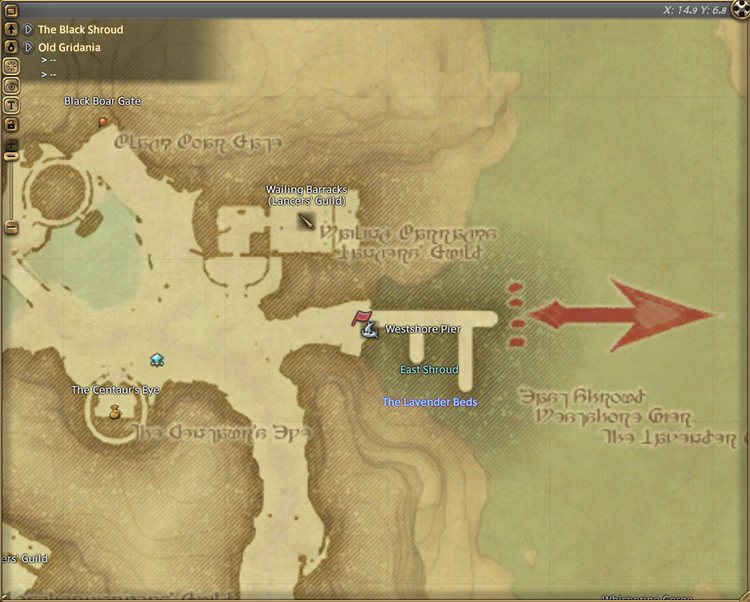
With no other way to go about the situation, Kuplo Kopp will reluctantly agree to help and ask you to accompany him in Sweetbloom Pier.
Talk to Romarique the Ferry Skipper to quickly travel to the pier.
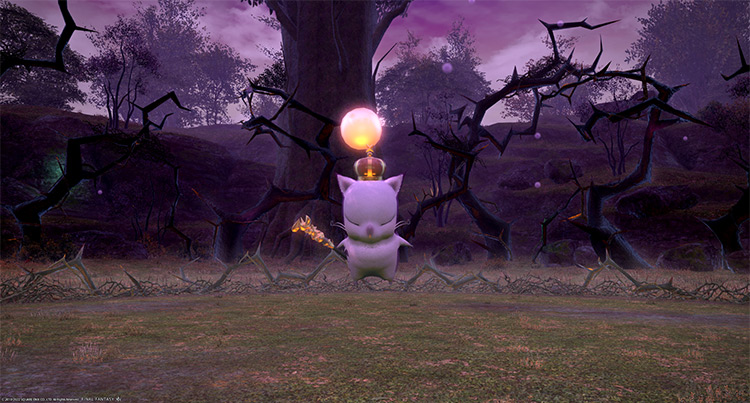
Upon getting to Sweetbloom Pier, Kuplo Kopp will be confronted by three of the King’s Mooglesguard. Fortunately, no trading of blows will occur, although the poor moogle will be shaken up a bit.
Starting from East Shroud (X:10.6, Y:22.7), you’ll escort Kuplo Kopp toward the entrance. Make sure you don’t run too far ahead, or Kuplo Kopp will go back to his starting position. You’ll also need to fight a few enemies along the way, so make sure Kuplo Kopp stays alive.
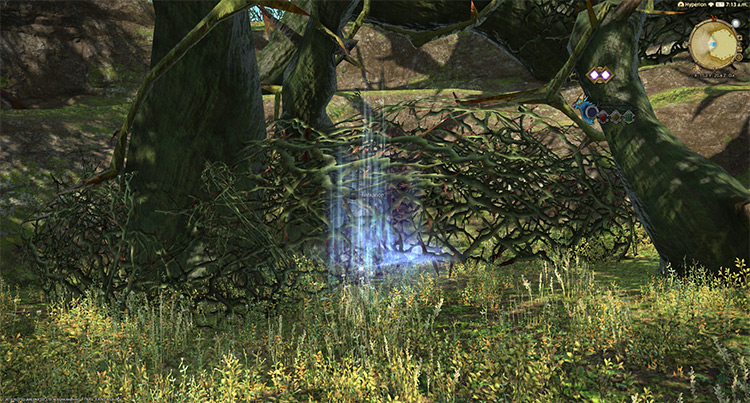
Eventually you’ll reach the entrance at East Shroud (X:15.2, Y:20.8).
Following a short cutscene after you attune to the entrance, Thornmarch (Hard) will be unlocked.
This trial requires at least a Level 50 Disciple of War or Magic job and an average item level of 54 to enter.
Trial Boss Mechanics: Good King Moggle Mog XII (Hard)
Due to the trial being released way back in patch 2.1, it’s very fast and easy to solo Thornmarch (Hard) when you enter the trial unsynced with a high-level character of any job.
However, you may encounter this trial whenever you queue for Duty Roulette: Trials, where you’ll need to do it while synced.
We’ll cover Moogle Mog XII’s mechanics here to help you clear the trial smoothly.
Phase 1: Moogle Minions
At the start of the fight, you won’t be able to fight the main boss yet.
Instead, you’ll have to deal with his royal guards that will come in four waves. Listed below are the waves of moogles and their corresponding mechanics.
- Wave 1: Whiskerwall Kupdi Koop
- Wave 2: Ruffletuft Kupta Kapa + Woolywart Kupqu Kogi
- Wave 3: Furryfoot Kupli Kipp + Puksi Piko the Shaggysong
- Wave 4: Pukna Pako the Tailturner + Pukla Puki the Pomburner
| Moogle Minion | Mechanics |
|---|---|
| Whiskerwall Kupdi Koop | Spinning Mogshield: A point-blank AoE attack that applies a stacking “Vulnerability Up” debuff. |
| Ruffletuft Kupta Kapa | 1000-kuponze Swipe: A room-wide frontal cone that applies a stacking “Vulnerability Up” debuff. |
| Woolywart Kupqu Kogi | Mograin of Death: The boss will target players with pink circle AoEs. Spread out to avoid overlapping damage. |
| Furryfoot Kupli Kipp | Pom Holy: A room-wide AoE attack. |
| Puksi Piko the Shaggysong | Moggleday Night Fever: A room-wide frontal cone that applies a 12-second “Rhythmetic Fever” debuff. This debuff causes affected players to do the moogle dance, making them unable to move or use any skills. |
| Pukna Pako the Tailturner | Moogle Thrust: The primary target will be marked with a red tankbuster marker. Move away from the others and use damage-reduction skills. |
| Pukla Puki the Pomburner | Pom Meteor: Summons four meteor circles that players need to stand on to mitigate incoming damage. If a meteor reaches the surface, it’ll deal room-wide AoE damage that applies a stacking “Vulnerability Up” debuff. |
Phase 2: Good King Moggle Mog XII + Good King’s Decree
Rotation:
Memento Moogle > Good King’s Decree > Pom Bog > Mog Stone IV > Mograin of Death > Pom Holy.
Starting from Phase 2, you’ll only be able to target the boss. However, his royal guards will continue to dish out attacks, repeating old attacks and adding new ones.
- Memento Moogle: A room-wide ultimate AoE attack. Mitigate and heal through the damage.
- Pom Bog: A point-blank AoE attack in the center of the arena that applies a stacking “Vulnerability Up” debuff and drops a “Toxicosis” DoT puddle.
- Good King’s Decree: The boss will summon the moogles you’ve defeated in Phase 1 to throw out attacks. Some of the attacks used earlier will also be used moving forward, so familiarize yourself with Phase 1 mechanics.
- Mog Stone IV: A player will be marked with a stack-up marker. Stack with the affected player inside the marker to reduce incoming damage.
- Mograin of Death: Immediately after “Mog Stone IV,” all players will be marked with pink AoE markers, similar to Phase 1. After stacking, spread out to avoid overlapping damage.
- Pom Holy: A room-wide AoE attack. Mitigate and heal through the damage.
Phase 3: Second Decree
Rotation:
Good King’s Decree > Moogle-Go-Round > Moggleday Night Fever > Twin Pom Meteor > Pom Holy.
- Moogle-Go-Round: The boss will summon three moogles that will drop massive AoEs one after the other. These AoEs all apply stacking “Vulnerability Up” debuffs. Move to the final AoE circle that appears, then wait for the first AoE to go off before moving into it.
- Moggleday Night Fever: Similar to the attack in Phase 1. Move behind or toward the moogle’s flanks to avoid dancing your legs off!
- Twin Pom Meteor: A tank will be marked with a red stack-up marker. Only the off-tank should stack for this marker.
Phase 4: Third Decree + Repeat
Rotation:
Good King’s Decree > Pom Meteor > Mog Comet > Pom Stone III > Mog Stone IV > Mog Creation > Pom Holy > 1000-kuponze Charge > Pom Holy x2 > Repeat from Phase 2’s Good King’s Decree.
After this Phase, the boss will restart his decrees and the mechanics will repeat from Phase 2.
- Mog Comet: Random players will be marked with circle AoEs that drop three times in a row. Drop these AoEs on the outer edges of the arena to give your party move room to deal with incoming “Pom Meteors.”
- Pom Stone III: Three sets of AoEs will cover the entire arena and explode in set intervals. Stand in the AoE that appeared last, then move into the safe zones once the first set of AoEs go off.
- Mog Creation: A heavy-hitting line attack that applies a stacking “Vulnerability Up” debuff.
- 1000-kuponze Charge: A single-target tankbuster on the primary target. Use damage-reduction skills and heal through the damage.
Rewards
- Good King Moggle Mog XII Triple Triad Card (not guaranteed)
- Moggle Mog XII’s Whisker Crafting Material (not guaranteed)
| Name | Type | Quality |
|---|---|---|
| Majestic Mogtome | Book | Blue (Primal Gear) |
| Munificent Mogtome | Book | Blue (Primal Gear) |
| Mischievous Mogbow | Bow | Blue (Primal Gear) |
| Mighty Mogrod | Cane | Blue (Primal Gear) |
| Mortal Mogknives | Daggers | Blue (Primal Gear) |
| Menacing Mog Gun | Firearms | Blue (Primal Gear) |
| Murderous Mogfists | Fist Weapon | Blue (Primal Gear) |
| Malignant Mogaxe | Greataxe | Blue (Primal Gear) |
| Monstrous Mogsword | Greatsword | Blue (Primal Gear) |
| Maliferous Mogtana | Katana | Blue (Primal Gear) |
| Melancholy Mogfork | Polearm | Blue (Primal Gear) |
| Manipulative Mogfoil | Rapier | Blue (Primal Gear) |
| Maleficent Mogstaff | Staff | Blue (Primal Gear) |
| Moonlit Moglobe | Star Globe | Blue (Primal Gear) |
| Morbid Mogblade | Sword | Blue (Primal Gear) |
| Mogpon Coffer (IL 75) | Other | Basic |
-
Final Fantasy XIV
- FFXIV Thornmarch (Hard): How To Unlock + Trial Guide
Related Posts:
 FFXIV Thornmarch (Extreme): How To Unlock + Trial Guide
 FFXIV The Minstrel’s Ballad: Thordan’s Reign – Unlock + Trial Guide
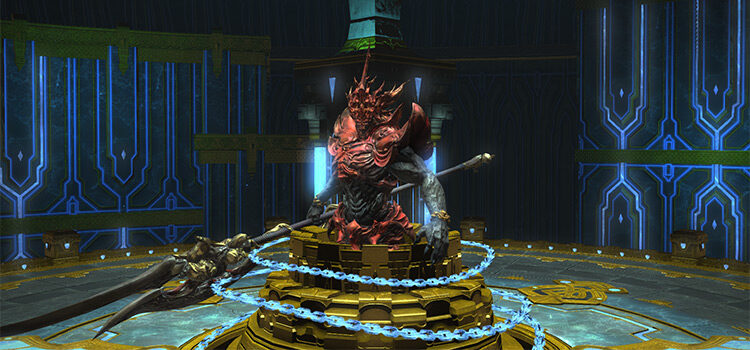 Zurvan EX Unlock & Trial Guide – FFXIV Containment Bay Z1T9 (Extreme)
 FFXIV Emanation (Extreme): How To Unlock + Trial Guide
 The Akh Afah Amphitheatre (Extreme): Unlock + Trial Guide (FFXIV)
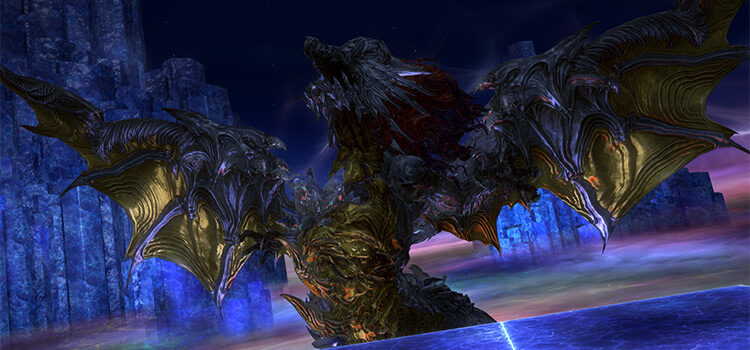 FFXIV The Minstrel’s Ballad: Shinryu’s Domain – Unlock + Trial Guide
 FFXIV Thok ast Thok (Extreme): How To Unlock + Trial Guide
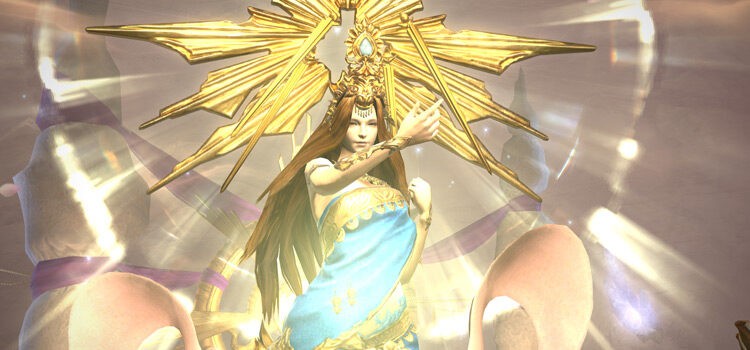
 Sophia EX Unlock & Trial Guide – FFXIV Containment Bay P1T6 (Extreme)