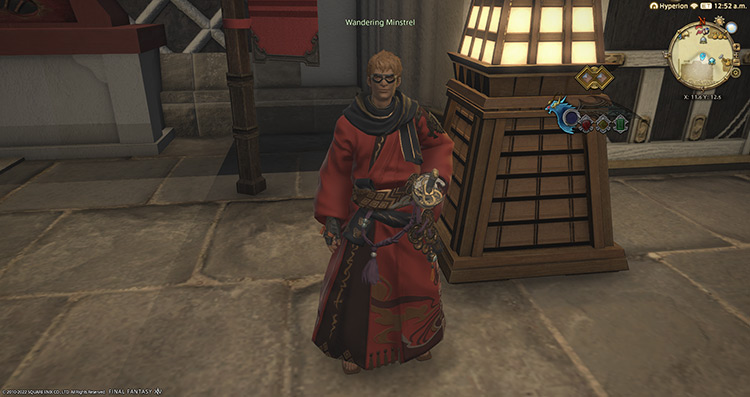
To unlock The Wreath of Snakes (Extreme) trial, also known as Seiryu EX, select the option “Talk about Seiryu” while speaking to The Wandering Minstrel in Kugane (X:11.6, Y:12.5). Although you’ll need to complete some prerequisite quests from patches 4.2 to 4.5 of the Stormblood expansion before this option becomes available.
Let’s go into more detail about all of this below:
Quick Step-by-Step Unlock Guide
- Complete the Main Scenario Quest (MSQ) “Hope on the Waves” from Yugiri in Kugane (X:11.2, Y:9.6).
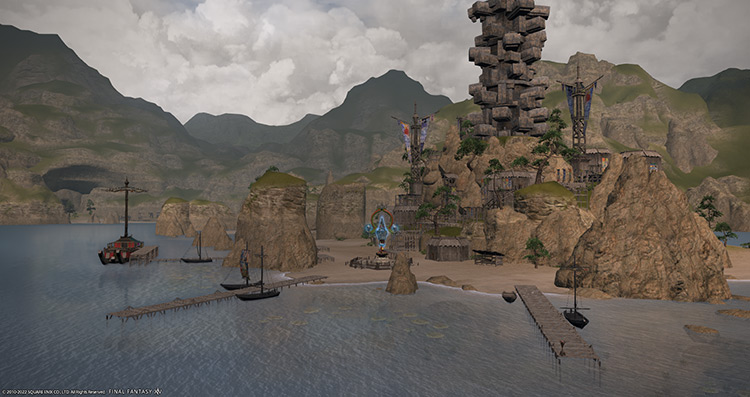
- Finish the story mode of The Four Lords Questline, starting with “An Auspicious Encounter” from Soroban in The Ruby Sea (X: 5.7, Y:15.7).
- Speak with The Wandering Minstrel in Kugane (X:11.6, Y:12.5) and select the option “Talk about Seiryu.”
Detailed Unlock Guide
The Wandering Minstrel will only have the option “Talk about Seiryu” after you’ve completed the story mode of The Wreath of Snakes. To unlock the story mode, you’ll need to complete the Main Scenario Quest (MSQ) “Hope on the Waves” from Yugiri in Kugane (X:11.2, Y:9.6).
Since this quest is part of the patch 4.2 Main Scenario Questline, you’ll need to complete every MSQ leading up to “Hope on the Waves,” including MSQs from previous expansions.
Once this quest is available, clear the solo instanced dungeon in under 30 minutes to complete it.
After completing “Hope on the Waves,” you’ll unlock The Four Lords Questline, where you’ll be able to unlock The Wreath of Snakes’ normal mode. Start the quest line by accepting the quest “An Auspicious Encounter” from Soroban in The Ruby Sea (X: 5.7, Y:15.7).
The Four Lords Questline follows the journey of the Kojin Soroban and his quest to discover a mythical treasure in The Ruby Sea. Here’s the order of quests you’ll need to do, along with the dungeons and trials you need to clear:
- “An Auspicious Encounter” – Defeat Genbu in the dungeon Hells’ Lid and Byakko in the trial The Jade Stoa. Both encounters require a level 70 Disciple of War or Magic job to enter. Hells’ Lid requires an average item level of 310, while The Jade Stoa requires 325.
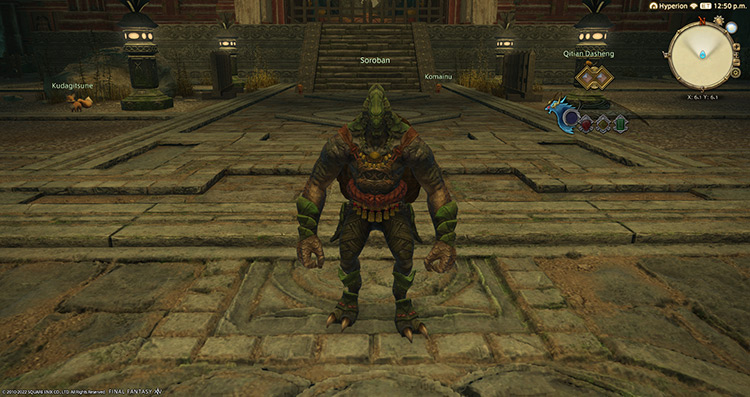
- “Tortoise in Time” – Defeat Qitian Dasheng in the dungeon The Swallow’s Compass. This dungeon requires an average item level of 330 and a level 70 Disciple of War or Magic job to enter.
- “The Fire-bird Down Below” – Defeat Suzaku in the trial Hells’ Kier. You’ll need at least an average item level of 355 and a level 70 Disciple of War or Magic job to enter.
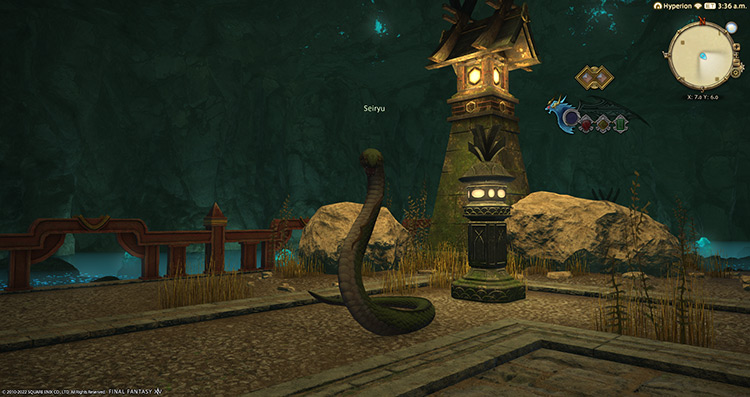
- “Surpassing the Samurai” – Defeat Seiryu in The Wreath of Snakes trial. To enter, you’ll need at least an average item level of 365 and a level 70 Disciple of War or Magic job.
After defeating Seiryu in The Wreath of Snakes and completing “Surpassing the Samurai,” you’ll notice that Genbu will have another quest available called “The Fifth Lord.”
This quest ties up all the knots in The Four Lords Questline, but it’s not required to unlock The Wreath of Snakes (Extreme).
If you talk to the Wandering Minstrel in Kugane without completing “The Fifth Lord,” you’ll still be able to unlock Seiryu EX.
Either way, speak with The Wandering Minstrel in Kugane (X:11.6, Y:12.5) once you’re ready and select “Talk about Seiryu.”
After a short cutscene where The Wandering Minstrel sings praises of your achievement in quelling Seiryu’s raging Aramitama, The Wreath of Snakes (Extreme) will be unlocked.
This trial requires an average item level of at least 380 and a level 70 Disciple of War or Magic job to enter.
While this trial is considered one of the easier and less punishing extreme trials in the game, there are still a ton of mechanics that you’ll need to learn about.
Let’s go through each mechanic below:
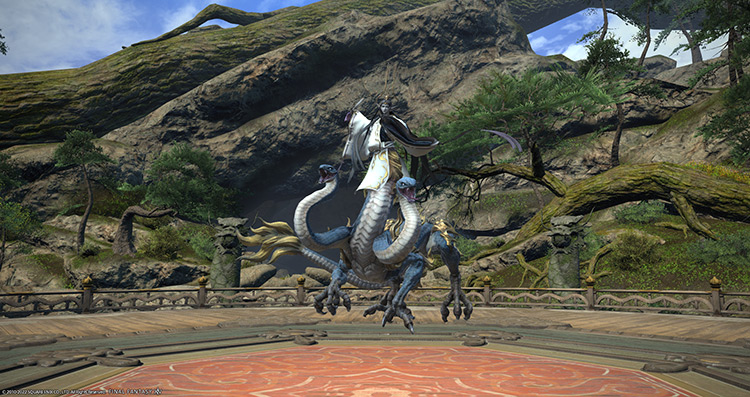
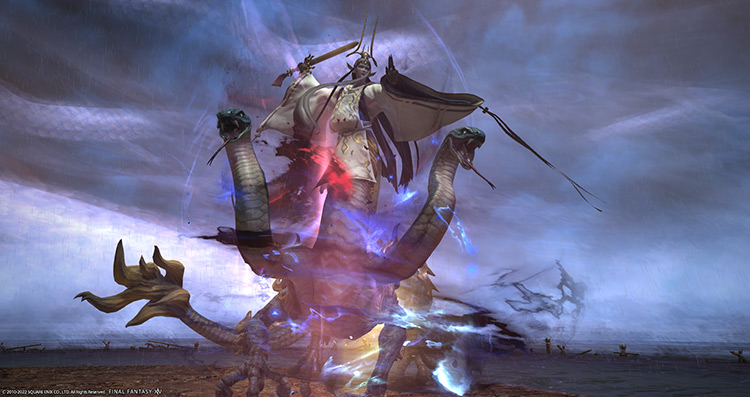
Trial Boss: Seiryu (Extreme)
Since The Wreath of Snakes (Extreme) was released way back in patch 4.5, the community has found ways to solo-clear this trial, but it’s not recommended.
You can only clear this trial on your own if you enter it unsynced with a level 90 or above tank character.
You’ll also need to fail the encounter a few times to get a 200% “Echo” buff and have precise skill uptime throughout the fight. Due to the difficulty of soloing the trial, doing it unsynced with extra party members to make your runs smoother.
If you’re up for a challenge, you can always do the fight as intended while synced.
Here’s a detailed guide about each of Seiryu’s mechanics to help you on your way.
Phase 1: Onmyo Sigils and Cursekeeper
Rotation:
Fifth Element > Serpent Descending > Kuji-Kiri > Onmyo Circles (Inner) > Cursekeeper + Infirm Soul.
Phase 1 will introduce mechanics the boss will use during most of the fight. Faster and more difficult versions of these mechanics will appear in later phases. Use this phase to familiarize yourself with them.
- Fifth Element: A group-wide AoE attack. Mitigate and heal through the damage.
- Serpent Descending: Four players will be targeted with large circle AoE markers that apply “Water Resistance II” debuffs for three seconds. Spread these markers out to avoid overlapping damage.
- Kuji-Kiri: Before the “Serpent Descending” AoEs explode, the boss will throw out crisscross column attacks throughout the arena. These column attacks also apply a stacking “Vulnerability Up” debuff upon hit. If you’re marked with “Serpent Descending” AoEs, make sure you’re not sharing the same safe zones as another targeted player, or you will both die.
- Onmyo Sigils (Inner and Outer): The boss will jump to the player farthest from him and summon “Onmyo Sigils” that inflict stacking “Vulnerability Up” debuffs. These sigils can show up as a point-blank Yin & Yang marker and a Dragon-themed donut marker around the boss, indicating the order of the AoEs he’ll use. These AoEs can happen one after another, so remember which marker appeared first to dodge accordingly. For Phase 1, the boss will only use the inner sigil.
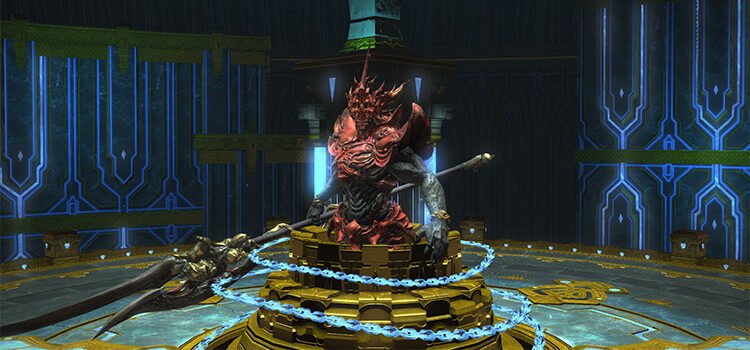
- Cursekeeper + Infirm Soul: A “Cursekeeper” debuff will be placed on the primary target that absorbs incoming damage for a few seconds. Once the debuff falls off, the total damage it absorbed will be dealt to the target in a point-blank AoE blast called “Karmic Curse.” Immediately after the debuff cast goes off, the boss will use “Infirm Soul,” a heavy-hitting tankbuster. Getting hit by “Infirm Soul” while having the “Cursekeeper” debuff can kill the primary tank easily if not handled correctly.
To survive this mechanic, the off-tank should perform a tank swap using “Provoke” as soon as the boss casts “Cursekeeper” so the main tank doesn’t get the debuff. If the main tank is well-geared, they can also try using multiple mitigation skills to tank both attacks instead of performing a tank swap.
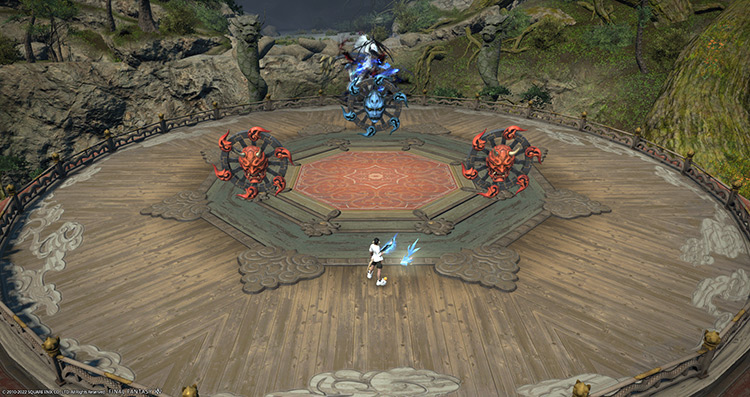
Phase 2: Summon Shiki
Rotation:
Summon Shiki > Red Rush (Aka-no shiki) + Blue Bolt (Ao-no shiki) > 100-tonze swing (Iwa-no shiki) > Yama-kagura (Ten-no shiki) + Kanabo (Iwa-no shiki) > Doro-no shiki + Numa-no shiki > Strength of Spirit.
The boss will summon six different types of shiki mobs in Phase 2. Each type will have its own set of mechanics that we’ll go through in detail below:
- Summon Shiki: This cast indicates the start of Phase 2.
- Red Rush (Aka-no shiki): Two small red fan mobs will tether to two DPS players. Afterward, the fans will roll toward their targets using “Red Rush,” knocking them back and anyone else in their way. The tethered players should bait the “Red Rush” attacks away from the center to avoid unnecessary knockbacks.
- Blue Bolt (Ao-no shiki): A large blue fan mob will tether to a healer and use “Blue Bolt,” placing a stacking proximity marker on them. This mob will appear along with “Aka-no shiki” mobs. To handle this mechanic, players unaffected by the “Red Rush” tethers should stack with the marked player in the center of the arena. Mitigate and heal through the damage.
- 100-tonze swing (Iwa-no shiki): Two large lava monsters will appear behind the “Aka-no” and “Ao-no” shikis. As the proximity marker and tethers explode, each “Iwa-no shiki” will jump to one side of the arena. Then, they’ll cast “100-tonze swing,” hitting anyone knocked into their point-blank AoEs with moderate damage. If you’re tethered to “Red Rush” attacks, make sure you get knocked away from these AoEs or use knockback immunity skills.
- Yama-kagura (Ten-no shiki): Immediately after “100-tonze swing,” four large column AoEs will run across the room, knocking back anyone that gets hit. Have the group move to the safe space near the center of the arena.
- Kanabo (Iwa-no shiki): After the “Yama-kagura” column attacks appear on the ground, the “Iwa-no” shikis will tether to two random players. After a short while, they’ll use a non-telegraphed frontal cone AoE on their tethered targets. Both tanks should grab the tethers from the affected players and bait the AoEs away from the party (similar to “Red Rush).
- Doro-no shiki + Numa-no shiki: The boss will summon multiple head shikis after the tethers and AoEs have disappeared. The boss’ duty gauge will also appear and continue to increase until the head shikis are destroyed. If there are shikis still alive after the duty gauge reaches 100, your party will wipe.
The tanks should round up these heads in the middle of the arena so the party can burst them down. Stagger your kills between each set of shikis as they explode upon death, dealing room-wide “Explosion” AoE damage. Give your healers enough time to top everyone’s HP off between each kill. - Stoneskin (Numa-no shiki): The bigger “Numa-no shiki” head can cast “Stoneskin” to create an HP barrier that must be burned through. Letting this cast go off will make it harder for the party to kill the shikis in time. Tanks should use “Interject” on the two “Numa-no shiki” mobs that spawn to interrupt the “Stoneskin” cast.
- Strength of Spirit: A room-wide AoE attack based on the boss’ duty gauge after the shikis are killed. The party will wipe if the boss uses this attack with a duty gauge of 100.
These mechanics will happen quickly, and the phase can get hectic. Here’s a recap of what you should do to handle these mechanics:
- Drag “Red Rush” tethers away from the center while the rest of the party stack with the healer for “Blue Bolt.”
- Mitigate and heal through “Blue Bolt” while staying in the center.
- Dodge “100-tonze swing” if you’re knocked back by “Red Rush” into the AoEs, then run to the center.
- Avoid the “Yama-kagura” column attacks.
- Have the tanks pick up and bait the “Kanabo” tethers away from the center.
- Gather the “Doro-no shiki” and “Numa-no shiki” in the center and burst them down. Remember to stagger your kills and have the tanks use “Interject” to interrupt “Stoneskin” casts.
- Mitigate and heal through “Strength of Spirit.”
Phase 3: Blue Orochi + Yama-no shiki
Rotation:
Coursing River (Blue Orochi) > Summon Shiki > Handprint (Yama-no shiki) > Fifth Element > Handprint (Yama-no shiki) x2 > Force of Nature (Yama-no shiki) + Coursing River (Blue Orochi) > Forbidden Arts.
After the boss uses “Strength of Spirit,” all players will be knocked back into the water as a new arena forms. Anyone in the water will constantly have a “Vulnerability Up” debuff on them. As this happens, a ring of “White Water” will slowly close in toward the arena. There will also be several patches of “White Water” that should be avoided.
Anyone that touches these will be hit with “Great Typhoon,” knocking them up and inflicting a “Drowning” debuff that will stun them for two seconds. Everyone must swim back to the newly formed arena while avoiding the ring and patches of “White Water.”
There will be more knockback attacks from Phase 3 onward, so be careful not to get pushed into the water.
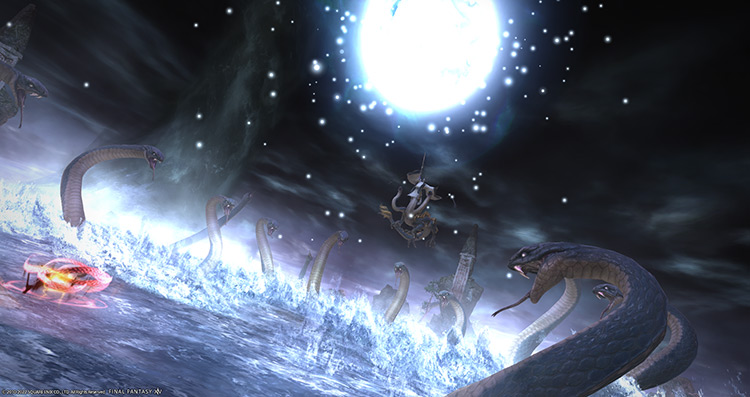
- Coursing River (Blue Orochi): As soon as you reach the shore, look for a large wave of snakes coming from the east or west. This wave of snakes will sweep through the arena, dragging players along with them to the other side. Run toward the direction the snakes will come from to avoid getting swept out of the arena.
- Summon Shiki: The boss will summon a large “Yama-no shiki” toward the north. This shiki will use both telegraphed and non-telegraphed attacks, so watch its movements.
- Handprint (Yama-no shiki): “Yama-no shiki” will raise one of its hands, indicating which half of the arena will be hit. Then, it’ll slam its hand down, inflicting “Blunt Resistance Down” debuffs to anyone it hits. Getting hit by another “Handprint” while having this debuff can easily result in death. Always check which hand is about to slam the arena.
- Force of Nature (Yama-no shiki): “Yama-no shiki” will punch the middle of the arena, knocking players away from the center. This mechanic will have an orange telegraph in the middle that you must avoid, or you will instantly die. While this mechanic is happening, “Blue Orochi” mobs will use “Coursing River” again. Make sure that “Force of Nature” knocks you toward the direction where “Coursing River” will come from so you don’t get swept off the arena.
- Forbidden Arts: The boss will target both healers with a line AoE stack-up marker. Stack up with each healer to soak up incoming damage.
Here’s a quick summary of what you need to do in Phase 3:
- Swim toward the newly formed arena while dodging “White Water.”
- Run toward the direction where “Coursing River” will come from.
- Look for “Yama-no shiki” and avoid “Handprint.”
- Mitigate and heal through “Fifth Element.”
- Dodge two more “Handprint” attacks.
- Get pushed into “Coursing River” using the “Force of Nature” knockback.
- Stack with the healers for “Forbidden Arts.”
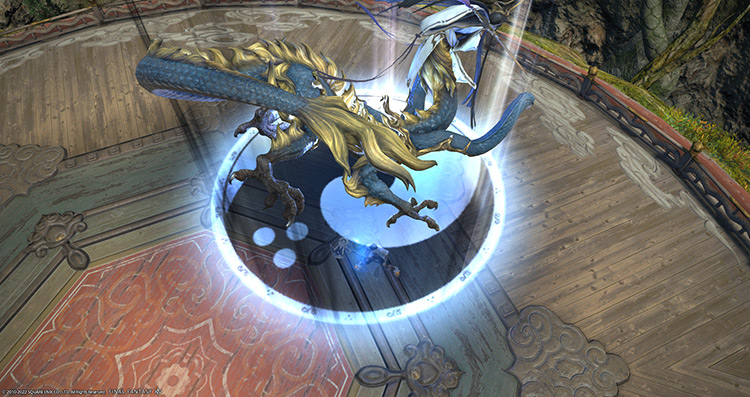
Phase 4: Blazing Aramitama
Rotation:
Blazing Aramitama > Onmyo Sigils (Inner and Outer) > Kuji-Kiri > Onmyo Sigils (Inner and Outer) > Fifth Element > Serpent Ascending + Serpent’s Fang > Forbidden Arts > Fifth Element > Cursekeeper + Infirm Soul x2 > Fifth Element.
During Phase 4, most of the boss’ mechanics from previous phases need to be handled differently due to the “Blazing Aramitama” buff. Let’s go through the changes below:
- Blazing Aramitama: The boss will jump to the northern edge of the arena and buff himself. This buff indicates a change in how to handle certain mechanics from previous phases.
- Onmyo Sigils (with Blazing Aramitama): After jumping to the player farthest from him, the boss will use both sigils, one after another. Remember which sigil appeared first, and dodge accordingly.
- Kuji-Kiri (with Blazing Aramitama): The crisscross AoE patterns from Phase 1 will now cover the entire arena. Similar to the sigils, determine which set appeared first to dodge them properly.
- Serpent Ascending: Four players will be targeted for “Serpent Ascending,” dropping AoEs underneath them and marking them with another AoE marker, similar to “Serpent Descending” from Phase 1. Each targeted player will be inflicted with “Water Resistance II” debuffs. Bait the initial AoEs in the middle of the arena, then spread out the next set of markers to avoid overlapping damage.
- Serpent’s Fang: During “Serpent Ascending,” four black AoE puddles will appear in the cardinal directions of the arena. These puddles will explode after some time, dealing room-wide AoE damage and inflicting stacking “Damage Down” debuffs to the party. Each puddle needs at least one player standing on it to mitigate incoming damage and prevent the debuff.
To handle this and “Serpent Ascending,” assign a cardinal direction to a pair of DPS/Tank or DPS/Healer. This guarantees at least one player from each pair to be unaffected by “Serpent Ascending.” - Forbidden Arts (with Blazing Aramitama): This mechanic will now inflict “Magic Vulnerability Up” debuffs on the stacking players. Due to this, players can’t stack on both markers anymore. Have one healer and three designated players stack in front of the boss, while the other four stack behind the boss.
To recap, here’s what you need to do in Phase 4:
- Dodge two sets of “Onmyo Sigils” and one “Kuji-Kiri.”
- Heal through “Fifth Element.”
- Have four players stand on “Serpent’s Fang” puddles while spreading out “Serpent Ascending” AoEs.
- Stack and heal through “Forbidden Arts.” Make sure each stack-up marker is spread out between different sets of players to avoid instant death.
- Heal through another “Fifth Element.”
- Perform tank swaps for two sets of “Cursekeeper + Infirm Soul” combos.
- Heal through a third “Fifth Element” to finish off the phase.
Phase 5: Summon Shiki with different patterns
Rotation:
Summon Shiki > 100-tonze swing (Iwa-no shiki) + Onmyo Sigils (Inner and Outer) > Kanabo (Iwa-no shiki) > Red Rush (Aka-no shiki) + Blue Bolt (Ao-no shiki) > Serpent Descending + Kuji-Kiri > Handprint (Yama-no shiki) > Fifth Element > Handprint (Yama-no shiki) x2 > Force of Nature (Yama-no shiki) + Coursing River (Blue Orochi) > Onmyo Sigils (Inner and Outer).
At this point, you’ve already seen and learned everything you need to know about the fight. Here’s the order for the last set of the mechanics you’ll encounter:
- Dodge both sigil attacks while avoiding “100-tonze swing.”
- Have the tanks pick up and bait the “Kanabo” tethers away from the party.
- Drag “Red Rush” tethers away from the center while the rest of the party stack with the healer for “Blue Bolt.”
- Spread out “Serpent Descending” AoEs while avoiding both “Kuji-Kiri” attacks.
- Dodge three “Handprints” while healing through a “Fifth Element” attack.
- Get pushed into “Coursing River” using the “Force of Nature” knockback.
- Dodge another set of sigils.
After Phase 5, the boss’ rotations will repeat, starting with Phase 3’s first “Handprint (Yama-no shiki).
Seiryu EX Rewards

Seiryu Totems can be traded for weapon loot (10 fragments) or the Hallowed Kamuy Fife (99 fragments) with Eschina in Rhalgr’s Reach (X:13.8 Y:11.8).
- 25 Allagan Tomestones of Poetics
- Seiryu Triple Triad Card (not guaranteed)
- Seiryu Totem (1 per clear)
| Name | Type | Rarity |
|---|---|---|
| Seiryu’s Grimoire | Book | Blue (Primal Gear) |
| Seiryu’s Codex | Book | Blue (Primal Gear) |
| Seiryu’s Greatbow | Bow | Blue (Primal Gear) |
| Seiryu’s Cane | Cane | Blue (Primal Gear) |
| Seiryu’s Daggers | Daggers | Blue (Primal Gear) |
| Seiryu’s Revolver | Firearms | Blue (Primal Gear) |
| Seiryu’s Bladed Tekko | Fist Weapon | Blue (Primal Gear) |
| Seiryu’s War Axe | Greataxe | Blue (Primal Gear) |
| Seiryu’s Spine | Greatsword | Blue (Primal Gear) |
| Seiryu’s Rippled Katana | Katana | Blue (Primal Gear) |
| Seiryu’s Lance | Polearm | Blue (Primal Gear) |
| Seiryu’s Rapier | Rapier | Blue (Primal Gear) |
| Seiryu’s Shield | Shield | Blue (Primal Gear) |
| Seiryu’s Rod | Staff | Blue (Primal Gear) |
| Seiryu’s Ephemeris | Star Globe | Blue (Primal Gear) |
| Seiryu’s Longsword | Sword | Blue (Primal Gear) |
| Seiryu’s Scale | Crafting material | Basic |
| Faded Copy of From the Dragon’s Wake | Orchestrion Roll | Basic |
| Seiryu Weapon Coffer | Other | Basic |
| Hallowed Kamuy Fife | Other | Basic |
-
Final Fantasy XIV
- FFXIV Wreath of Snakes (Extreme): How To Unlock + Trial Guide
Related Posts:
 FFXIV The Wreath of Snakes (Normal): Unlock + Trial Guide
 Zurvan EX Unlock & Trial Guide – FFXIV Containment Bay Z1T9 (Extreme)
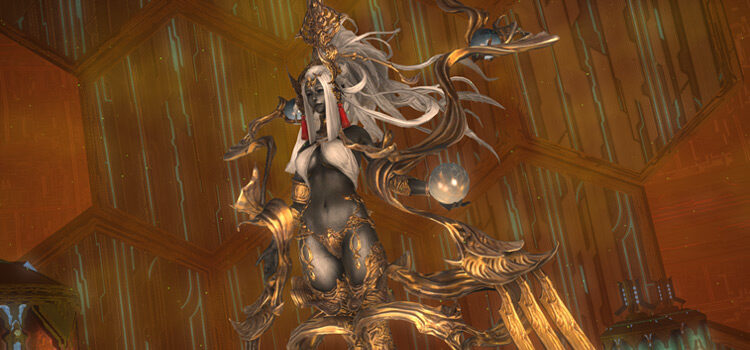 Sophia EX Unlock & Trial Guide – FFXIV Containment Bay P1T6 (Extreme)
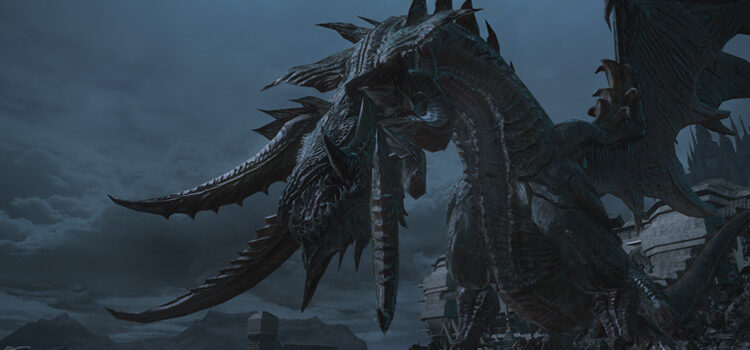 FFXIV Minstrel’s Ballad: Nidhogg’s Rage – Unlocking + Trial Guide
 FFXIV Emanation (Extreme): How To Unlock + Trial Guide
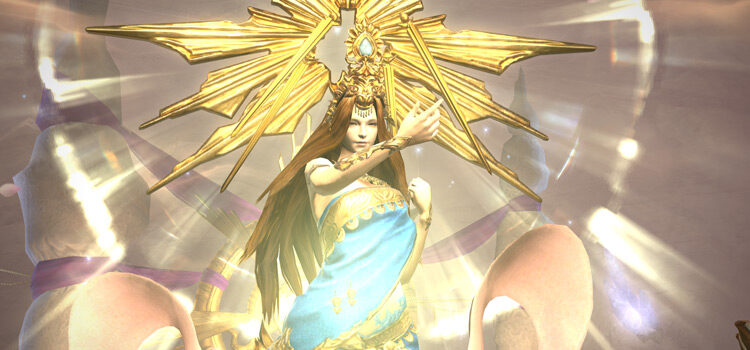
 The Akh Afah Amphitheatre (Extreme): Unlock + Trial Guide (FFXIV)
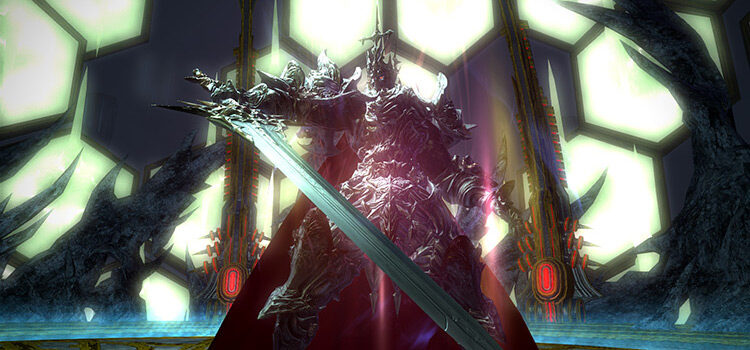 FFXIV The Minstrel’s Ballad: Thordan’s Reign – Unlock + Trial Guide
 FFXIV Hells’ Kier (Extreme): How To Unlock + Trial Guide