The Ruby is a key item that you can get by talking to Celio in the One Island Net Center after you beat the Elite Four and obtain the National Pokédex. Celio will then ask you to find the Ruby, which will be at the bottom of the Mt. Ember cave.
Once you’ve beaten the game for the first time, the Ruby will be at the bottom of the Mt. Ember cave. You’ll just need the Strength HM to reach it.
After giving Celio the Ruby in the Net Center, he will upgrade the Tri Pass to a Rainbow Pass, allowing you to travel to islands Four, Five, Six, and Seven in the Sevii Islands.
Prerequisites
The Ruby mission is sort of a late game mission, so there are a couple of things you need to do before you can find it.
You’ve probably done them already, but here’s all the prereqs you’ll need to complete:
- Beat the Elite Four
- Get the National Pokédex
- Have Pokémon that can use Surf and Strength
The most important prerequisites are being able to use those HMs, so make sure you have a Pokémon in your party that knows them.
Getting the Ruby
If you’ve already talked to Celio and have the mission to pick up the Ruby, you can skip down to the Kindle Road section further in this guide.
Otherwise, I’ll explain how to get the Ruby from the very beginning.
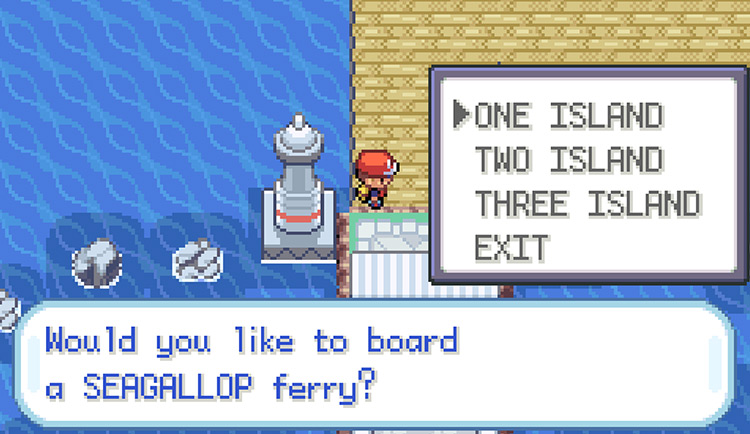
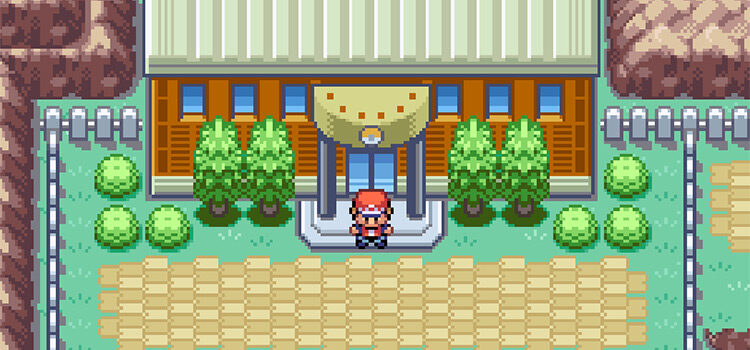
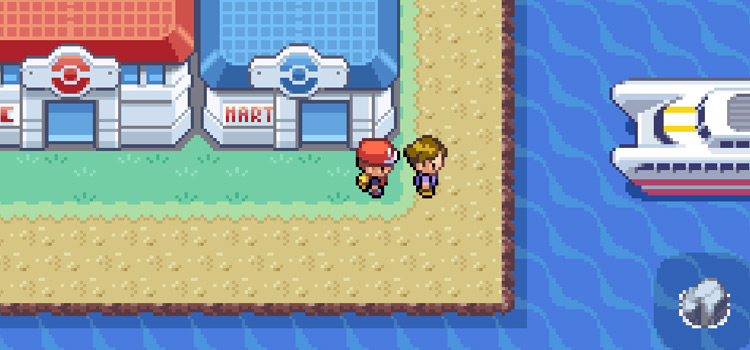
The first step is to head to One Island by taking the Seagallop Ferry at the Vermilion City docks (where the S.S. Anne used to be).
Once you’re on One Island, head to the Net Center / Pokémon Center, which is located on the north side of the island.
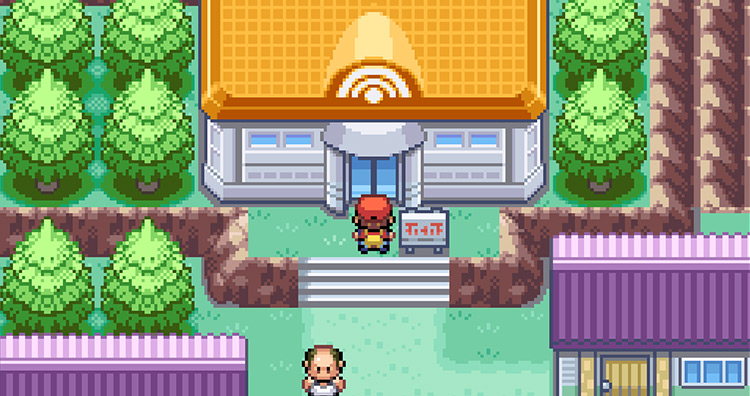
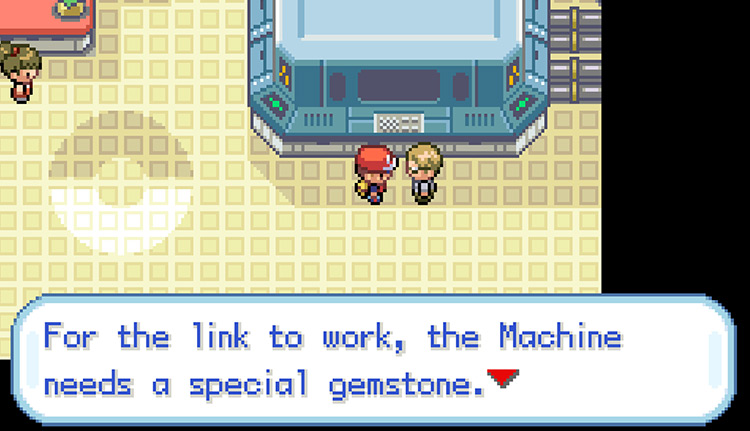
Inside, find Celio standing in front of the large networking machine and talk to him.
If you have the National Dex then Celio will ask you to find the Ruby for him.
After talking to Celio, walk to the east side of One Island, and sail northeast from the shore to reach Kindle Road.
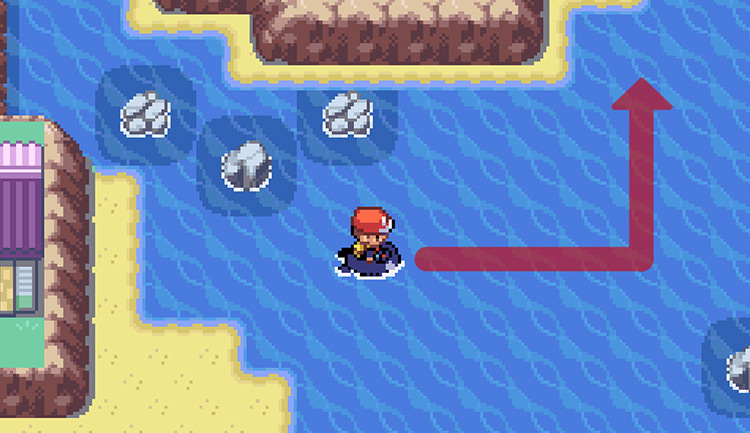
Kindle Road
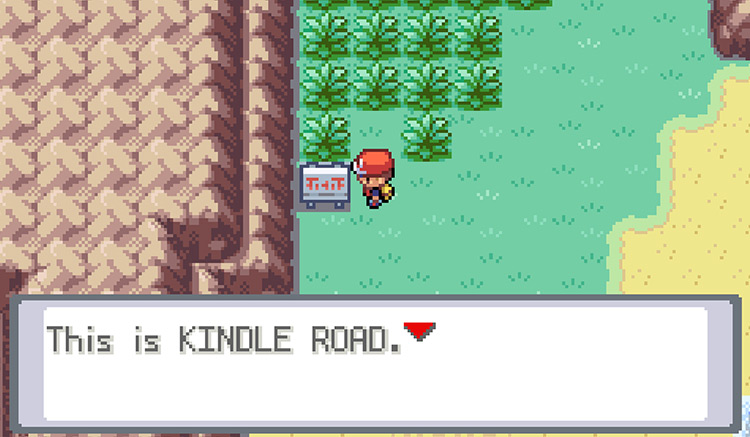
Once you’re on Kindle Road, just walk north until you reach the end of the island. There are trainers and wild Pokémon here that you can battle, but just keep walking north until you reach the northern coast.
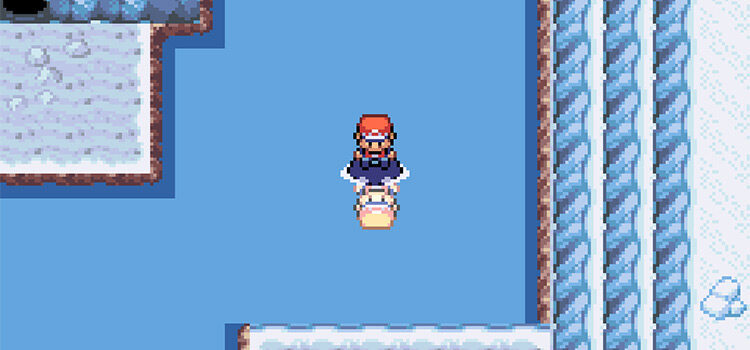
From that coast, use Surf and sail north even more.
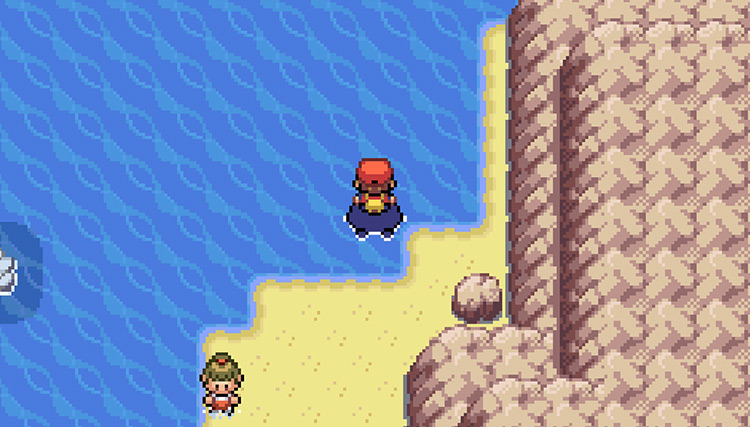
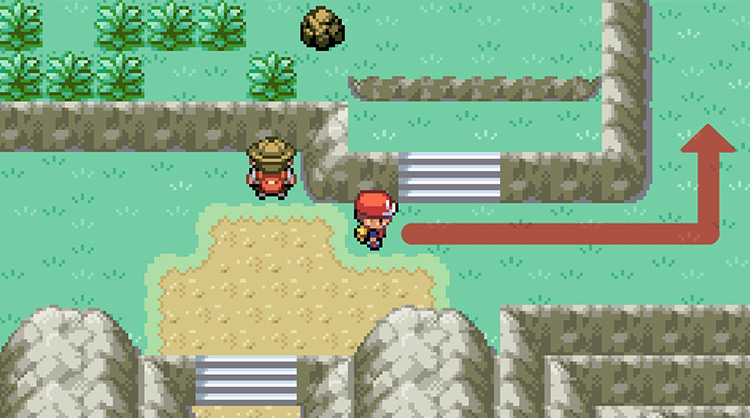
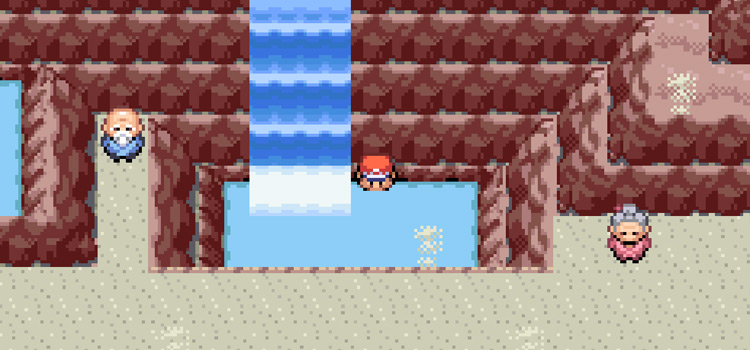
Continue sailing north until you reach another island. This will be the base of Mt. Ember, and there will be a large staircase going up to Mt. Ember.
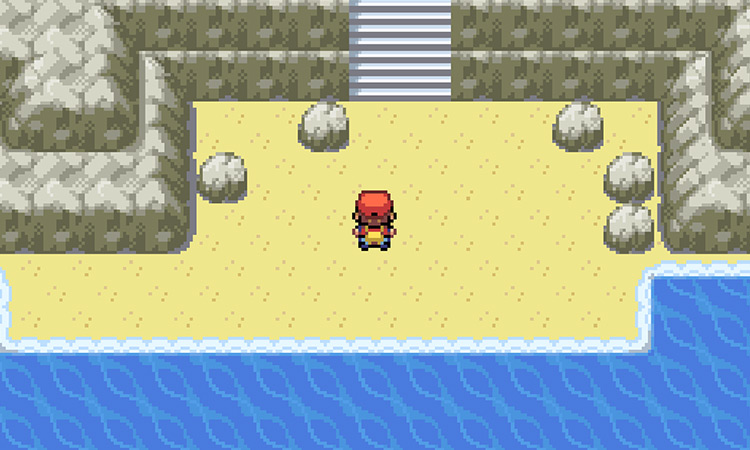
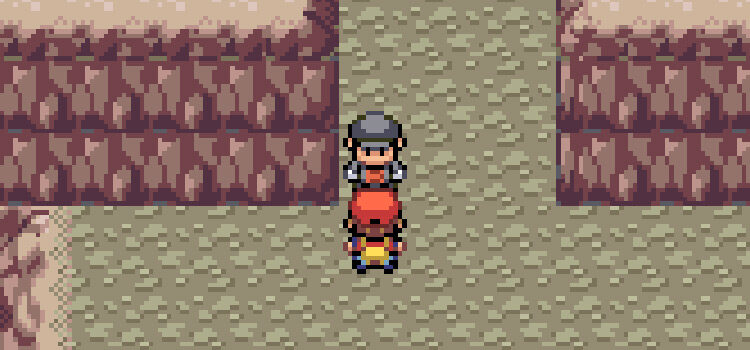
Take the staircase up to Mt. Ember, then take a right as soon as you enter.
A “cutscene” will play and you will listen in on a conversation between two Team Rocket Grunts.
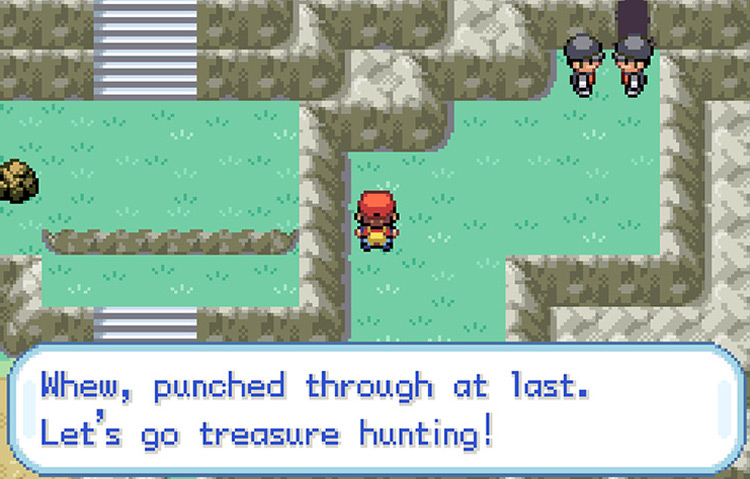
Once the Grunts are done talking, walk up to each of them and talk to them to start a battle.
Defeat both Grunts in battle so that they will leave and clear the entryway.
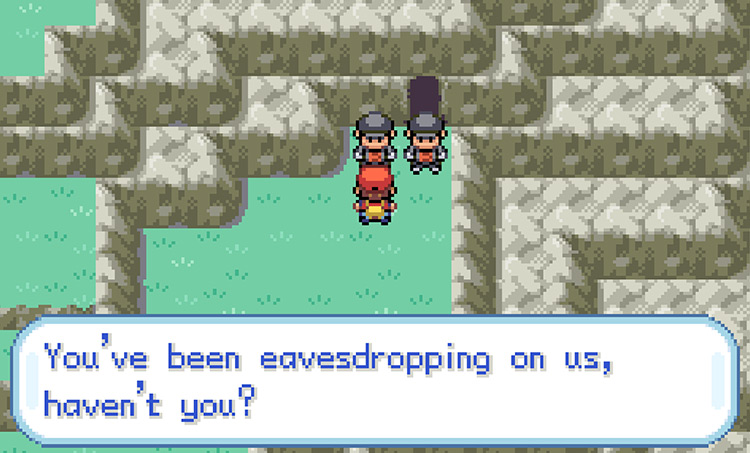
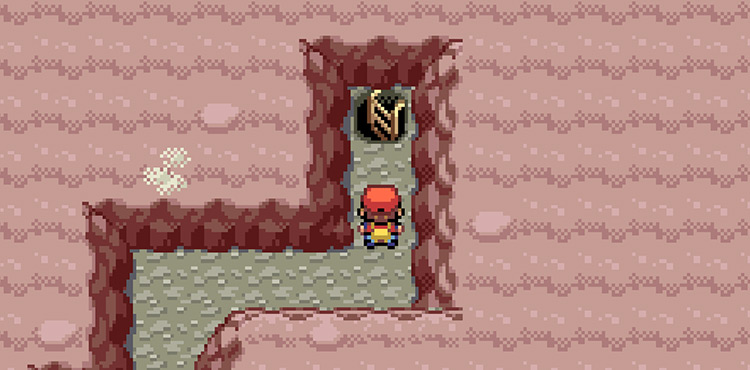
Once they’re out of the way, enter the cave.
The Ruby is located at the very end of this cave, but you will need to solve some puzzles with Strength to reach it. We’ll cover this whole process step-by-step below.
Mt. Ember Cave Strength Puzzle Guide
Step 1: As soon as you enter the cave, just follow the first floor’s path. It is completely linear, so follow it until the end and then take the ladder going down.
Step 2: The 2nd floor is similar to the first. It’s just a linear path, so follow it all the way to the end, where there will be another ladder going down.
Take that ladder down to the third basement floor.
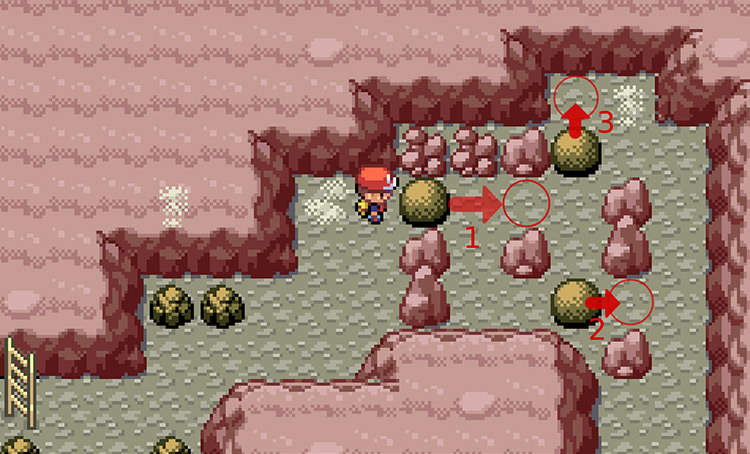
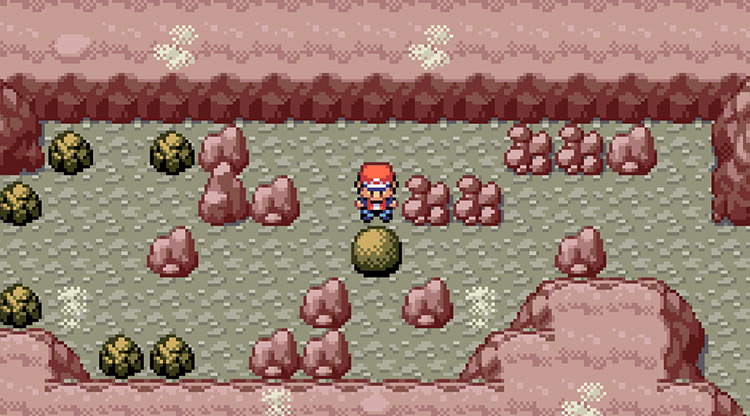
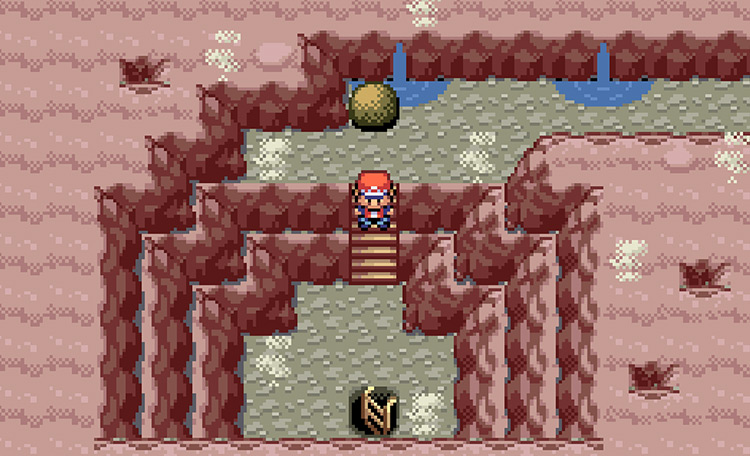
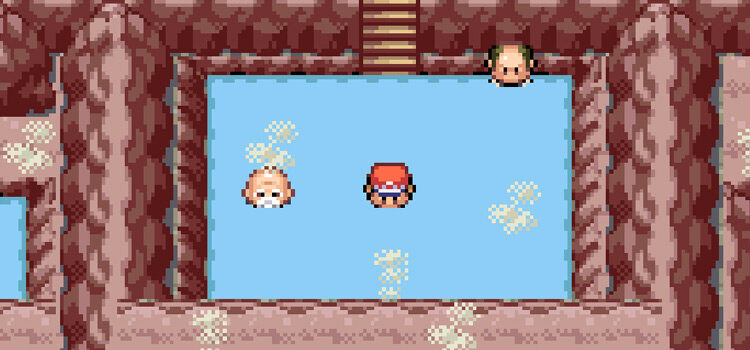
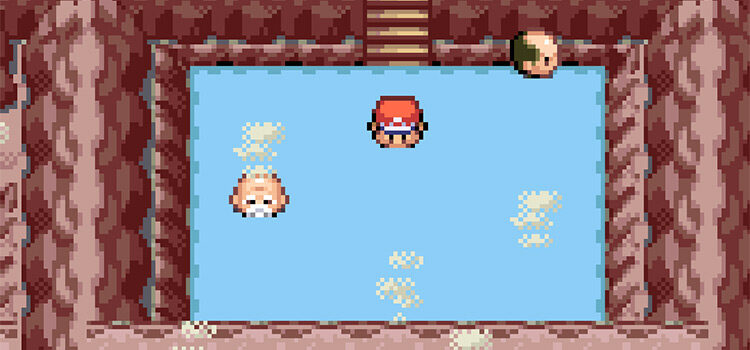
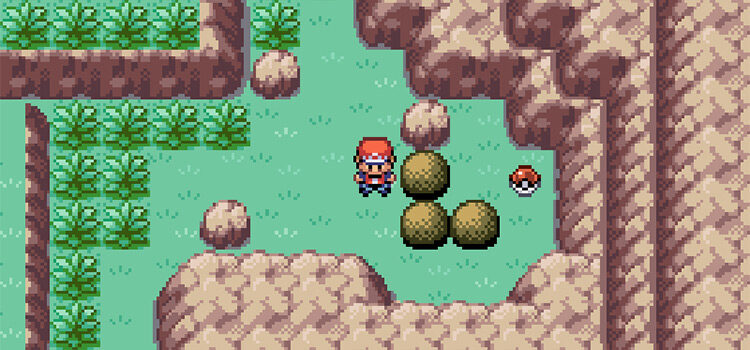
Step 3: On this floor, there are three boulders that need to be moved in a very specific order, otherwise they will block the path to the ladder.
If you move a boulder to the wrong spot by accident, simply take the ladder back up, then climb down it again to reset the boulders.
Below is the proper solution to the boulder puzzle:
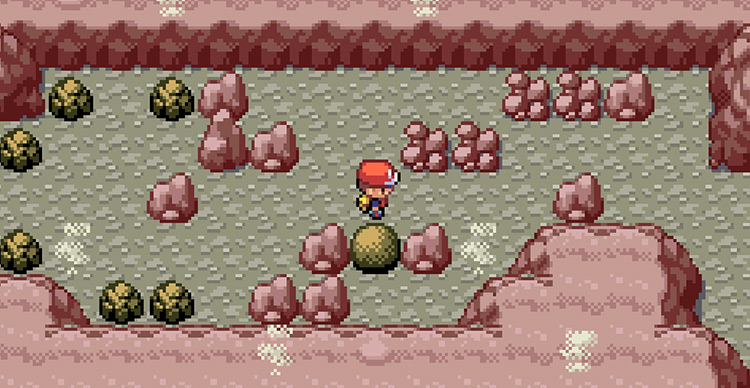
Once you’ve moved the boulders in this order, they should look like the screenshot below:
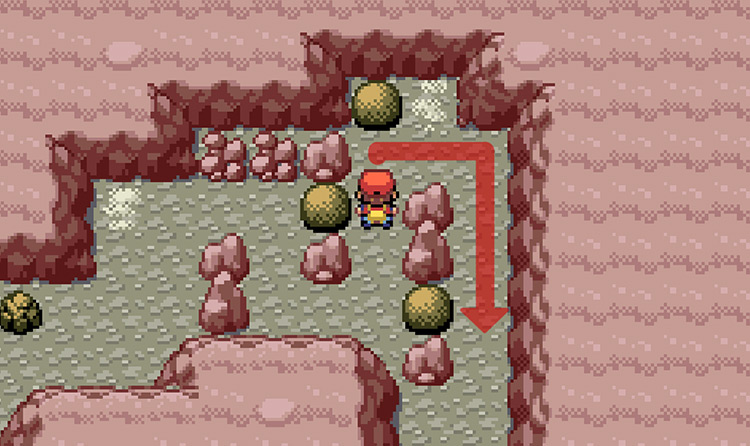
And you will now be able to walk along the path to the ladder down south.
Step 4: The next floor (Floor 4) only has one boulder in the middle of the path. Use strength on this boulder but only push it towards the right one time.
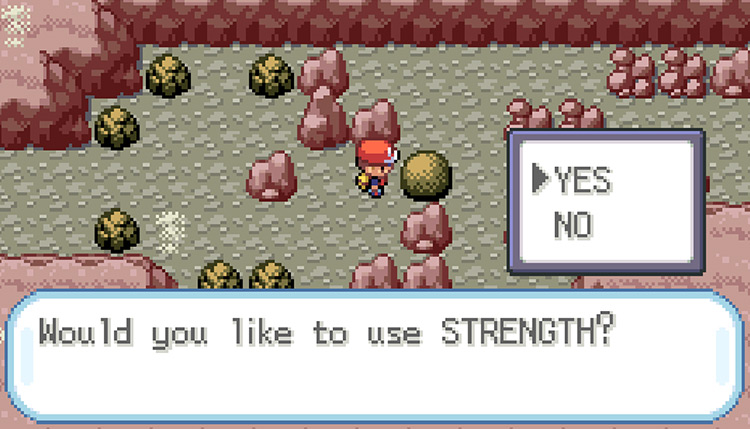
Make sure you only push this boulder to the right exactly once, otherwise you’ll have to reset the floor.
After you have pushed it once time, walk up & around to stand above the boulder so that you are positioned to push it down.
Push the boulder down one or two times, and then you can continue along the path of this floor by walking towards the east.
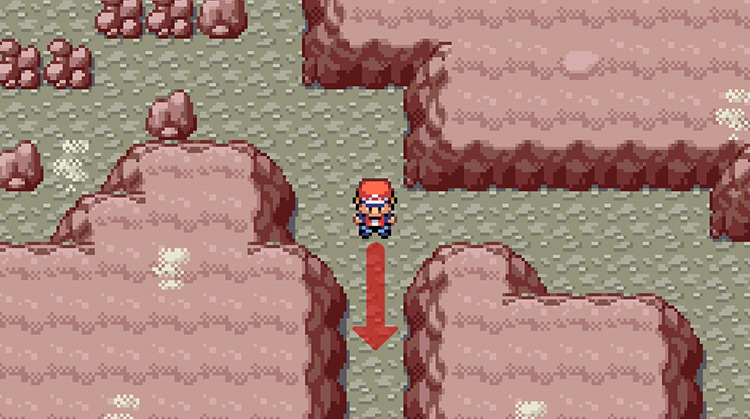
You will come across a fork in the road shortly after the boulder, with one path leading east and the other leading south.
Take the path going south because this is where the next ladder is.
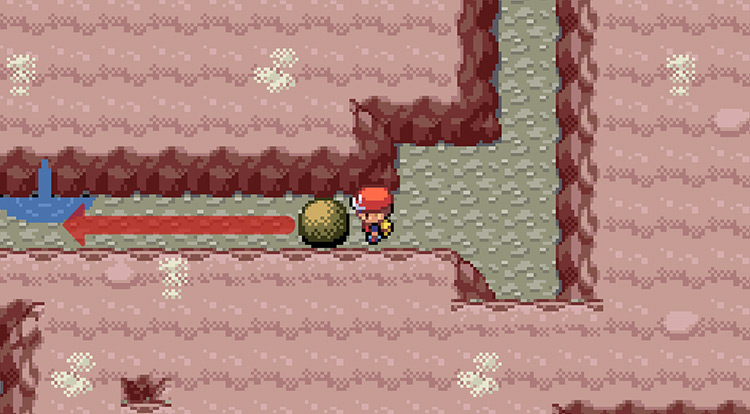
But there is a boulder in the way.
We already used strength, so we won’t need to use it again on this floor.
So when you see the boulder blocking a narrow hallway here, simply push the boulder left as far as possible. There’s no way for this boulder to block you, so you can just push it along.
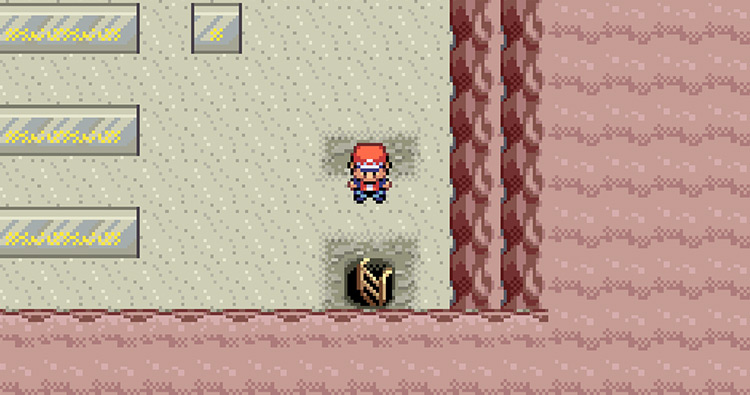
You will come across a small staircase leading to the next ladder heading down to the fifth basement floor. Take that ladder down.
Step 5: There are many walls on this floor, all with inscriptions etched into them. We don’t need to do anything with these though.
Simply walk to the bottom right side of this floor and take the ladder going down to the final floor of the Mt. Ember cave.
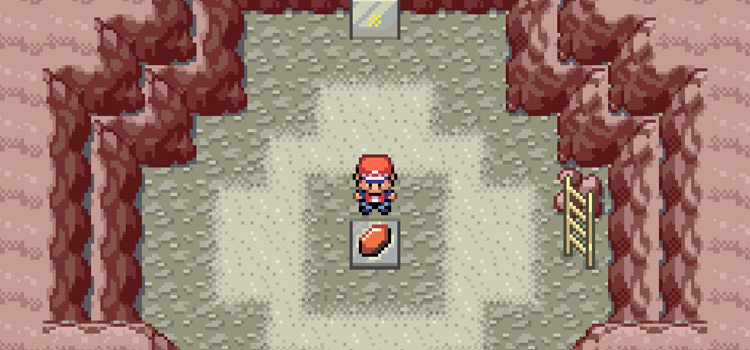
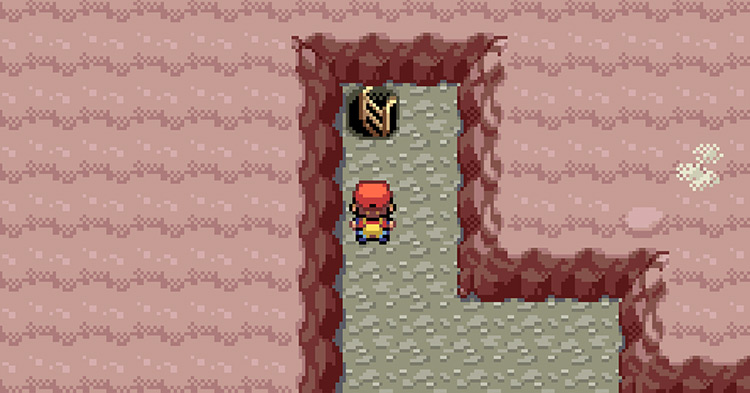
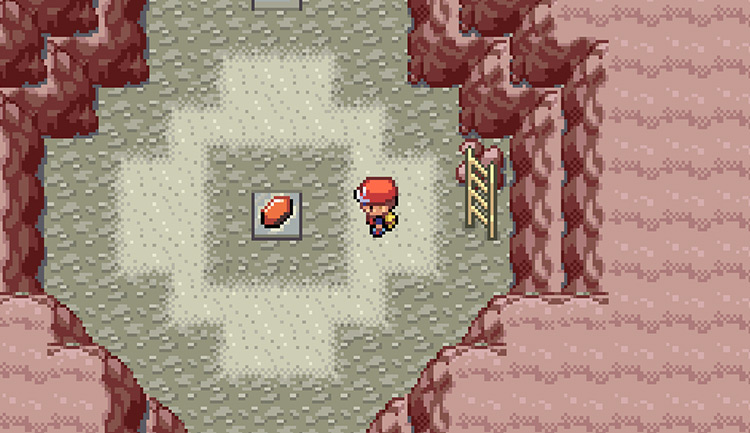
The Ruby’s Location
In the middle of this next floor is the Ruby.
Just walk up to the item and press A to pick it up. The Ruby will go into the Key Items pocket of your Bag and you’ll be able to take it back up to Celio.
Taking The Ruby To Celio (The Reward)
After you have the Ruby, you can head back to the surface and make your way back to the Net Center on One Island.
Talk to Celio to give him the Ruby that you just found.

Celio will thank you and ask you to find another Gemstone (the Sapphire). Then he’ll also upgrade your Tri Pass to a Rainbow Pass.
Now you’ll be able to sail to any of the Sevii Islands when you talk to the Seagallop Ferry captain.

The next step is to go find the Sapphire for Celio using your new Rainbow Pass.
-
Pokémon FRLG
- How To Get the Ruby in Pokémon FireRed & LeafGreen
Related Posts:
 How To Get Through Victory Road: Pokémon FRLG Walkthrough Part 15
 Sevii Islands (One Island to Three Island): Pokémon FRLG Walkthrough Part 13
 Mt. Moon: Pokémon FRLG Walkthrough Part 4
 How To Get To Kindle Road in Pokémon FRLG
 How To Get HM06 Rock Smash in Pokémon FRLG
 Where To Get the Sun Stone in Pokémon FRLG
 How To Get the Meteorite in Pokémon FRLG
 Where To Get NeverMeltIce in Pokémon FRLG