TABLE OF CONTENTS
Quick Guide
- Head west from Celadon City and get HM02 Fly from the girl in the blue-roofed house on Route 16 (Cut down the tree before Snorlax and walk through the gate)
- Use the Poké Flute on Snorlax, cross into Cycling Road, and ride down to Fuchsia City
- Talk to the Warden in the house to the right of the Pokémon Center, then get the Good Rod from the Fisherman in the house next to his
- Head to Area 3 in the Safari Zone to get HM03 Surf and find the Warden’s Gold Teeth
- Give the Warden his teeth to get HM04 Strength
- Defeat the Fuchsia City Gym and win the Soul Badge
Saffron To Fuchsia City
We left off in Saffron, after defeating Giovanni in Silph Co. and then Sabrina in her Gym. Now we have to make our way to Fuchsia City.
There are actually a couple of ways to get there: you can head east under Lavender Town, or you can head west through Celadon.
We’re going to go through Celadon City because HM02 Fly can be found on this route. From Saffron City, head west and cross through the little guard shack.
You’ll pop out on Route 7.
Just keep heading west and you’ll make it to Celadon City. We’re pretty much going to just keep going full steam ahead and walking west until we reach Route 16.
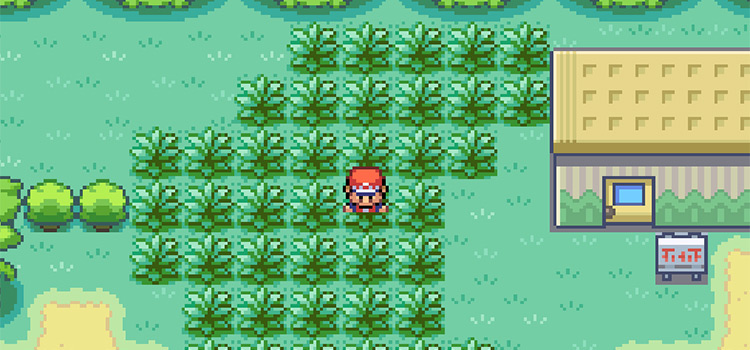
On Route 16 there are two things in our way. A tree blocking the path north and a Snorlax blocking the path west.
Unlike last time we were here, now we can clear both of these obstacles. We have Cut for the tree above and the Poké Flute for the Snorlax to the left.
Task #1: Getting HM02 Fly
Before we take care of Snorlax, we’re going to head up north past the tree.
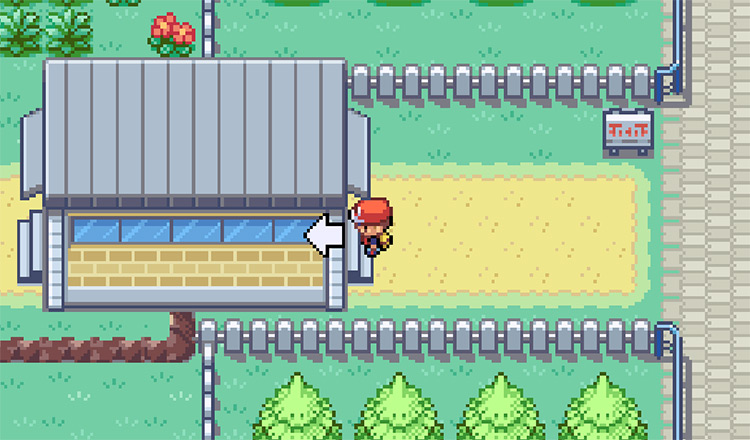
Cut the tree down, and walk through the new hole in the fence.
Afterwards head left through the back of the guard shack. Walk through the guard shack and when you pop out there will be a house with a blue roof.
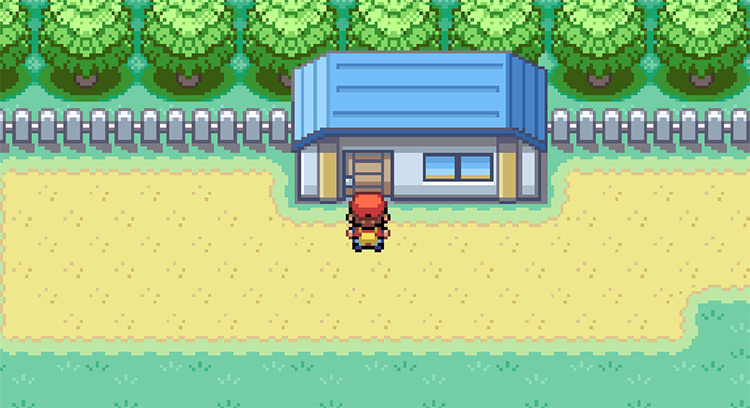
Walk inside the house and talk to the little girl hiding out there. She’ll give you HM02 Fly in return for your discretion.
Now you can teach Fly to one of your Pokémon and use it outside of battle to quickly travel around the map! This will be extremely useful as we backtrack through the region later on (aka right now).
Task #2: Getting The Bicycle
Now that we have Fly, we can use it to Fly straight to Cerulean City, where the Bicycle Shop is located.
Note: You might already have the Bicycle if you went to the Bike Shop with your Bike Voucher before entering Rock Tunnel. If so, you can skip this task.
Here’s how to use Fly:
- Teach a Pokémon Fly
- Make sure you are outside, then open up your Pokémon menu and select the Pokémon you taught Fly
- Select “Fly” and then select Cerulean City to travel there
Fly should drop you off right in front of the Cerulean City Pokémon Center.
Head south west just a little bit to find the Bike Shop.

To get your Bicycle, just walk inside the Bike shop and talk to the cashier. They’ll immediately see your Bike Voucher and then give you a brand new Bicycle!

Once you have your Bike, I highly recommend “registering” it in your inventory.
Just head into your Key Items, select Bicycle and then Register.
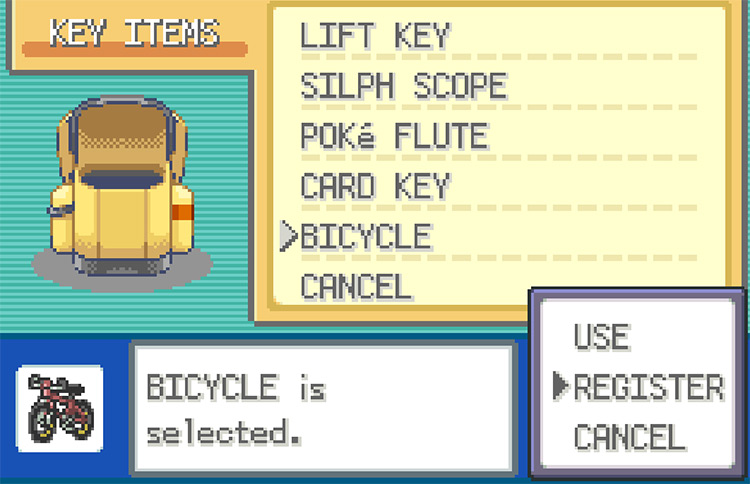
If you register your Bike, then you can press Select at any moment to immediately start riding it. This will save us the time of having to go to our inventory anytime we want to ride, which will be often.
Task #3: Moving Snorlax
After you have your Bike, use Fly to head back to Celadon City, then walk (or peddle) west back to the sleeping Snorlax.
I’m sad to say this, but we have to interrupt its nap time.
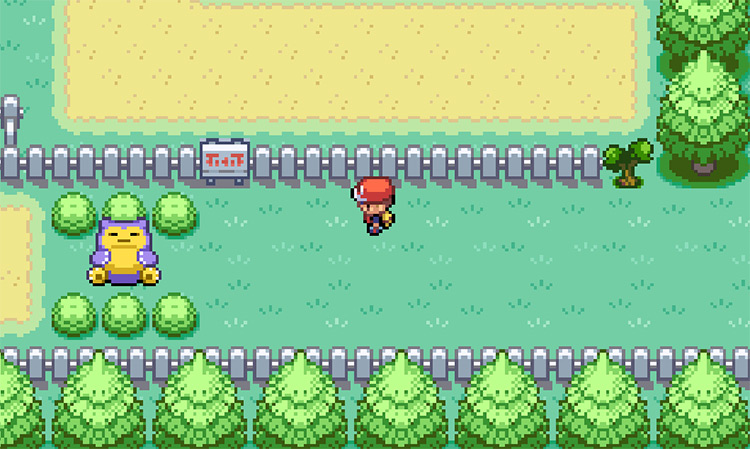
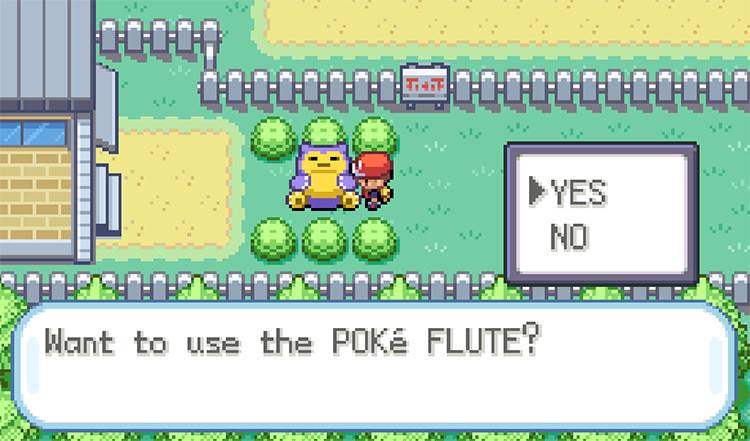
We already have the Poké Flute from Mr. Fuji. So all we have to do is walk up and press A on the Snorlax.
Before doing this though, make sure that you’re stocked up on Poké Balls. There are only two Snorlax in the game and we are going to want to catch both of them!
After you catch or defeat the Snorlax, it will be gone for good. And you can then safely cross into the guard shack.
Task #4: Cycling Road
The guard shack on Route 16 leads to the Cycling Road, so you will need a Bicycle to cross.
If you don’t have a Bicycle, you’ll be stopped by the guard and they’ll prevent you from continuing.

Thankfully we already have our Bicycle, so we can just cross right through.
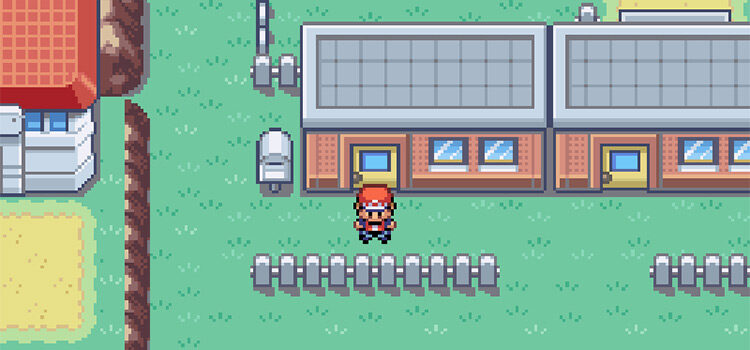
Before that, though, you can head up the stairs in this Guardhouse and talk to Professor Oak’s Aide to receive the Amulet Coin if you’ve caught 40 species of Pokémon.

If you haven’t caught enough Pokémon yet, that’s okay. Because the Amulet Coin isn’t necessary for the main story. It’s just a nice item to have for making some extra cash.
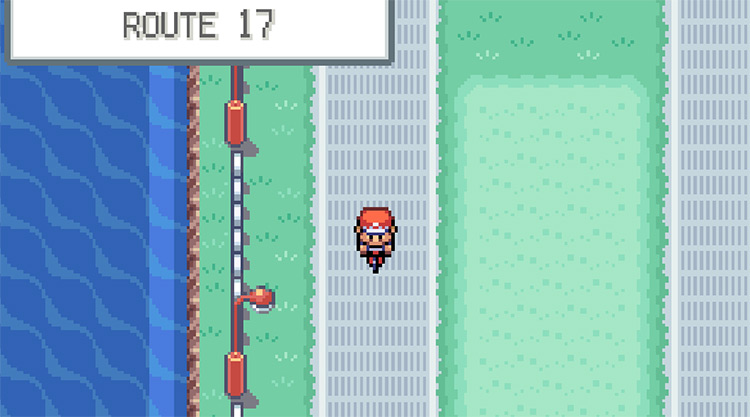
Route 17, aka Cycling Road, leads to Fuchsia City. It’s a bit weird and a bit fun at the same time.
The path is all downhill, which means you will automatically ride down as soon as you ride onto it.
There are a ton of Bikers on this Route to battle and train up your Pokémon with.
They mostly have Koffings, Weezings, Machops, and Machokes.
Of course, you can also avoid these battles if you want. But it’s probably better to do some training while you can!
You want to ride south as far as possible on Cycling Road until you hit Route 18, and then head east. There will be another guard building that you can cross through to enter Fuchsia City.
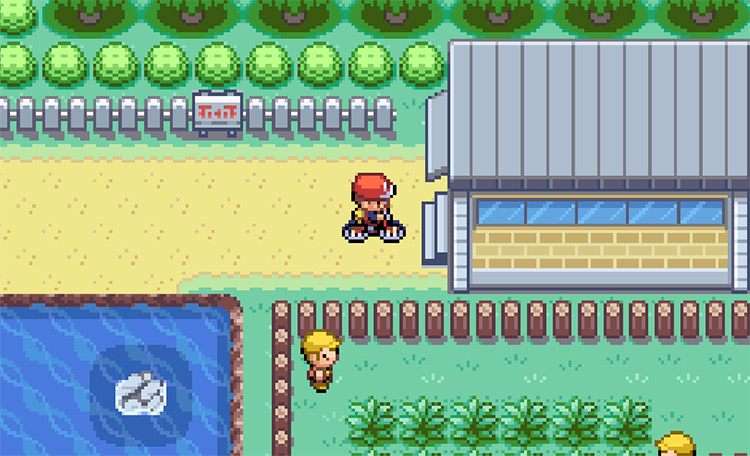
Once in Fuchsia City we can heal up our Pokémon, take on the Gym, and check out the Safari Zone.
Fuchsia City Walkthrough
Fuchsia City has two HMs for us to collect, as well as a Gym to conquer.
First though, we have to do some house cleaning.
Task #1: The Warden (Getting HM04 Strength)
East of the Fuchsia City Pokémon Center, there are two red houses.
The first house belongs to the Safari Zone Warden, while the second house belongs to a Fisherman.
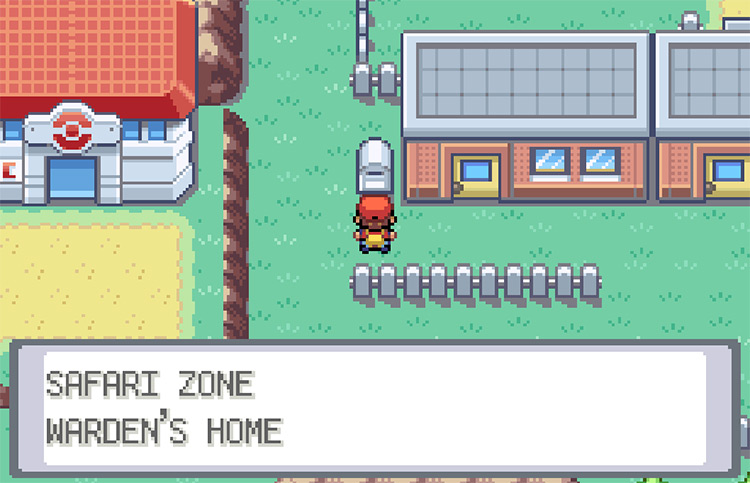
Walk inside of the Warden’s house and talk to him. He’s actually missing his teeth so it’ll be hard to understand what he’s saying.
He’s asking for help finding his teeth, which he lost in the Safari Zone.
We’ll pick these up later — so after saying “Yes” go ahead and leave the house.
Task #2: The Good Rod
Right next to the Warden’s house is the Fishing Guru’s older brother’s home. Go ahead and walk inside then talk to the fisherman inside.
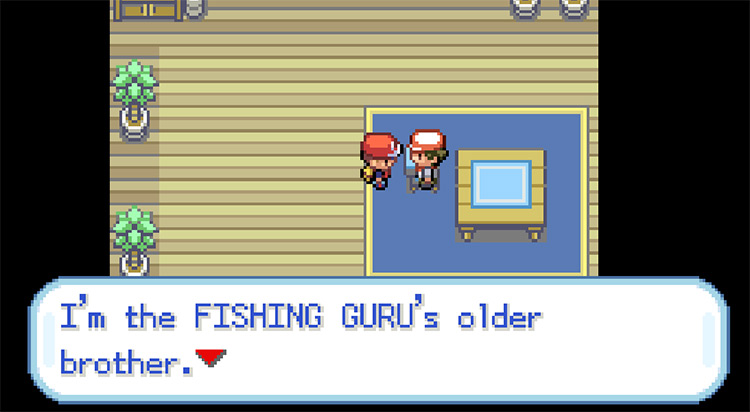
After you talk to the fisherman, he’ll ask if you like fishing. Say Yes (of course) and then he’ll hand you the Good Rod.
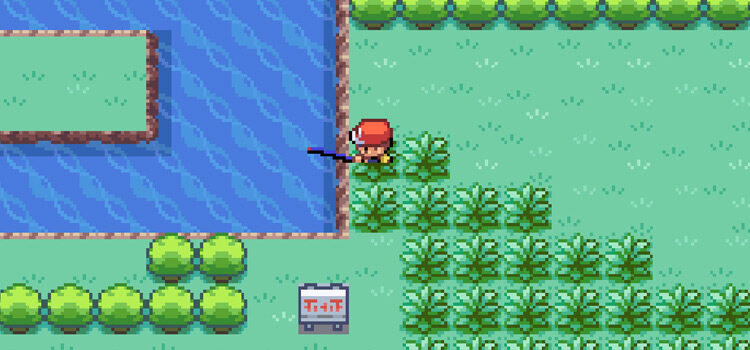
We can use the Good Rod to catch plenty of Water Type Pokémon.
There are even a few good Pokémon to catch in the pond in his backyard!
To use the Good Rod, just walk up to a body of water, open your Bag, select the Good Rod, then select “Use”. After that wait until the dialog box says there’s a Pokémon on the hook and press A.
Task #3: The Safari Zone
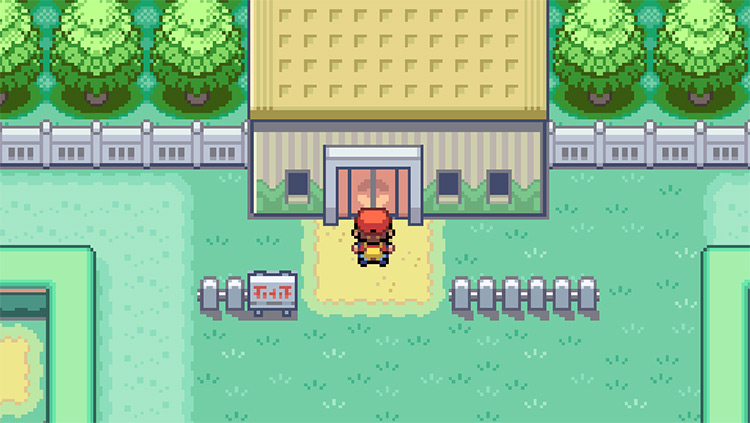
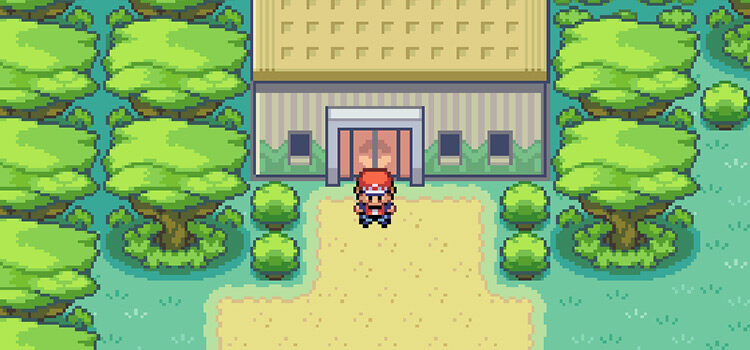
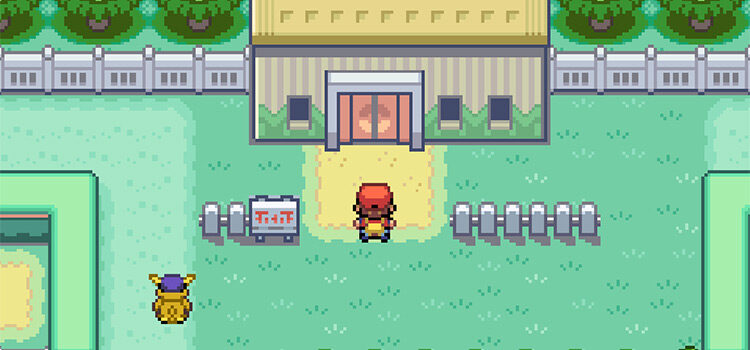
In the north part of Fuchsia City, there is a building that crosses into the treeline. This is the entrance to the Safari Zone.
The Safari Zone is a large area with many rare Pokémon that can’t be found anywhere else. Pokémon like Scyther, Chansey, and Tauros are only found in the Safari Zone.
It costs 500 Pokédollars to enter the Safari Zone, and you will be kicked out after a certain number of steps. So you have to make good use of the time and Safari Balls you are given.
Catching Pokémon in the Safari Zone is a bit different than catching them in the wild. You do not battle the Pokémon, instead you use Bait and Rocks.
But with those limited options, the best way to catch Pokémon here is just to chuck Safari Balls at them and hope they don’t run away.
How To Get HM03 Surf
There are four areas in the Safari Zone.
- The Center Area
- Area 1 (east)
- Area 2 (north)
- Area 3 (west)
Here’s exactly how to get HM03 in the Safari Zone:
Step 1: Walk inside of the Safari Zone entrance building and pay the 500 Poké Dollar fee to enter the Safari Zone.

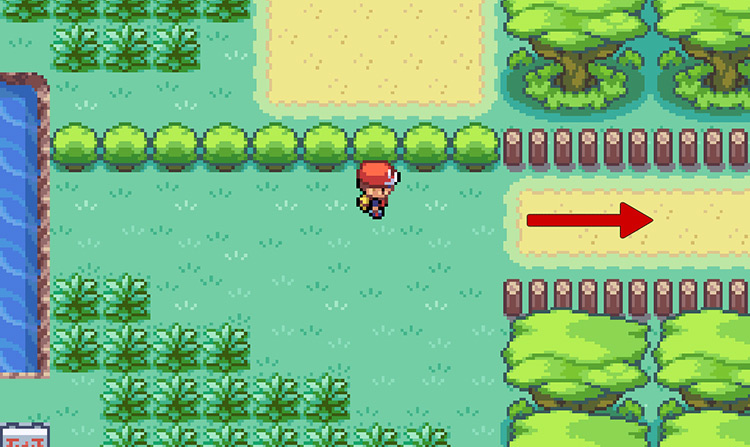
Step 2: Once you’re in the Safari Zone, start walking east until you reach the tree line.
Step 3: When you reach the treeline, walk north until you reach the pathway leading to Area 2 over to the right-hand side. Just take this path and head into Area 2.
Step 4: Once you reach Area 2, follow the narrow path until you find a patch of tall grass.
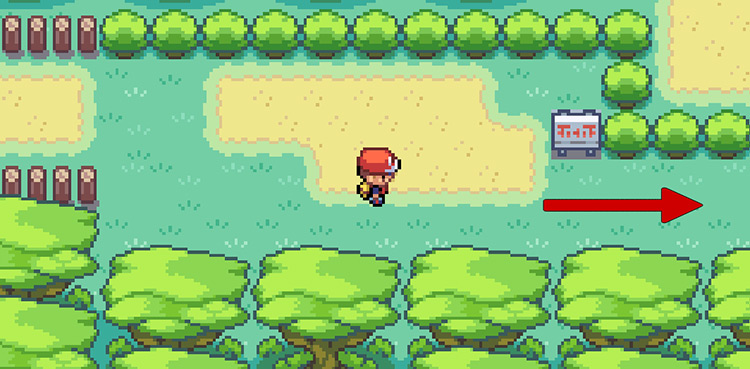
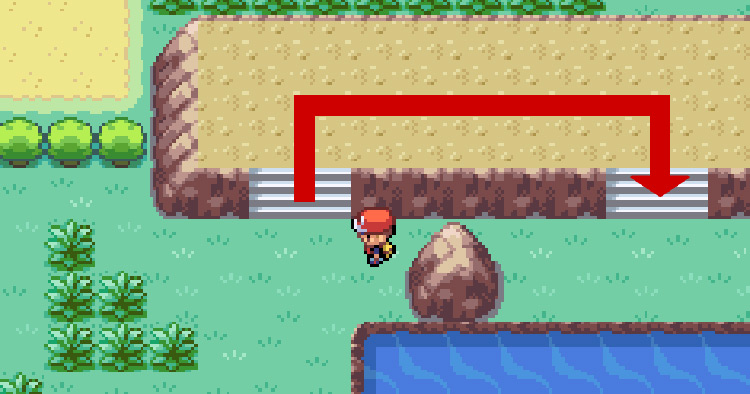
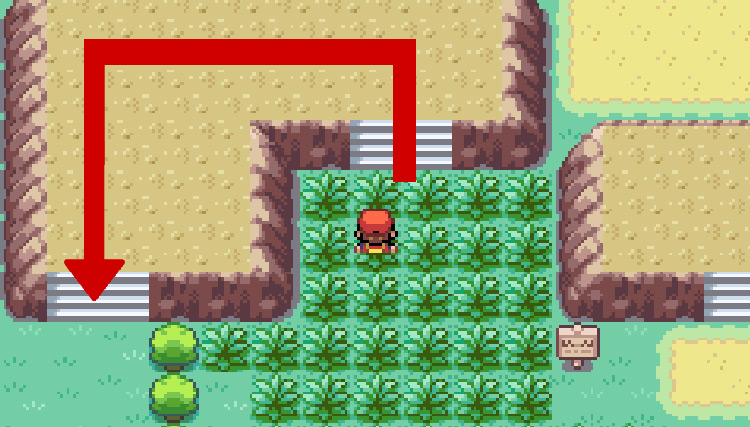
Step 5: Take the set of stairs up the brown hill and then immediately take the stairs going down this hill to the left.
Step 6: After walking down the stairs, start walking north beyond the stairs.
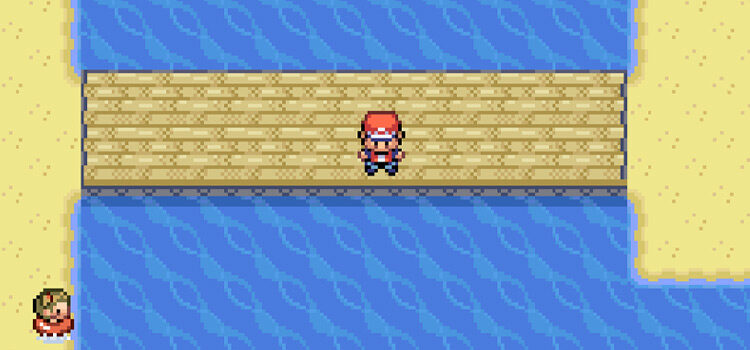
Step 7: Keep going north until you find another set of stairs (pictured below). Take this set of stairs as well, walking across the platform & down to the right.
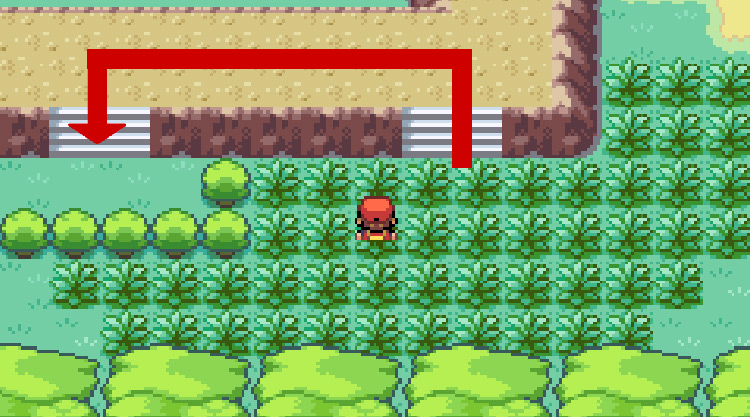
Step 8: Walk up & around the hill, then keep going west. This will be taking you towards the north west corner of Area 2.
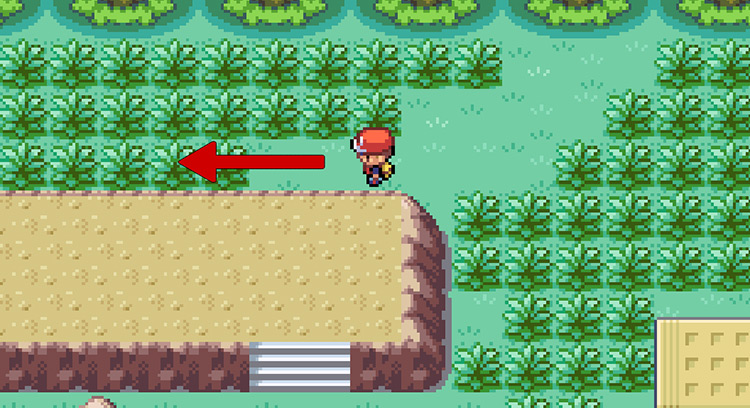
Step 9: Walk as far west as possible, and then take the path going west into the next Area.
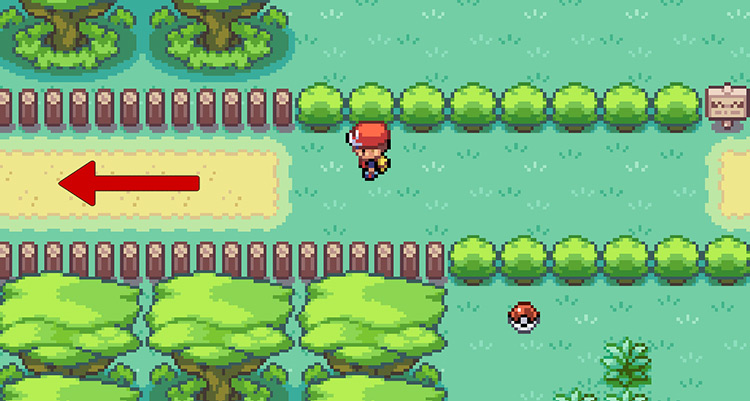
Step 10: Once you enter the new Area, walk west past the first set of stairs and into the tall grass.
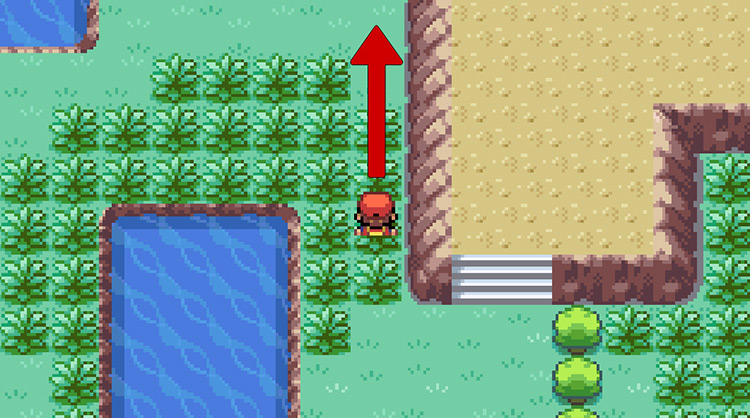
Step 11: Once you reach the center of the grass patch, walk up the stairs to the north, then walk down the stairs on the left.
Step 12: Once you walk down the stairs, go past this little hill and walk north as far as possible.
Step 13: If you keep walking north then you’ll eventually reach the tree and bush line. From here, start walking east until you hit a patch of tall grass.
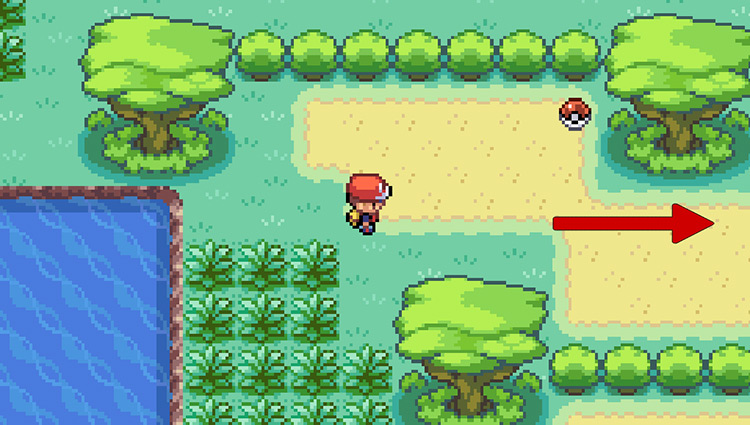
Step 14: Once you reach the patch of tall grass, walk up & around the bush line. Then proceed to walk west – you’ll be looking for another open grassy area.
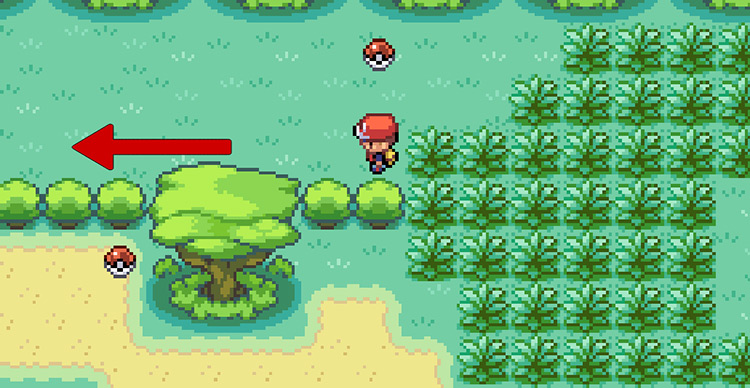
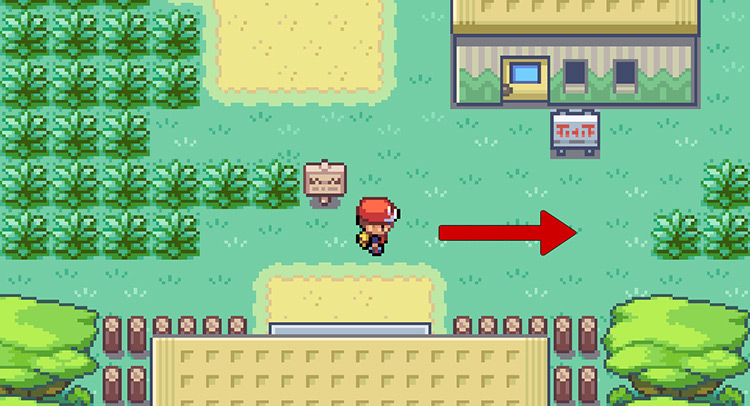
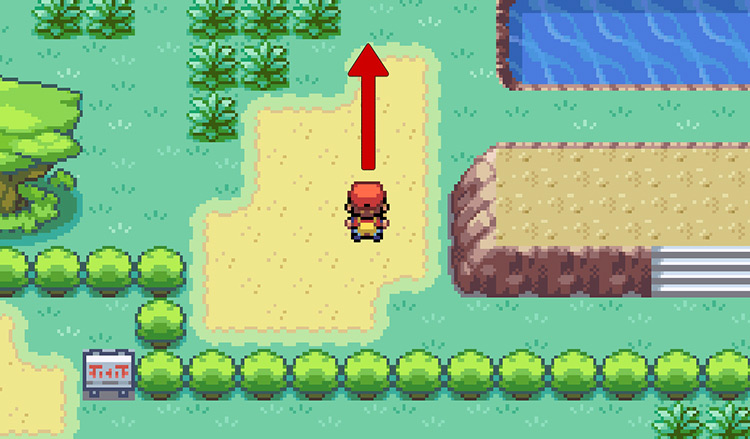
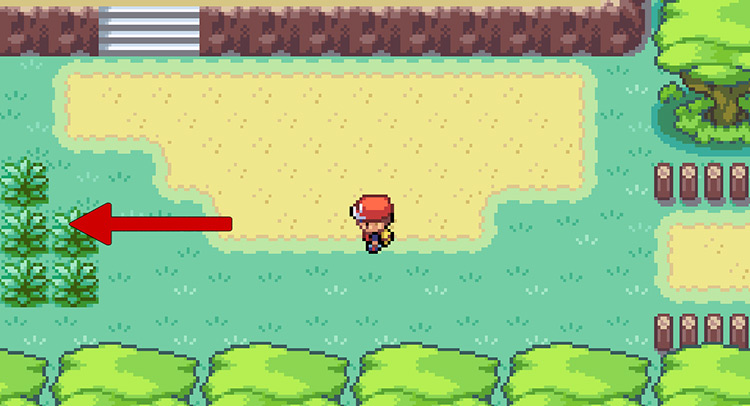
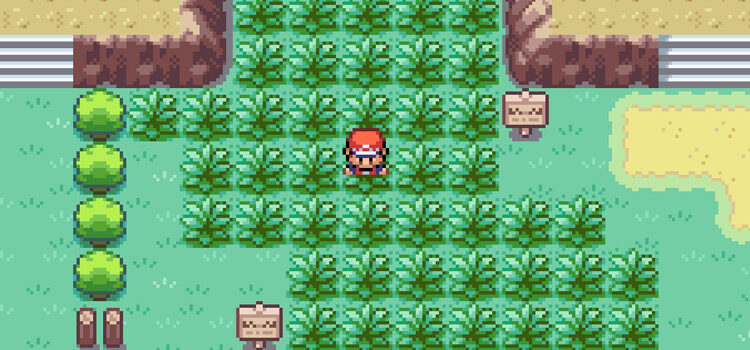
Step 15: Once you reach another patch of tall grass below you, then start heading south (pictured below).
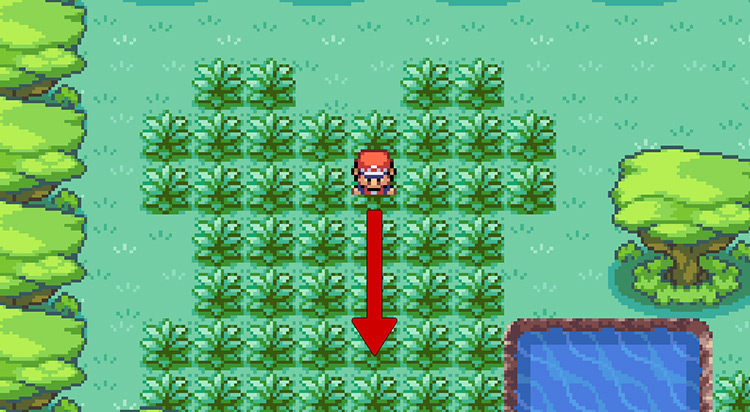
Step 16: Walk south as far as possible. This will lead you to a path that goes into a new area.
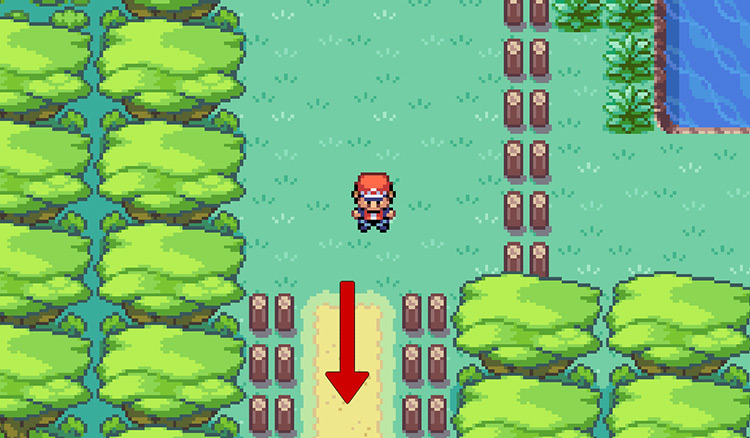
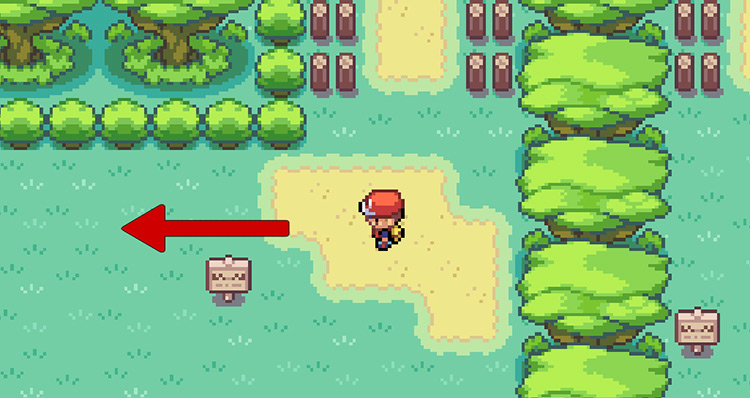
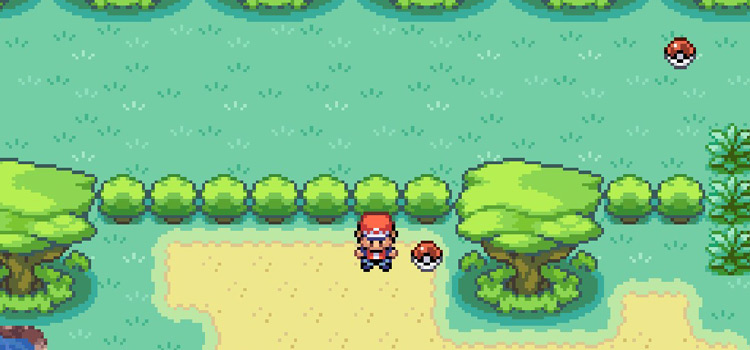
Step 17: Once you enter the new area, take an immediate left and walk until you see a building.
It’s the only building around, and it should only take maybe a dozen steps until you get there.
Step 18: Enter the building and you should see an NPC inside – this is where you’ll get your Surf HM.
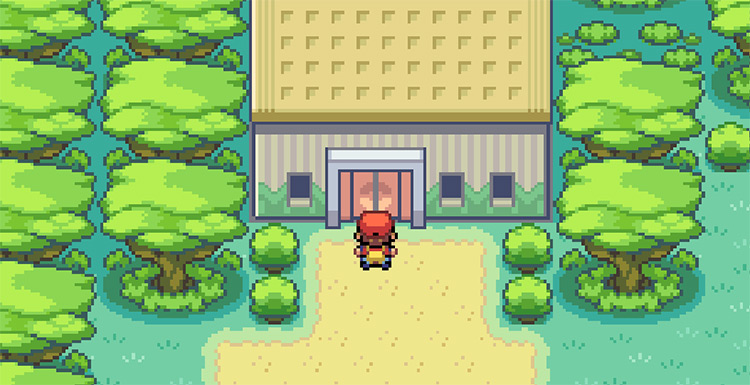
When you talk to this NPC they’ll congratulate you for finding their secret building and reward you with HM03 Surf.

You can teach Surf to one of your Pokémon and use it to travel across bodies of water.
In fact, you can go ahead and teach Surf to a Pokémon right away – but we won’t be able to use it outside of battle until we defeat the Fuchsia City Gym Leader, Koga, and obtain the Soul Badge.
How To Get The Gold Teeth (for HM04 Strength)
Conveniently, the Warden’s Gold Teeth are right next to the building where we get Surf.
Just walk outside of the Surf building, then start walking east
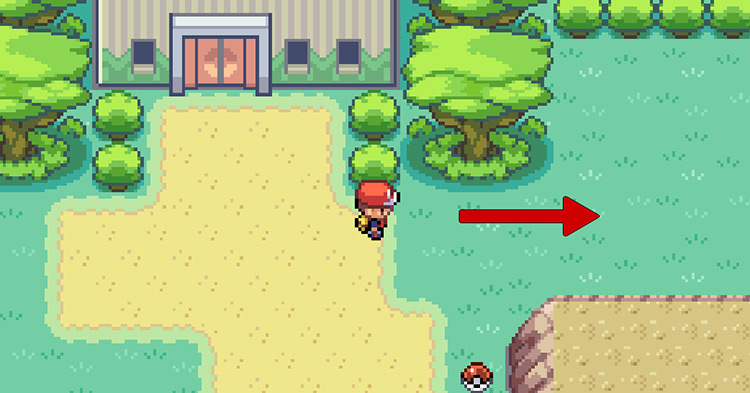
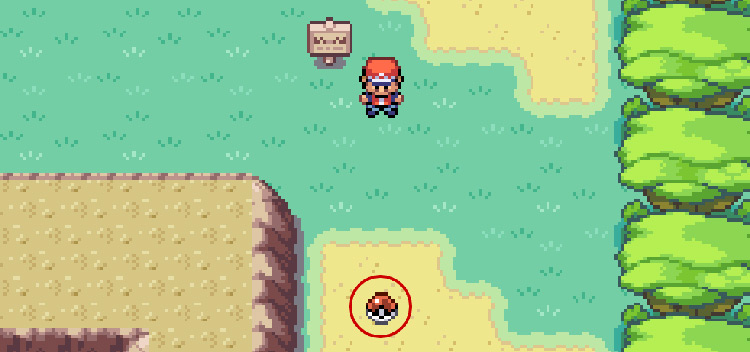
Walk east until you’re back at the beginning of the opening area (near the wooden signpost with the treeline to your east).
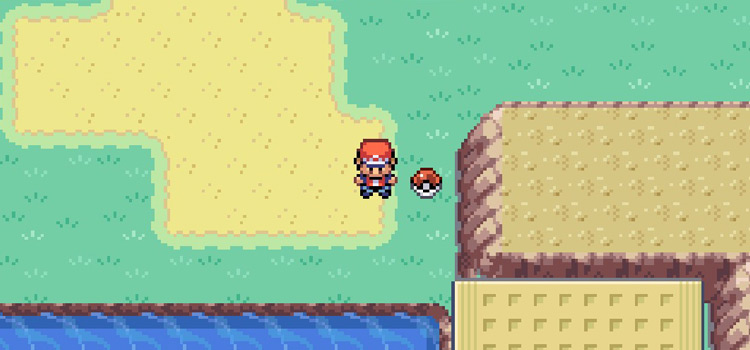
The Warden’s Teeth are lying on the ground just south of the Area entrance. You’ll see them as a Poké Ball on the ground (circled below).
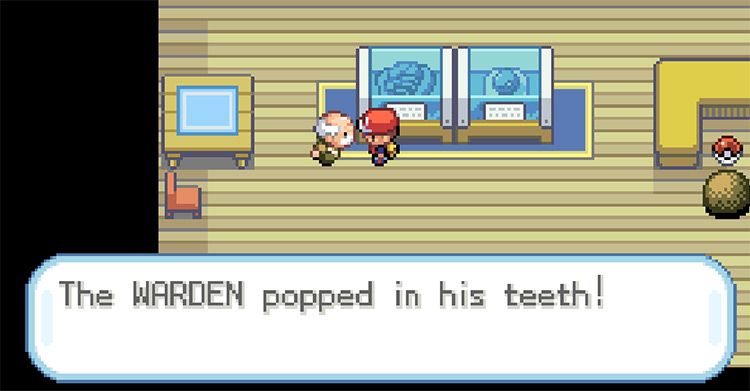
After you have his teeth, head back to the Warden’s house just east of the Pokémon Center. Hand the teeth over to him so he can pop them back in his mouth.
Once you do that, he will give you the HM for Stregth.
At this point in the game we can already use Strength since we have the Rainbow Badge.
To use it, just teach it to a Pokémon and walk up to a boulder (like the handy dandy one located in the Warden’s house) and press A on it. This will let you move any big boulder that you see just by walking into it.
And there will be plenty of boulders to move later!
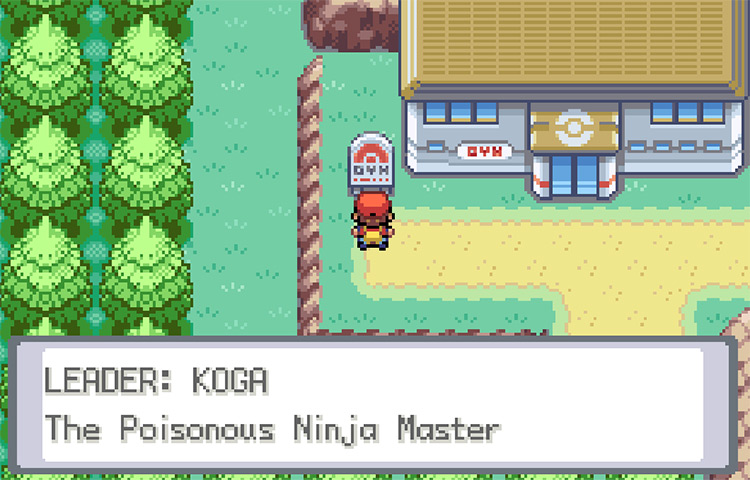
Task #4: The Fuchsia City Gym
And finally, it’s time to take on the Fuchsia City Gym leader: Koga.
Koga and his underlings specialize in Poison Type Pokémon so Ground and Psychic Type moves are going to shine.
With that being said, there are also a lot of Psychic Type Pokémon so Bug, Ghost, and Dark Types will help a lot too.
The Fuchsia City Gym’s puzzle is an invisible maze that you must navigate in order to challenge Koga. The maze is actually pretty simple to figure out:
Hug the right wall going up, and then walk through the Gym counter-clockwise.
Koga’s Pokémon are all traditional Poison Types, so if you do have a Psychic or Ground Type, now is the time to put them front and center in your Party.
| Koga’s Team | |
|---|---|
| Pokémon | Level |
| Koffing | 37 |
| Koffing | 37 |
| Muk | 39 |
| Weezing | 43 |
After you defeat Koga, he will award you with TM06 Toxic and the Soul Badge.
The Soul Badge will let you use Surf outside of battle, which means we can now make our way to Cinnabar Island.

-
Pokémon FRLG
- Fuchsia City & The Safari Zone: Pokémon FRLG Walkthrough Part 11
Related Posts:
 How To Get HM04 Strength & the Gold Teeth in Pokémon FRLG
 Where To Get Dragon Fangs in Pokémon FireRed & LeafGreen
 How To Get HM03 Surf in Pokémon FRLG
 How To Get SilverPowder in Pokémon FRLG
 How To Get Lucky Eggs in Pokémon FireRed & LeafGreen
 Where To Get TM32 Double Team in Pokémon FRLG
 Where To Get the Quick Claw in Pokémon FRLG
 Where To Get TM47 Steel Wing in Pokémon FRLG