| Never-Melt Ice | ||
|---|---|---|
| # | Location | Repeatable? |
| 1 | Shoal Cave — In the ice room lower in the cave (low tide only) | No |
There is only one Never-Melt Ice obtainable in Omega Ruby & Alpha Sapphire, and it’s located in the ice room of Shoal Cave. But you’ll need to go when Shoal Cave is at low tide to reach the item’s exact location.
You can find this cave by surfing on Route 125 just north of Mossdeep City.
Prerequisites
Before you can get the Never-Melt Ice in the Shoal Cave, you’ll need to have these requirements:
The ice room of the Shoal Cave is in the basement, so you can only access it during low tide. See the table below that shows the hours of a high tide/low tide.
| Low Tide | High Tide | ||
|---|---|---|---|
| Day | Night | Day | Night |
| 3:00 – 9:00 (3:00 AM – 9:00 AM) |
15:00 – 21:00 (3:00 PM – 9:00 PM) |
09:00 – 15:00 (9:00 AM – 3:00 PM) |
21:00 – 3:00 (9:00 PM – 3:00 AM) |
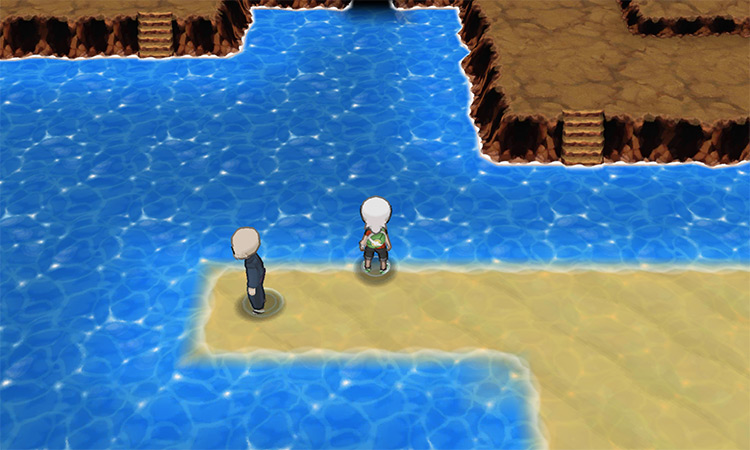
During high tide, the basement rooms of the Shoal Cave become submerged, making it inaccessible (see the screenshot below). So just be sure to check this time table before you looking for the Never-Melt Ice.
Never-Melt Ice Location (Step-by-Step)
Once you’re ready, follow these steps:
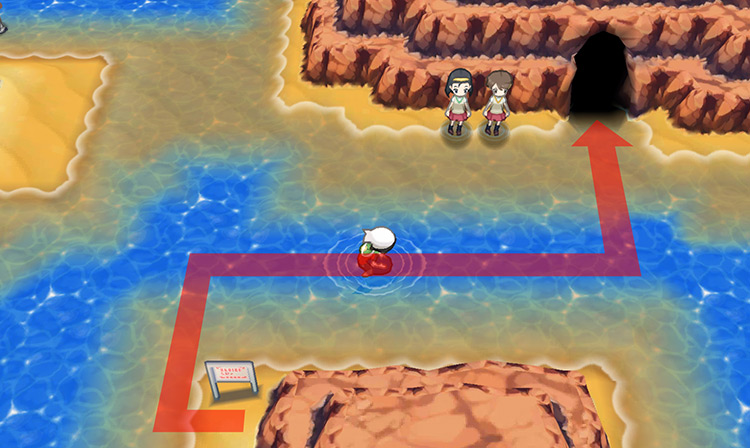
Step 1: Fly to Route 125. From the signboard, cross the water to the north. You’ll find the entrance to the Shoal Cave here (pictured below).
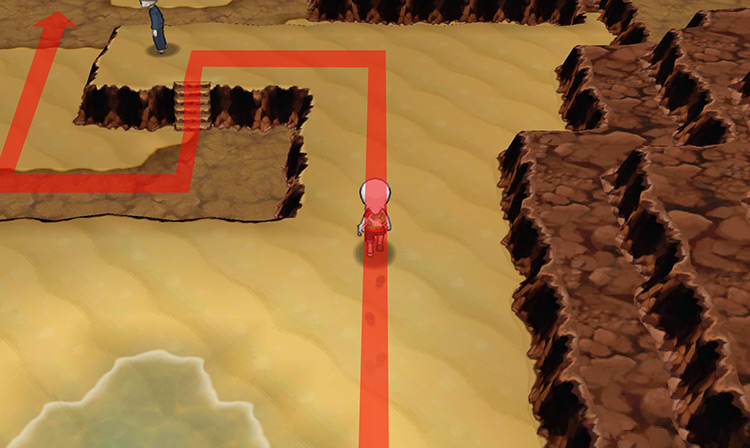
Step 2: Inside, go down the nearby staircase and head north until you find an entrance to the inner room.
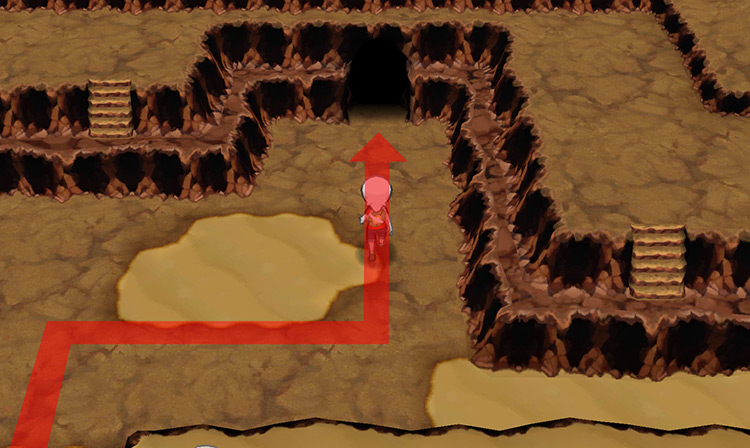
Step 3: In this inner room, take the cave entrance ahead on your left.
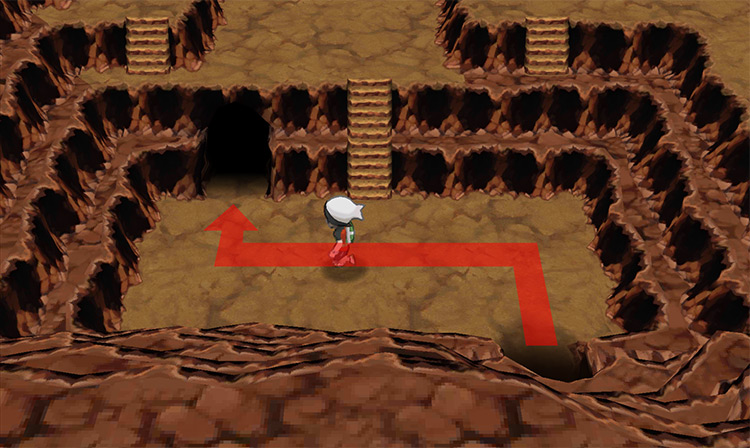
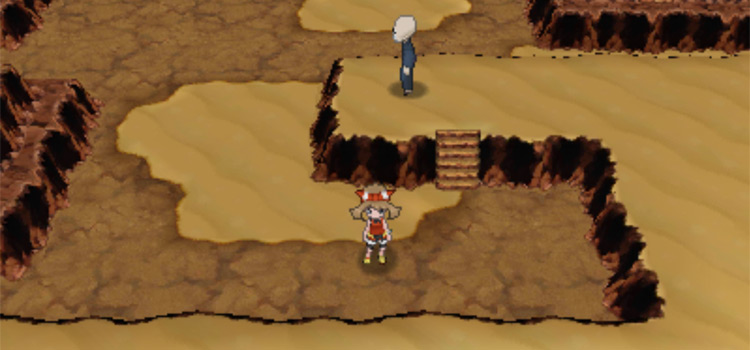
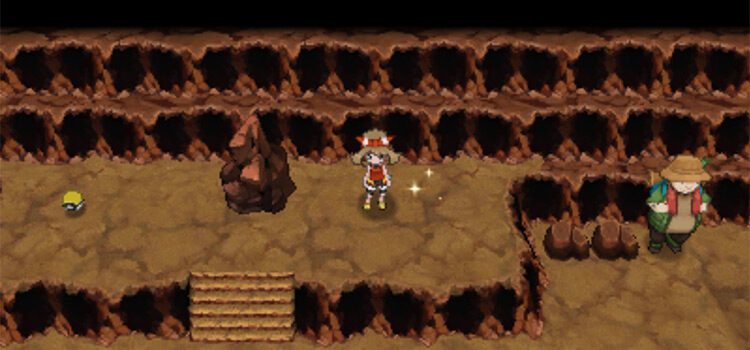
Step 4: From the next room, go north until you find the muddy slopes going up a cliff to your right. Equip the Mach Bike so you can climb up and get to the other side of the cliff.
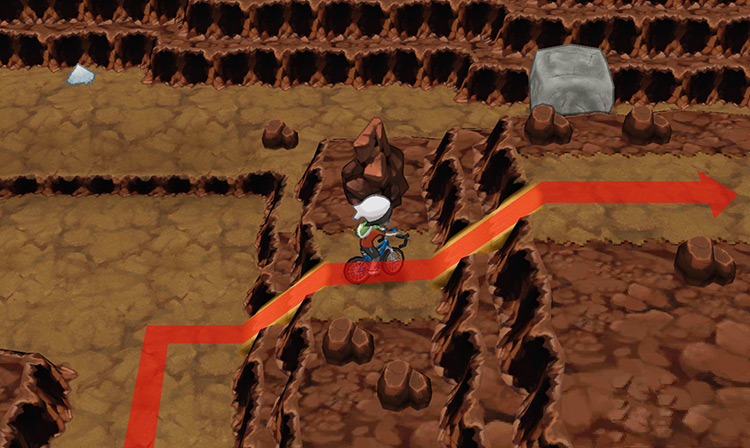
Step 5: After reaching the other side of the cliff, go south.
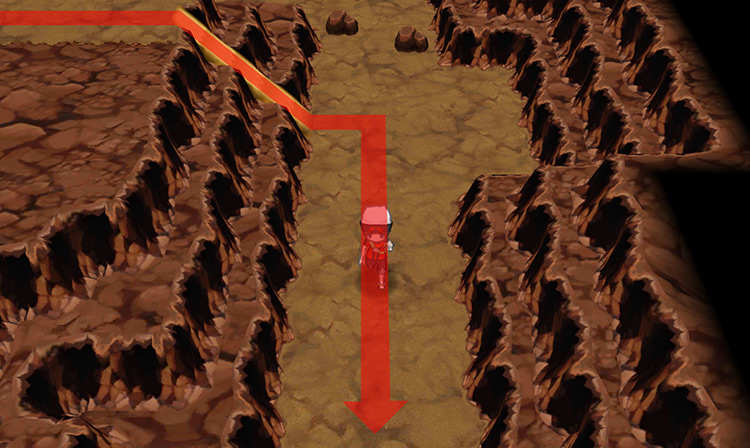
You’ll find a ladder that leads to the ice room here (pictured below).
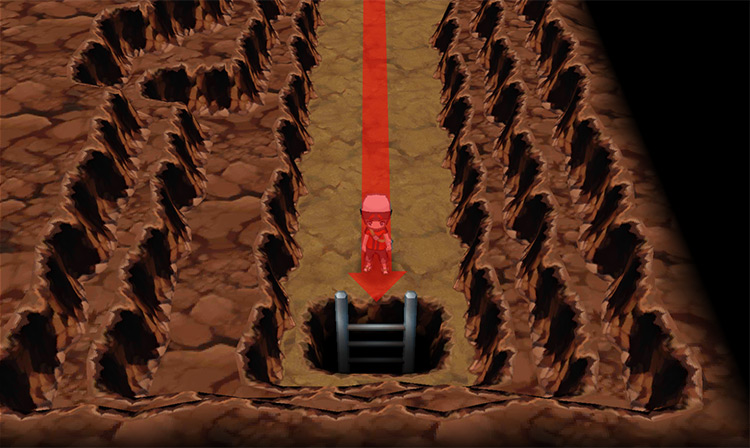
Step 6: Once you’re in the ice room, head south.
Here, you’ll find patches of frozen ground that force you to slide in a single direction until you reach solid land or hit walls/rocks.
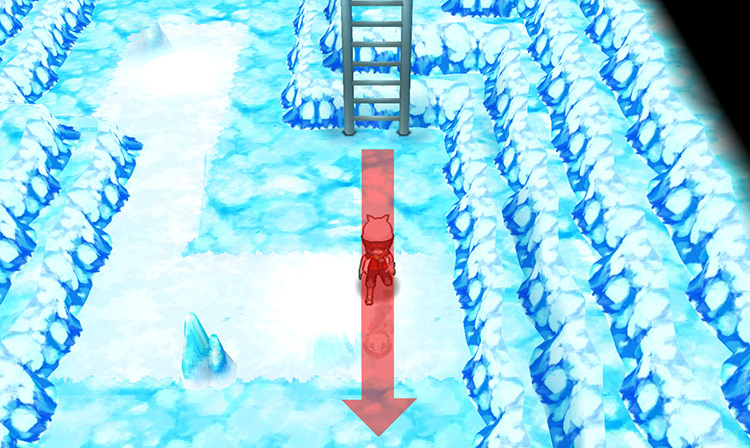
Step 7: Before you reach the Never-Melt Ice’s location, you’ll encounter two ice puzzles.
The first one lets you cross to the other side of the room – circled below is your starting point. From there, go left.
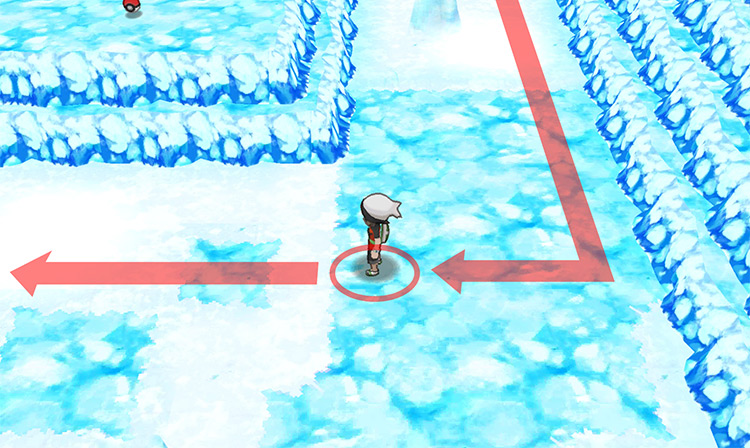
Step 8: Once you hit a rock and stop sliding, follow the path in the image below.
Note that in OR/AS you can slide diagonally.
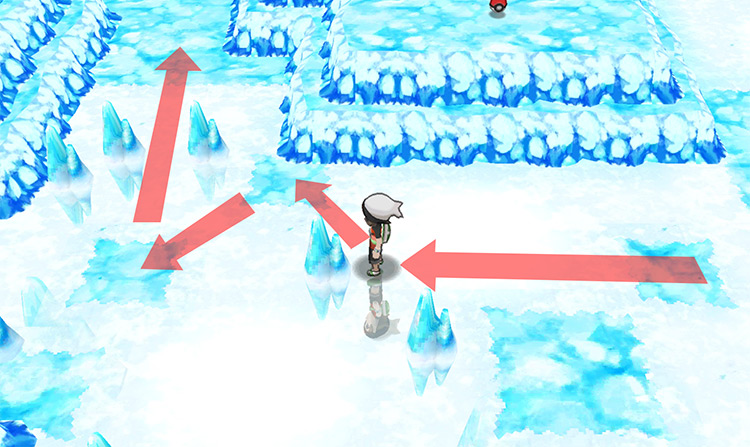
Step 9: After completing the first ice puzzle, you’ll encounter the second one here.
From the starting point in the left corner, slide diagonally to the right, then take the stairs up to a platform.
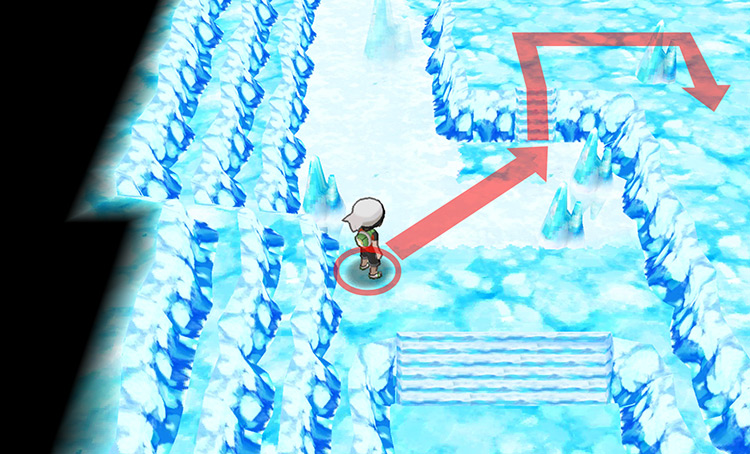
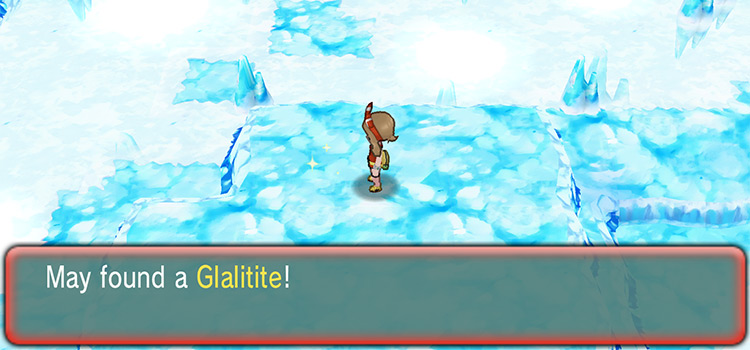
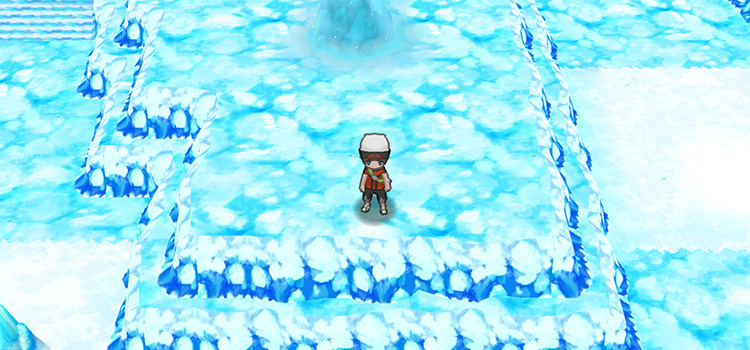
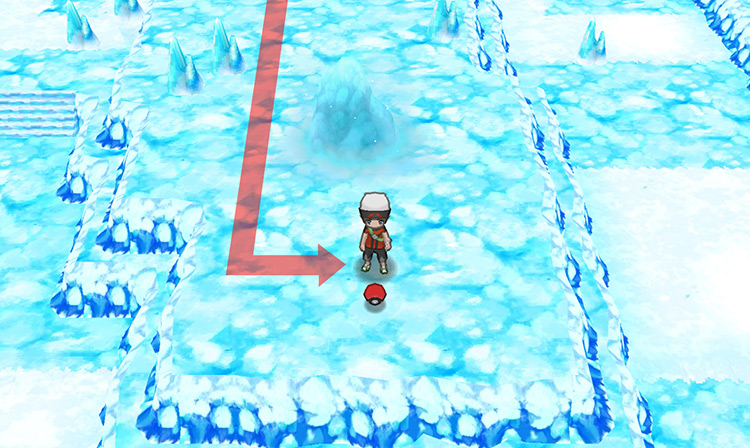
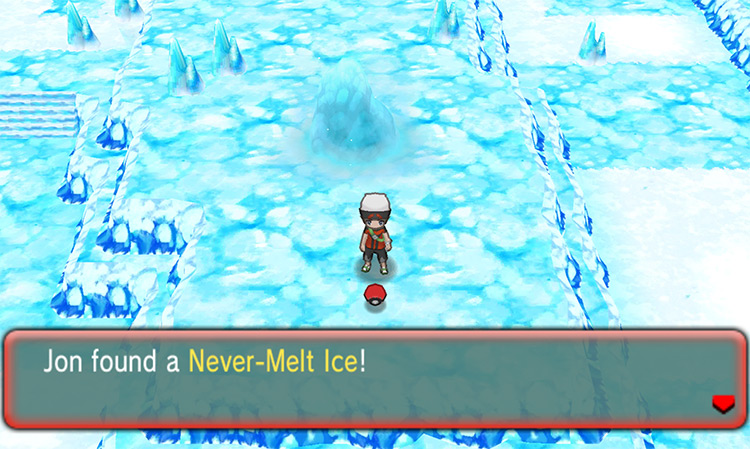
Step 10: Once you’re up the stairs, go south on this elevated icy platform. You’ll find the Never-Melt Ice at the edge of the cliff.
You can also find the Ice Rock here that allows Eevee to evolve into Glaceon.
Never-Melt Ice Uses
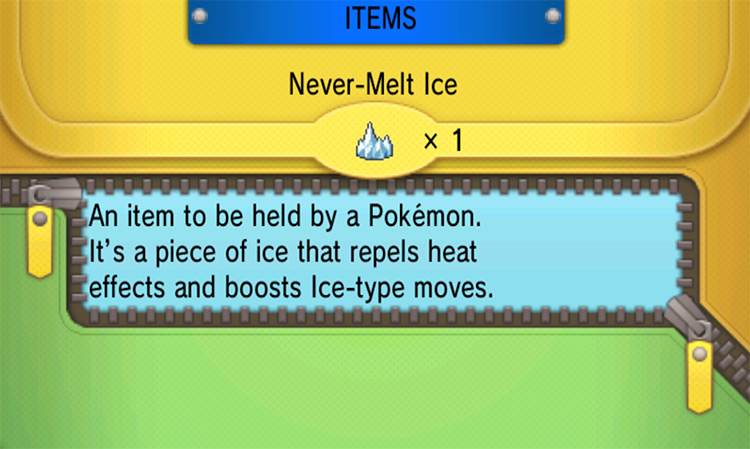
When held by a Pokémon, the Never-Melt Ice boosts its holder’s Ice-type moves by 20%.
After defeating Primal Groudon/Kyogre, the Never-Melt Ice can also be used to spawn Regigigas in the Island Cave if you have a Regice with a nickname holding it, along with a Regirock and a Registeel in your party.
The Never-Melt Ice is a viable held item for Ice-type Pokémon, especially if you want to play more offensively.
Ice-types generally have weaker defensive capabilities but are super effective against some of the most common types of Pokémon found in Hoenn, such as Grass and Flying types.
Coincidentally, in the same area where you can find this item, you can encounter a Snorunt. This evolves into a Glalie, and then a Froslass.
In Hoenn, Glalie is considered as one of the best and most well-rounded Ice-type Pokémon. So if you need an Ice-type for your team maybe pick one up while you’re here.
-
Pokémon ORAS
- Where To Get the Never-Melt Ice in Pokémon ORAS


