- Full Walkthrough
- Maya Road Entrance
- Following the Sechs Soldiers
- Going Down the Hole
- The Red Switch & Blue Switch
- Finding the Yellow Switch
- (Optional) Blitz Ability in a Treasure Chest
- The Green Switch
- (Optional) Falling for an Extra Treasure Chest
- (Optional) Rail Strike in a Treasure Chest
- Chasing the Sechs Soldiers (Again)
- Finding the Green & Purple Switches
- More Pillars & Switches
- Reaching the Boss Room
- Fiergaenger Boss Battle Guide
- Chapter Epilogue: Entering the Sechs Territory
| Summary Info | |
|---|---|
| Recommended Level | Level 65 |
| Monsters to Find |
|
| Field Items to Find |
|
Full Walkthrough
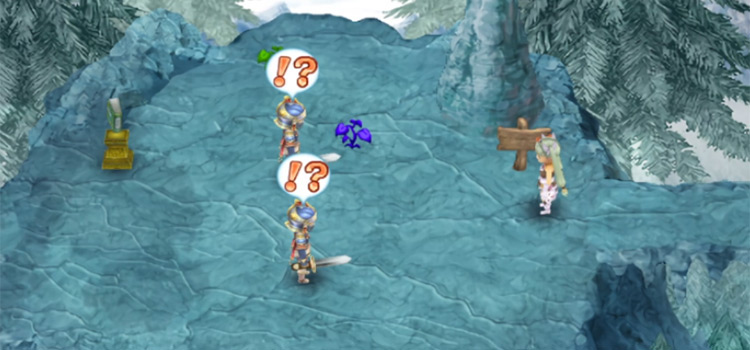
Your next task after Idra Cave is to chase after the Sechs soldiers.
Arthur should have given you directions to Maya Road, which is where the Sechs soldiers ran off to. But if you need clearer step-by-step directions to Maya Road then check out our guide here.
On the way to Maya Road, you’ll spot a Sech soldier walking towards the west. This will be a good indicator that you’re going the right way.
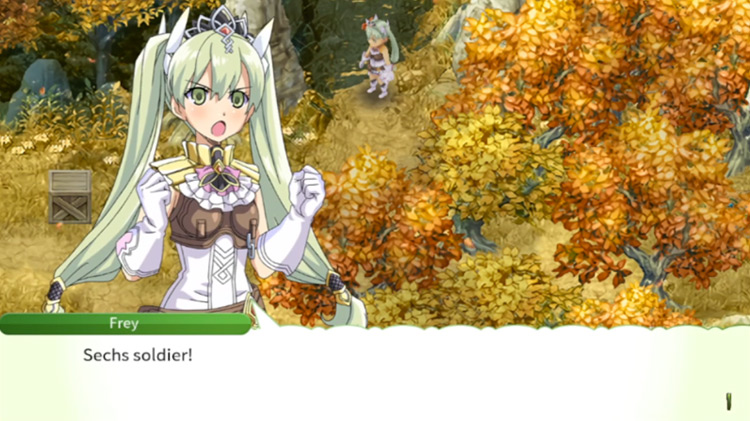
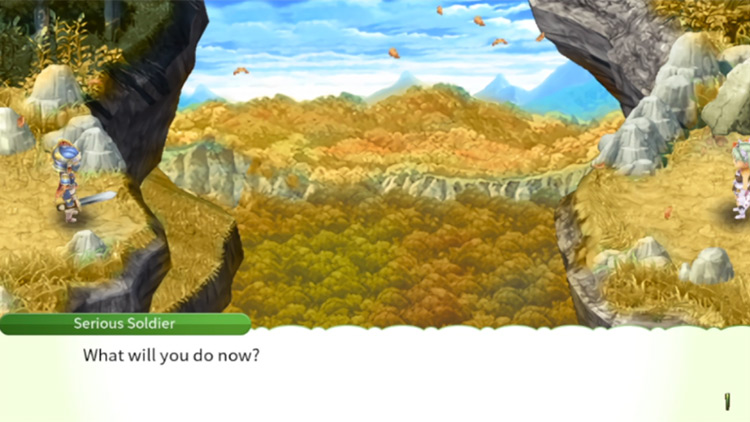
When you go after the Sechs soldier, a cutscene will play out and he’ll destroy Maya Bridge.
You’ll then need to find another way to get across.
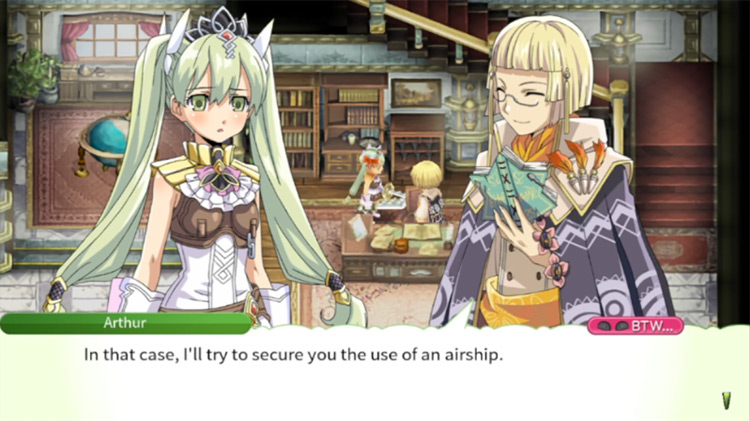
Return to Selphia Town and speak to Arthur.
You’ll explain the situation to him, and then he’ll give you access to an airship that will take you straight to the Maya Road Entrance.
Maya Road Entrance
When you’re done speaking to Arthur, head to the Telecommunicator next to the airship parked north of your field. You can use the Telecommunicator to teleport straight to the Maya Road Entrance.
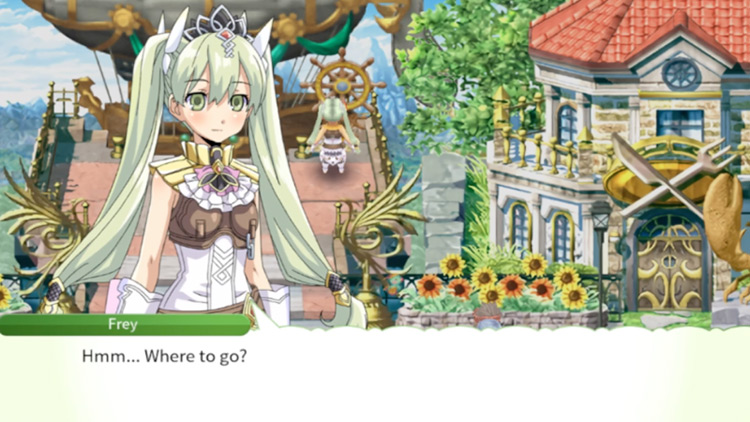
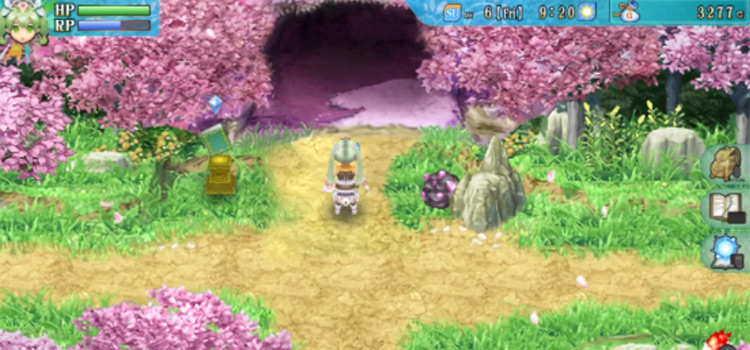
The Maya Road Entrance will have a house for sale along the north edge.
But you can head for Maya Road by taking the path to the west.
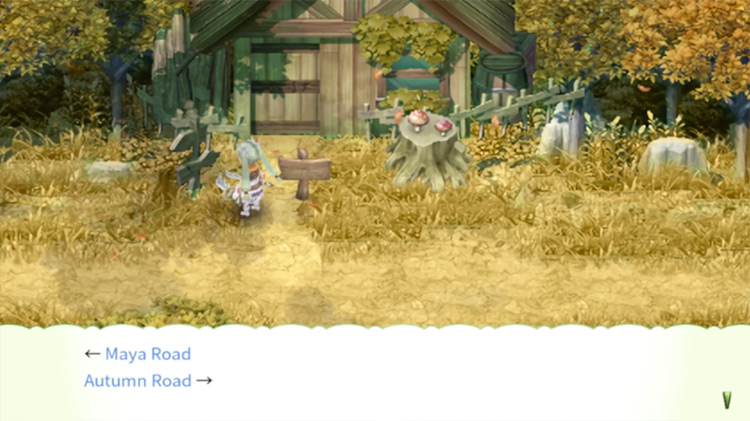
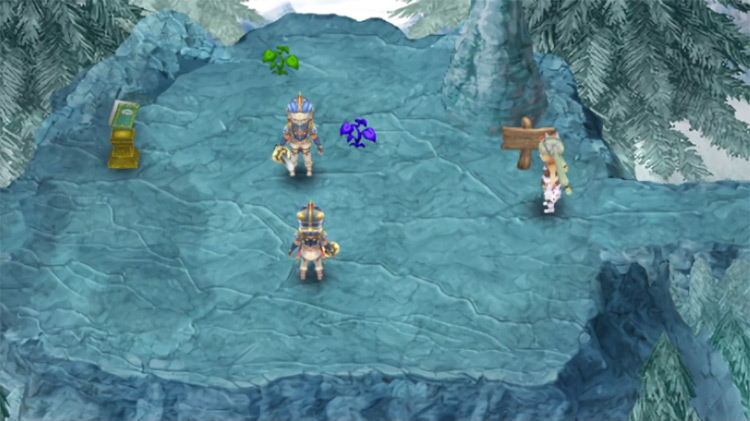
When you get to the next area, the terrain will change and you’ll find some Sechs soldiers.
After you watch the short cutscene, the soldiers will run off.
But before you chase after them, feel free to save using the journal found here.
Make sure you also have spells equipped! Some of the enemies here are immune to physical damage, so magic will be your friend.
Following the Sechs Soldiers
When you’re ready, head after the Sechs soldiers by going through the path on your west.
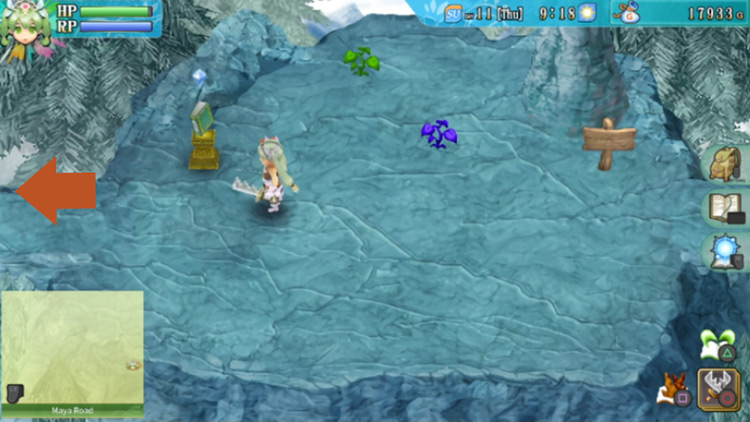
You’ll then start seeing the mobs of this area for the first time. From this first area, head north.
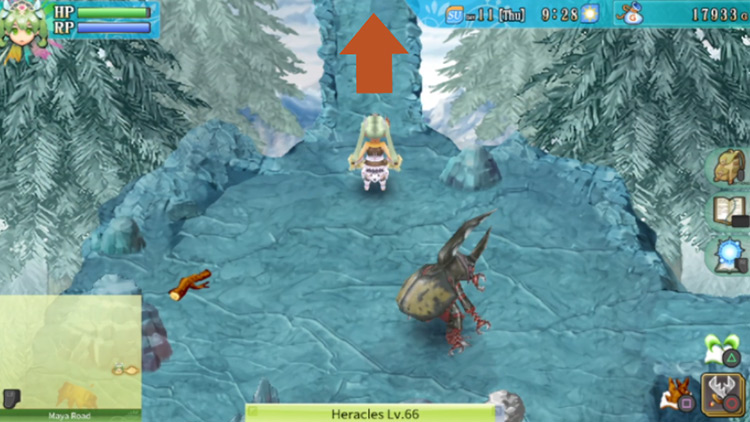
In the next area there’s a bunch of colored grass sprouting out from the ground on the east side. Head up north from here.
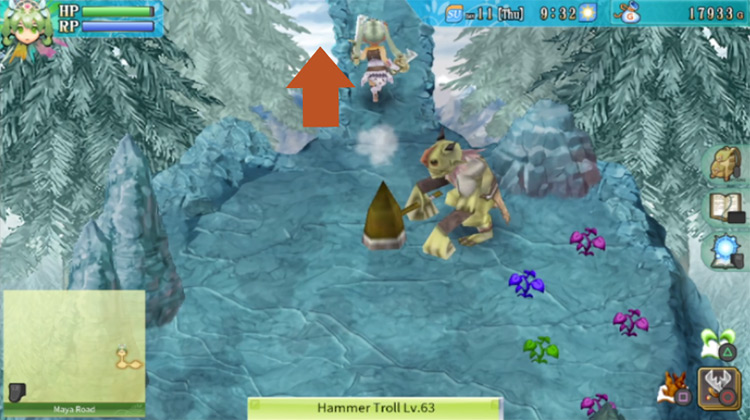
The next area will have a barrier blocking your way on the west.
You’ll need to clear the area first before you can proceed.
Tip: If you find a Tornado Gate here, use a non-wind spell on it. These gates are immune to physical damage.
Once the barrier is gone, head west.
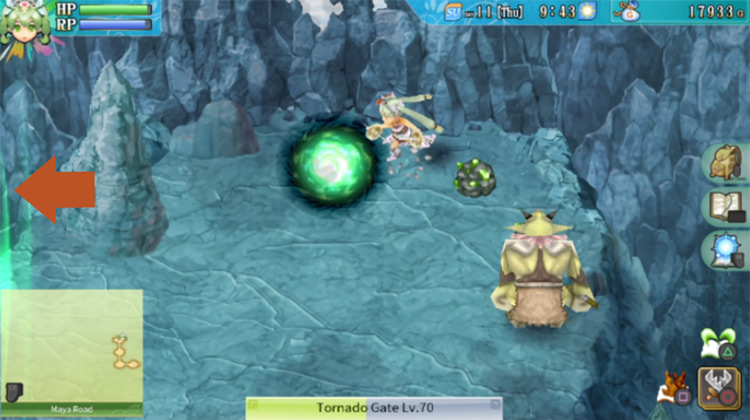
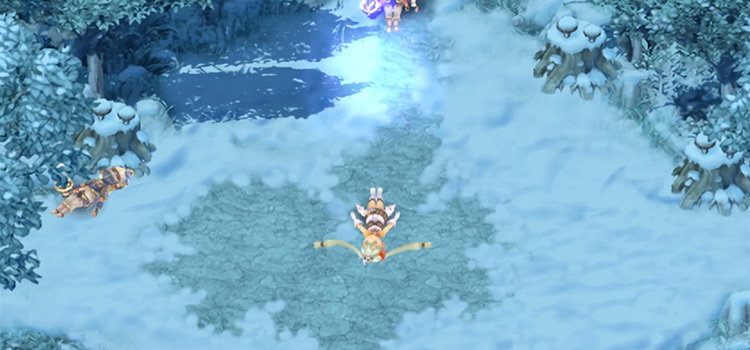
The next area will have strong gusts of wind coming from the north. You’ll find it a bit difficult to move with the wind pushing you south.
All you need to do here is to head all the way to the west again.
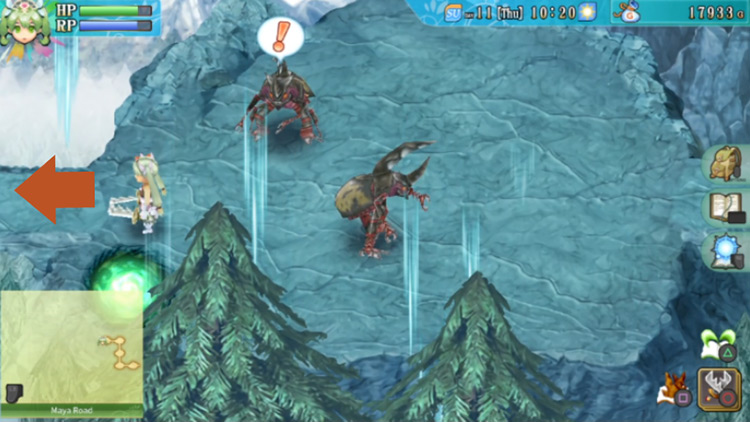
You’ll then see the Sechs soldiers again in a short cutscene.
Here, they’ll go through the path up to the north.
But before you can follow after them, they’ll activate the red pillar which will block the path up to the north.
So instead of going that way, you’ll want to jump into the hole on the ground just south of the pillar.
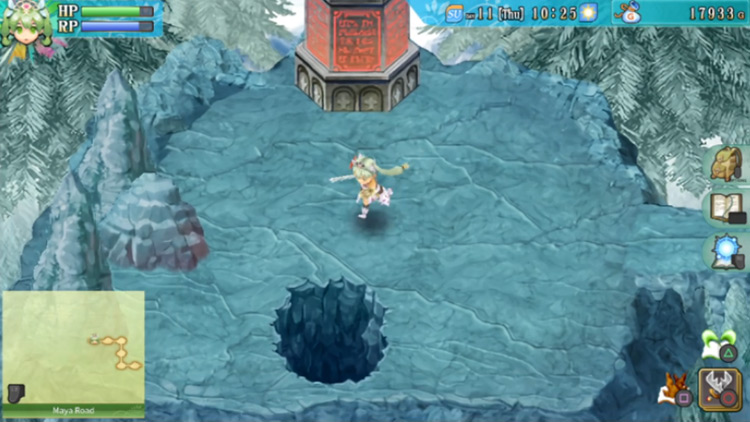
Going Down the Hole
You’ll end up in a cave once you jump through the hole. There are a couple of mineable minerals in this room if you’d want to snag any.
Then head south when you’re ready.
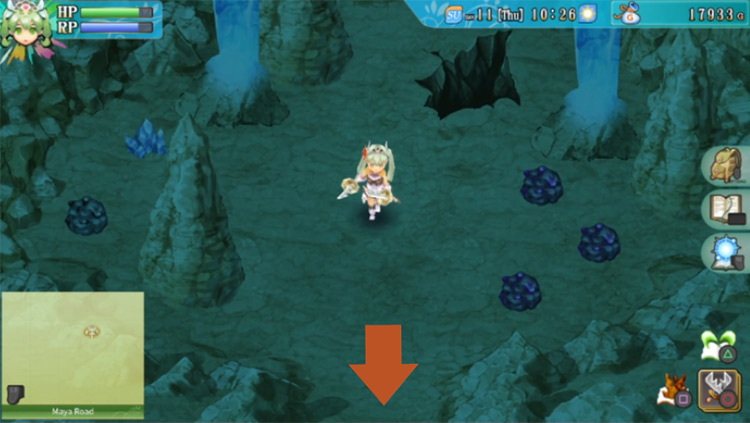
A barrier will be blocking your way going west in the next area.
So your next move is to head east first.
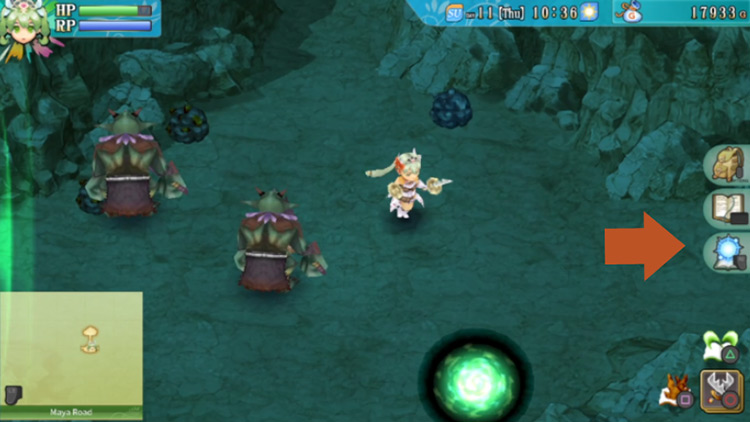
When you get to the next area, you’ll find a yellow pillar blocking your way to the south. To get rid of this pillar, you need to push the button found on the right side of the room.
The cracks on the ground will be blocking the way to the button, though. So throw an item that’ll land on the button to activate it.
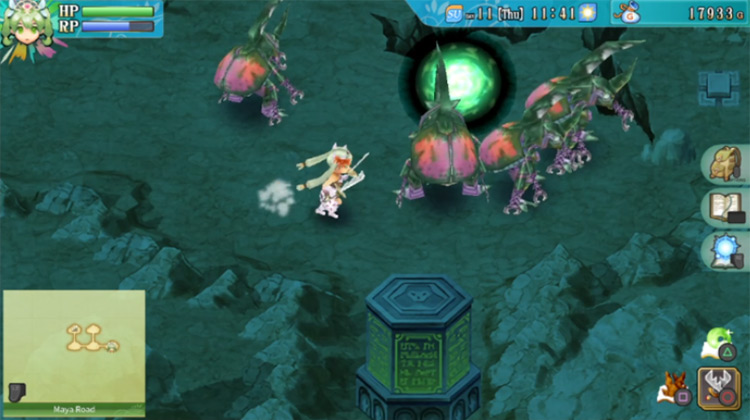
When you’ve done that, the yellow pillar blocking the path will be gone and you can head south.
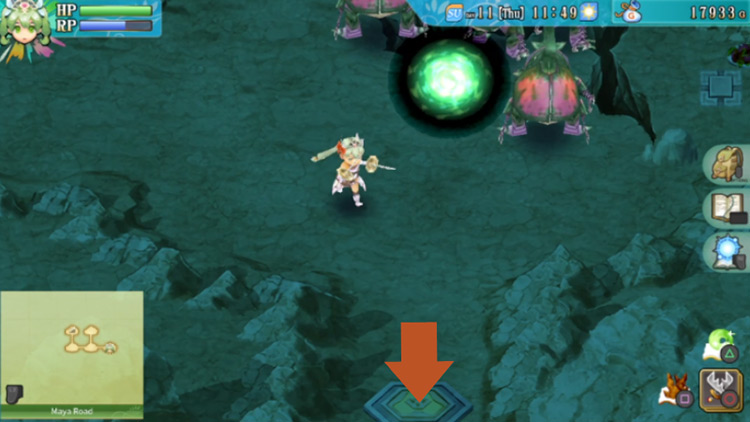
In the next area you’ll find a treasure chest on the right-hand side of the room. Open it to find a Mediseal spell.
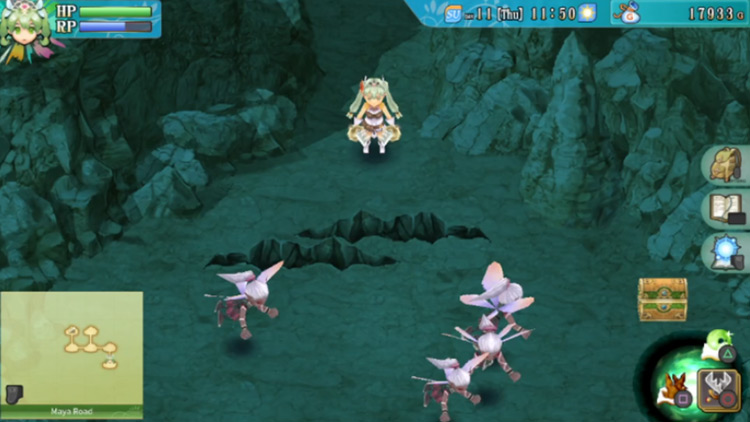
Once you’ve picked that up, head back to the previous room with the barrier and work on clearing that area of enemies to dispel the barrier.
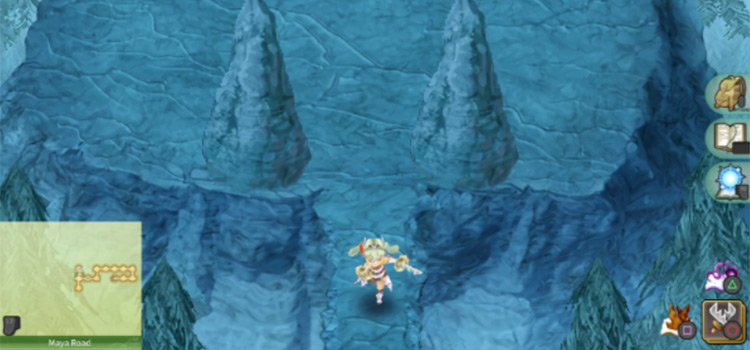
Once the barrier is gone, head west (see the map screenshot below for the exact location).
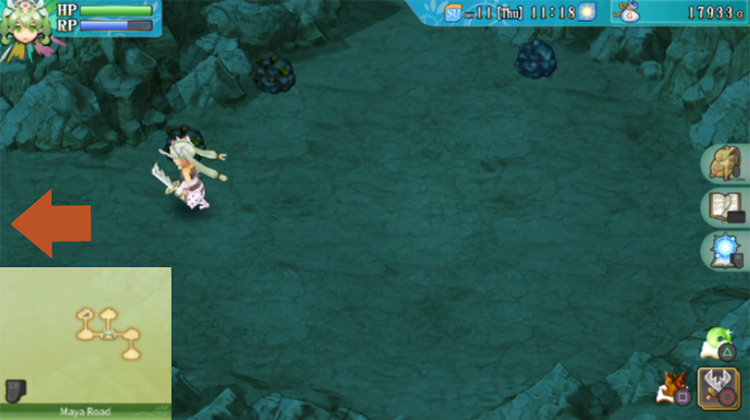
When you get to the next room, just head straight up north.
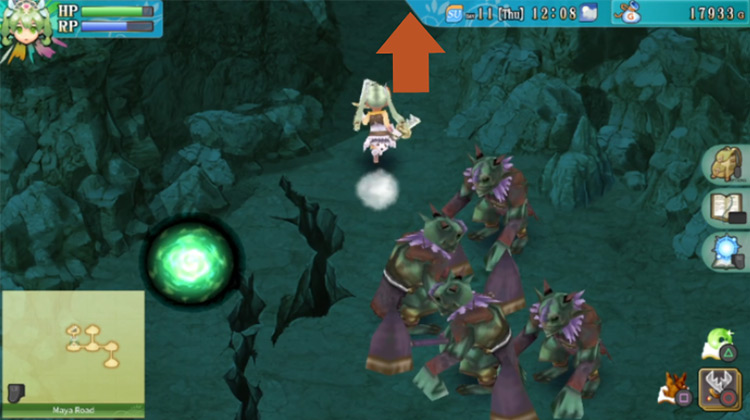
The next area will have more minerals you can mine on the ground. There’s also a staircase here that you’ll need to climb, so head up when you’re ready.
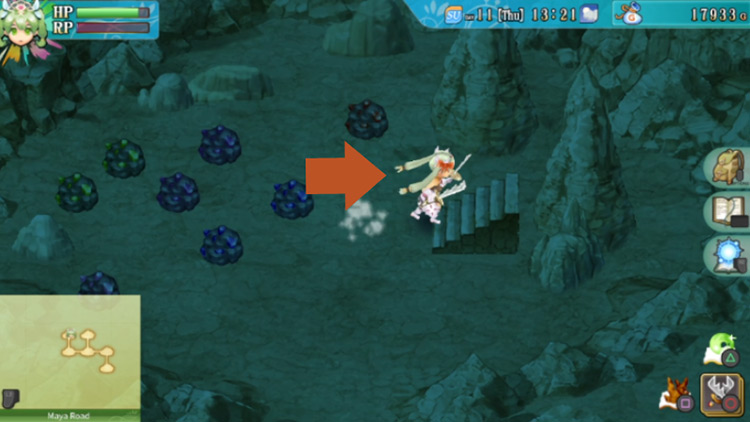
The Red Switch & Blue Switch
Once you’re up the steps, you’ll find that you’ve made it to the other side of the red pillar.
So just push the red switch in the upper right corner of the platform – this will allow you to head back toward the previous areas.
So when you’re ready, head west.
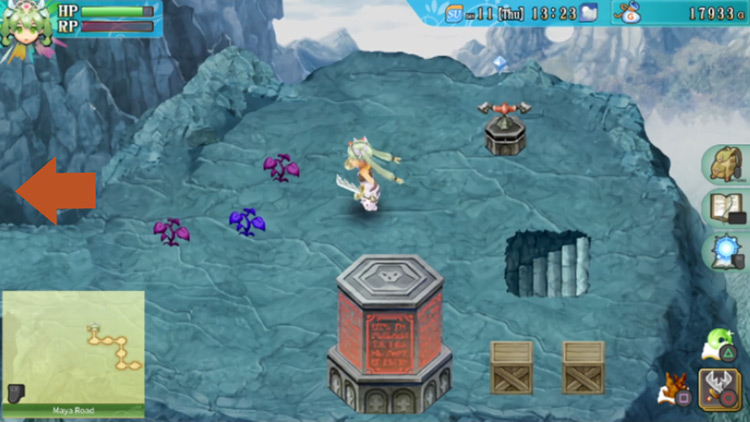
The area in the west will have strong gusts of wind blowing at you from the north.
A blue pillar will also be blocking your way on the west.
Make your way down to the path on the southern side to continue.
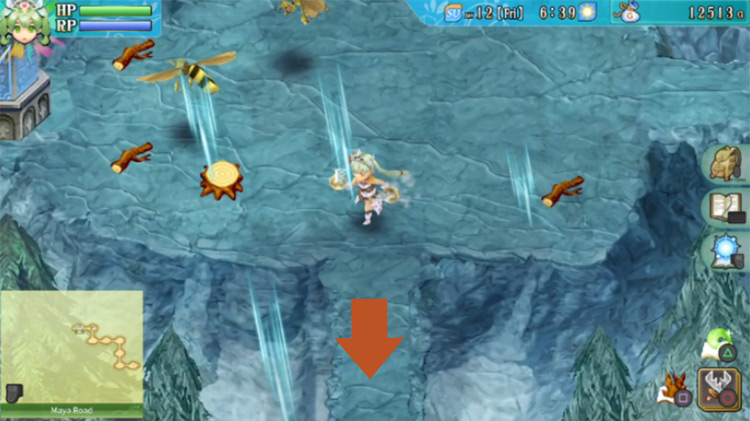
Once you enter the next area, you’ll fall into a huge hole in the ground – and this is exactly where we want to fall.
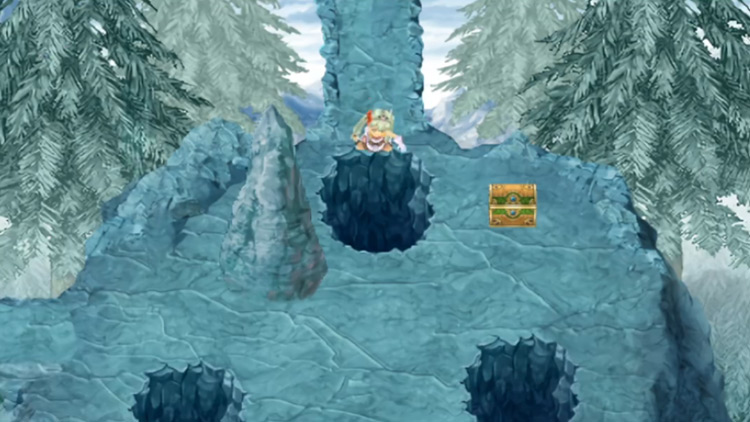
You’ll end up in another cave. A barrier will be blocking your way on the west in here, so you can’t go that direction yet.
First, you might want to get a treasure chest in an optional area of this cave. Go south to head towards the treasure.
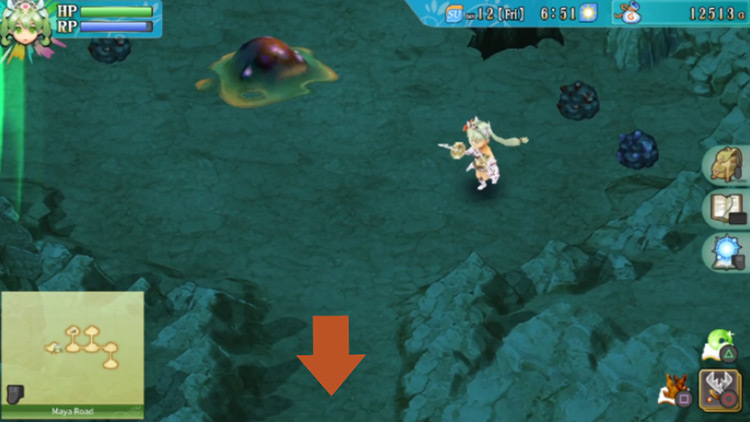
A barrier will be blocking the path heading west in the next area, so just defeat all the enemies in the area in order to get rid of the barrier.
Once the barrier is gone, head west.
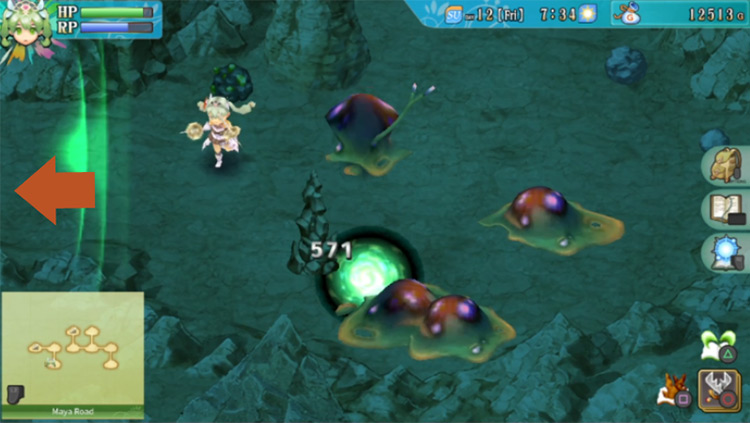
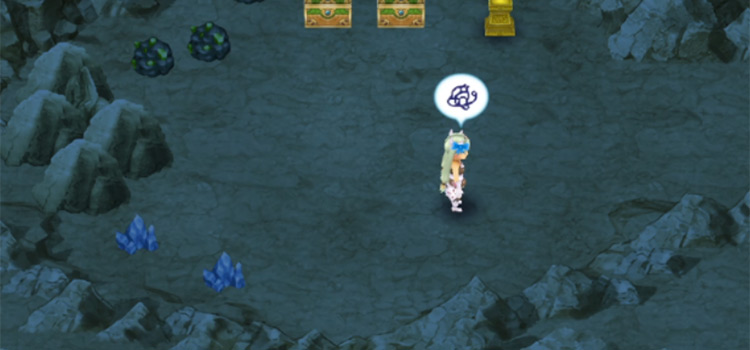
You’ll notice that the next area will only have enemies. A treasure chest will appear once you clear the area, and inside the chest you’ll find a Delta Strike ability.
Once you’ve picked it up, head back to the right & then go north to return to the original area with the barrier.
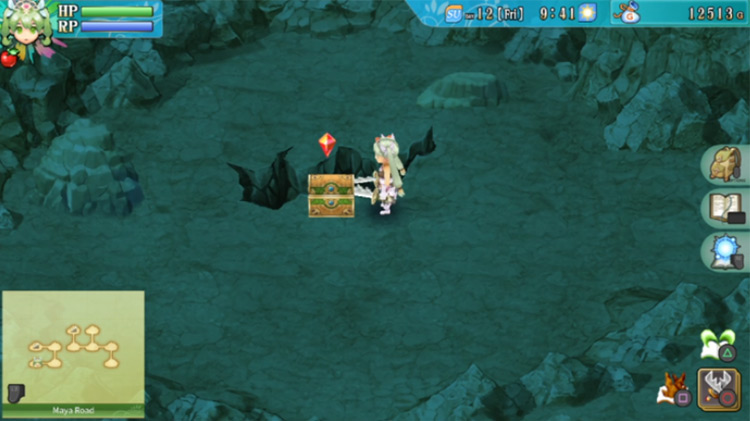
Now work on dispelling the barrier by clearing all the enemies in this room.
Once the barrier is gone you can head to the west.
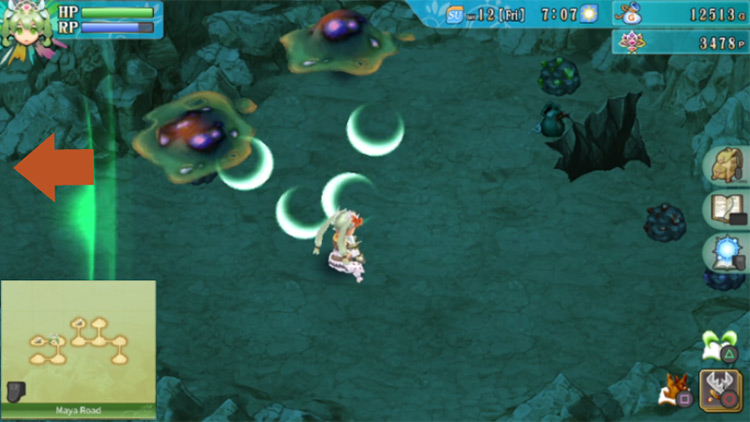
You should find a staircase all the way to the western side of the next room.
So head over there and take the steps and go back up to the surface.
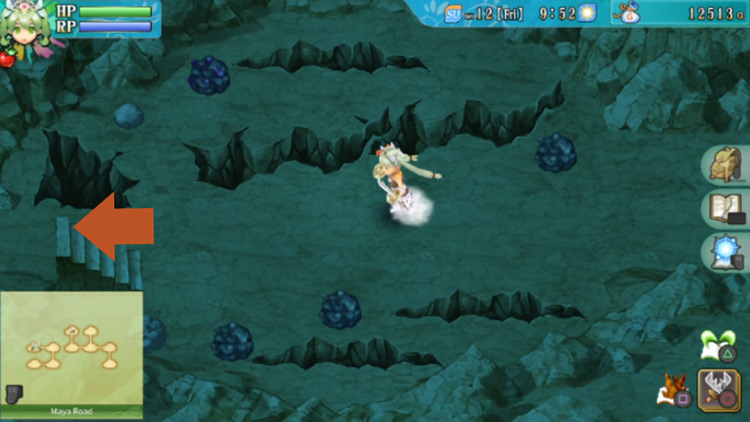
You’ll find yourself on the other side of the blue pillar this time.
Make sure to push the blue switch found on the right side of this area before you proceed.
Once you’ve pushed the blue switch, you can proceed to another optional area for another chest. Head south to get there.
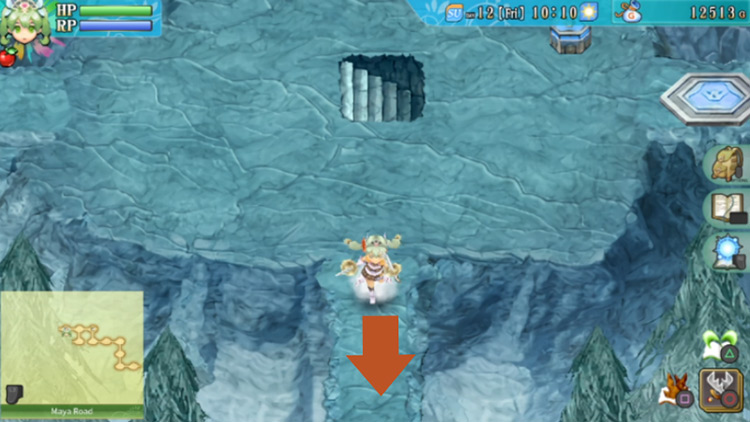
You’ll notice a huge hole in the center of the next area, but we do not want to enter this one! So make sure not to fall in or you’ll end up back in the cave you were in earlier.
Carefully make your way to the eastern path.
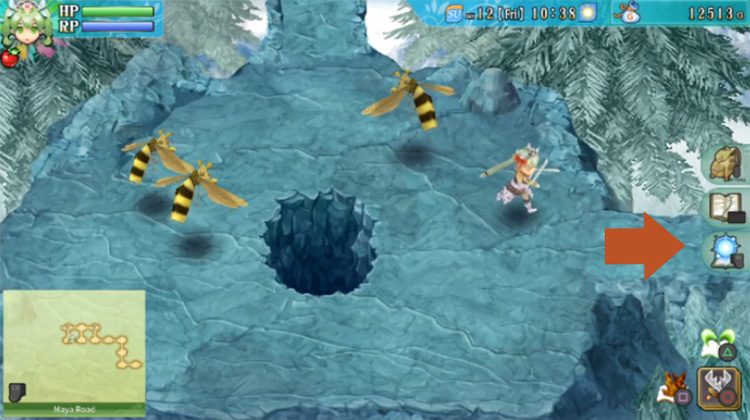
You’ll then find yourself in the area with a chest all the way in the upper right corner.
Strong gusts of wind will be blowing at you from the north, so carefully make your way to the chest to find pineapple seeds.
Note: If you fall into any of the holes, you’ll end up back in the cave from earlier and you’ll have to retrace your steps back up.
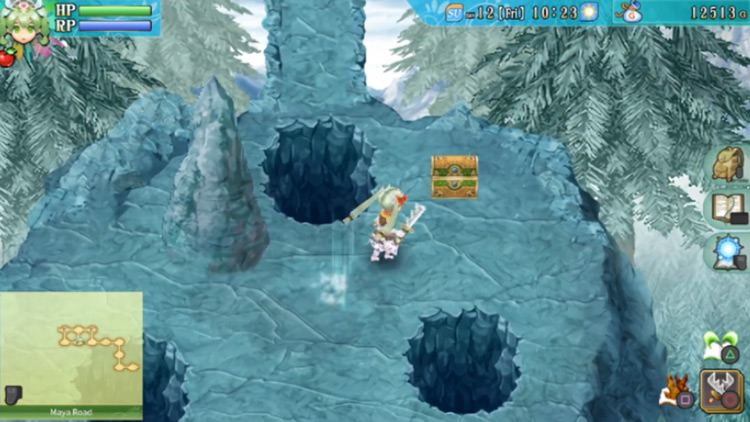
When you’re done, head back to the area with the blue switch. You’ll need to head west from there.
Finding the Yellow Switch
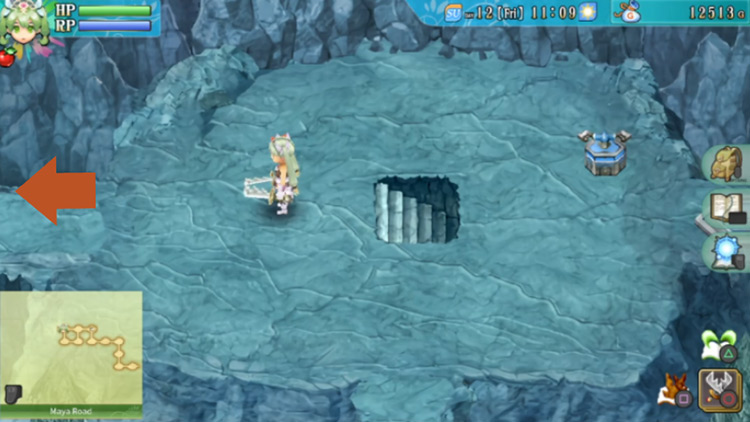
In the next area, there’ll be a path all the way to the west. You’ll also find a staircase heading underground again.
The path on the western side will prove impassable due to strong gusts of wind. So take the stairs to head underground instead.
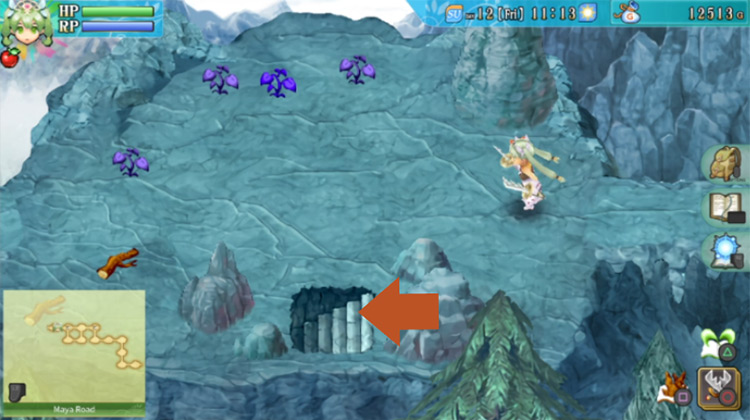
Once downstairs, you’ll be in another cave.
From here, take the path heading west.
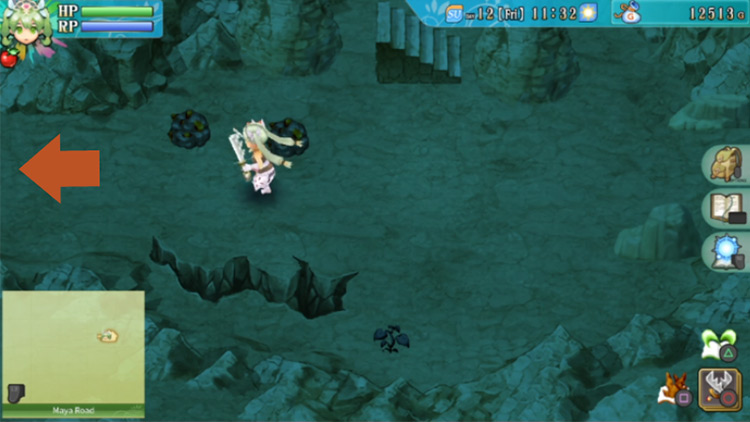
In the next room you’ll see a treasure chest along the southern edge of the area. A crack in the ground will be blocking your way to it, though. So you’ll need to find another way to get to the chest.
Head west from here.
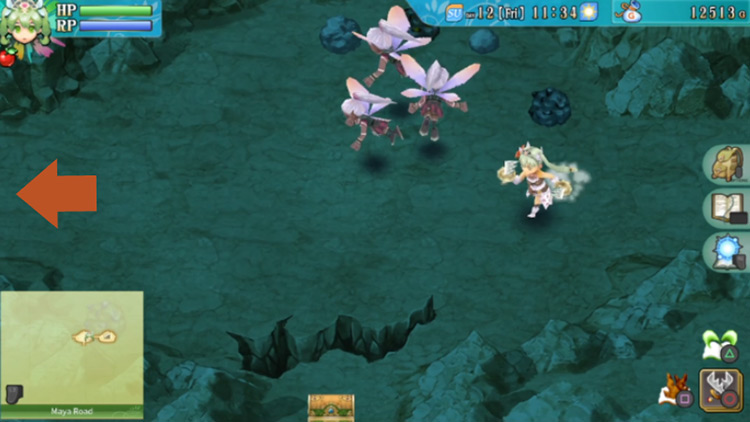
When you get to the next room, head south.
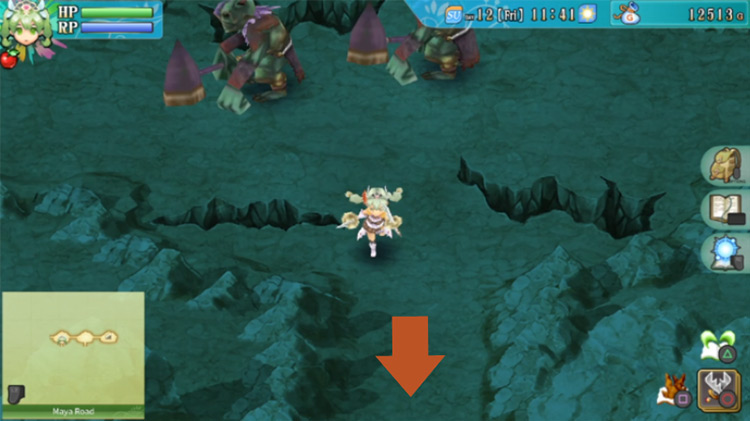
You’ll find yourself in a room with a group of boulders lying in the upper right corner. A barrier will also be blocking your path heading east.
Clear all the enemies in the area, then head east.
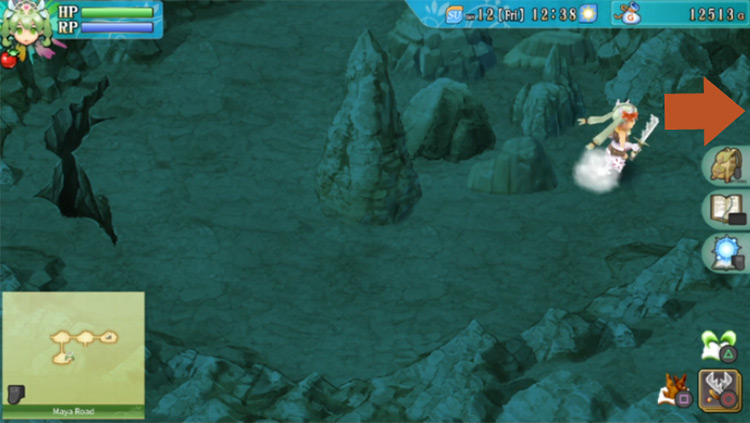
To get to the chest, you’ll need to dispel the barrier blocking the path towards the north.
Just clear all the enemies in the area to get rid of the barrier. Once it’s gone, head north towards the treasure chest.
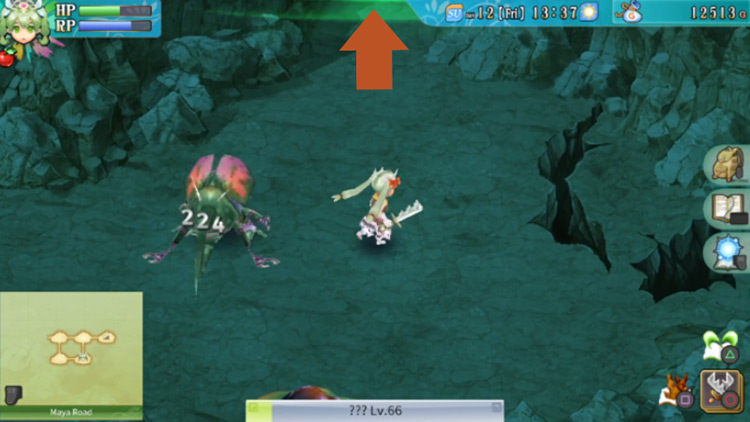
The chest will be right in front of you once you go through the path. You’ll find a spell called Dark Snake inside the chest.
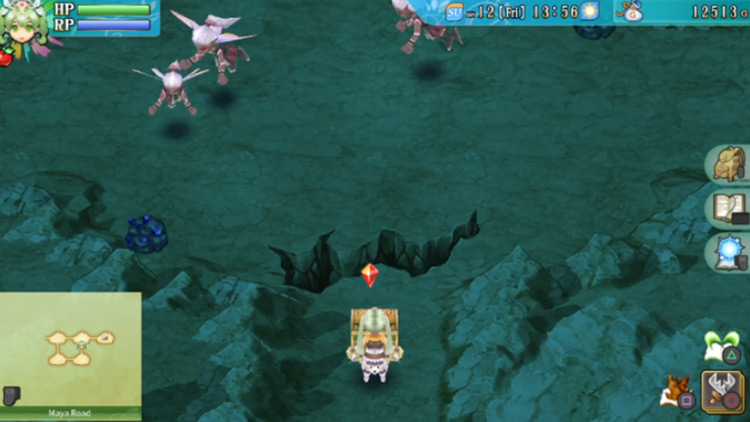
Once you have that, just go all the way back to the area marked on the map below.
From the treasure you just opened, simply follow these steps to reach the proper area:
- South
- West
- North
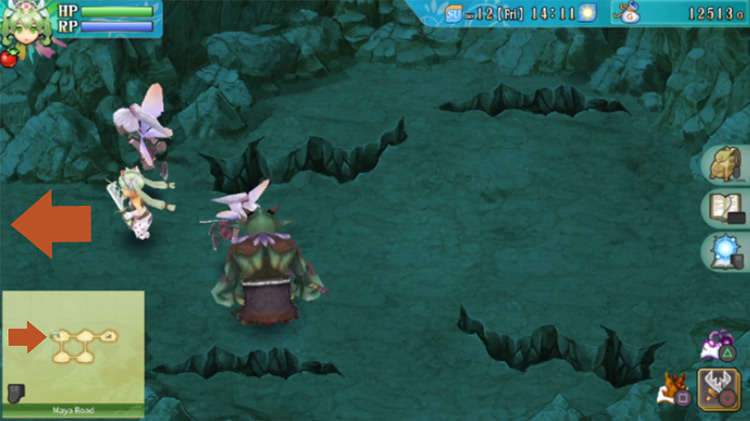
Once you’ve made it back to this area, head west.
Then you’ll notice another staircase heading up. Go up the steps.
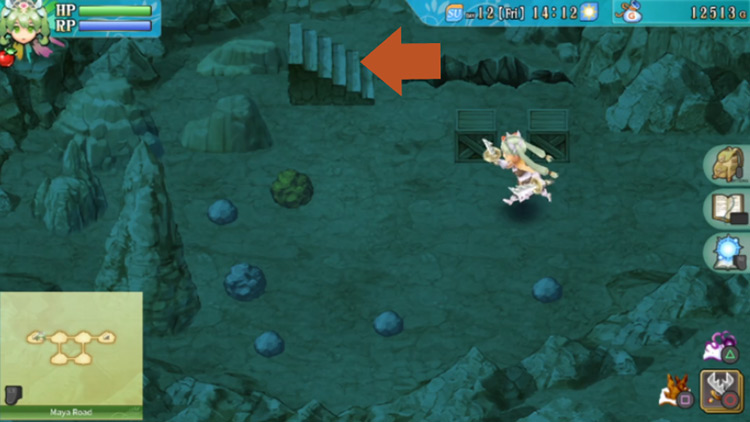
Once you’re back outside, you’ll see a yellow switch and a journal.
Push the yellow switch to activate a portal that can take you back to the entrance of Maya Road — but we don’t need to take that portal yet since we’re not done here!
(Optional) Blitz Ability in a Treasure Chest
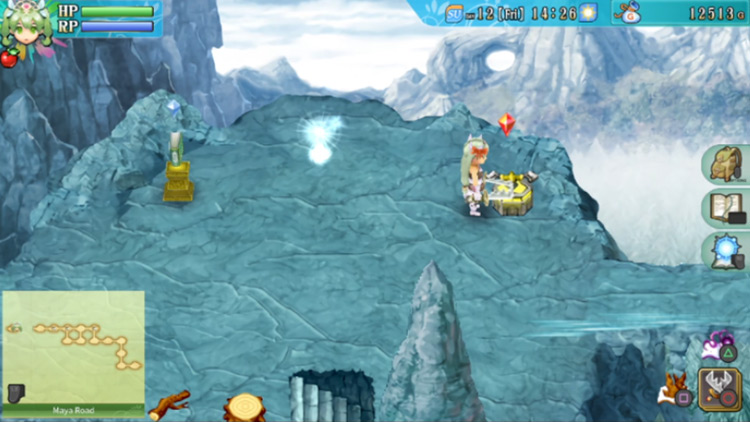
If you travel to the east, in that area you’ll find a strong gust of wind blowing at you from the west. You’ll be pushed all the way to the east as you stay in this area.
If you want the treasure chest along the upper part of this area, it’ll take a bit of effort and proper timing.
If you can make it to the upper right corner of the area, spam your dash key quickly until you can make it next to the chest, and then open it to find a Blitz ability.
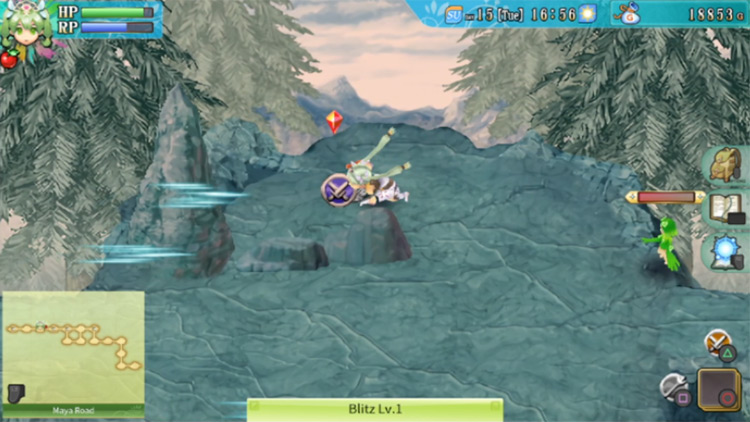
If you fail to get to the chest, you can keep trying by teleporting back to the entrance of Maya Road and then taking the portal back to the area with the yellow switch.
The Green Switch
Whenever you’re ready to proceed, head west from the Yellow Switch area.
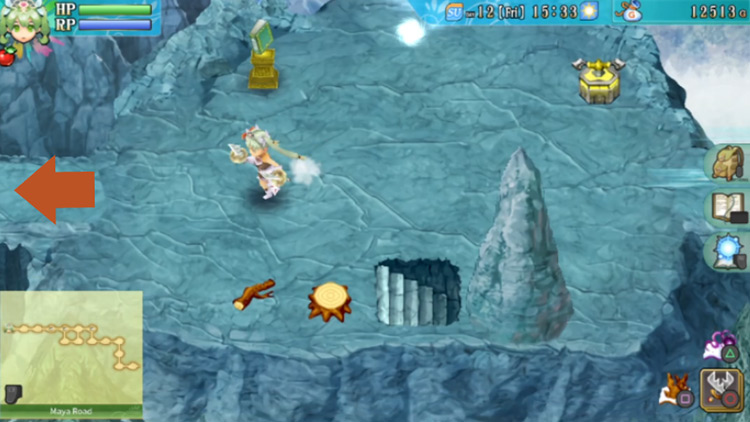
Next up, you’ll see a green pillar blocking your way in the west.
So go north here.
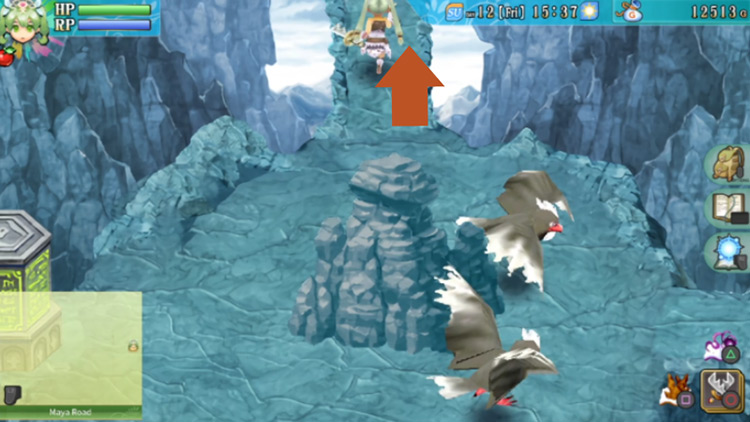
Next, go through the path on the west.
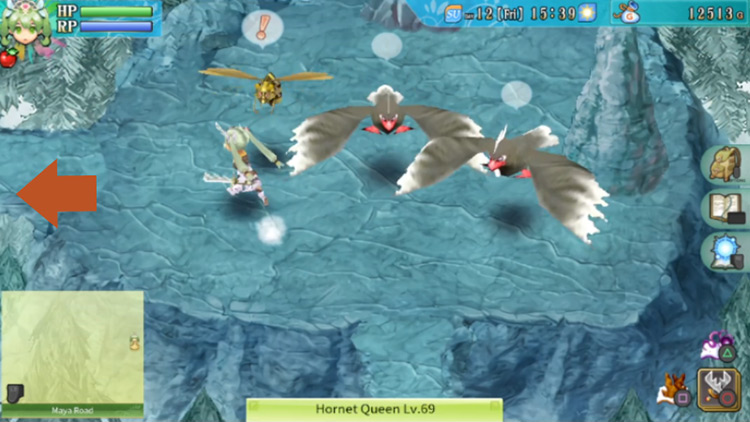
The next area will have gusts of wind blowing in from the north. There will also be three huge holes in the ground that you can fall into.
The way forward is via one of these holes, but you’ll need to reach a specific room in the cave that you fall into.
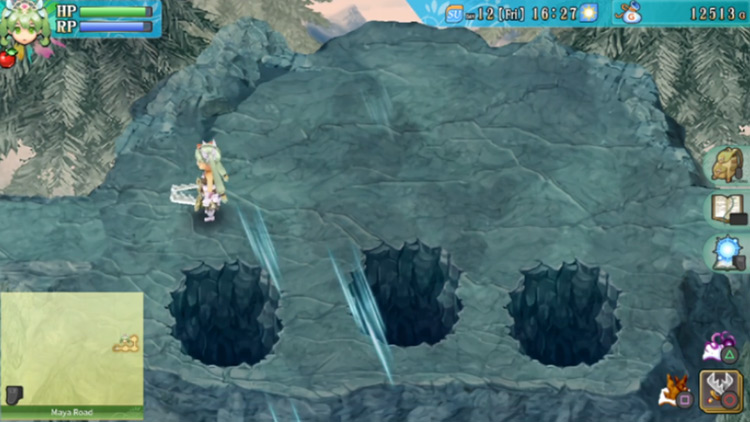
When you fall through one of the holes, you’ll end up in a cave with four areas (check the map in our screenshot below).
If you want to return to the surface, head up the stairs in the third room on the map of the cave. More specifically, this would be the third room counting from the left-hand side of the map.
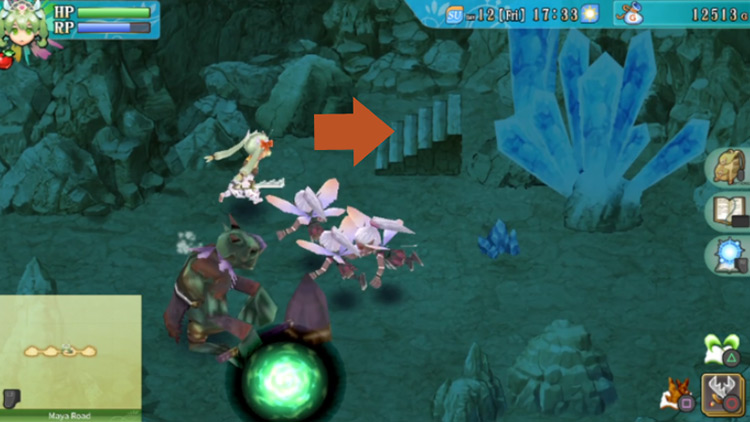
Once you make it to the surface again, you’ll need to head east.
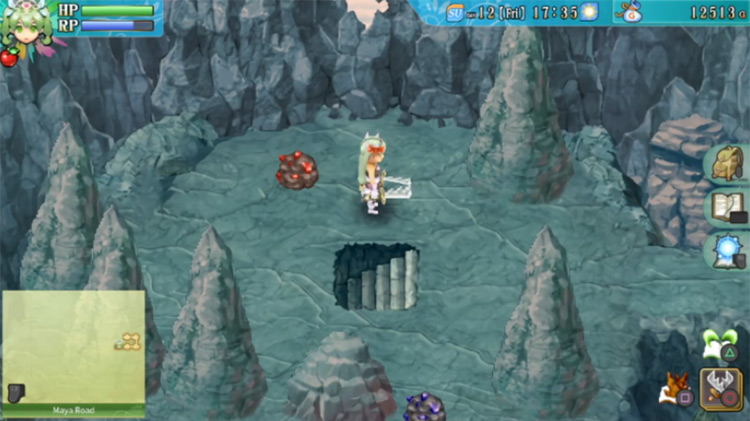
The next area will have the switch to the green pillar you saw earlier. Push the switch, then head east.
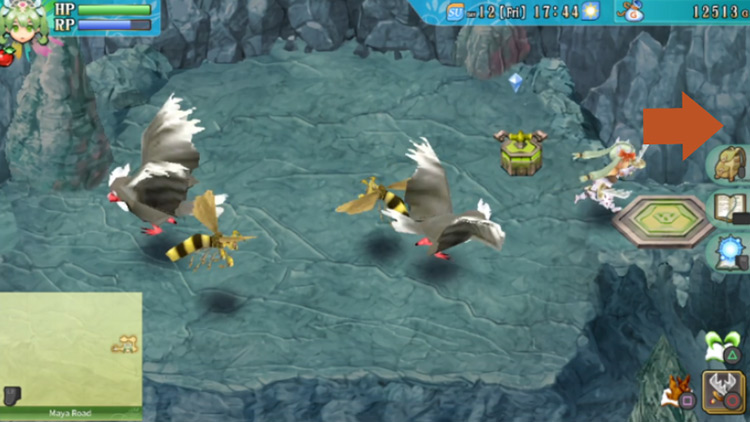
Now follow the map up, then over to the left to make it back to the area with the three holes in the ground – but avoid the holes this time!
Instead, carefully make your way following the path to the west.
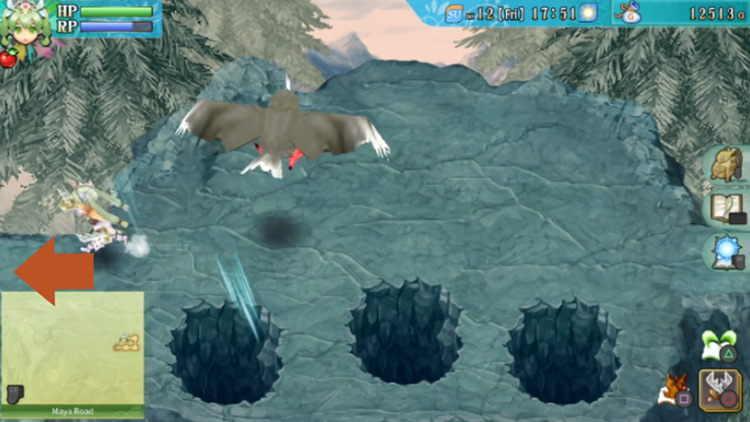
The gusts of wind from the north will continue to push you south in the next area.
You’ll need to work on dispelling the barrier on the western edge by clearing the enemies here while moving against the wind.
When you’ve done that, head west.
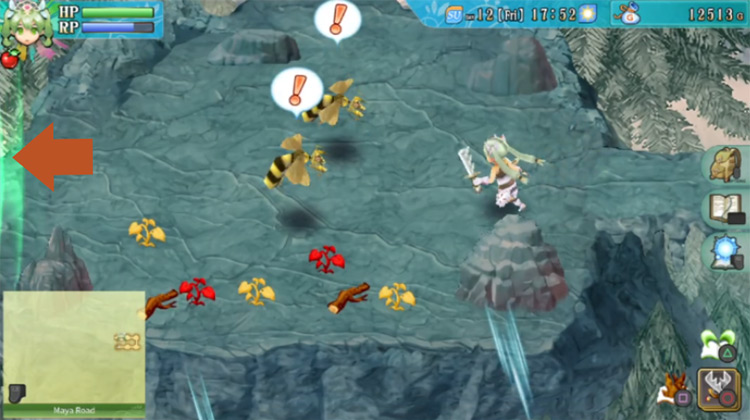
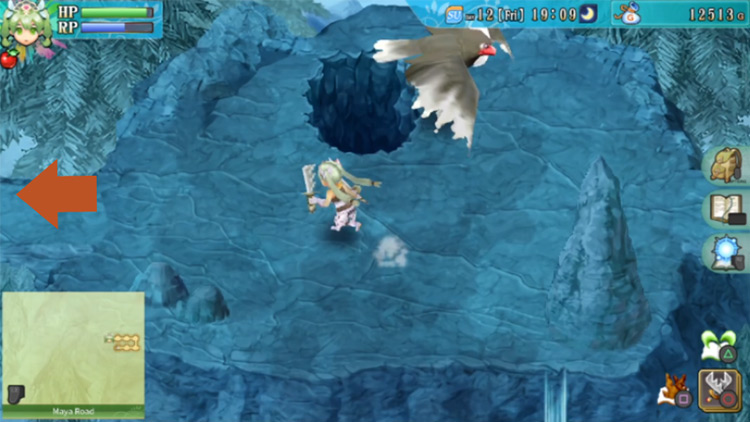
In the next area you’ll notice a big hole leading back into the cave, but you can avoid this one.
You just need to head all the way to the path on the west here.
(Optional) Falling for an Extra Treasure Chest
Next up, you’ll see an area with a treasure chest in the upper left corner.
But when you try to reach the chest from below, the ground beneath you will cave in and you’ll fall back into the cave (this is OK).
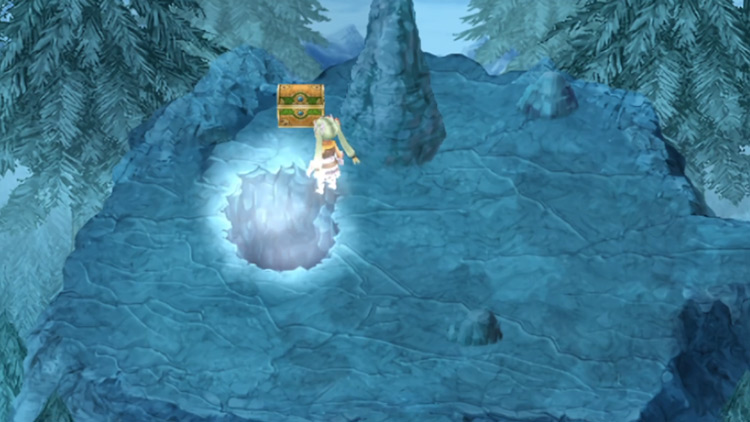
Don’t worry if you fall in, because this hole leads you to the treasure chest that was inaccessible in the cave from earlier. In this chest, you’ll find Gloves.
Then to get out of this area just take the portal on the right.
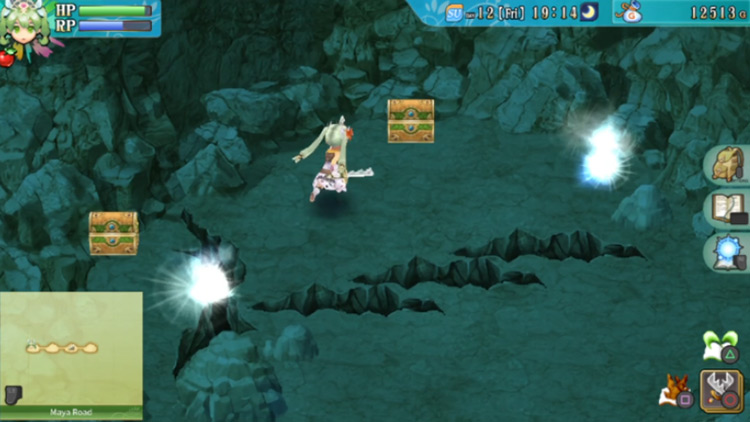
Then head all the way back to the area you fell from.
(Optional) Rail Strike in a Treasure Chest
If you avoided falling in the hole (or once you’re back to the upper chest area), then you can access a chest with money in it by passing above the spiky rock next to it.
You’ll find 23000G inside.
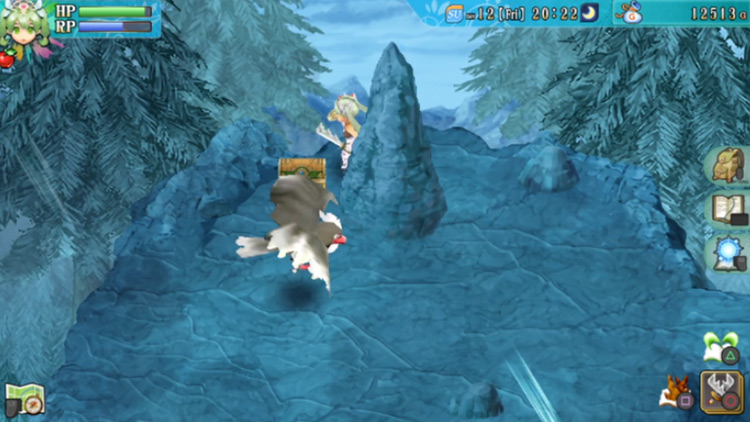
To get to the other chest in the lower part of the cave, head to the lower left section of this area. A hole will appear and you’ll fall in.
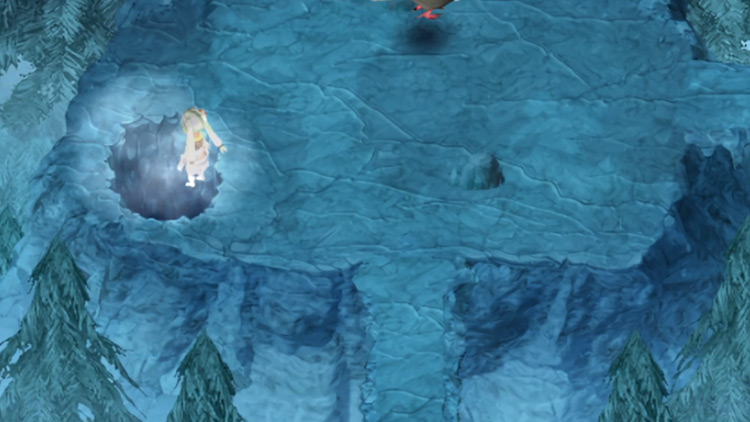
When you get to the bottom in the cave, open the chest nearby to find a Rail Strike ability.
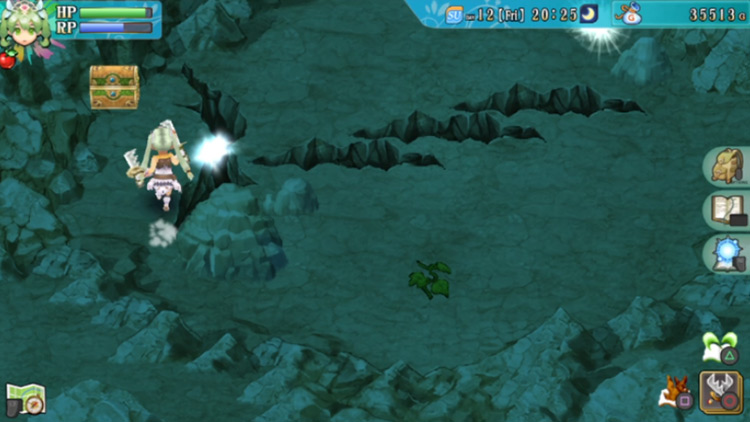
You can exit this place by taking the portal on your right.
Chasing the Sechs Soldiers (Again)
Go all the way back to where you fell from with the original chest, and whether you picked up the chests or not, you want to head south to continue with the walkthrough.
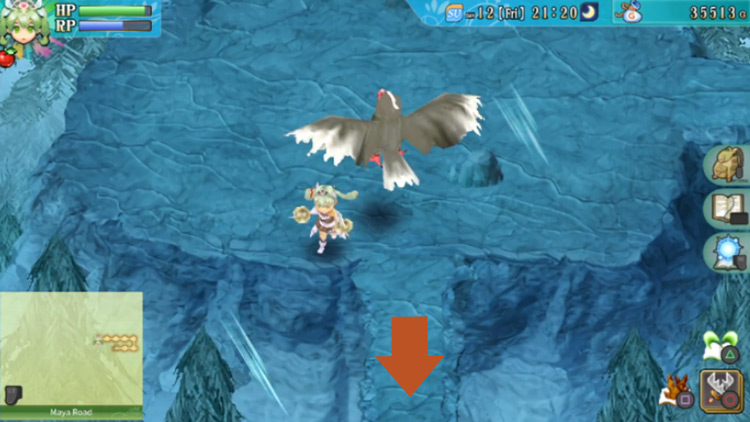
The next area will have a journal you can use to save.
There will also be a green switch in the lower right corner of the area. Push the switch to activate another portal that you can use to go all the way back to the entrance.
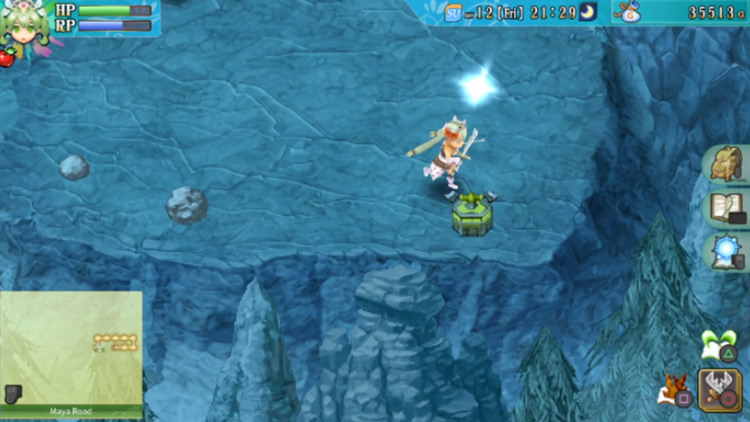
When you’re ready, exit this area by heading west.
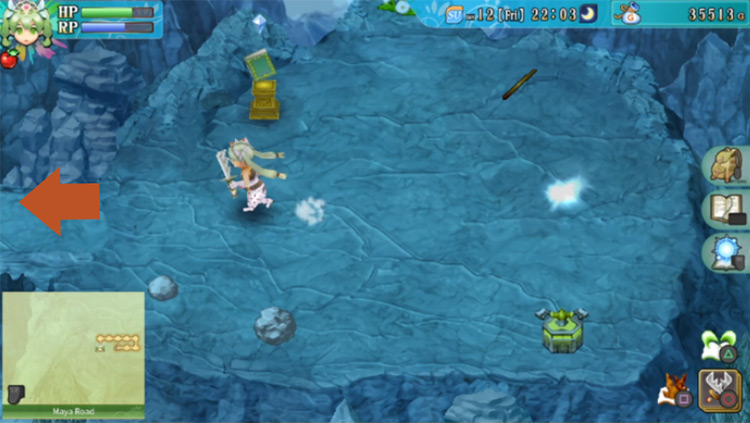
You’ll then find yourself by a large pond.
Circle around the pond and head through the path on the west.
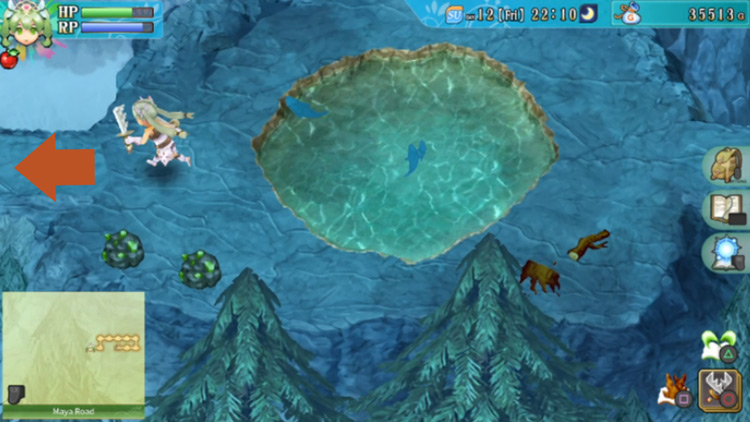
You’ll find that you’ve caught up to the Sechs soldiers once you enter the next area.
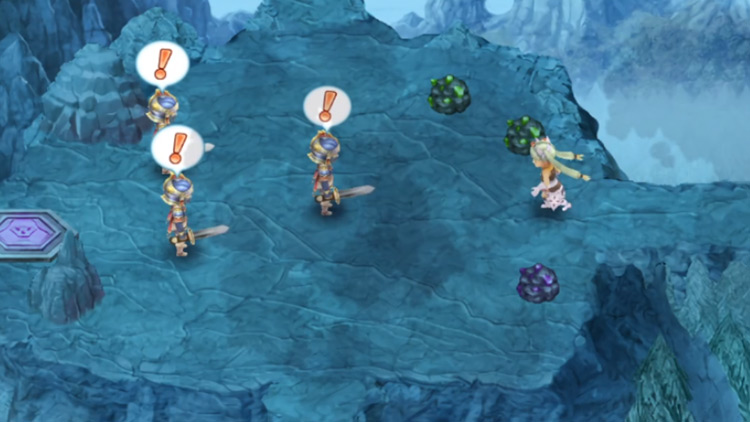
The soldiers will escape to the west and will block the path with a green and a purple pillar.
You’ll need to look for the switches for both of these pillars to move forward.
Finding the Green & Purple Switches
Head directly south to get to the purple switch.
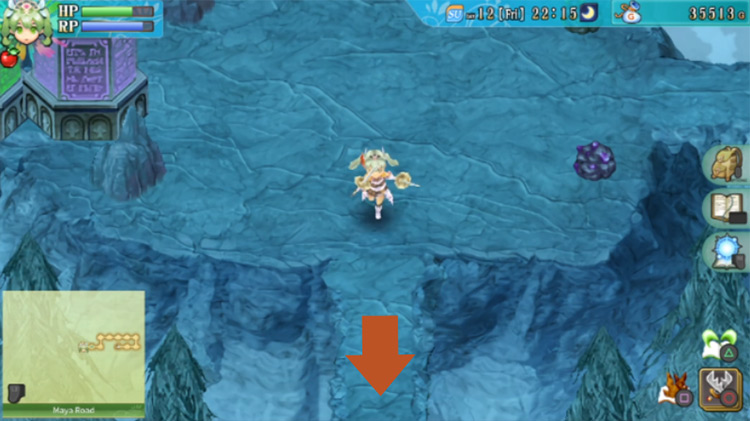
But the purple switch will be along the south edge of the next area. And a barrier will also be blocking your path back.
Clear all the enemies in the area, then push the switch. Once you’ve done that, head back to the previous area in the north.
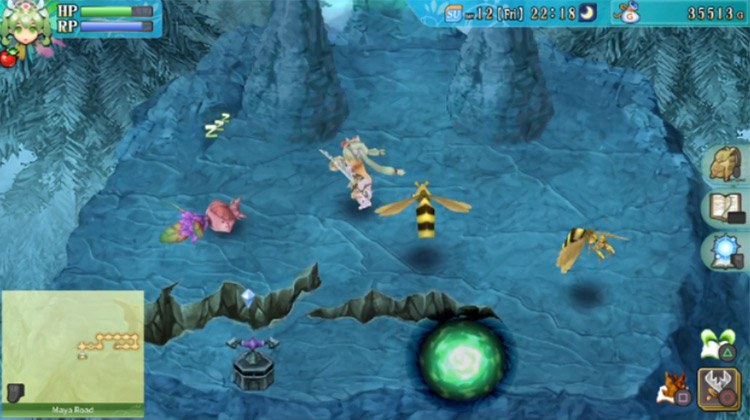
Now head north again to get to the area with the green switch.
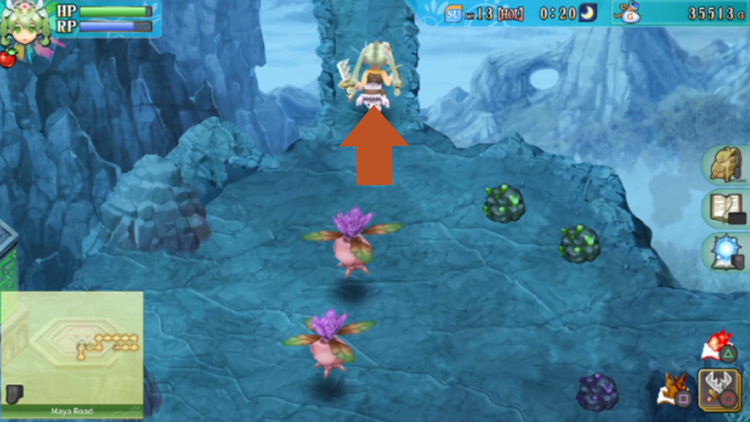
The green switch will also be tucked away, this time it’s along the north edge of the platform. A barrier will also be blocking your way back in the south.
Clear all the enemies in the area and push the green switch.
Then head back down to the previous area once the barrier is gone.
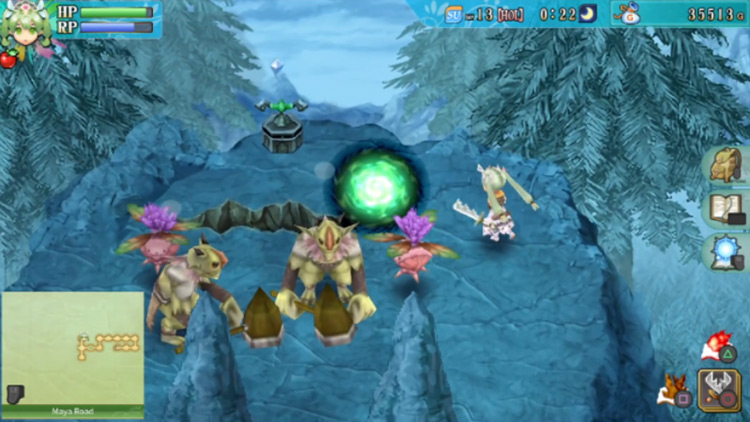
Now the green and purple pillars will no longer be blocking your path.
So you can head west and continue chasing after the Sechs soldiers.
More Pillars & Switches
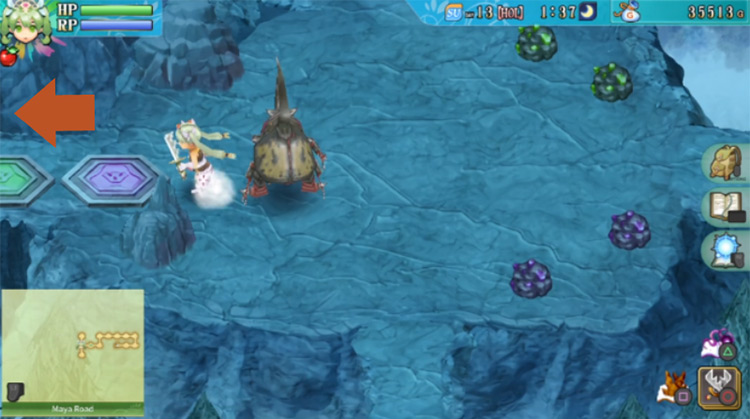
The next area will have falling rocks coming from above you, so watch out for them!
These can deal a ton of damage when they hit you.
Carefully make your way all the way to the western path.
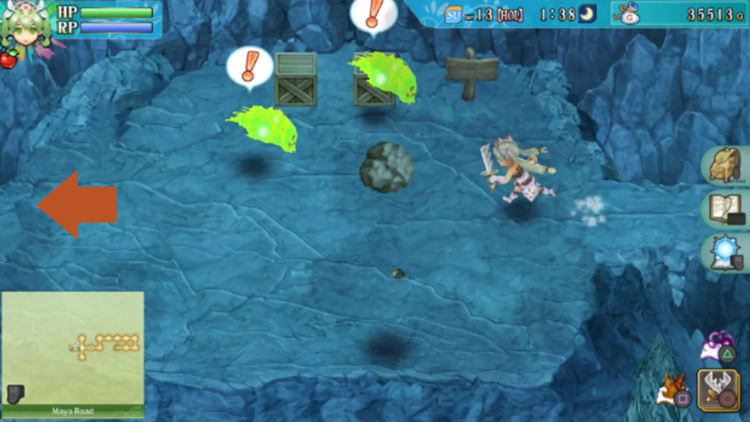
In the next area, dodge the falling rocks again as you make your way to the path in the north.
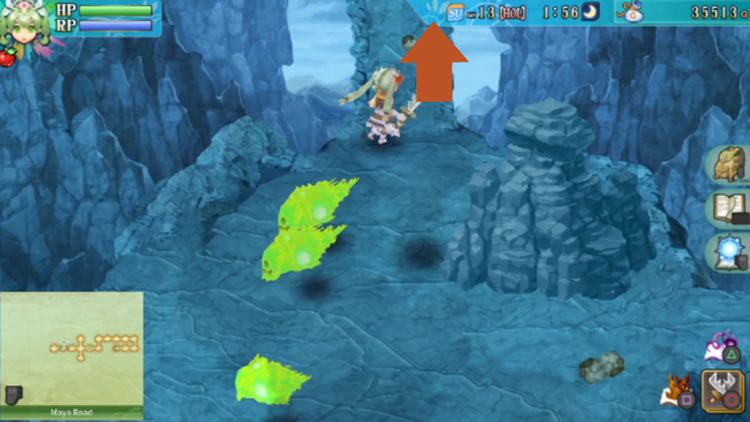
You’ll need to work on dispelling the barrier when you get to the next area.
So defeat all the enemies here, then proceed west once the barrier is gone.
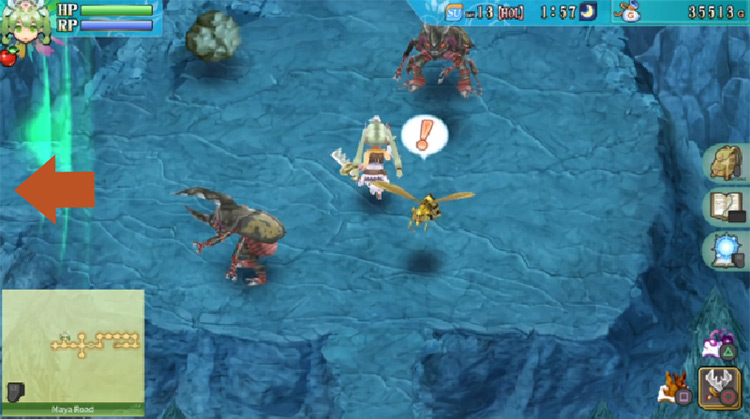
There’s a chest along the northern edge of the next area. Carefully make your way towards it to grab the Mystery Potions inside.
After that, head all the way to the path in the south.
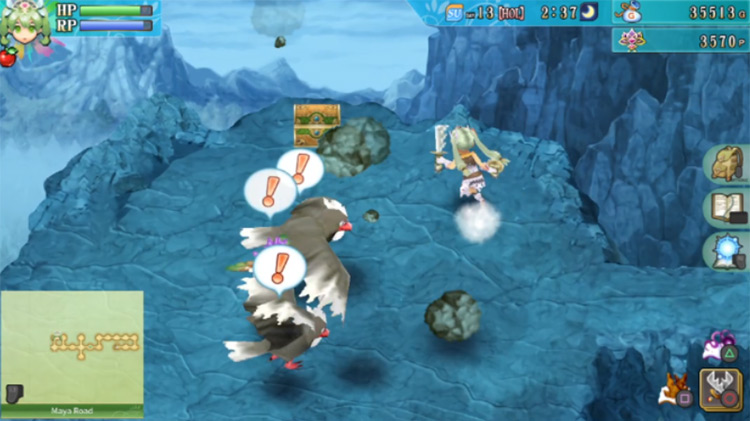
In the next area, a wall of boulders will be blocking your way to the rest of the platform.
But there’s a button here you’ll need to press, and that will get rid of the purple pillar blocking the way to the west.
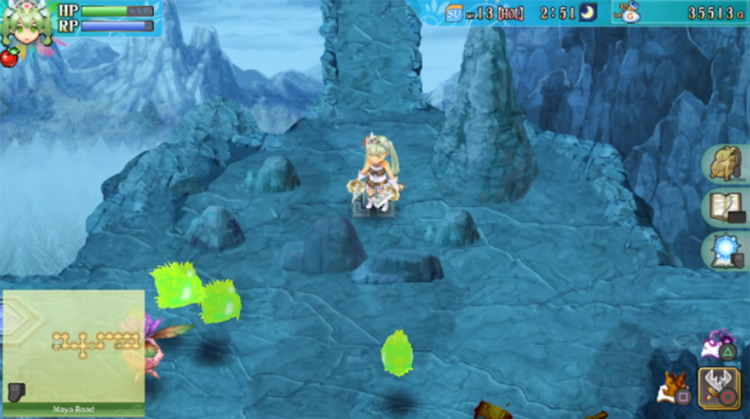
When you’ve dealt with the purple pillar, head back to the area to the east (marked on the map below). Then head west.
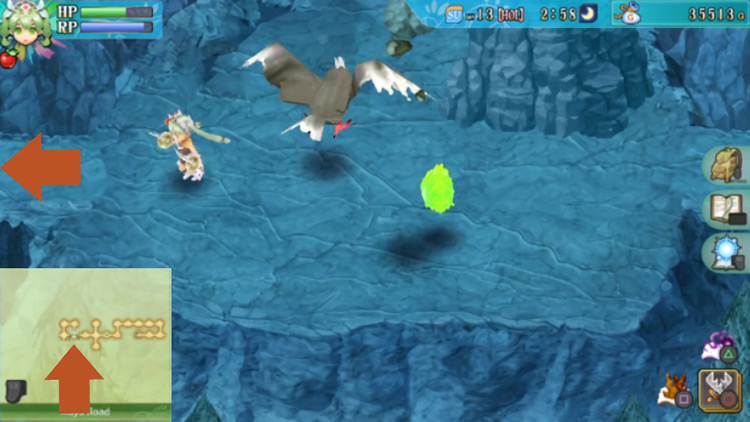
When you get to the next area, head south first. There’s a button you need to find to deal with another pillar here.
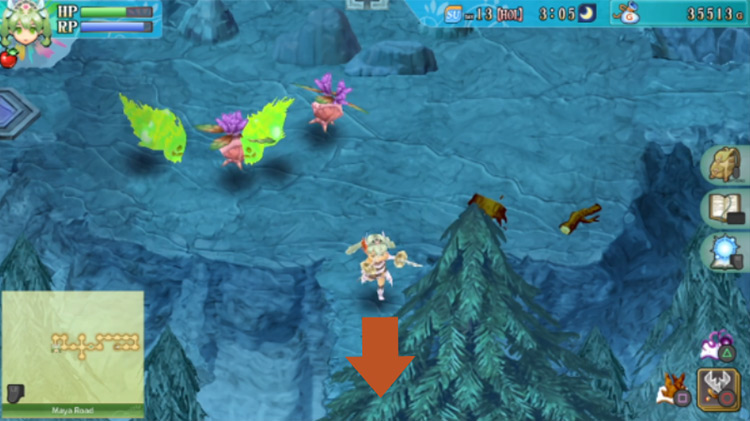
Avoid the falling rocks in the next area while defeating all the enemies.
Once the area is clear of enemies, the barrier blocking your path on the west will disappear. Go through the path on the west.
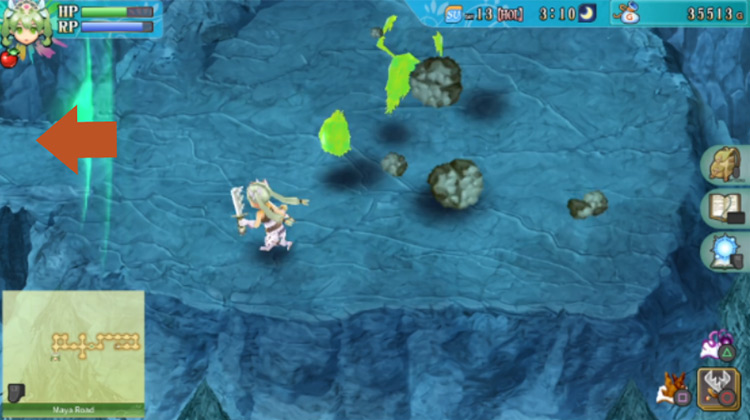
There’s a treasure chest in the lower left section of the next area. Dodge the falling rocks and open the chest to find Axel Disaster inside.
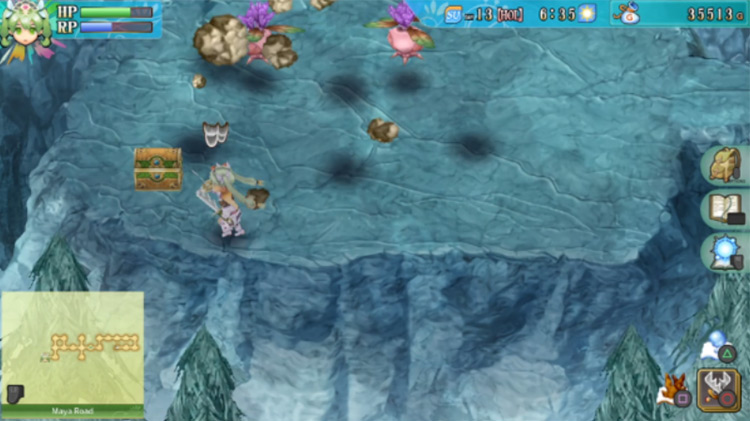
When you’re ready, head north.
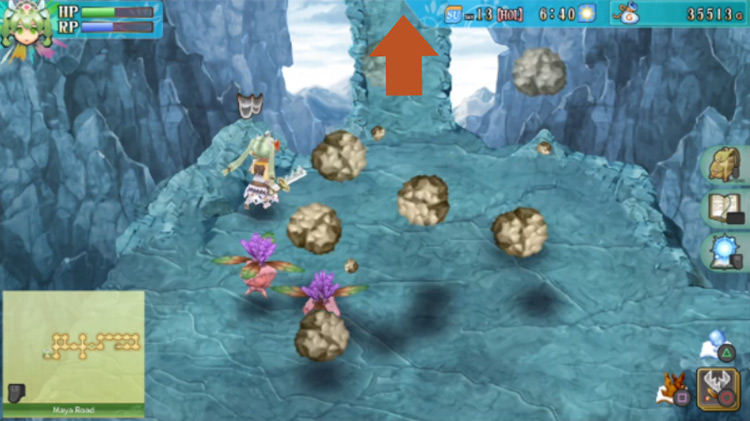
The button you need to press will be in the next area. Press it to get rid of the light blue pillar on your left.
Once you’re done, head all the way back to the area with the purple pillar (south, east, and then north).
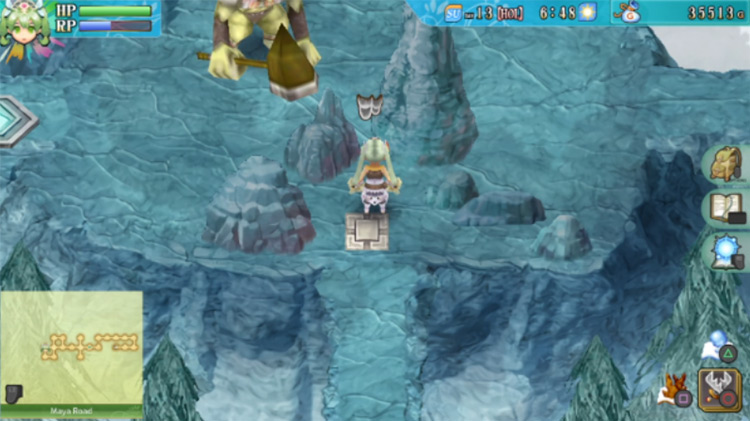
When you get there, head west.
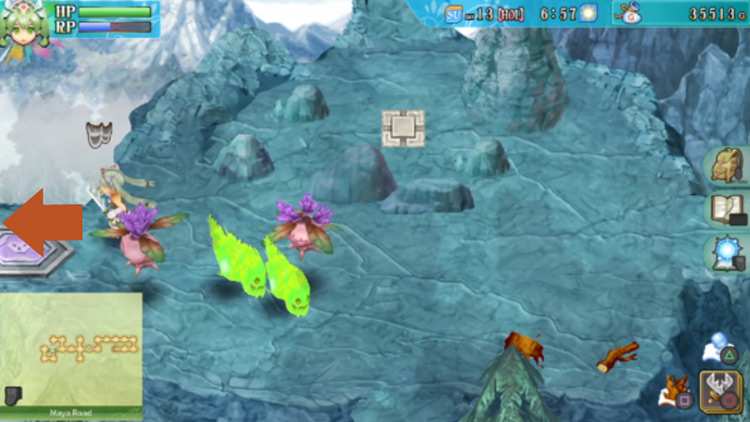
The next area is where the light blue pillar was.
But with that pillar cleared you can head all the way west here.
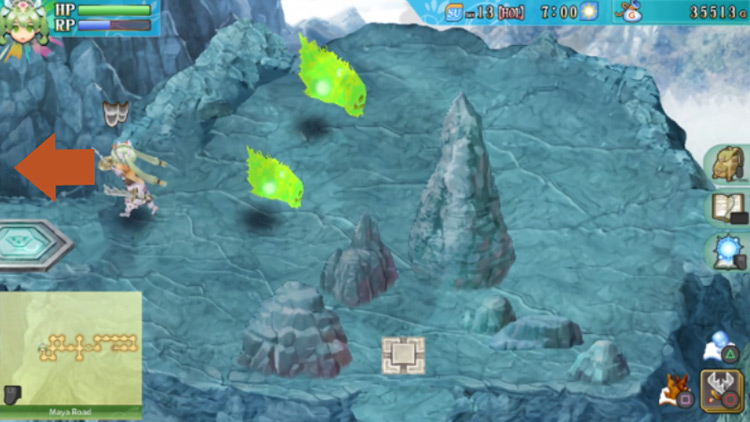
A barrier will block your way to the north once you get to the next area. Defeat all the enemies here to get rid of the barrier.
Once it’s gone, head north.
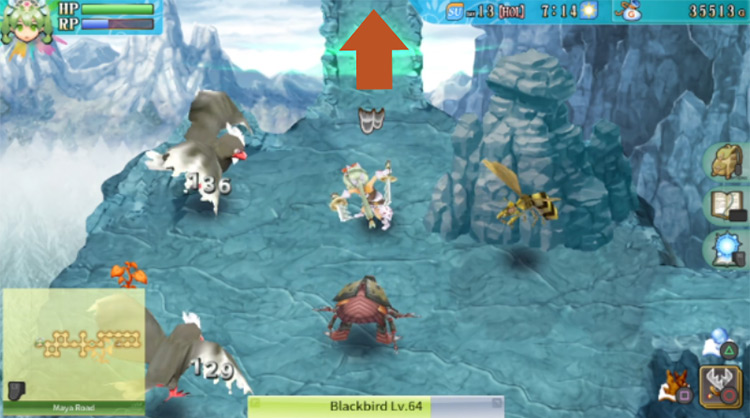
When you get to the next area, another barrier will come up blocking your path forward.
Again, clear the entire area to dispel the barrier. Then proceed west.
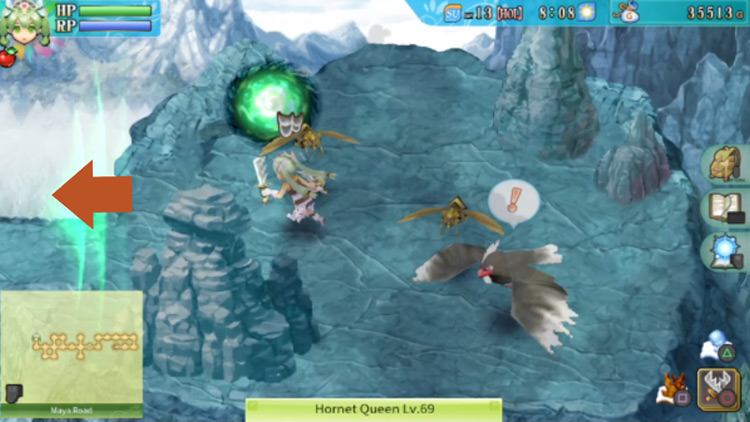
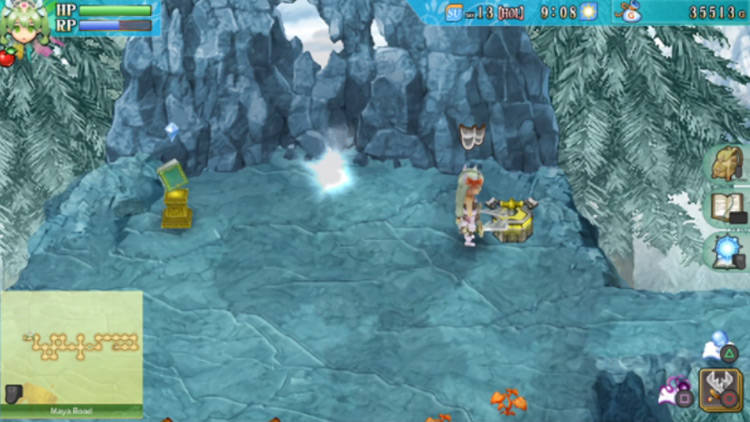
When you enter the next area, you’ll see a journal you can use to save your progress, and you’ll find another yellow switch.
Push the yellow switch to activate a portal that can take you back to the entrance of Maya Road (if needed).
Reaching the Boss Room
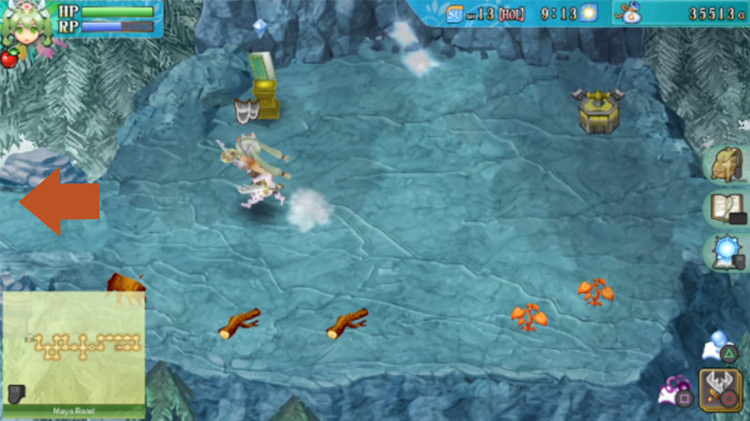
When you’re ready to move forward and fight the boss of Maya Road, head west.
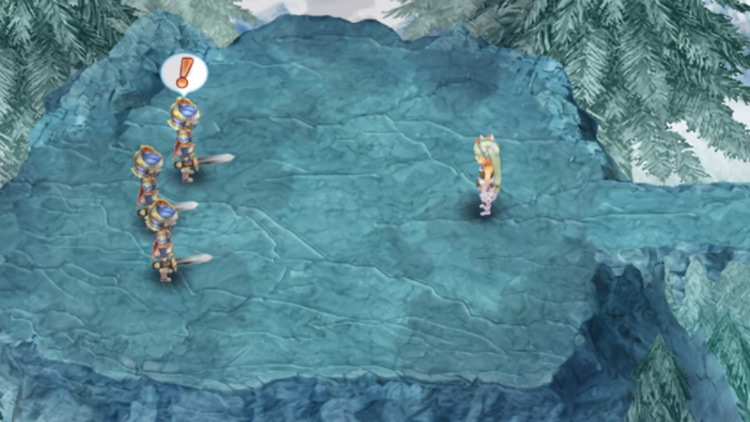
You’ll catch up to the Sechs Soldiers in the next area, so just watch the cutscene play out.
At the end of the cutscene, you’ll be attacked by Maya Road’s Boss: Fiergaenger.
Fiergaenger Boss Battle Guide
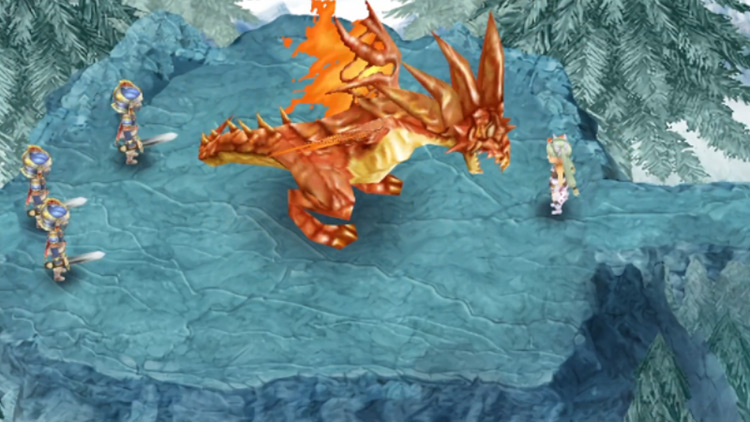
Phase 1
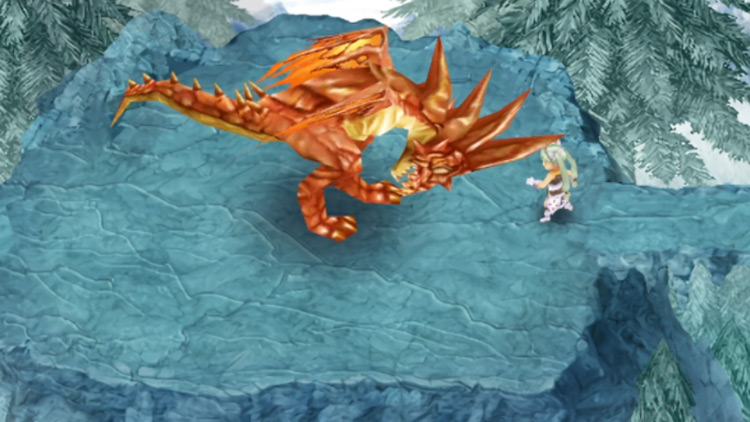
| Fiergaenger’s Normal Phase | |
|---|---|
| Attacks |
|
| Fighting Tips | Watch Fiergaenger’s actions before it performs an attack. It’ll be pretty easy to tell which one is coming next, so you can prepare to dodge it. |
Phase 2
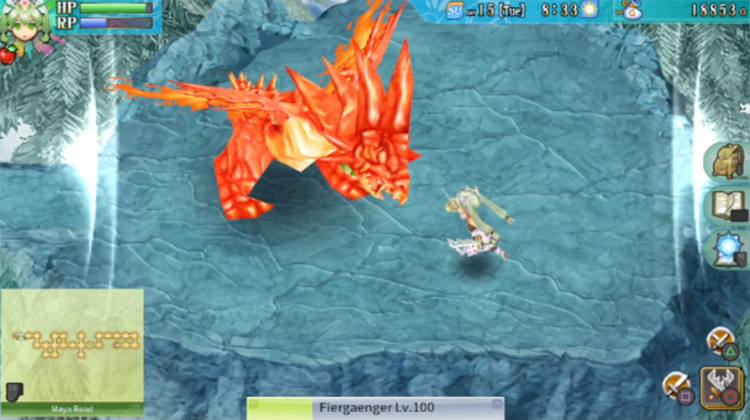
| Fiergaenger’s Enraged Phase | |
|---|---|
| Attacks |
|
| Fighting Tips | The closer you are to Fiergaenger, the more difficult it is to dodge its attacks. This includes its long-range attacks. Keep your distance and time your attacks right after Fiergaenger performs its own. |
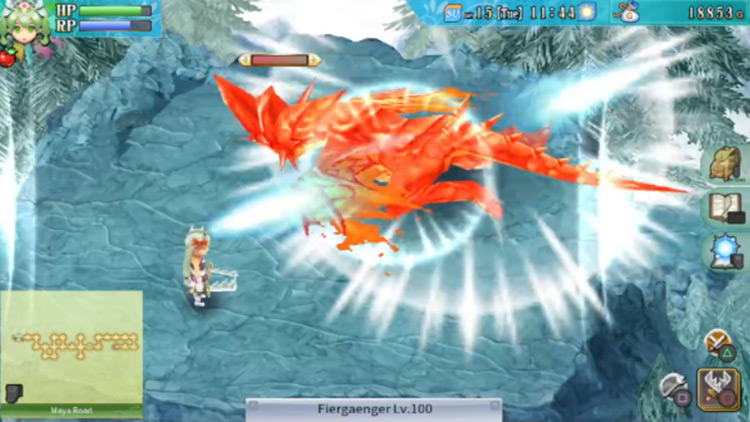
Chapter Epilogue: Entering the Sechs Territory
Once you defeat Fiergaenger, you can chase after the Sechs Soldiers by heading through the path in the west.
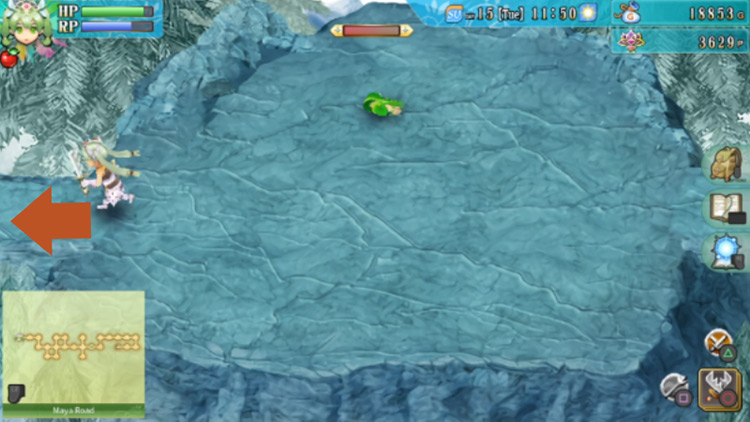
Once you get to the next area, you’ll find the Sechs soldiers again.
They’ll be shocked to see you’ve caught up to them and so they’ll run to the west again.
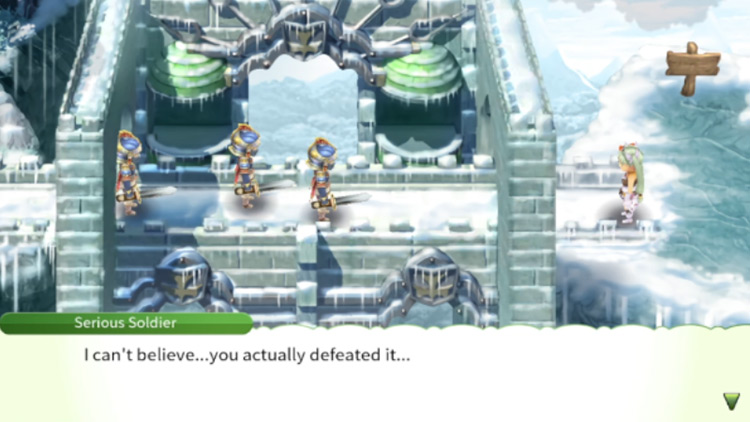
Chase after them by crossing the bridge all the way to the west. You’ll find a chest right by the other end of the bridge. Open the chest to find some Mystery Potions and a Leveliser.
Then when you’re done, head west again.
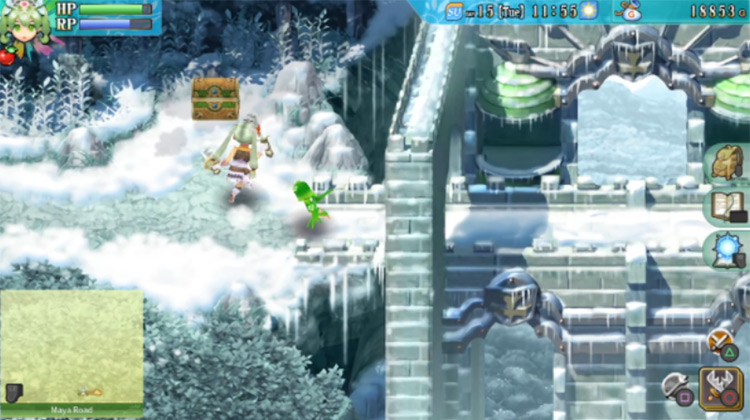
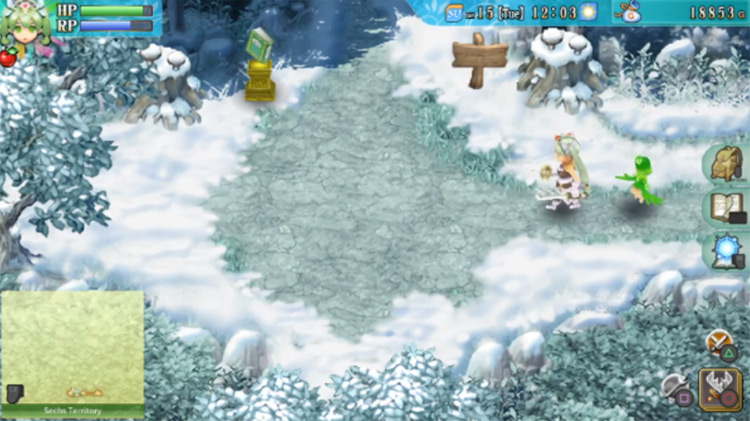
When you get to the next area, you will have officially reached the Sechs Territory.
By making it here, you’ll be able to use the Telecommunicator to teleport to this area instantly. There’s also a journal here you can use to save your game.
After a tedious journey, you’ve finally cleared Maya Road. Congratulations!
Next: Sechs Territory: Rune Factory 4 Walkthrough (Part 11)
-
Rune Factory 4
- Maya Road: Rune Factory 4 Walkthrough (Part 10)

