
TABLE OF CONTENTS
| Summary Info | |
|---|---|
| Recommended Level | Level 10 (or higher) |
| Monsters to Find |
|
| Field Items to Find |
|
Full Walkthrough
Chapter Prologue: Mysterious Voices
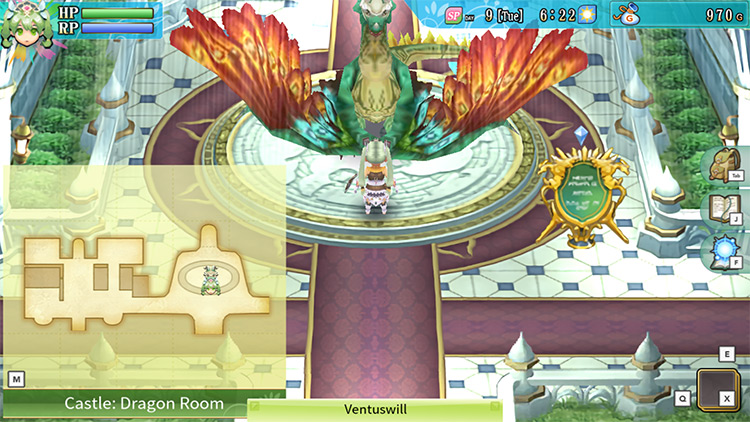
After two days from your adventure in Yokmir Forest, a cutscene will play out when you enter the Castle: Dragon Room.
Venti will express gratitude at your presence and you two will become closer.
When you go to sleep that night, you’ll wake up to some strange noise.
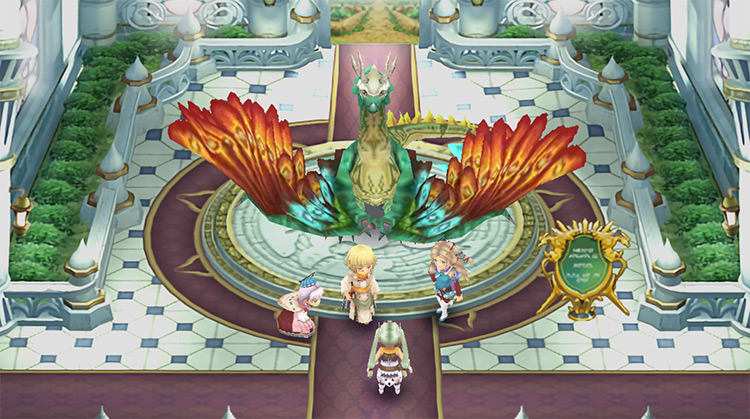
After investigating a bit, you’ll go back to sleep. Then after another day passes, enter the Castle: Dragon Room to watch a new cutscene involving the strange noise you heard.
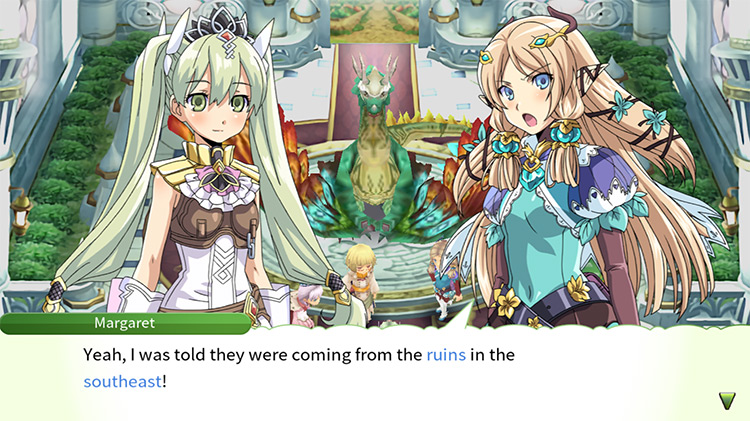
It will be revealed that the noises are coming from the ruins in the east.
This area is known as the Water Ruins.
At the end of the discussion, you will be asked to investigate the ruins.
Before your journey, Venti will give you a charm to aid you at the ruins named “Venti’s Charm”.
Make sure to equip this since it will increase your defense against physical and magic attacks.

Tip: We have a step-by-step guide on how to find the Water Ruins in case you need help getting there quickly!
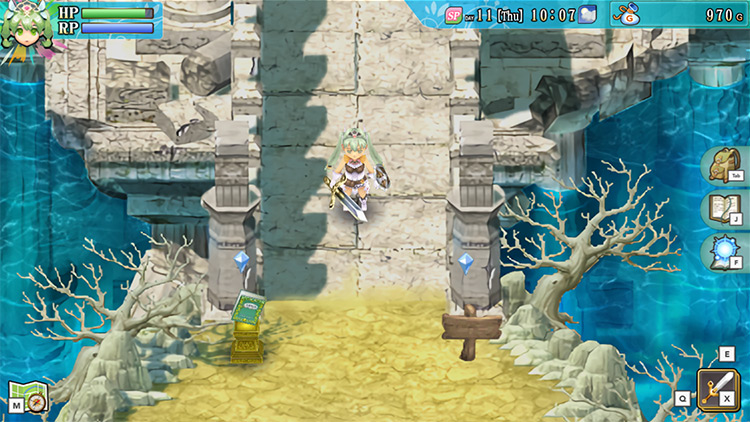
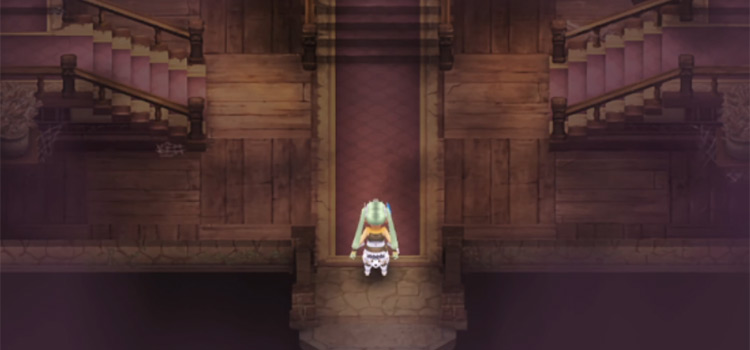
To get to the ruins, you’ll need to take the path heading south of the Selphia Castle Gate. Huge stumps block this area, but Volkanon will arrive to clear the way for you.
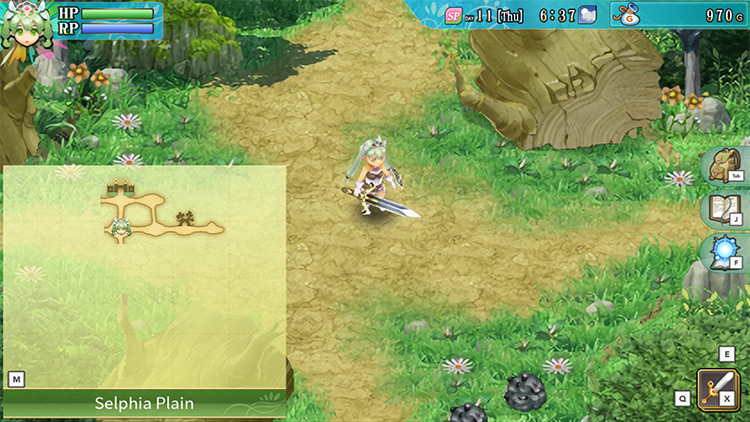
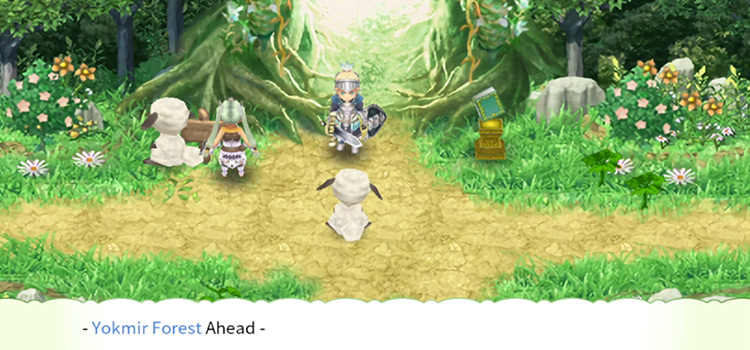
Along the way to the Water Ruins, you’ll hear more noises and even meet Kiel. These two events are short cutscenes that are good indicators that you’re going the right way.
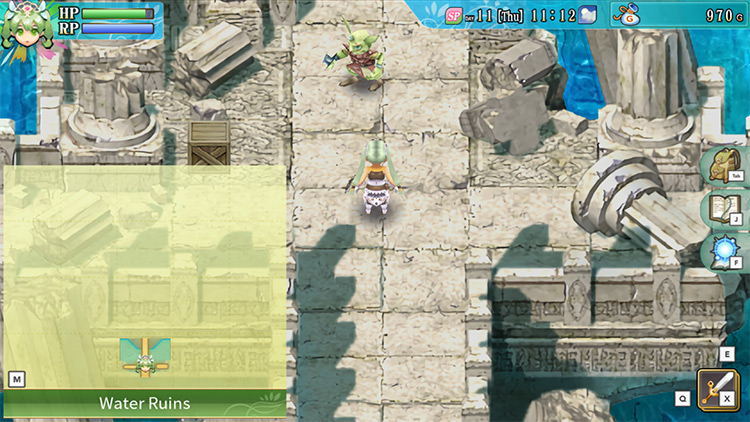
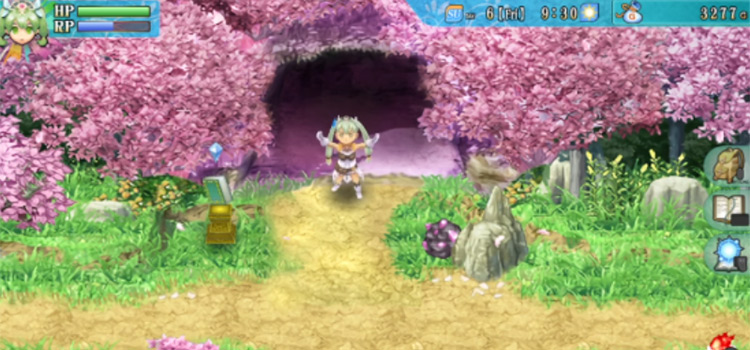
Entering the Water Ruins
Once you get to the Water Ruins make sure to save, and take note that our recommended level is 10.
If you want to have an easier time with the monsters in the ruins, grind a bit until you’re at level 10 or higher.
Upon entering the ruins, you might encounter a Goblin. A crate is also right by the entrance.
Break the crate to get whatever it might have inside before heading into the ruins.
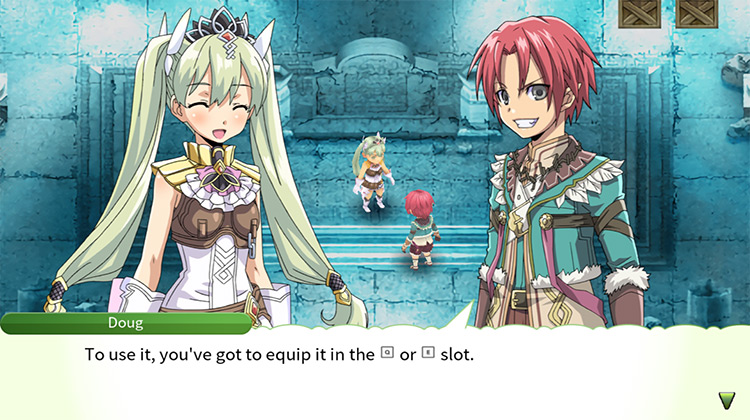
When you get inside the ruins, a cutscene will play out and you’ll meet Doug inside.
He’ll give you Fireball, a spell you can equip. He’ll advise you to use it on monsters that are more sturdy against physical damage.
In this case, the monster you’ll want to use this new spell on is the Torta.
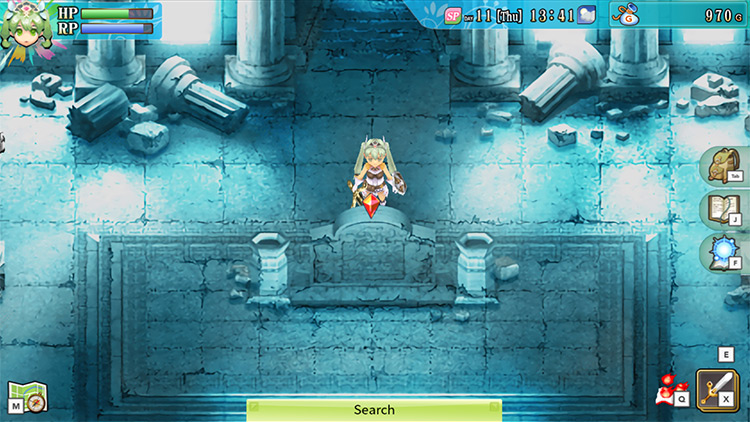
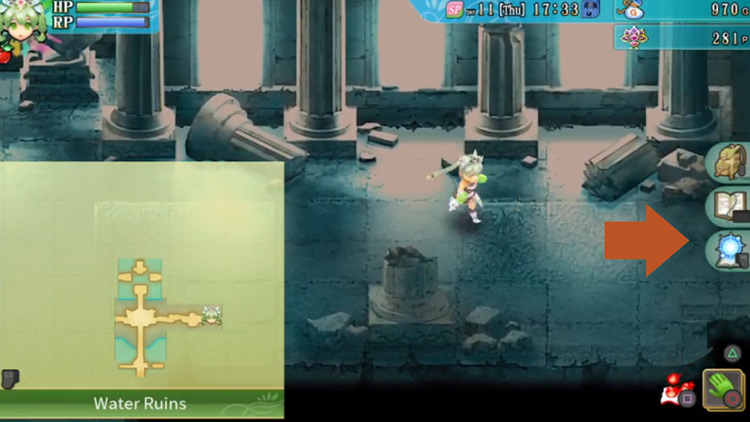
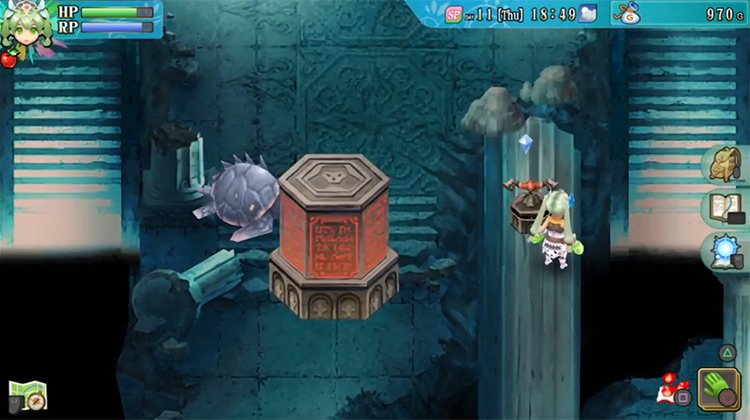
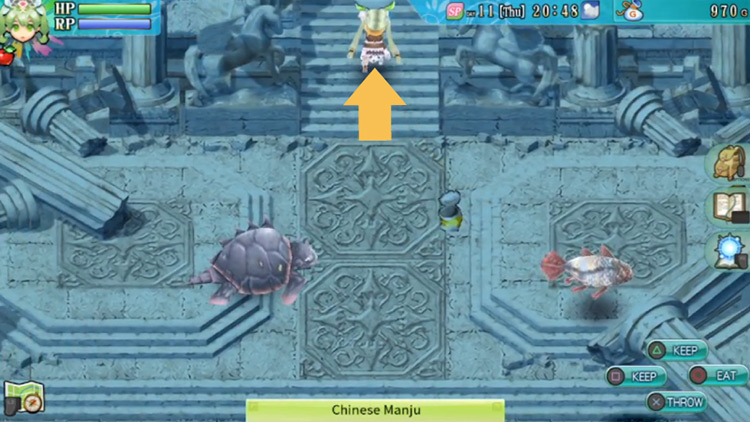
Once Doug leaves, Goblins or Goblin Archers will spawn in the room. In the center of the room is a stone structure with writings on it in a language you don’t understand.
Simply take out the monsters and then read the back of the structure to get the translation.
There are also two crates in the room that you can break for items.
Once you’re done clearing the area, head up towards the north exit.
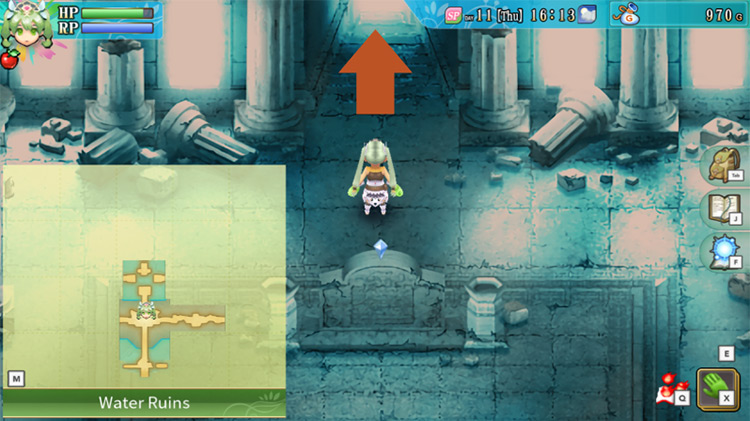
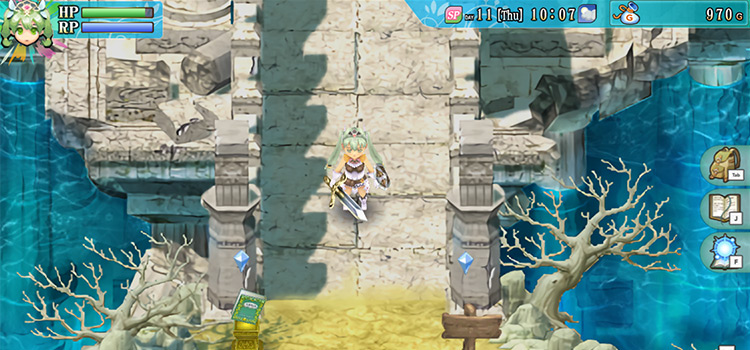
Finding the Red Switch
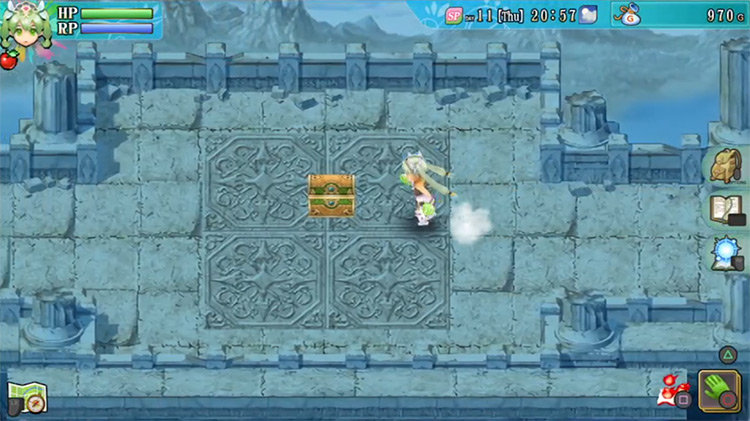
You’ll find yourself on a stone platform with a chest in the middle.
Open the chest for some helpful potions. You’ll notice that the platform is surrounded by water, blocking any way forward.
So you’ll need to somehow raise the stone pathways from under the water – but no worries, we have you covered.
Head back down to re-enter the previous room.
From this room, you’re going to want to take the path going east.
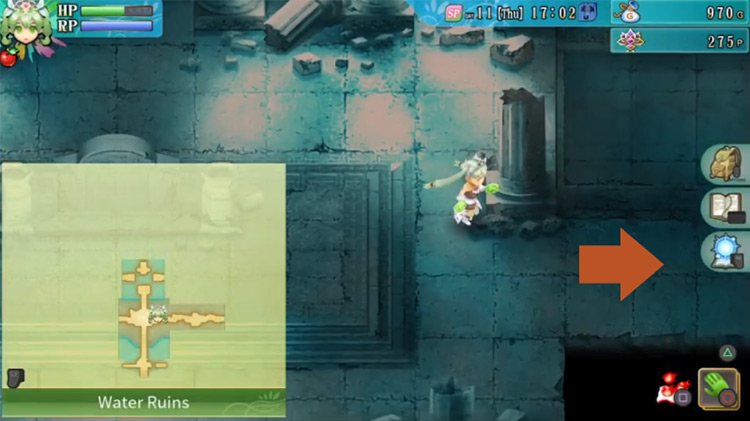
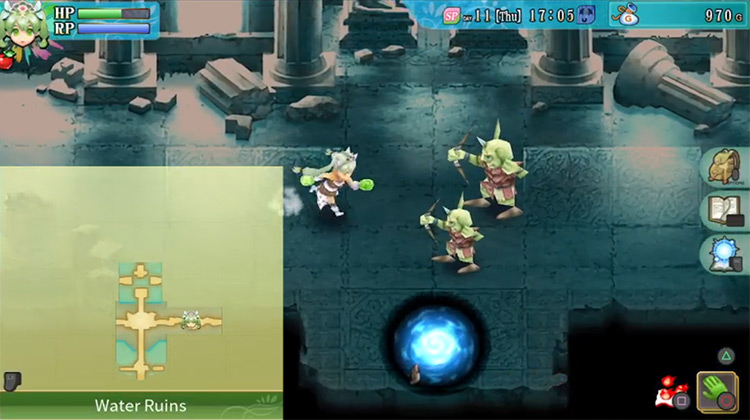
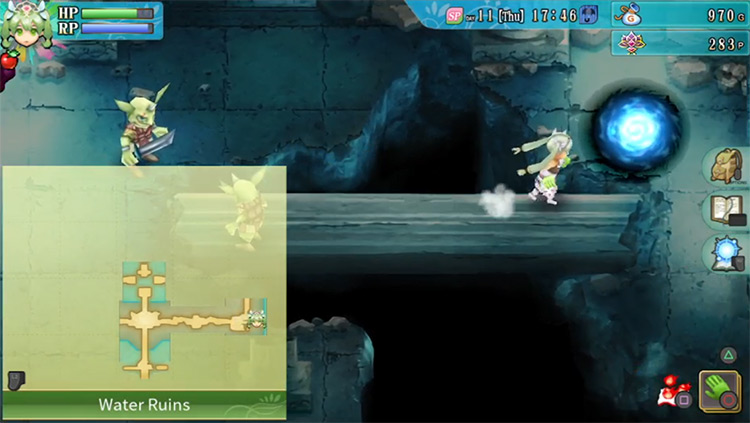
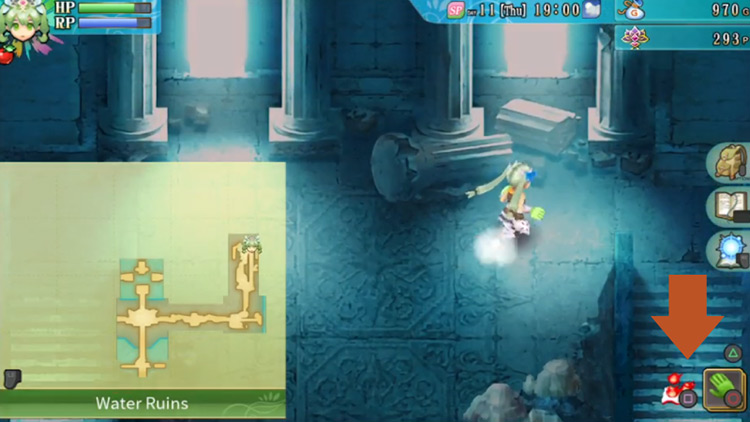
The path beyond this room will be blocked by a barrier.
You’ll need to clear the entire area before you can proceed. And make sure to take out the water gate, which is a bright blue portal that spawns monsters – you’ll probably want to do this first so that way you can clear the room quickly without more monsters spawning.
Once the barrier is lifted, proceed by heading east.
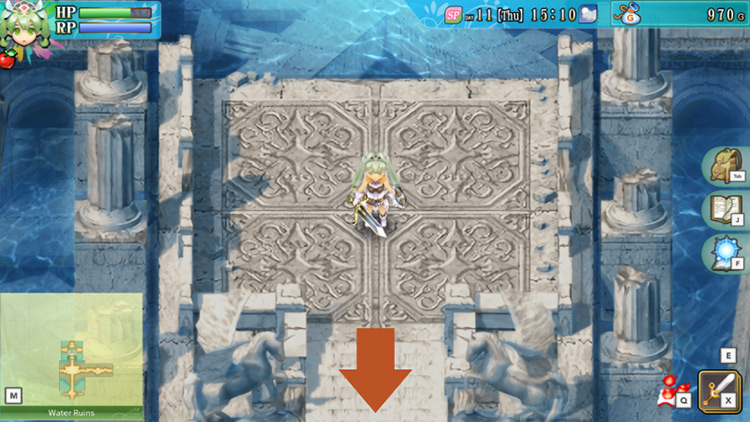
Once you get to the next room, you’ll be trapped inside by more barriers.
You’ll also notice a deep pit in the center of the room.
Cross the fallen pillar to get to the other side of the pit, and destroy the water gate on the east side of the room right away.
After you clear this room, a chest will appear in the northwest corner. When you open the chest, you’ll find a Blue Ribbon inside.
Equip it to get additional defense points. You’ll need this boost for the boss later on.
Once you’re done here, take the stairs heading north.
In the next room, your path will be blocked by a giant red pillar.
You’ll need to find a switch with the same color to bring down the pillar.
To do this, cross the fallen pillar on the right side of the room and you’ll find a red switch at the end. Push this switch to unblock your path.
The 1st Yellow Switch
From here, go up and then take the stairs on the right first.
You’ll be taken outside, and your way back will be blocked by a barrier.
There are a few mobs here that you’ll need to defeat in order to lift the barrier.
There’s also a chest in the north side of the area. Make sure to open the chest because there’s a Rod inside. This is perfect if you want to be a magic user in your fights.

Now head back to the previous room, then take the stairs on the left side.

You’ll find yourself in a bigger outdoor area with some stairs in the middle. Head down the steps and go all the way south.
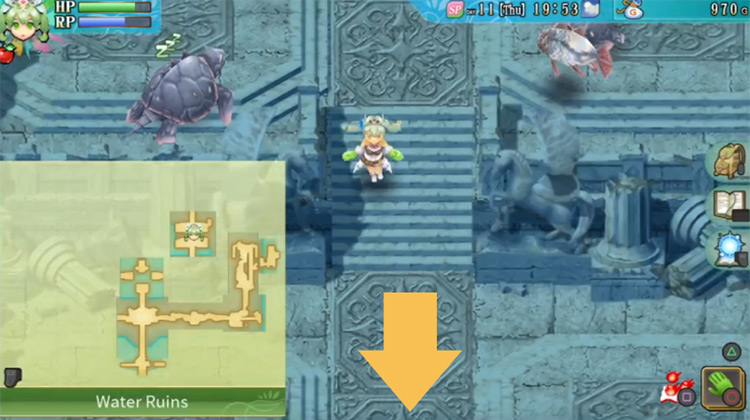
Once you get to the next area, barriers will come up again blocking the paths.
Clear the entire area starting with the water gate in the south east corner, then clear out any enemies.
Once the barriers have been lifted, take the path heading west.

You’ll find yourself on a small platform with a yellow switch.
This is one of the two switches you’ll need to push to unlock the boss area.
Push the switch, and then head back to the previous area.
The 2nd Yellow Switch
Now head all the way back up north to the previous area again.
Once there, you’ll need to head up again and take the path heading north.
Once you take the stairs going up, you’ll find a pathway with a save point.
It’s recommended that you save here because *spoiler alert* you’re about to be ambushed!
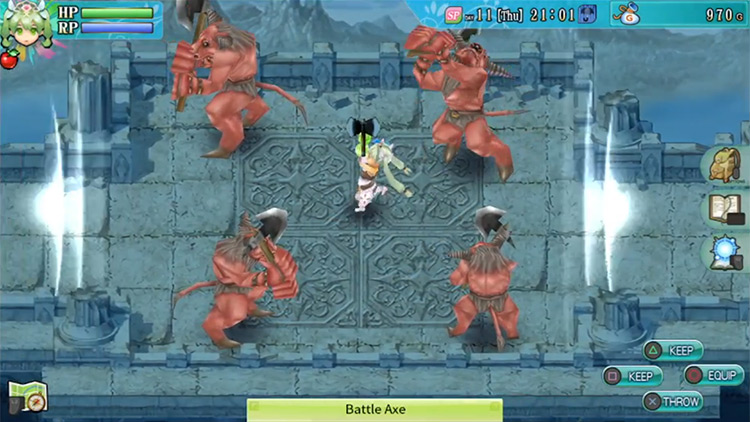
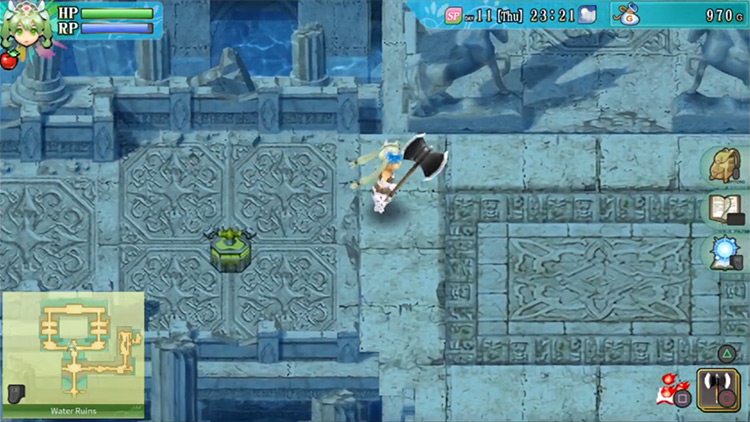
Once you’re ready, head east. You’ll find a chest containing a powerful Battle Axe.
After you open this chest, four Minotaurs will ambush you. Your exits will also be blocked by barriers.
Unless you have a better weapon, the Battle Axe is a great weapon to wield here.
After defeating the Minotaurs, a chest will appear.
Open it to find a Para-Gone and a Roundoff inside.
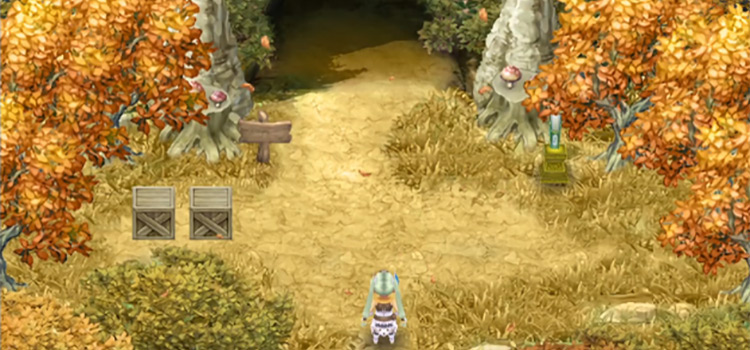
Once you’re done here, head east again. You’ll find two crates and a staircase leading down. Get the items from the crates and then take the stairs.
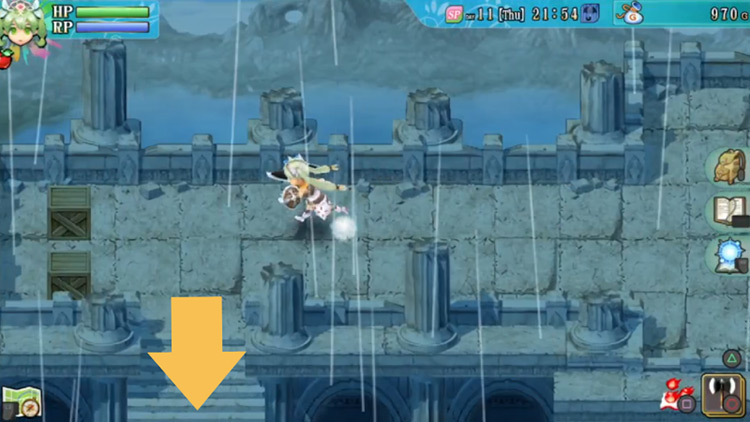
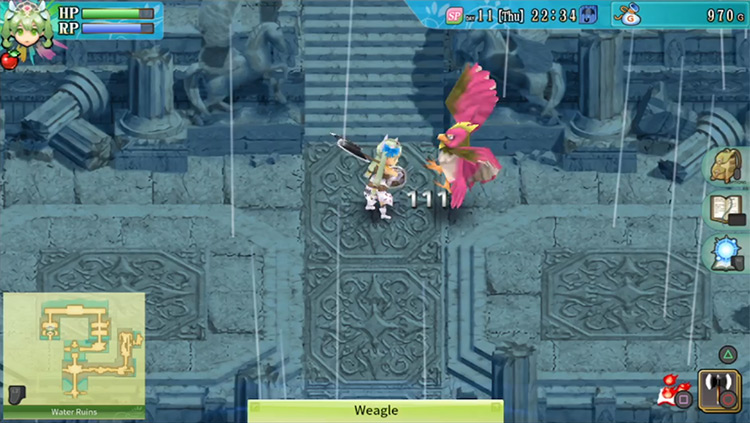
You’ll find yourself in a big area again with a barrier blocking the south path.
You’ll need to clear the monsters here, which are most likely Weagles. Dash away from their wind gust attacks so that you can easily get close enough to hit them.
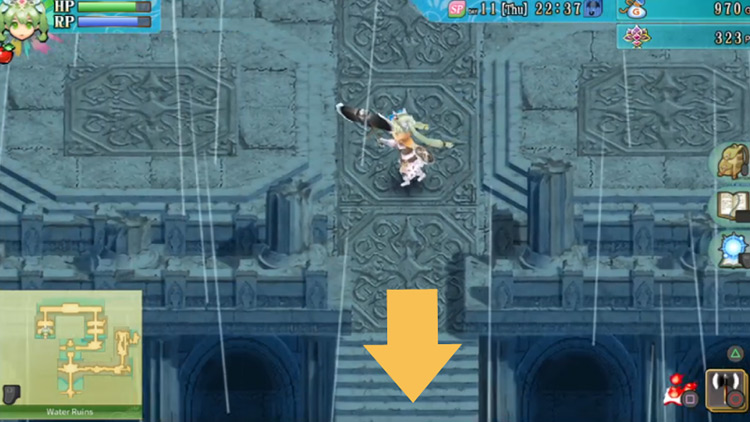
Once the area is clear and the barrier is lifted, head south.
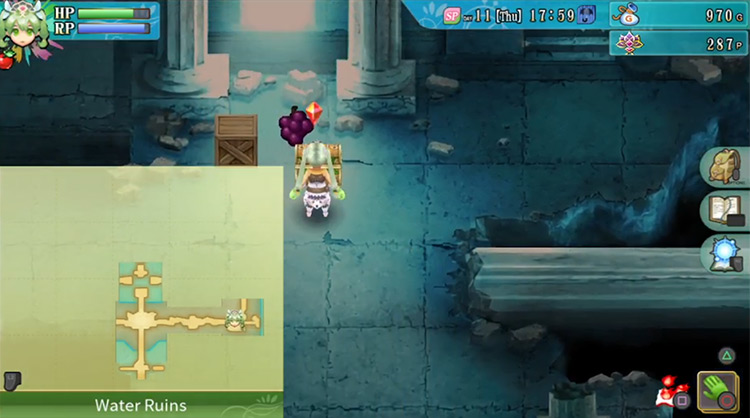
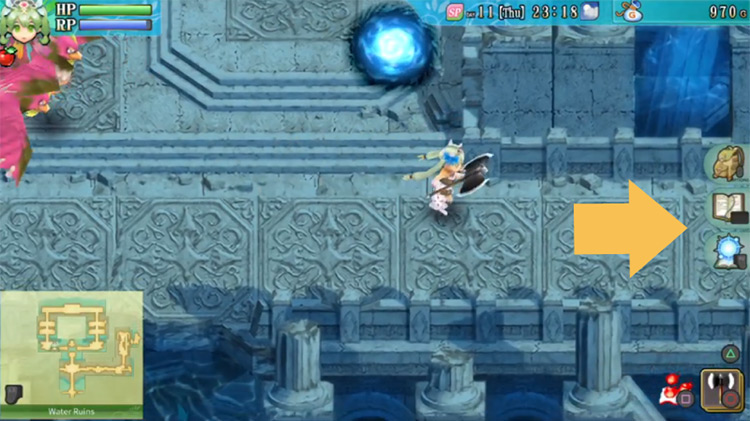
In the next area, you’ll see some ores and a chest.
Don’t be fooled! The chest here is actually a Monster Box with a nasty bite, so just avoid it if possible.
Once you’re done with this area, head east.
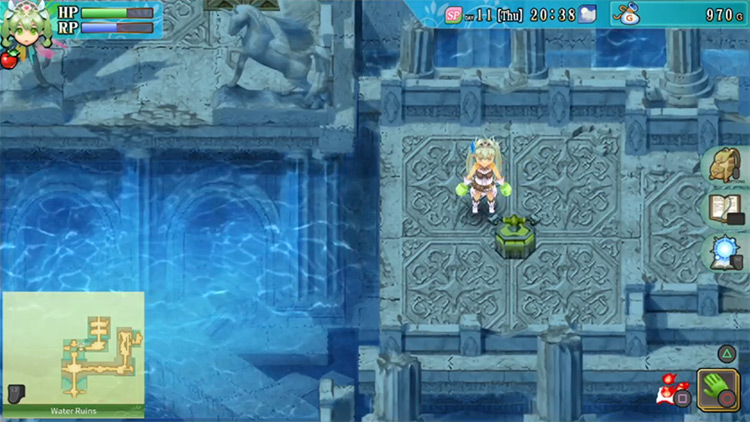
In the next area, you’ll find the second yellow switch. Push this to activate the mechanism.
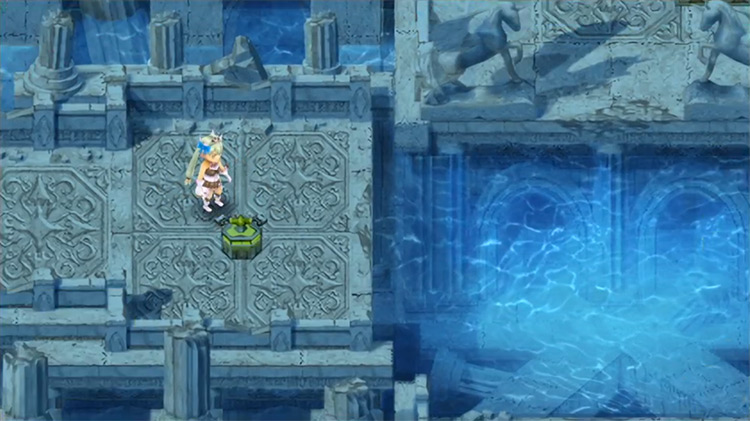
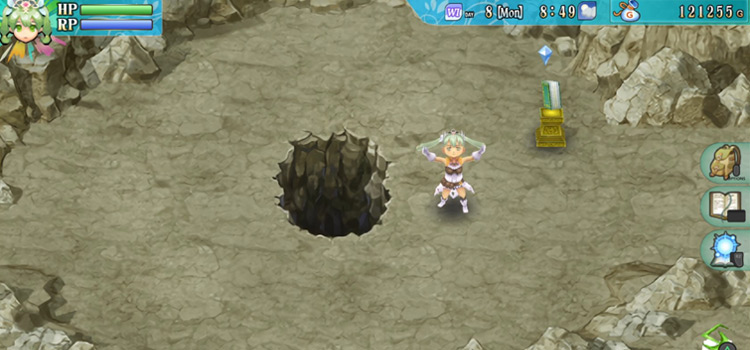
Getting to the Boss
The ground will begin to shake and a platform under the water will rise.
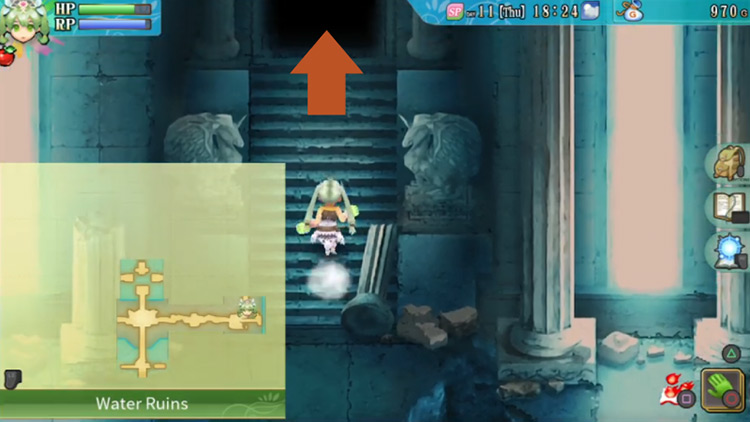
You will now be able to walk this path in order to reach the boss room!
Beside the entrance to the boss room are a save point and two crates.
Go ahead and take any items from the crates here, and while you’re at it, it’s best that you save your game.
This boss can be quite difficult if you’re not leveled up enough.
But when you’re ready, head on inside the boss’ room by going north through the doorway.
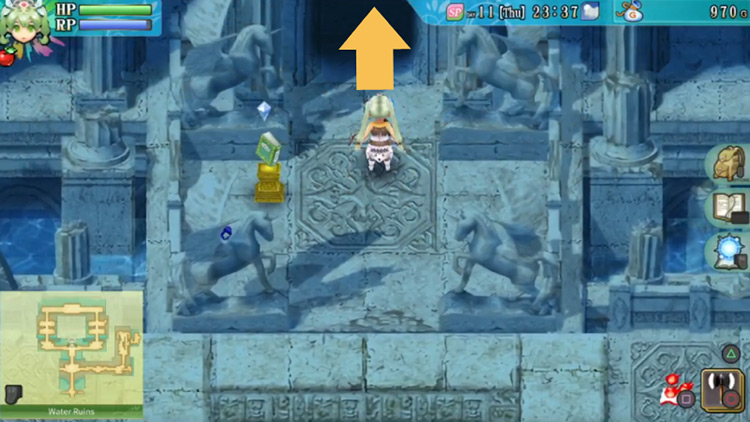
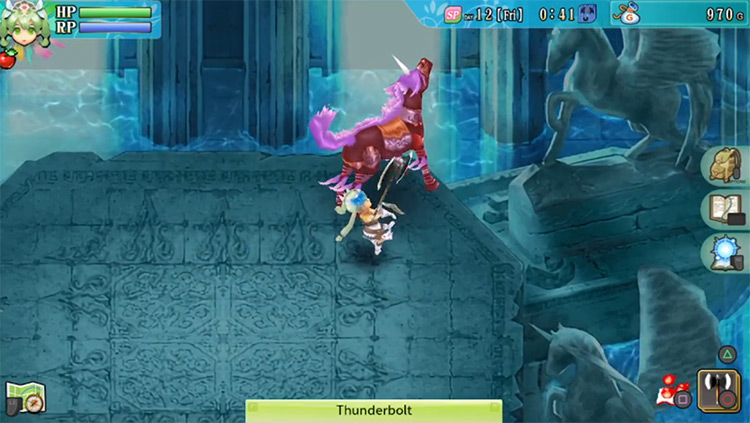
Boss Fight: How To Beat Thunderbolt
When you enter the room, you’ll find the boss named Thunderbolt front and center.
Thunderbolt is a dark unicorn-like monster that deals electric damage.
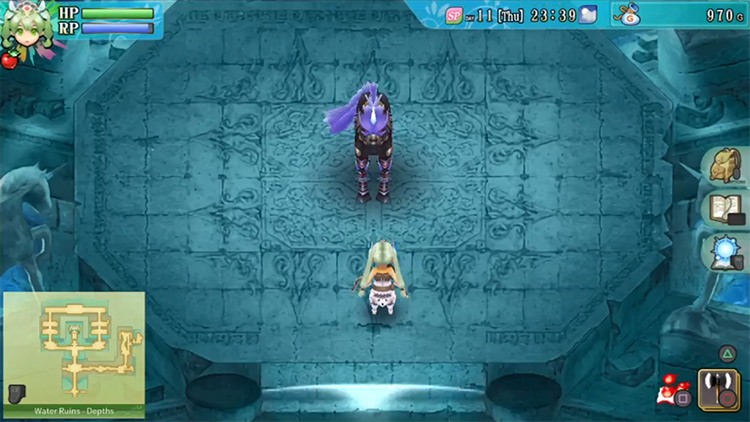
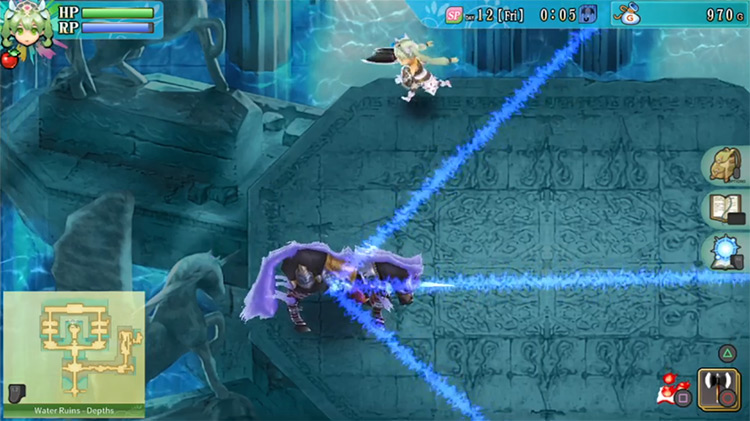
To defeat Thunderbolt, keep an eye on his movements.
He makes noticeable actions before performing an attack, which makes it easier for you to tell when to dash away.
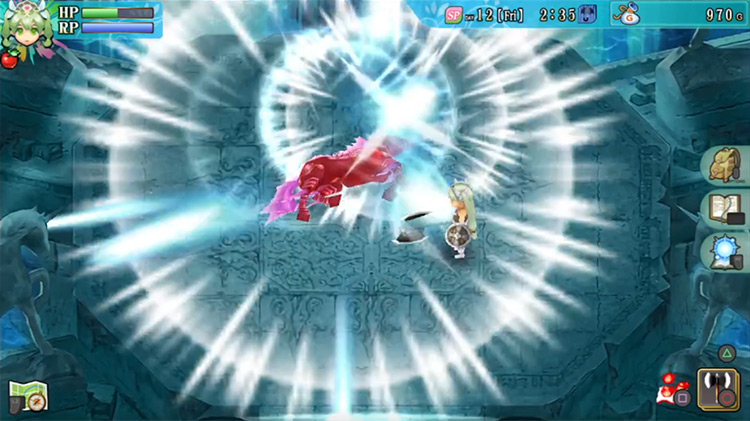
Phase 1: Thunderbolt
| Thunderbolt’s First Phase | |
|---|---|
| Attacks |
|
| Fighting Tips | Keep an eye on Thunderbolt’s movements to predict his next move. |
Phase 2: Enraged Stage 1

| Thunderbolt Enraged Stage 1 | |
|---|---|
| Attacks |
|
| Fighting Tips |
|
Phase 3: Enraged Form Stage 2
| Thunderbolt Enraged Stage 2 | |
|---|---|
| Attacks |
|
| Fighting Tips | Thunderbolt will perform each attack three times. Make sure to be ready to dodge these, or you might be caught in the consecutive attacks. |
Chapter Epilogue: Finding the Missing Patient
After you defeat Thunderbolt, you’ll head back to the town and continue the story.
But you’ll need to sleep and wait a day before you can progress the plot any further.
So once you’re at the following day, head to the clinic and you’ll see Nancy outside. It’ll be revealed that their patient is missing and you’ll be tasked to find him.

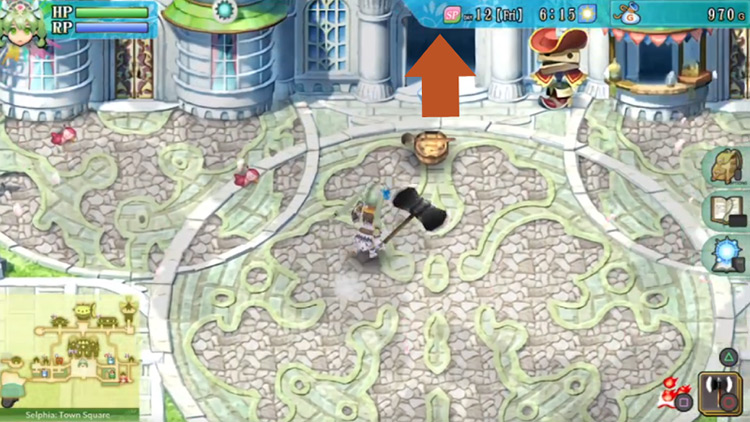
When Nancy lets you go, head to Selphia: Town Square.
A bright light will illuminate the square.
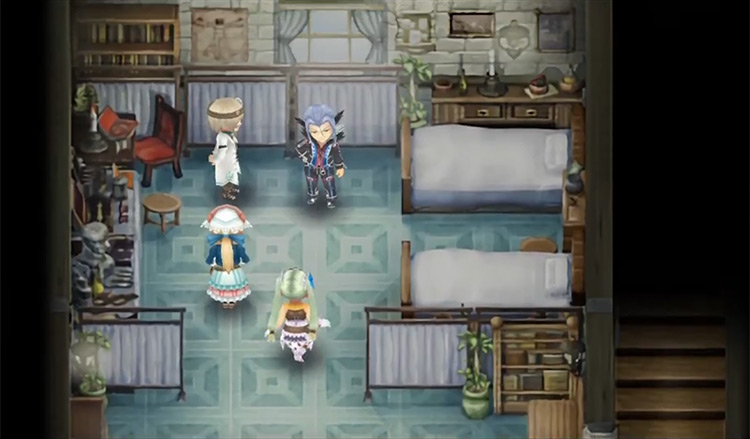
After this, head for the Castle Dragon Room. You’ll find the missing patient there.
After you find the patient, you’ll automatically end up in the clinic again.
Watch the cutscene play out, and then you’ll need to wait until the next morning again before you can see the next part of the story.
So go to sleep when you’re ready, and then on the following day you can head back to the clinic to see the conclusion of the chapter.
Next: Obsidian Mansion: Rune Factory 4 Walkthrough Part 4

-
Rune Factory 4
- The Water Ruins: Rune Factory 4 Walkthrough (Part 3)
Related Posts:
 Obsidian Mansion: Rune Factory 4 Walkthrough (Part 4)
 Yokmir Forest: Rune Factory 4 Walkthrough (Part 2)
 How To Get To the Water Ruins in RF4 (Location Guide)
 How To Get To the Delirium Lava Ruins in RF4 (Location Guide)
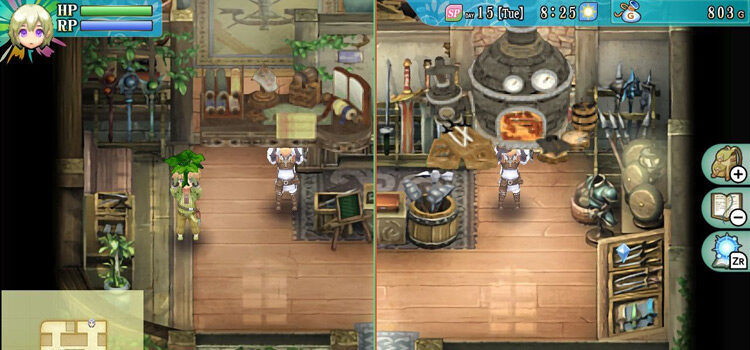 How To Get a Forge & Crafting Table in Rune Factory 4
 How To Get To Idra Cave in Rune Factory 4 (Location Guide)
 Prologue & Getting Started: Rune Factory 4 Walkthrough (Part 1)
 Where is the Revival Cave in Rune Factory 4?