TABLE OF CONTENTS
| Summary Info | |
|---|---|
| Recommended Level | Level 25 (or higher) |
| Monsters to Find |
|
| Field Items to Find |
|
Full Walkthrough
Chapter Prologue: Chase the Chipsqueek
The next chapter begins when you head to bed after clearing Obsidian Mansion.
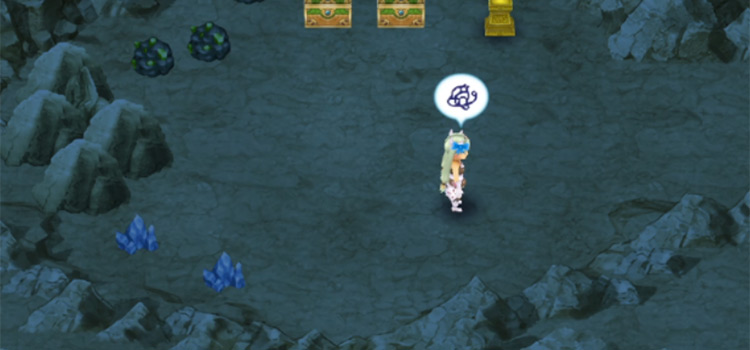
A Chipsqueek will find its way into your room and will snatch Venti’s Charm from you.
So you’ll have to go chase after it by heading for the town’s exit in Selphia: Town Square.
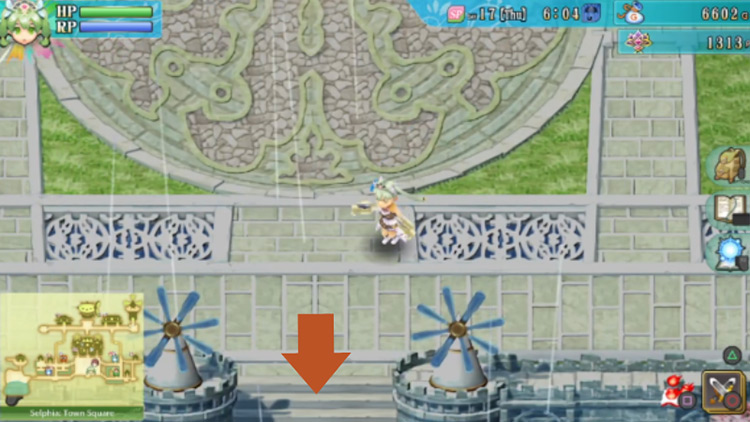
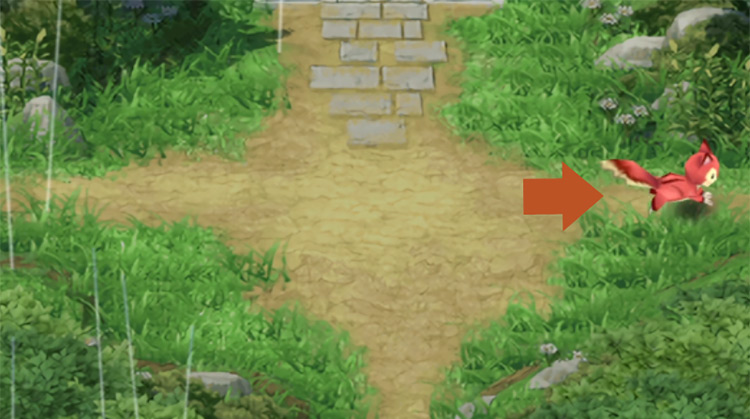
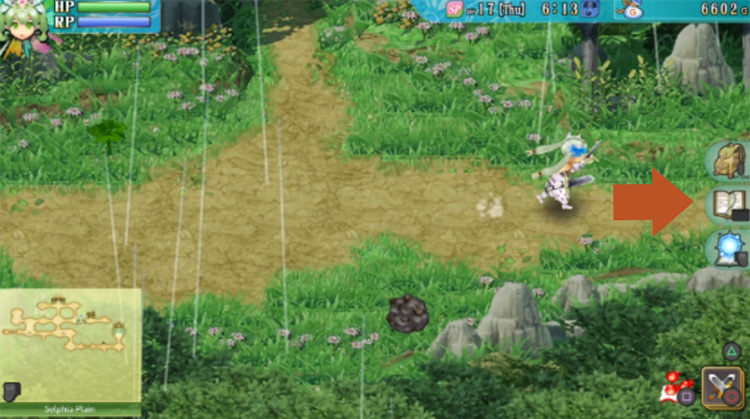
As soon as you exit the town, a short cutscene will play and the Chipsqueek will head for the east path.
Go after it towards the east.
From there, you need to head south.
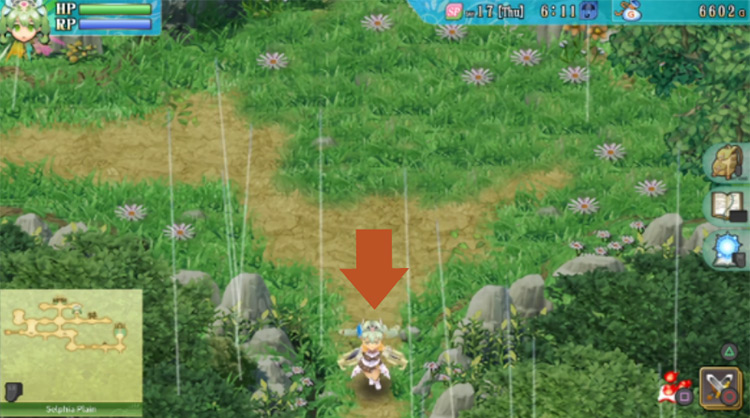
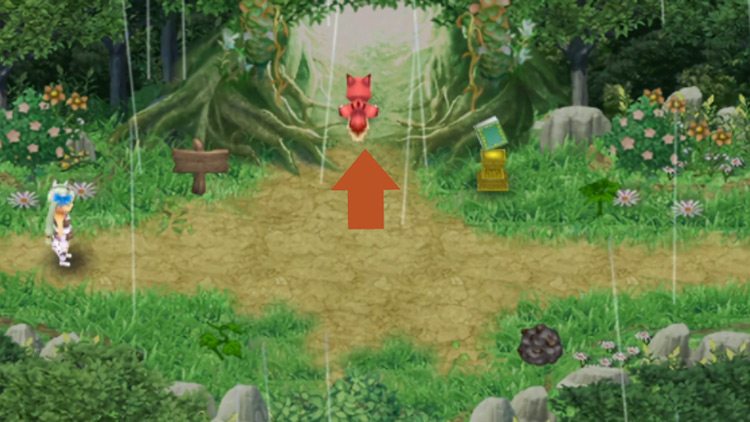
Next you’ll find yourself along a short path.
The Chipsqueek will be waiting for you, then it’ll head for the exit on the right.
Follow it by heading east.
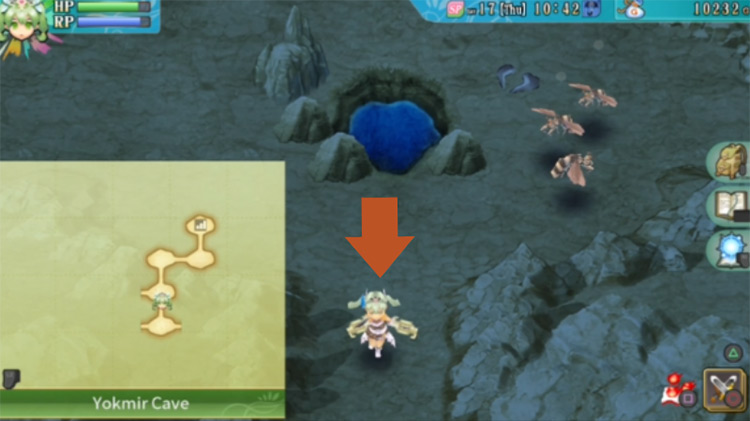
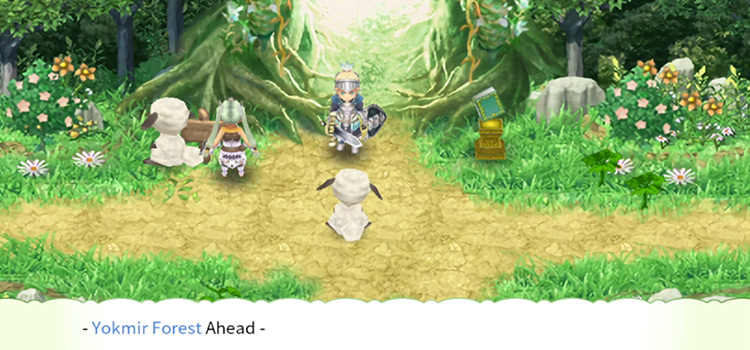
Here you’ll arrive at the entrance to Yokmir Forest. The Chipsqueek will head on inside, so go follow it into the forest.
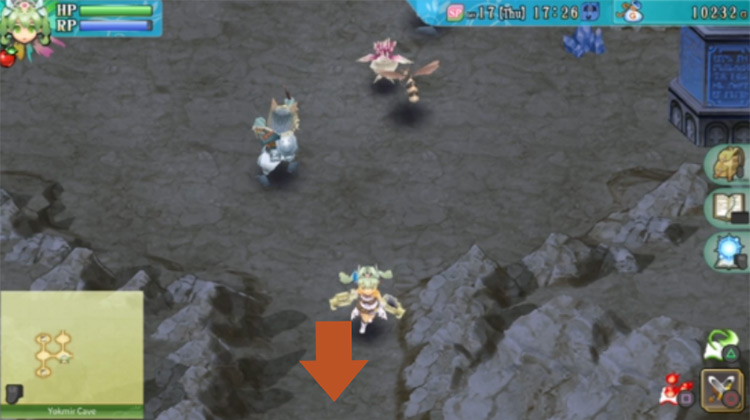
Your next destination will be to head in deeper into the forest. Go ahead and take the path north.
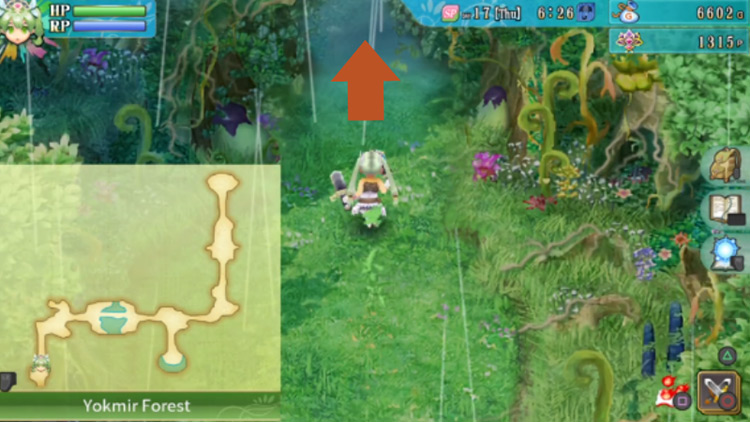
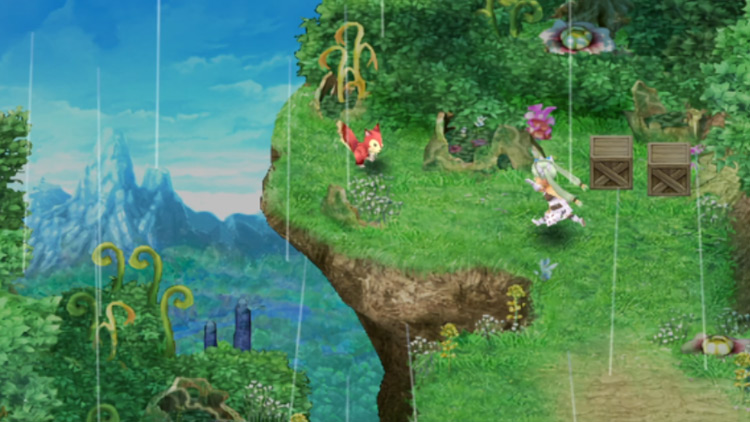
In the next area, just head up and a cutscene will play out.
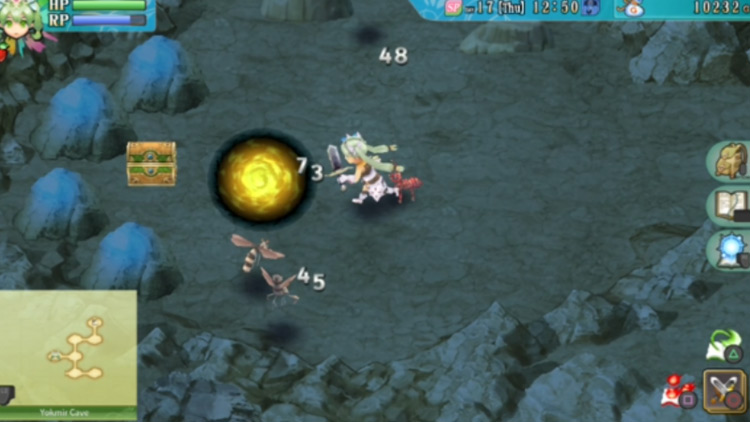
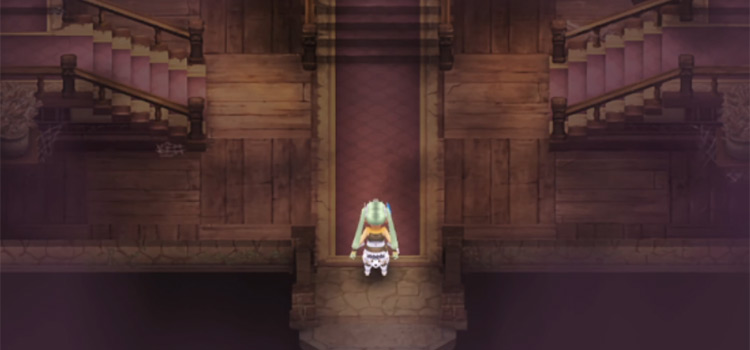
You and the Chipqueek will end up falling from the cliff. Don’t worry though, because this leads into Yokmir Cave.
Entering Yokmir Cave
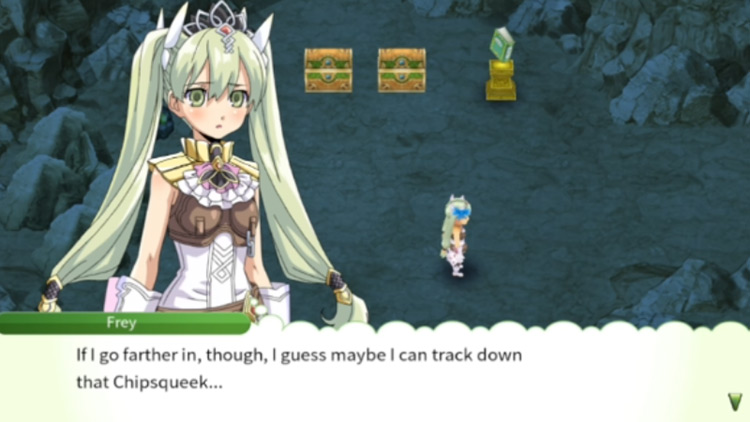
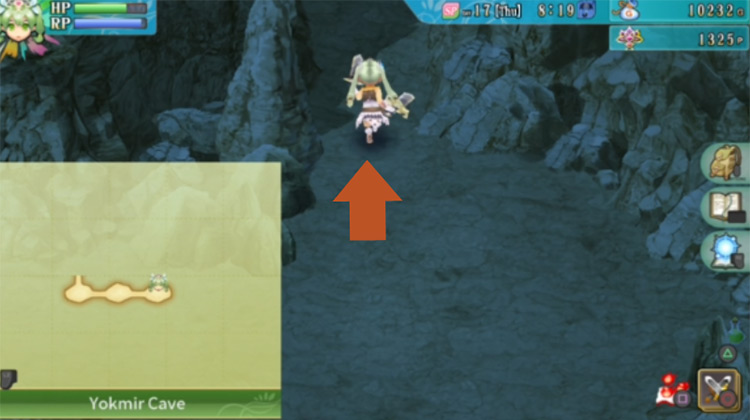
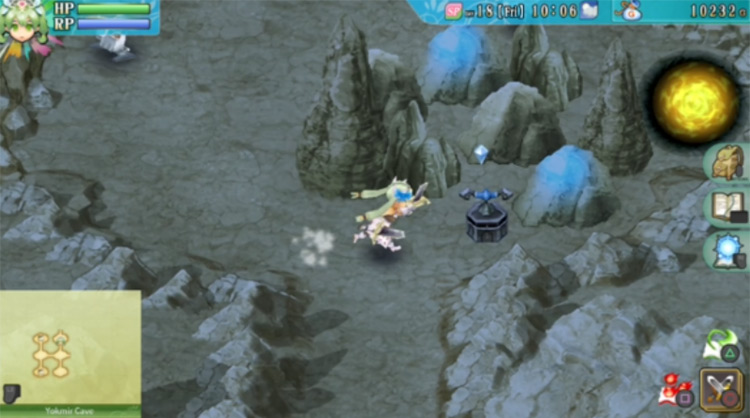
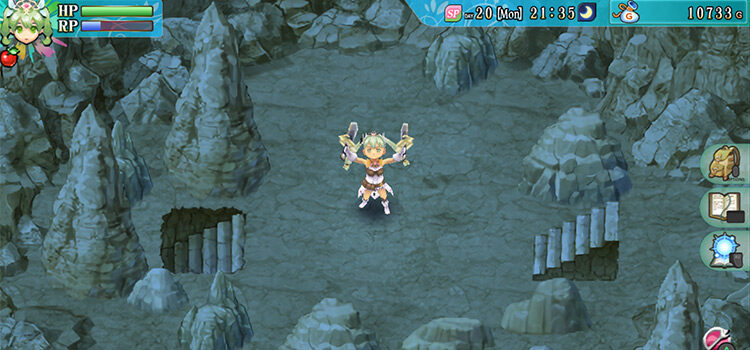
When you regain consciousness, you’ll find yourself in Yokmir Cave.
The Chipsqueek will be nowhere in sight, so you’ll need to explore the cave to find it.
Tip: You can use your Escape spell to teleport back home if things get dicey.
And if you forget the way back to Yokmir Cave then we have a step-by-step guide to help you reach the cave again.
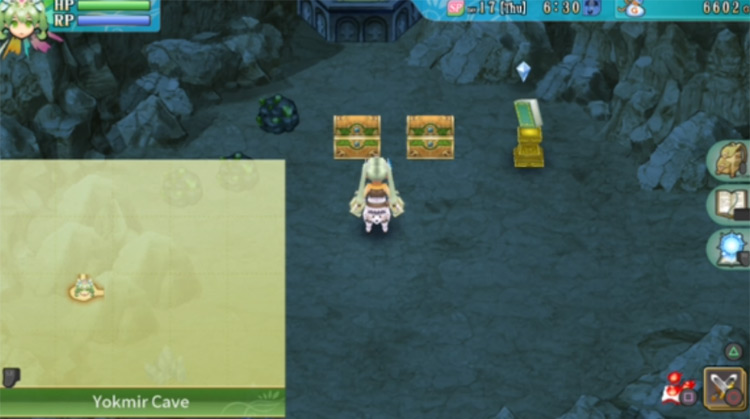
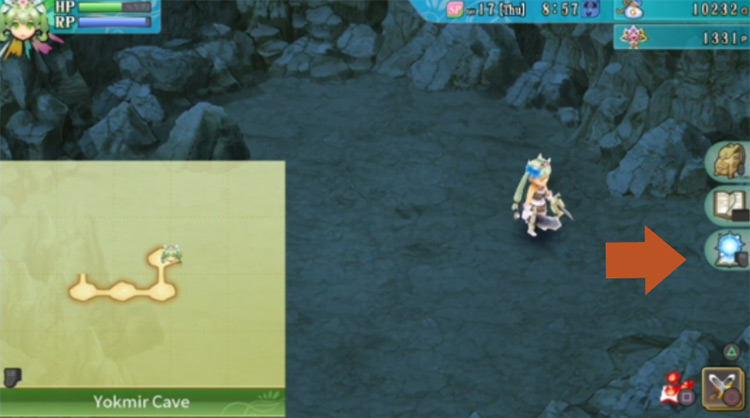
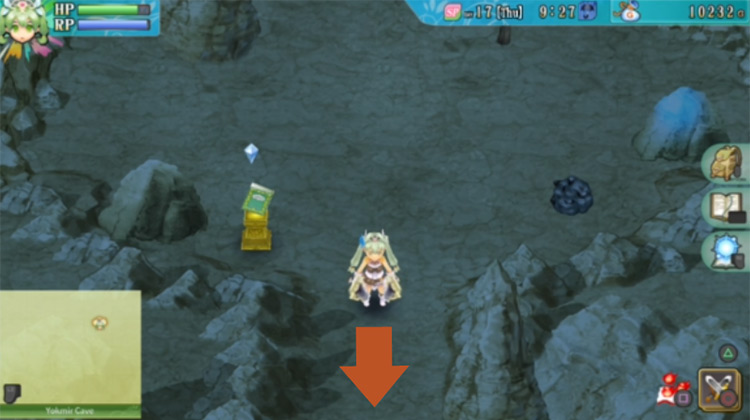
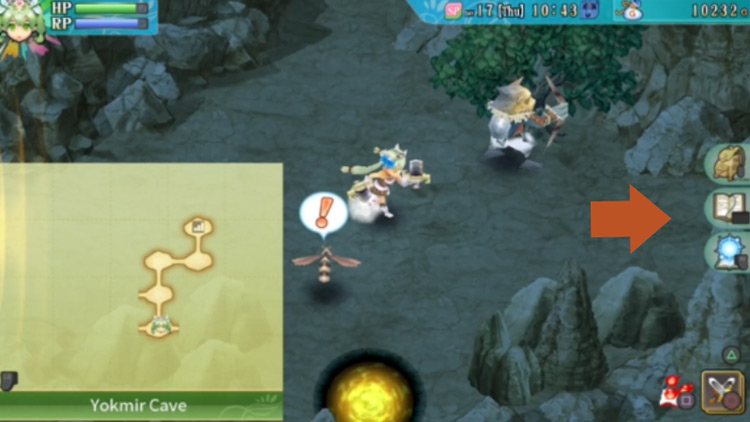
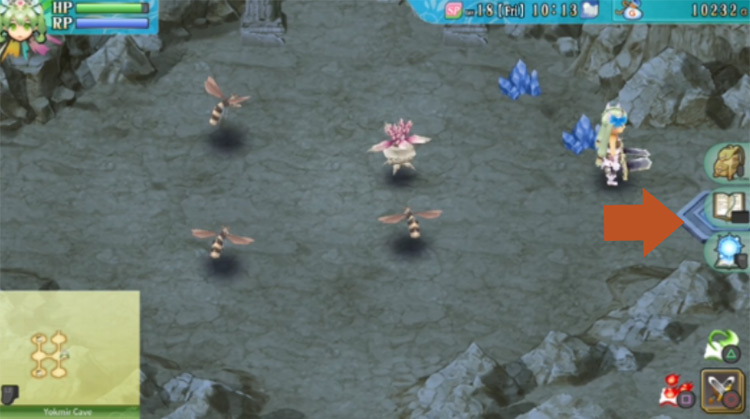
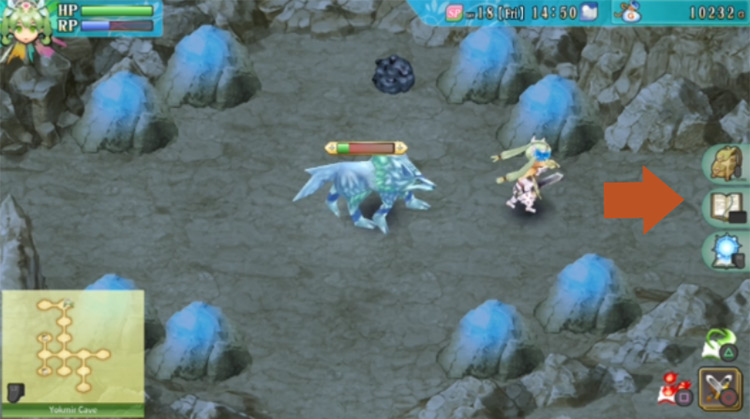
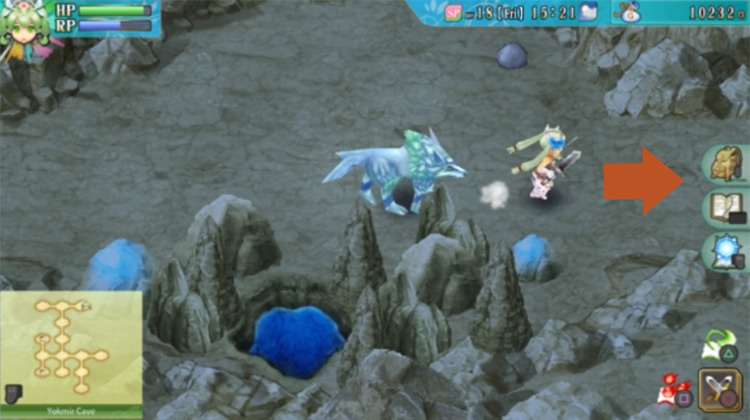
When you’re ready, open the chests right above you. You’ll find gold and some recovery items in them.
Feel free to save your progress as well using the diary on the right.
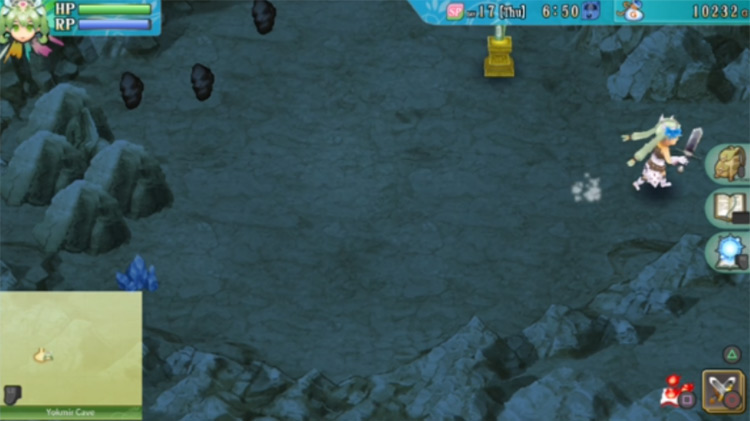
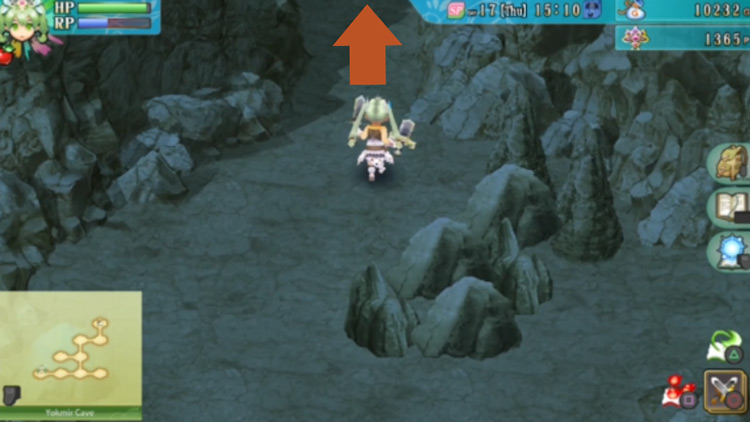
Finding the Yellow Switch
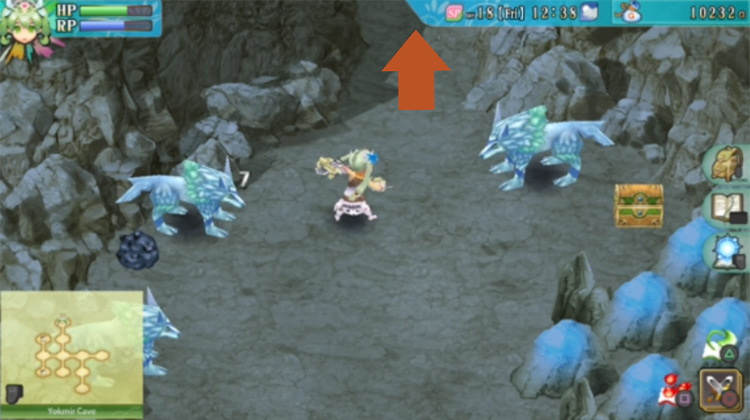
The path above you will be blocked by a yellow pillar. So you need to look for a yellow switch to bring that pillar down.
For that, head towards the path on the east.
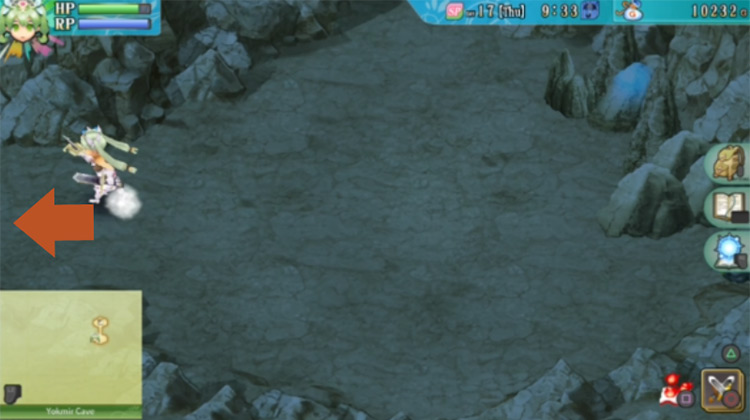
After that, you’ll need to head east again.
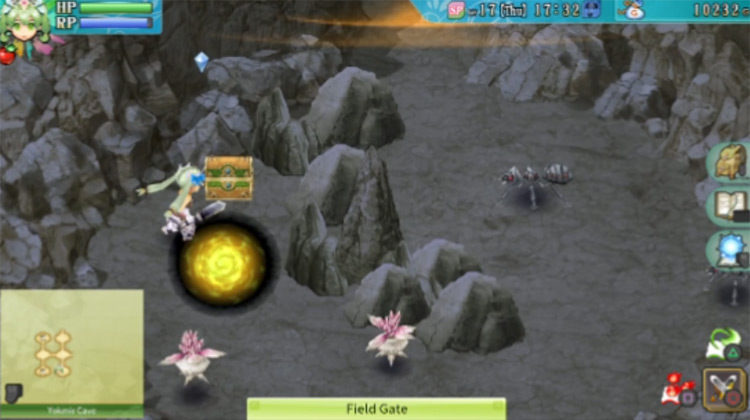
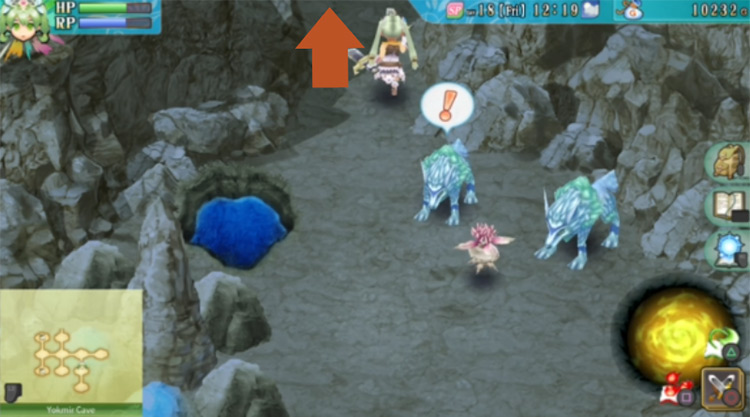
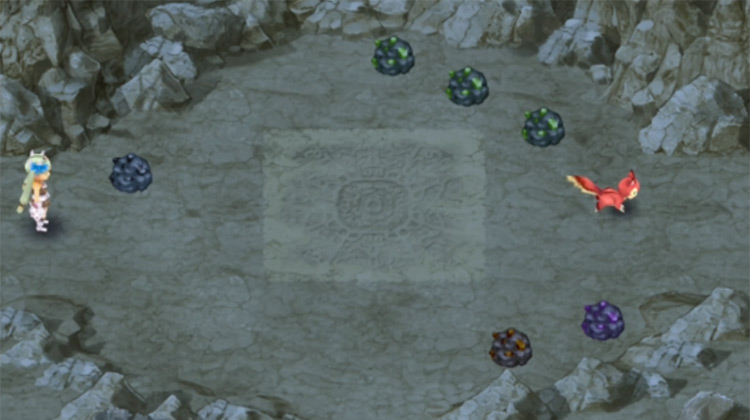
In the next area, the way forward will be blocked by a barrier.
Destroy the gate and defeat the monsters here to dispel the barrier. When the coast is clear, go up north.
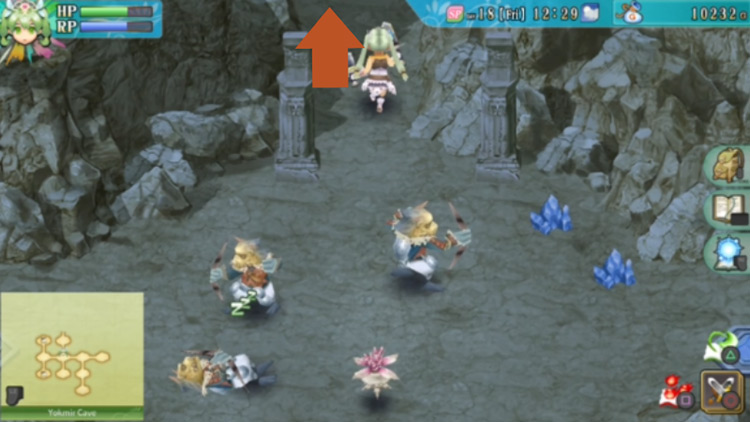
Once you enter the next area, barriers will block your exits again.
Defeat all the monsters here, then head for the path on your east.
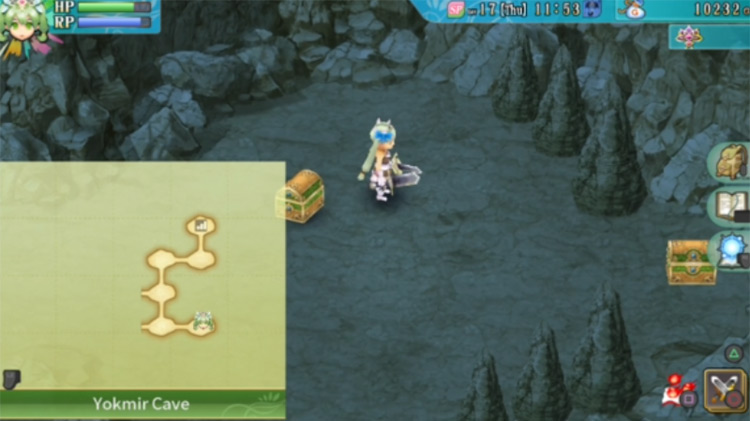
The next area has a chest in the middle and a staircase to the south.
Open the chest for some Antidote Potions and Para-Gone vials. They’ll be handy for when you come across the next monsters, which inflict poison or paralysis debuffs.
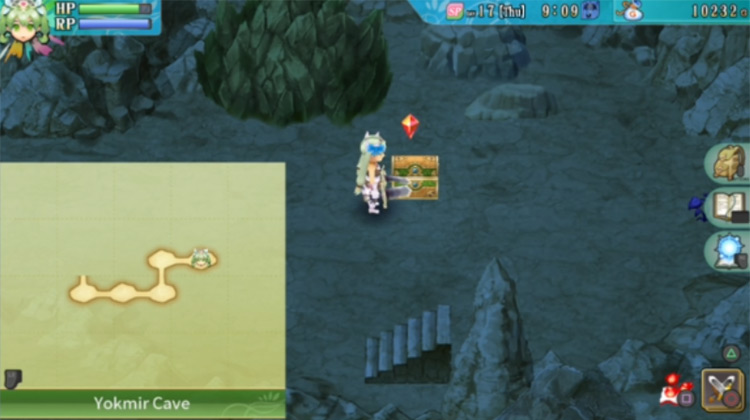
When you’re done, head up the stairs.
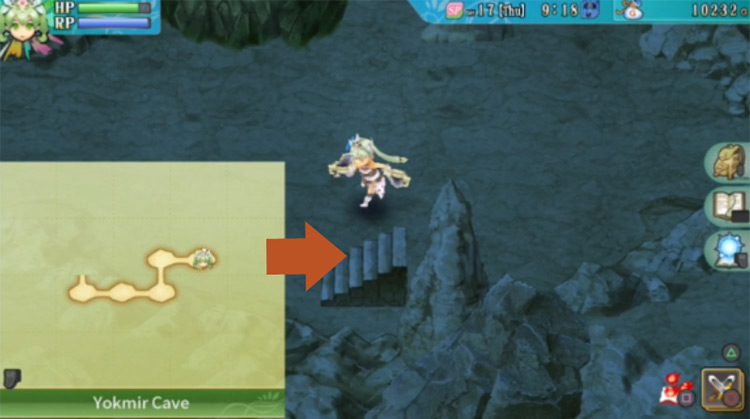
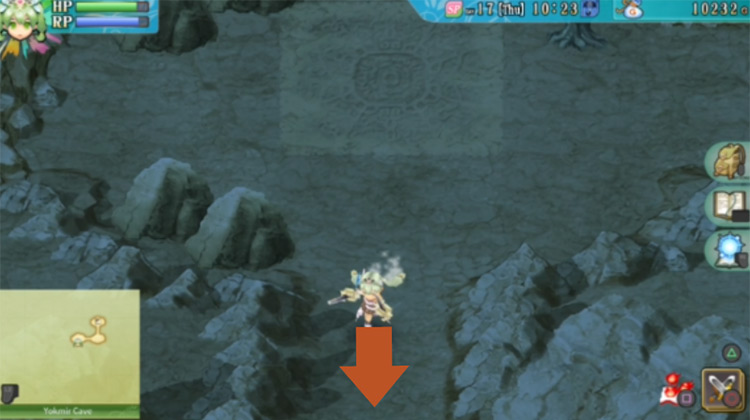
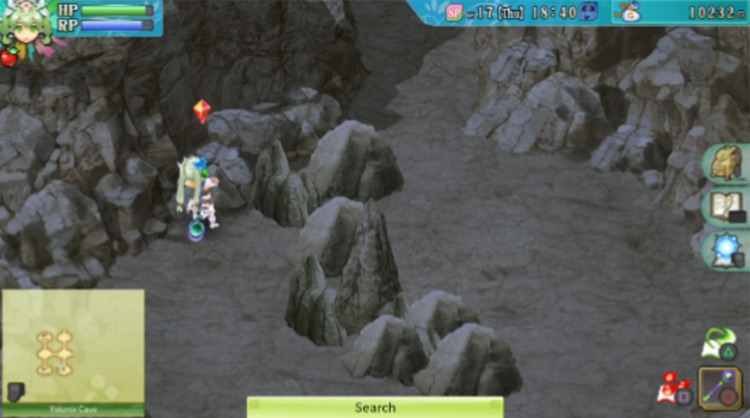
You’ll next find yourself in an area with a wooden sign and a diary for saving.
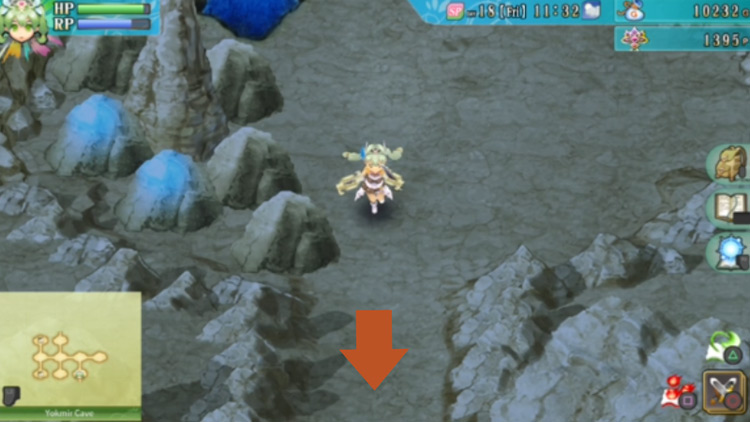
The sign will be talking about Para-Gone. Save if you need to, then head for the path going south.
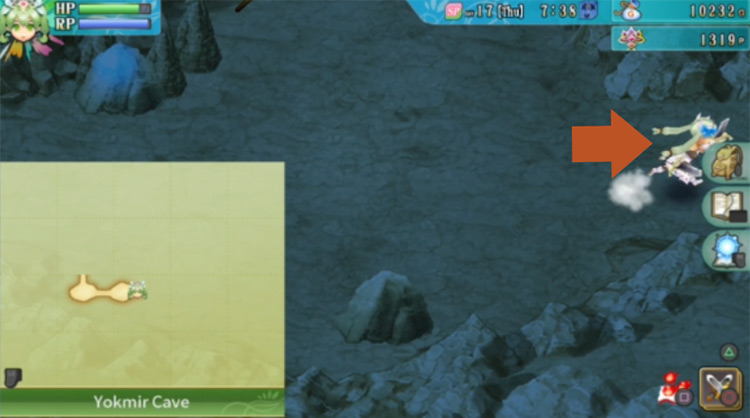
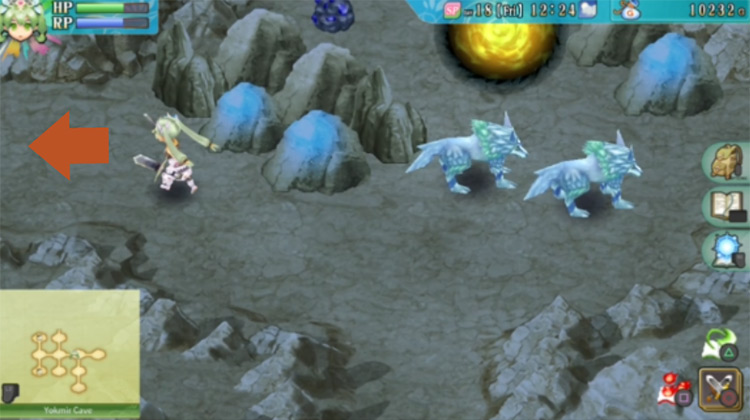
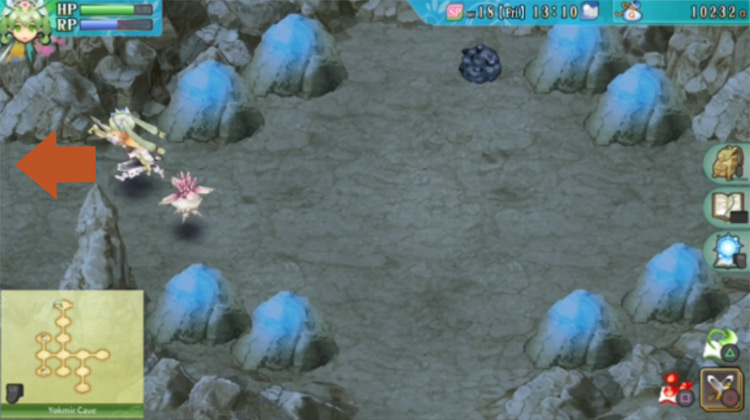
You’ll finally find the Chipsqueek in the next area.
But it’ll escape to the west, so head towards the western exit to chase after it.
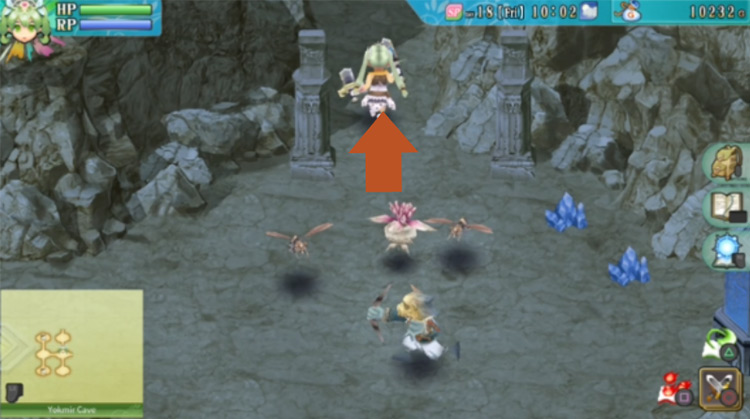
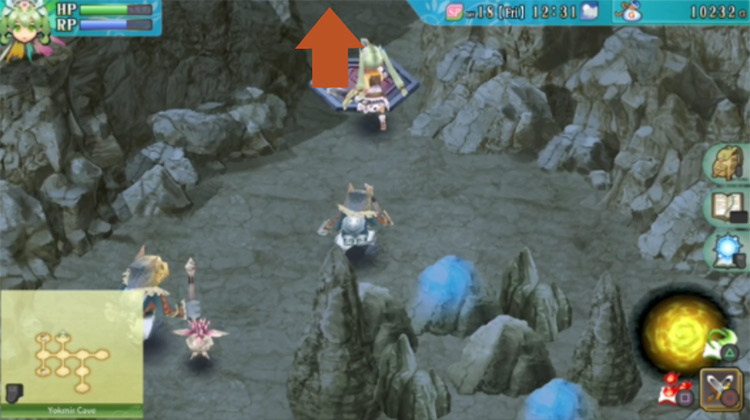
When you enter the next area, a barrier will block your way forward. Defeat all the monsters here, and then head south when the barrier disappears.
The next area has a small body of water right in the center.
Head for the path going west first.
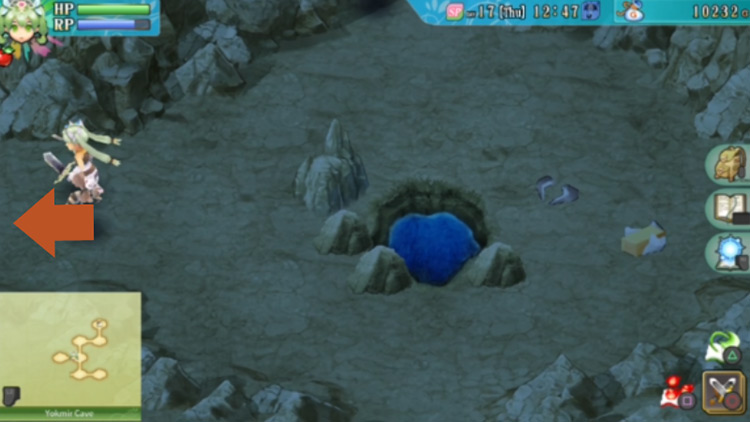
You’ll see a chest on the west edge of this room. Go open the chest to find some Recovery Potions, a Para-Gone, and Cotton Cloth.
You can equip the Cotton Cloth for additional defense points.
When you’re done, return to the previous area with the small pond of water, and then take the path going south.
A barrier will come up in the next area, but ignore it for now.
First, head for the path in the east.
You’ll find two treasure chests here. These chests contain:
- An apple
- A spell called Sonic Wind
The Sonic Wind spell deals useful long-range damage, so equip it if you can.
Once you’re ready, head back to the previous area on your west.
Now you can deal with the barrier. Clear the area and then head west.

A barrier will come up again to block your way forward in this next area too.
Defeat all the monsters for the barrier to disappear.
After that, head north.
The next spot has two crates and a purple switch.
The switch will be inaccessible for now, so just proceed up the steps in the north.
In the next area, another yellow pillar will be blocking your path on the east.
A barrier will also be blocking your path going north. So clear the area of all the monsters and head up north.
Next up, you’ll find yourself in an area with more crates and some steps heading down.
Get the items in the crates, then head down the stairs.

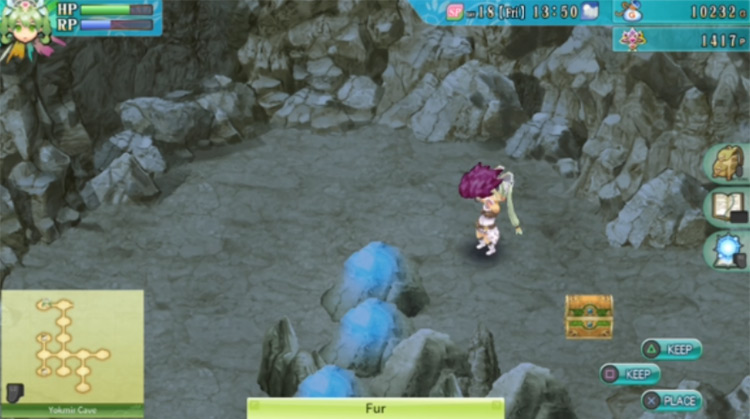
The next area is small. There’s a chest here and more steps heading further down.
Open the chest to find some Onigiri, then head downstairs.
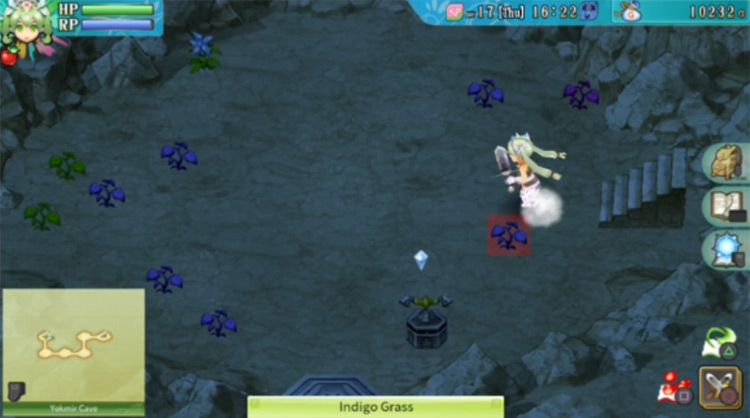
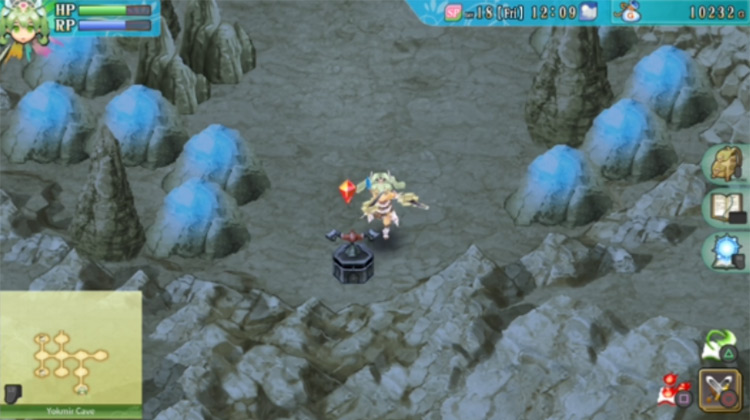
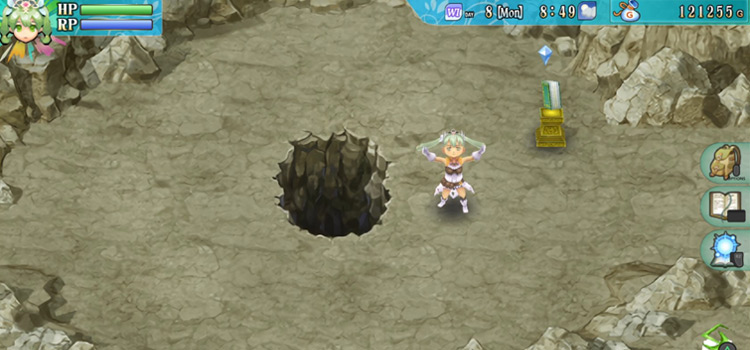
You’ll find lots of colored grass on the ground in this next room, and a yellow switch below you.
Push the switch and the yellow pillar below you will lower itself down. This was the pillar you saw at the very entrance of the dungeon, so go through if you want to return to the entrance.
Finding the Blue Switch
But you don’t need to go back to the start here, so to keep us moving just head back all the way up both flights of stairs until you reach the top again.
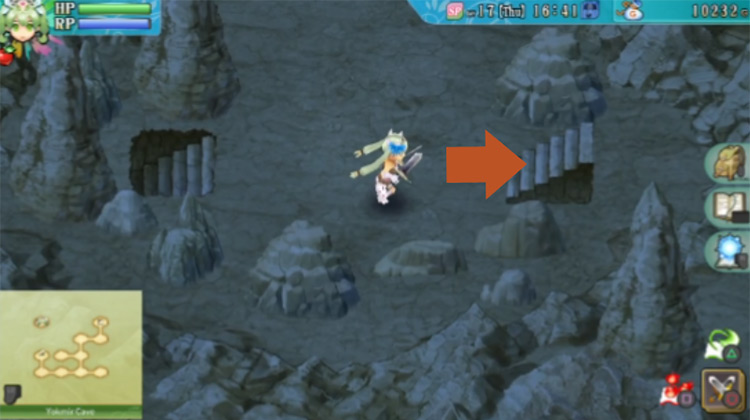
Once you resurface from both staircases, go south to the area with the other yellow pillar.
The yellow pillar should not be blocking your path anymore, so go ahead and take the path going east.
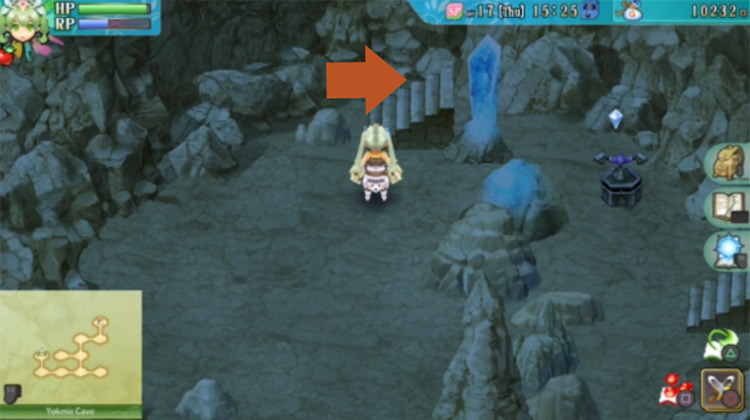
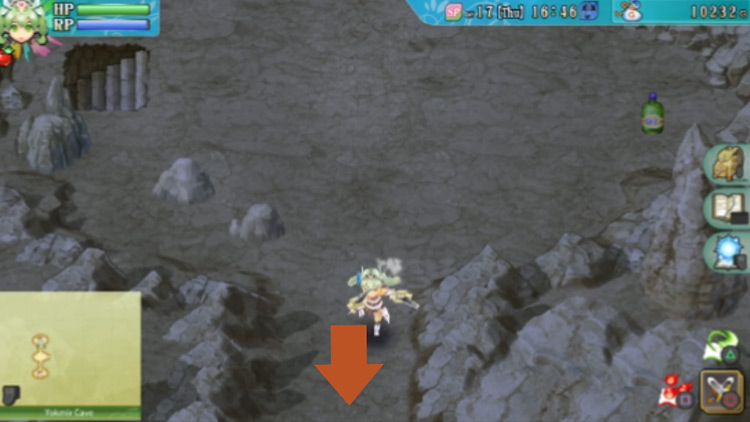
In the next area, a blue pillar will be blocking your path on the right.
The blue switch is just beyond the northern exit, but head south first.
A barrier will come up to block your way back into the previous room. You’ll need to defeat all the monsters here to proceed.
You can also go after the treasure chest on the west. In the chest will be a Leather Belt and a Staff – you can equip the belt for added defense.
Tip: Above the treasure chest is a spot you can interact with. This is actually a secret path, but you’ll need someone from the town in your party to go through it. Come back for this path when you have someone invited into your team.
For now, clear the monsters to dispel the barrier. Then return to the previous room by going north.
From there, you’ll need to head up north again.
Push the blue switch that you’ll find here.
After that, head back down to the previous room you were just in.
The blue pillar blocking your way should be gone.
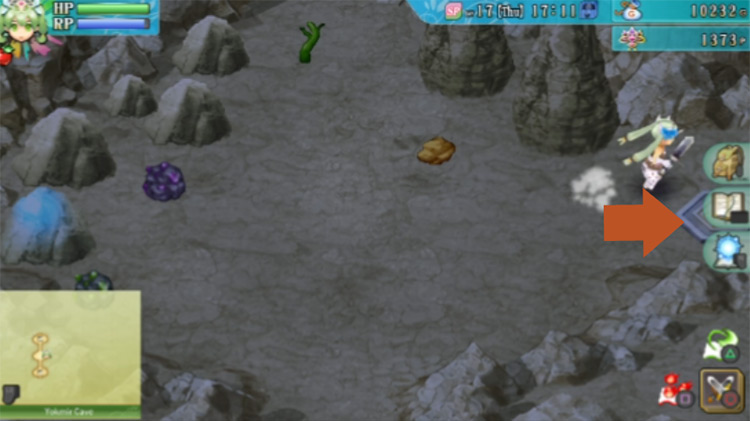
Now you can go through the path heading east.
Finding the Red Switch
In the next area, the path below will be blocked by a barrier.
The path on the right leads to an area with a chest. Unfortunately, it’ll be blocked behind a purple pillar.
Don’t bother with that area for now – instead just clear the monsters here so you can go through the path going south.
You’ll find a red switch directly south of you once you enter the next room.
Go push that red switch, then go back to the previous room by heading back north.
How To Reach the Boss (Dead Tree)
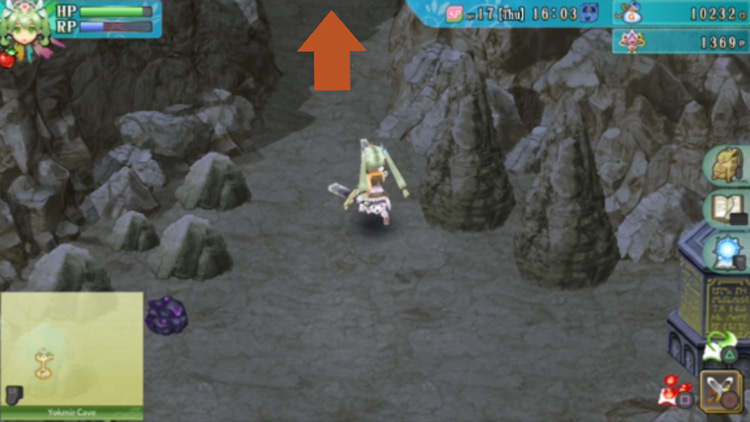
Now you’ll need to go back to the area that had a red pillar.
To get there, head north again.
Next, go for the path heading west.
Then go up north.
The next area is where the red pillar used to be blocking the path north.
But now that we’ve moved the red pillar out of the way, you can go ahead and make your way through that path up north.
In the next room you’ll find a treasure chest. Open that chest to find some seeds.
Afterwards, you can proceed towards the path heading north.
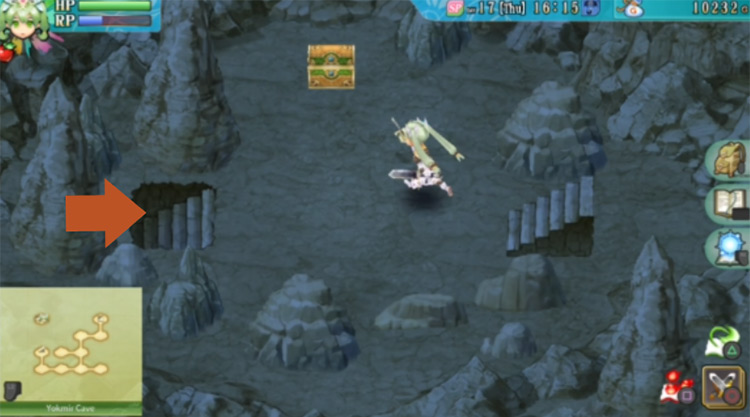
In this next room we’ll actually head west first to get a treasure chest.
The area on the west will seemingly have nothing. But don’t leave just yet!
Defeat all the monsters here, then a chest will appear near the entrance.
Open this chest for a Dash Slash that you can equip if you want to use that special attack.
When you’re ready, head back to the previous room.
And this time, take the path going east.
When you get to the next area, another barrier will be blocking your way forward.
Just clear the room of all the monsters and then head on to the east.
You’ll find the Chipsqueek again in the next room.
It’ll escape towards the east, so make your way through the eastern exit to chase after it.
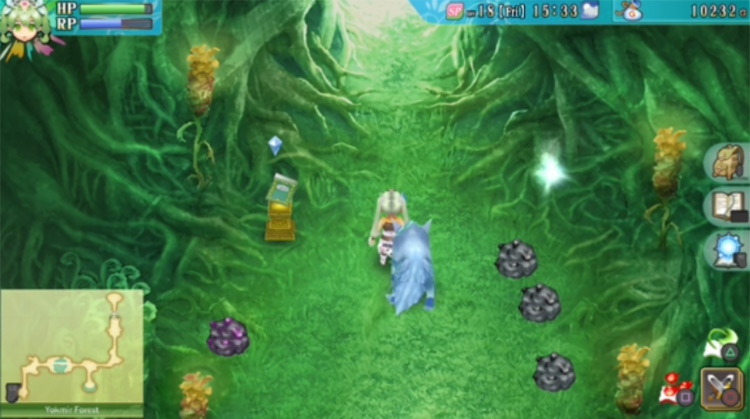
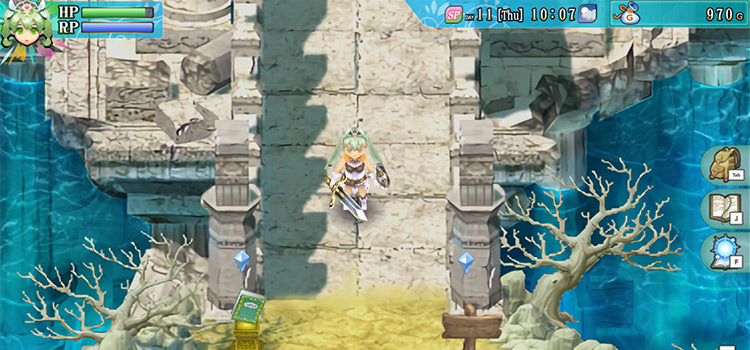
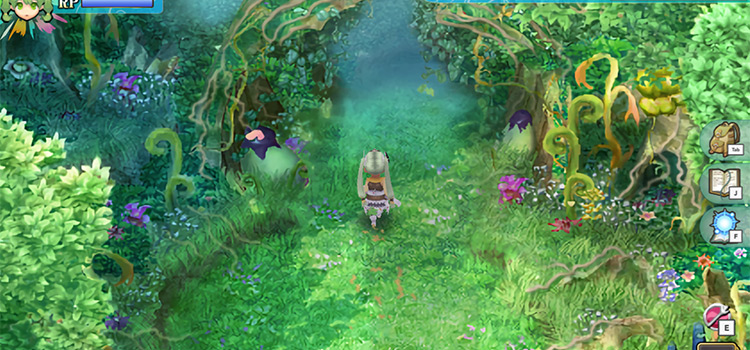
You’ll find yourself in a familiar area: Yokmir Forest.
The Chipsqueek will go up north towards the boss area. Go after it, but save first.
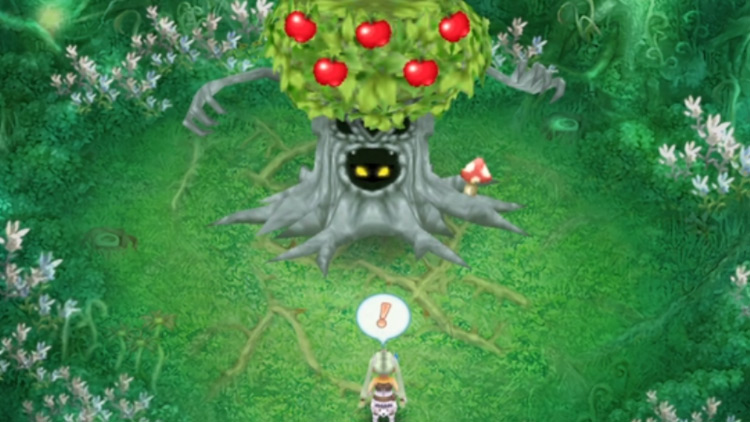
When you enter the area up north, you’ll encounter a new boss.
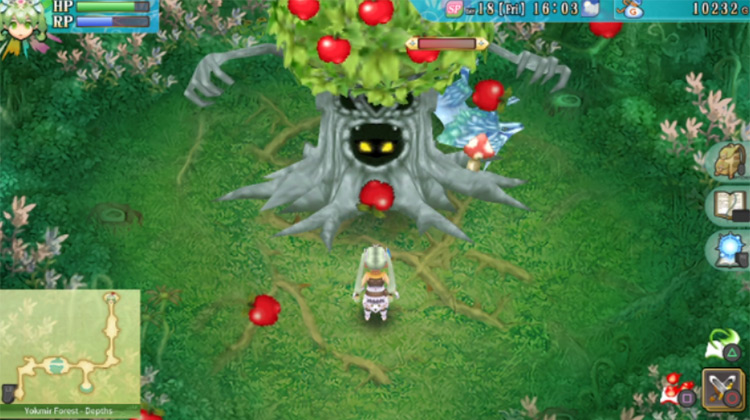
Boss Fight: How To Beat Dead Tree
When you enter the boss’s area, you’ll no longer find Ambrosia waiting for you.
Instead, Dead Tree will be there to pummel you with apples.
Phase 1: Dead Tree
| Dead Tree First Phase | |
|---|---|
| Attacks |
|
| Fighting Tips | Dead Tree performs big movements with its arms before it attacks. Keep an eye on it and move away as soon as you see its arms do any actions. |
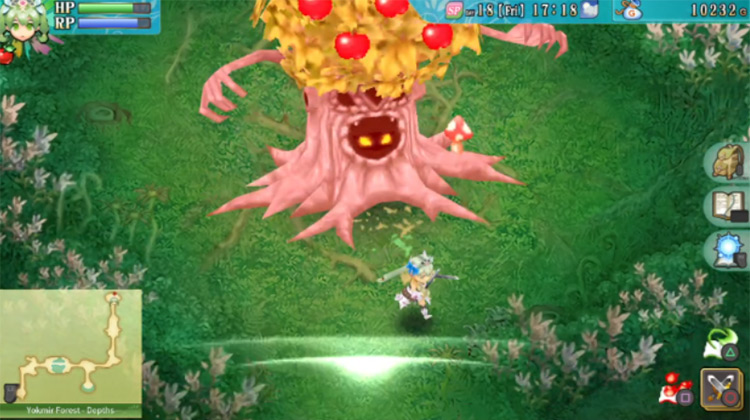
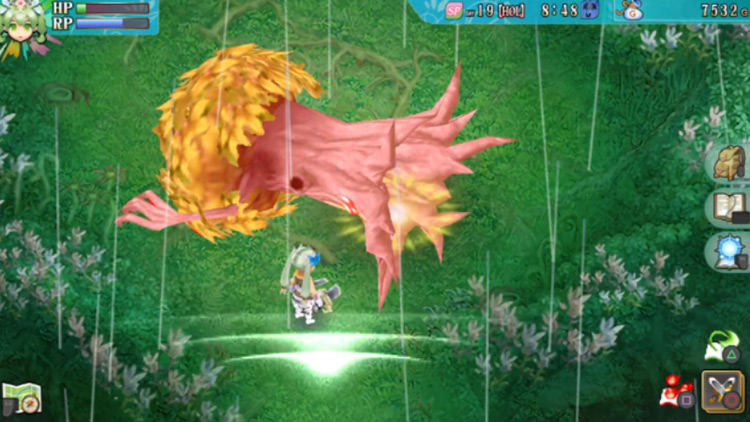
Phase 2: Dead Tree Enraged
| Dead Tree Enraged | |
|---|---|
| Attacks | Dead Tree will perform the same attacks as the previous stage, but this time it will be moving around the field. |
| Fighting Tips | Dead Tree will no longer be stuck in the center of the field when it is enraged. It will attempt to chase you down, so make good use of your dash move. Also make sure Dead Tree never corners you along the edges of the field, because you need to be able to freely move around to dodge its roots and apples. |
Chapter Epilogue: Doug’s Past
Once you defeat the Dead Tree, it doesn’t turn into a human like the previous bosses did.
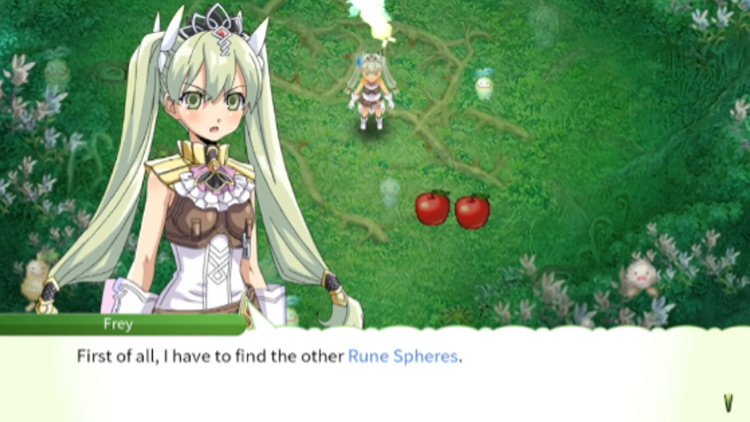
Instead, apples will be left in its wake.
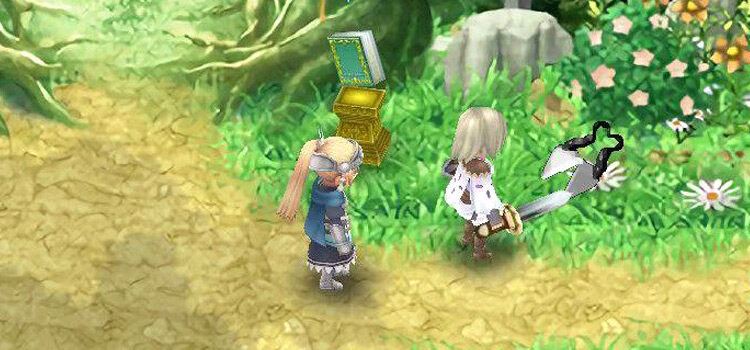
A cutscene will play out after that, and then Doug will appear.
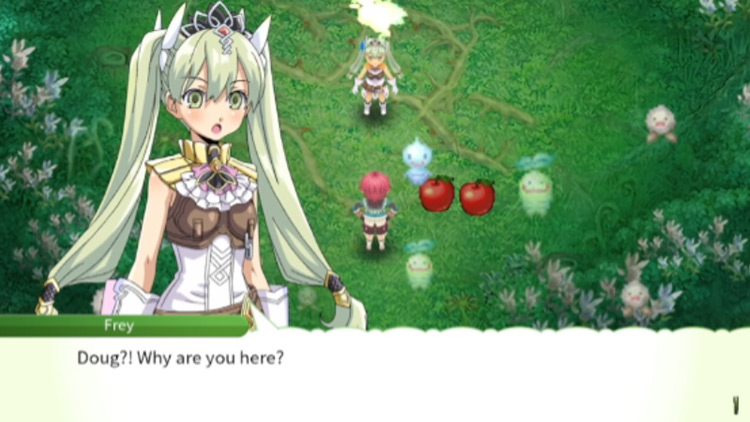
You’ll learn about Doug’s past and motivations in this scene, and then he’ll leave you behind.
After this cutscene, your relationship with Doug won’t increase until you complete the later chapters.
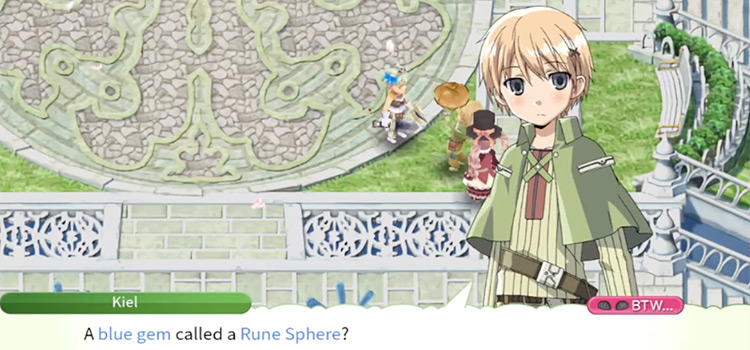
This chapter ends with you resolving to find the other Rune Spheres. And with that, you’ve cleared Yokmir Cave!
Next: The Rune Spheres & Chimera: Rune Factory 4 Walkthrough Part 6

-
Rune Factory 4
- Yokmir Cave: Rune Factory 4 Walkthrough (Part 5)
Related Posts:
 Yokmir Forest: Rune Factory 4 Walkthrough (Part 2)
 How To Get To Yokmir Cave in Rune Factory 4
 The Water Ruins: Rune Factory 4 Walkthrough (Part 3)
 Obsidian Mansion: Rune Factory 4 Walkthrough (Part 4)
 Where is Yokmir Forest in Rune Factory 4? (Location Guide)
 The Rune Spheres & Chimera: Rune Factory 4 Walkthrough (Part 6)
 How To Get Clippers in Rune Factory 4
 Where is the Revival Cave in Rune Factory 4?