TABLE OF CONTENTS
| Summary Info | |
|---|---|
| Recommended Level | Level 30 (or higher) |
| Monsters to Find |
|
| Field Items to Find |
|
Full Walkthrough
Chapter Prologue: The Next Rune Sphere Location
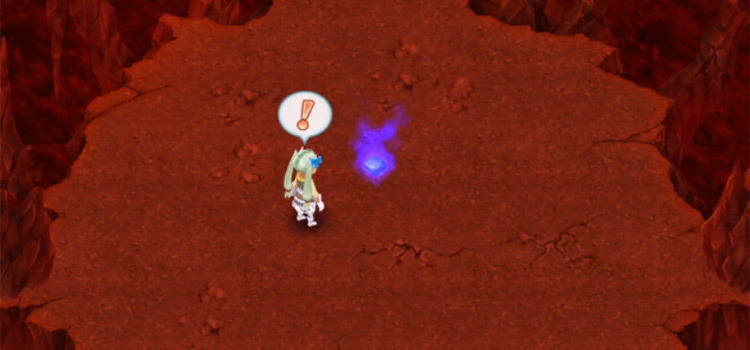
With one more Rune Sphere found, you only need two more to go.
Talk to Lin Fa to get your investigation started.
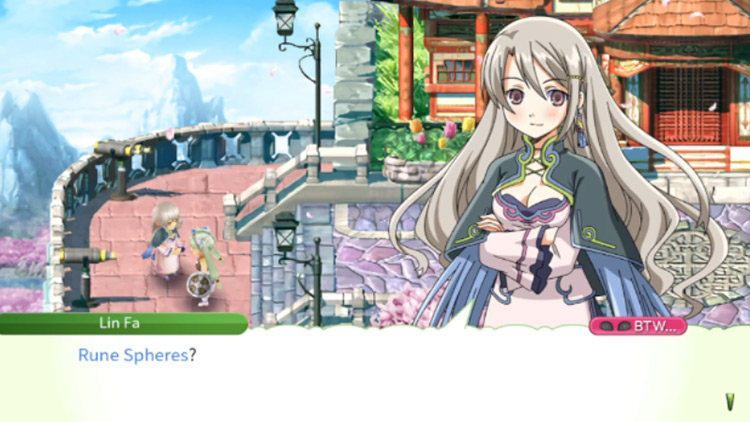
She’ll tell you to speak to a customer in her bathhouse.
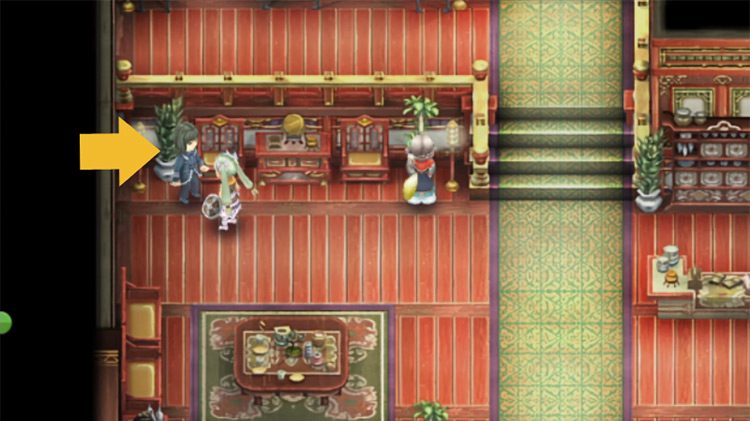
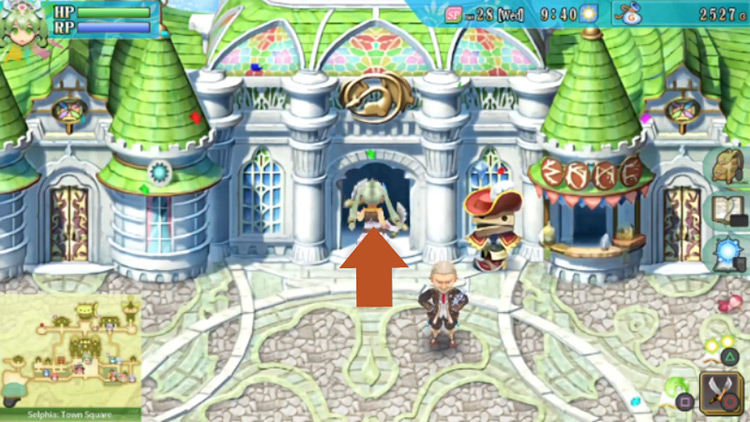
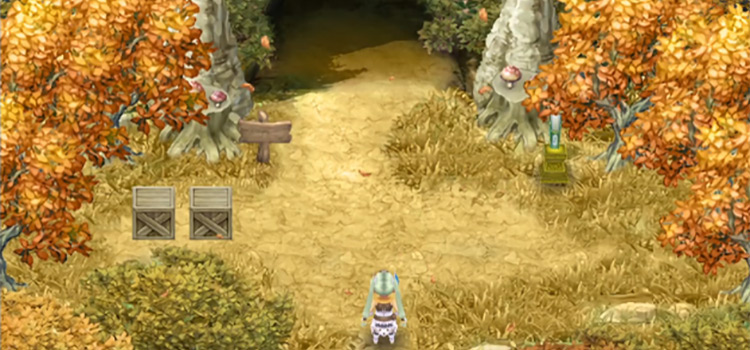
So at that point, head to the bathhouse and go to the northwest of the lobby. You’ll find the customer there (pictured below).
Speak to him to get the location of the next Rune Sphere.
If you follow the customer’s instructions, you’ll end up in the Delirium Lava Ruins.
But if you need help finding the cave then we have a detailed step-by-step guide showing you exactly where to find the Delirium Lava Ruins.
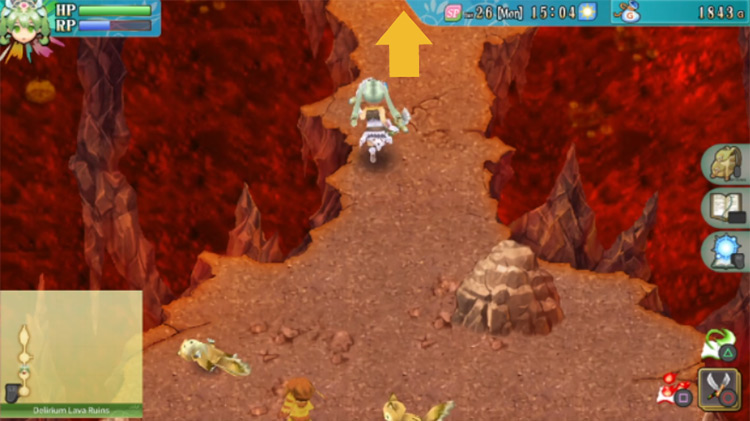
Entering the Delirium Lava Ruins
The game’s difficulty spikes in this part of the story, so be prepared!
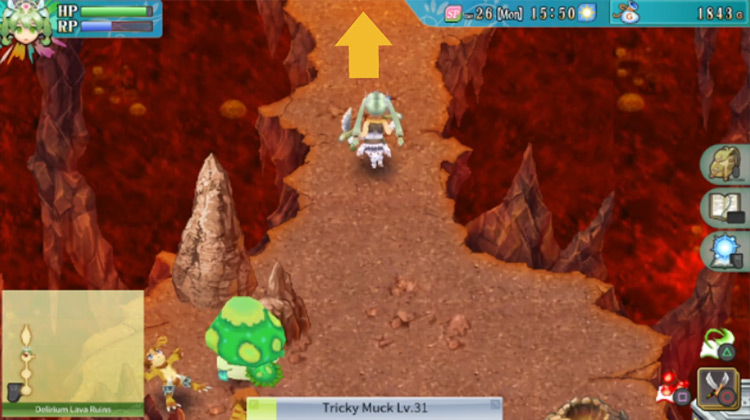
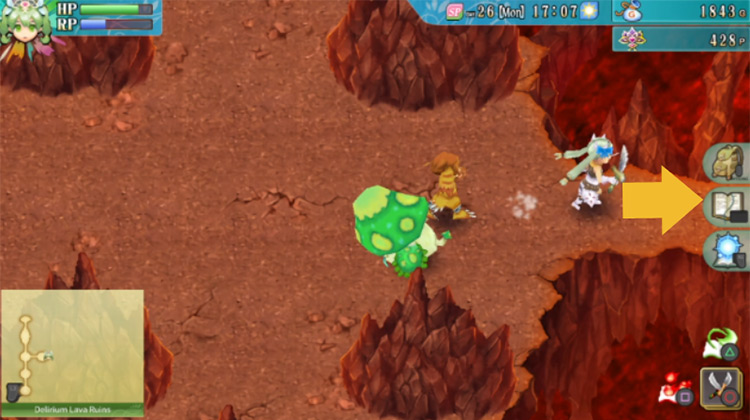
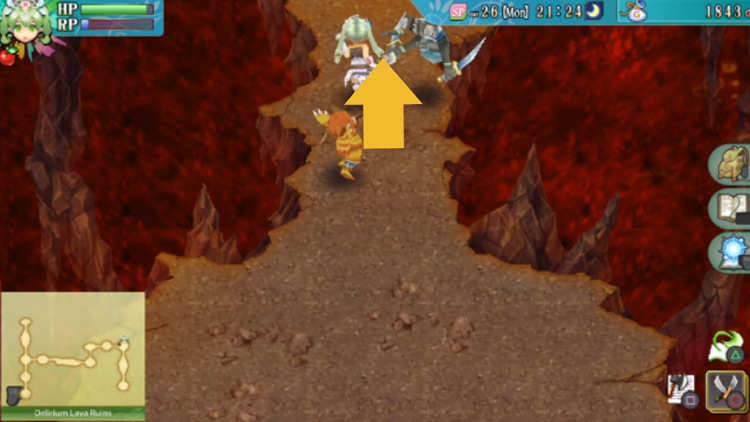
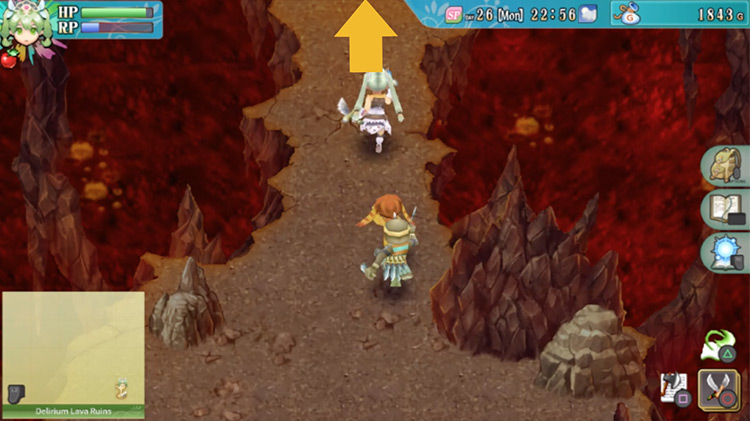
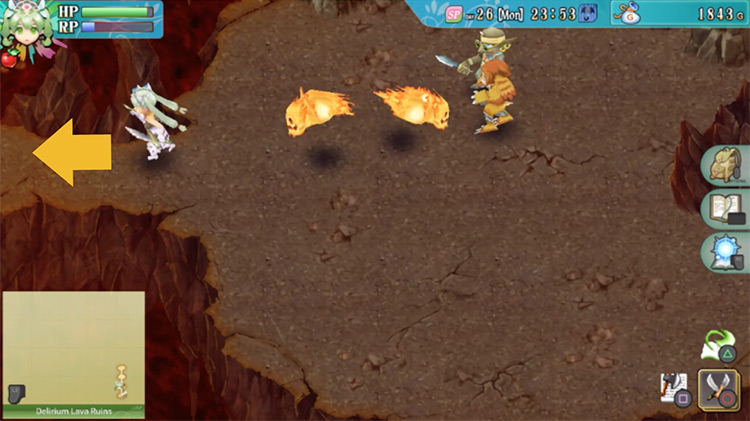
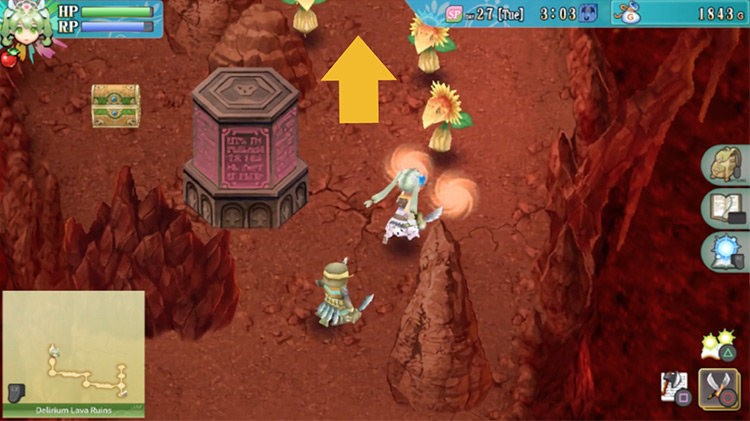
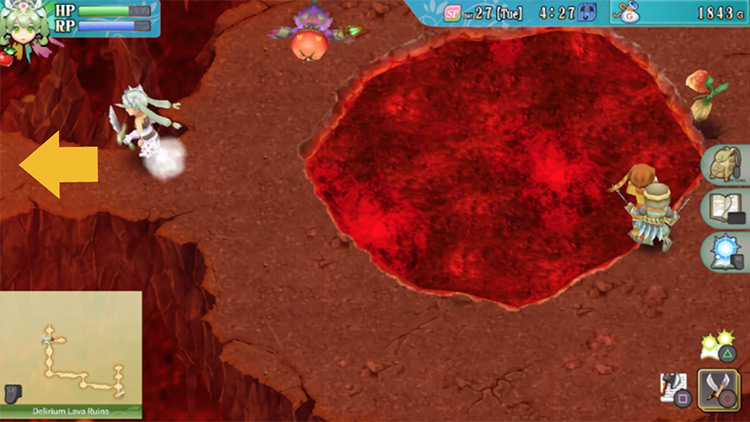
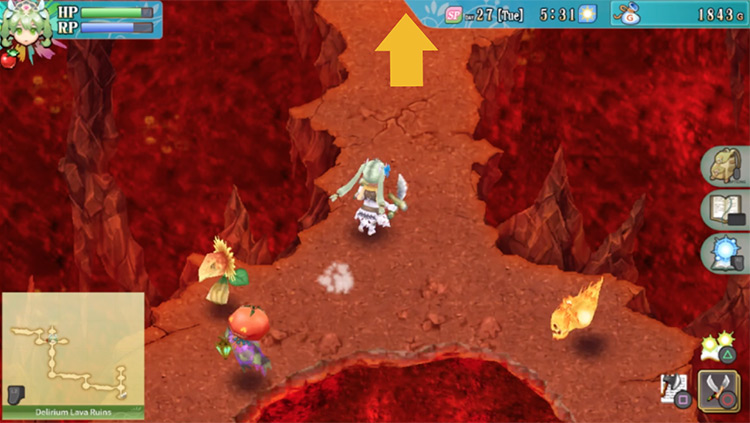
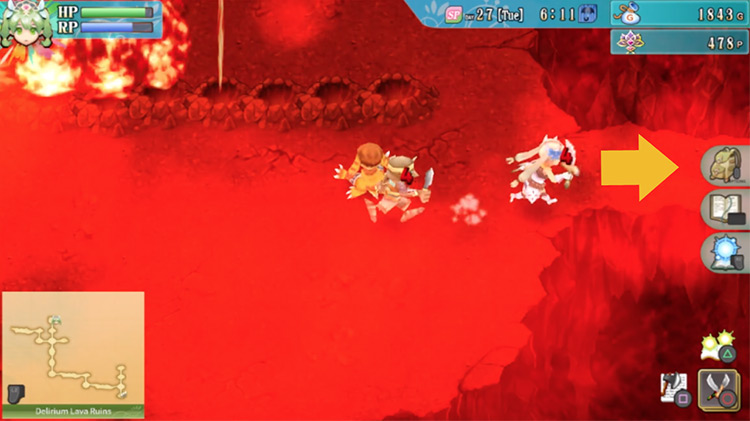
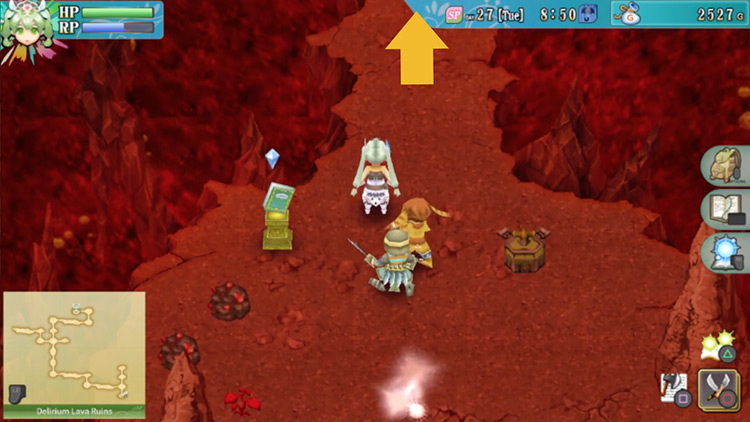
Enter the cave when you’re ready. Once inside, you’re going to need to head all the way up north.

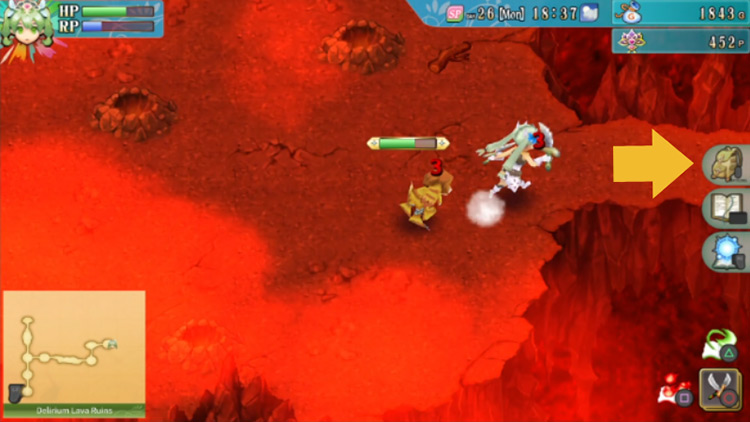
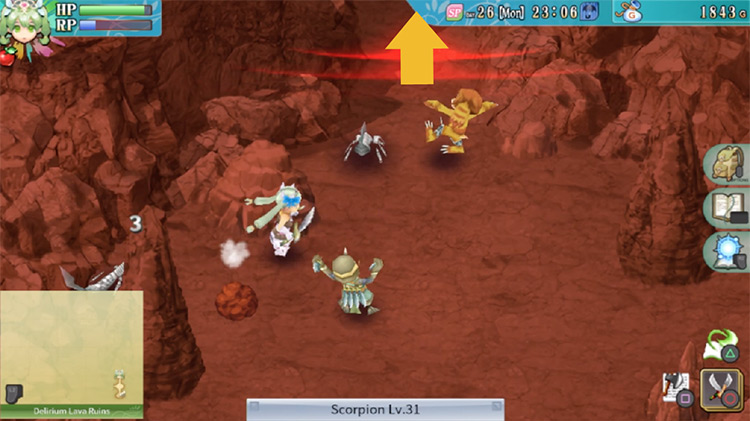
In the next area, you’ll encounter the first mobs of this dungeon for the first time.
If you find yourself struggling to defeat these mobs, you can try taming some to fight alongside you.
But just keep on heading north when you’re ready.
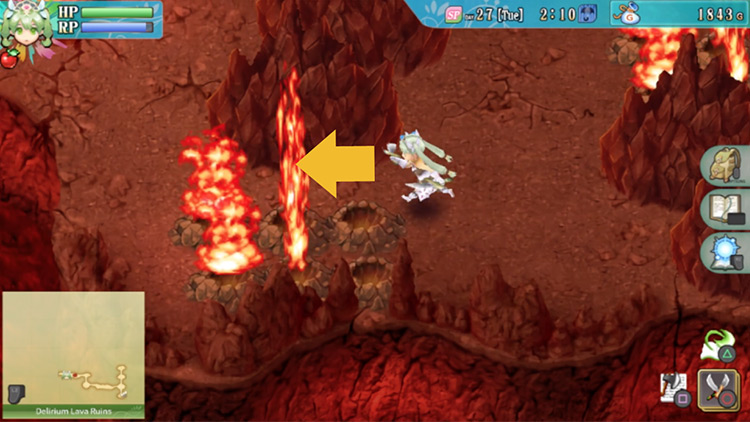
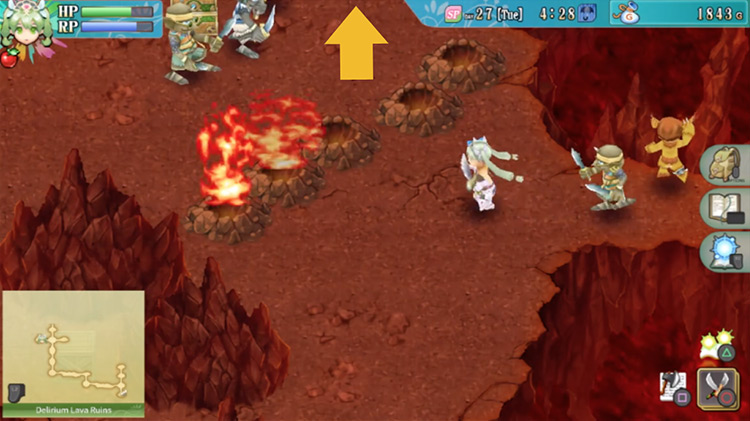
Next, you’ll reach an area with a yellow pillar blocking the path heading toward the east.
You’ll need to find a yellow switch to get rid of it.
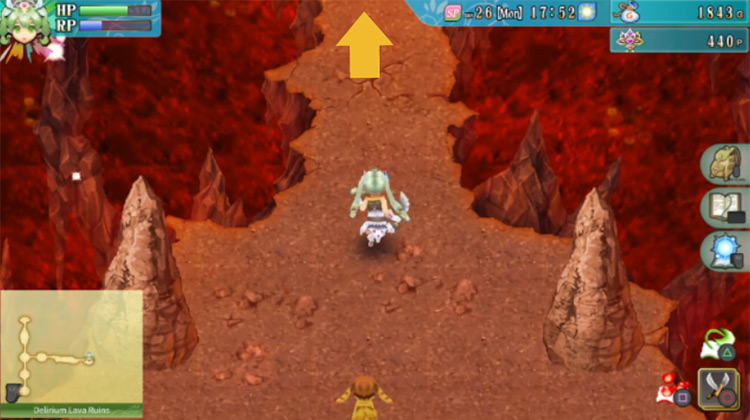
At this point just head up north again.
Finding the Yellow Switch
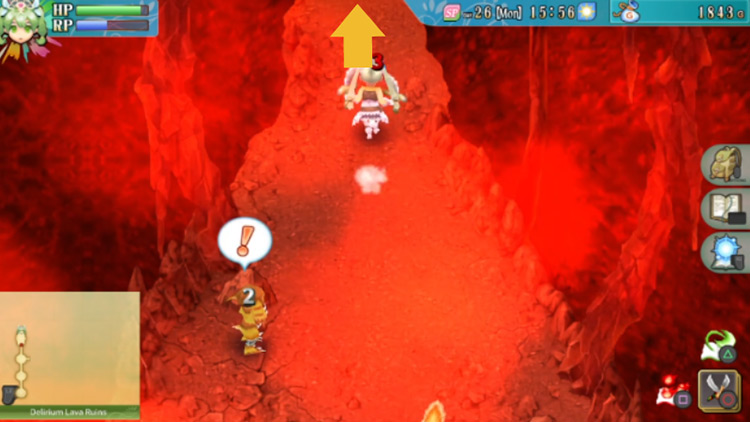
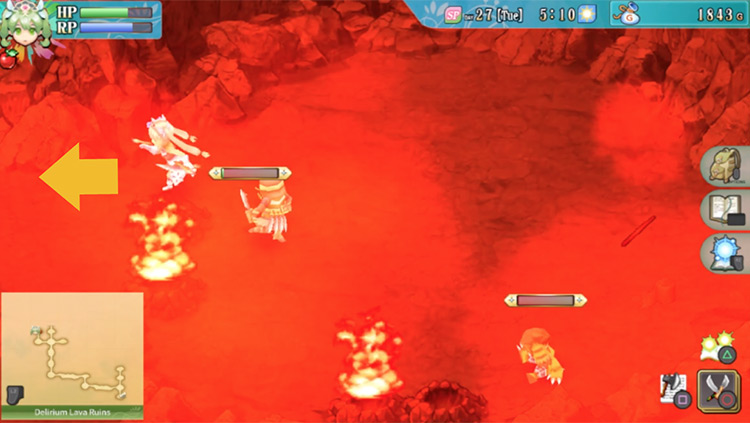
When you get into the next room, you’ll notice a red haze all over the area. This haze causes a small amount of damage over time to everything shrouded in it.
It’s better if you don’t dwell here too long, so continue making your way up north.
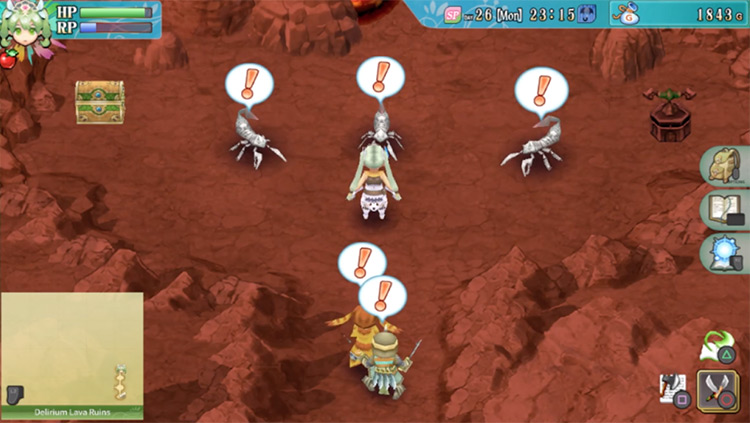
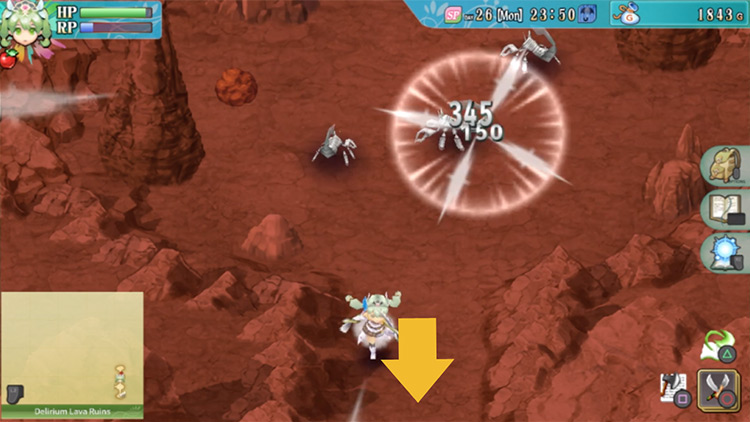
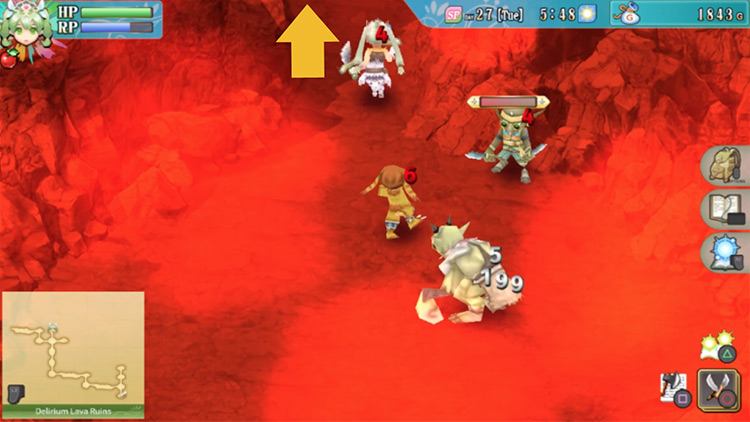
When you get to the next area, a barrier will come up and block your exit going south. So clear all the mobs in the area to proceed.
When all the mobs have been defeated, a yellow switch will appear right in the center of the room, and the barrier will disappear.
Push the yellow switch, and then return to the area from before that had the yellow pillar.
Now you can go through the newly-opened path heading east from where the yellow pillar was.
Getting to Floor 2
Now you’re going to need to head all the way to the east.
A barrier will block your way forward in the next area.
So just defeat all the mobs to dispel the barrier. Then continue on your way east.
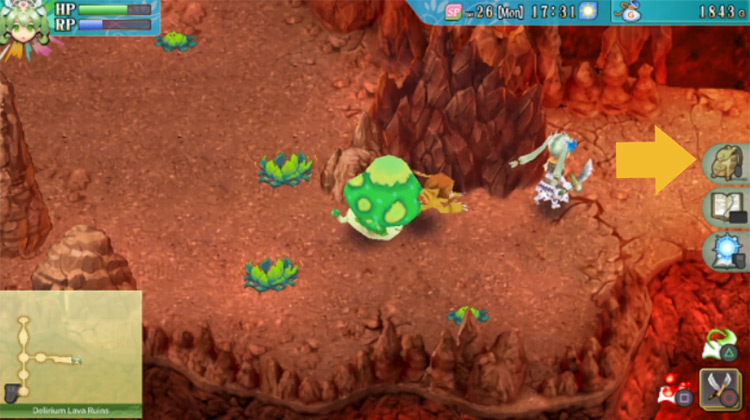
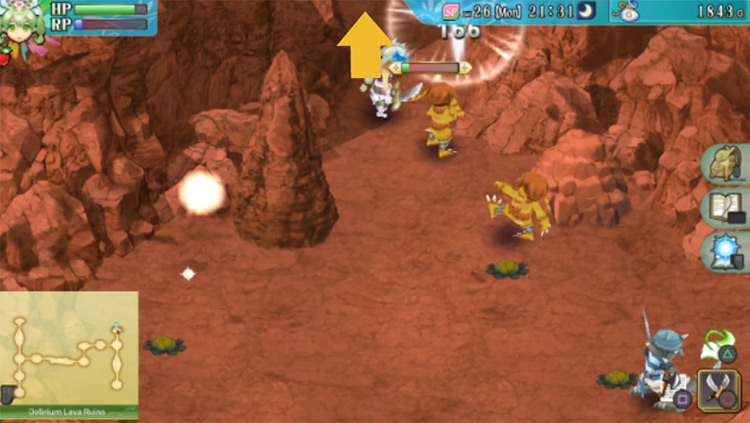
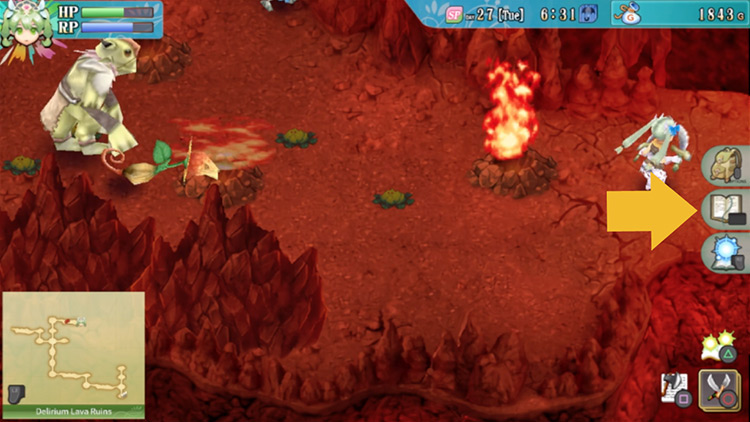
You’ll then find yourself in a wide area with a couple of mobs and some plants on the ground.
Watch out for the plants! They’re carnivorous plants that hop up and take a bite of you when you pass by over them.
Carefully make your way to the path on the eastern side of this area.
When you enter the next area, a barrier will block your path ahead.
As always, you’ll need to clear all the mobs in the area to proceed.
The portal here is a moving Blaze Gate. Deal with the gate first so that you can clear the rest of the monsters easier without any extra spawns.
When you’ve cleared out this area, head up north.
Delirium Lava Ruins Red Switch
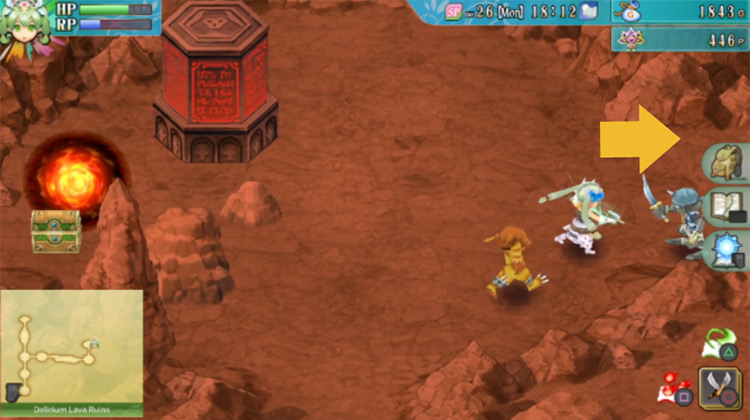
You’ll see a red pillar in this area that’s blocking the path to a treasure chest.
You need to clear this area for a red switch to appear.
So use a long range attack, like a spell, to destroy the Blaze Gate behind the pillar and clear the room. Then you can push the red switch.
When the pillar is gone, open the chest to grab the health potions inside. After that, head on to the east.
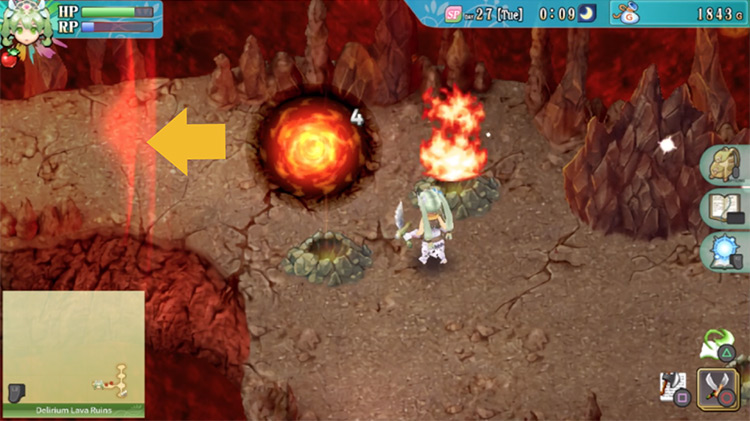
There’s more red haze in the next area, but a barrier will be blocking your path ahead.
Clear all the monsters in the area quickly, then head east.
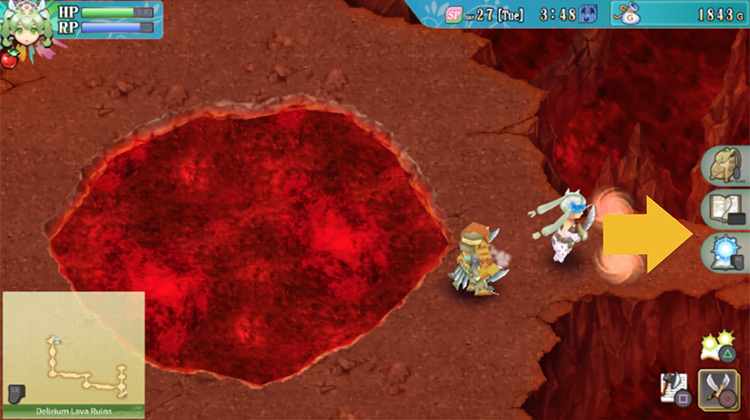
When you reach the next area, barriers will come up to block every exit.
A Blaze Gate will be moving around in the center where there’s a huge hole in the ground. Deal with the gate by attacking it when it reaches the edges of the hole.
When the barriers have been dispelled, make your way down the southern path first.
Barriers will block your exits again when you get to the next area.
You’ll need to defeat all the monsters here, then head south.
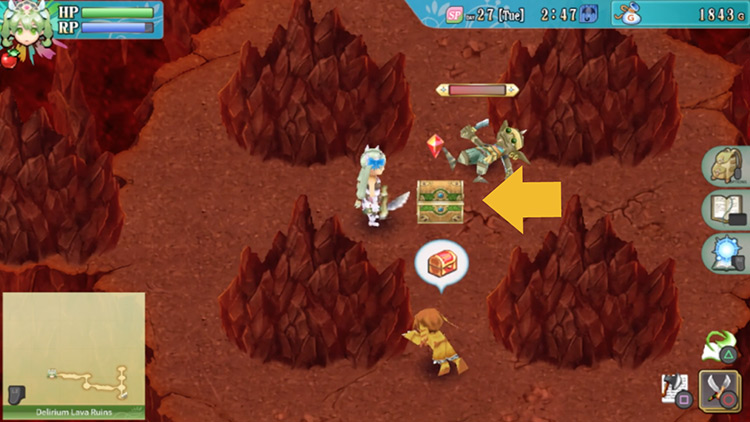
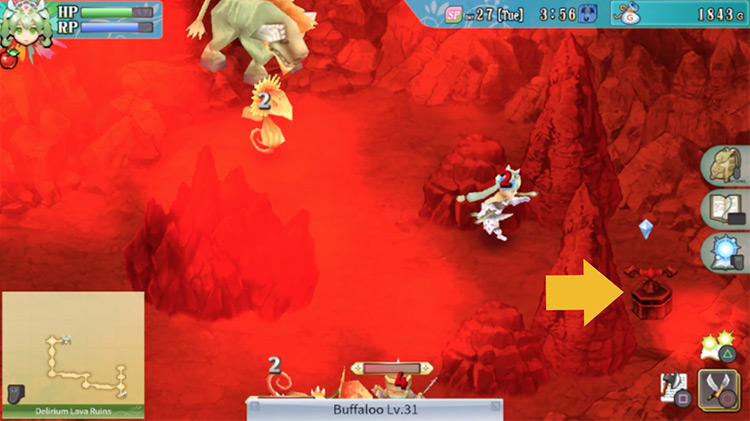
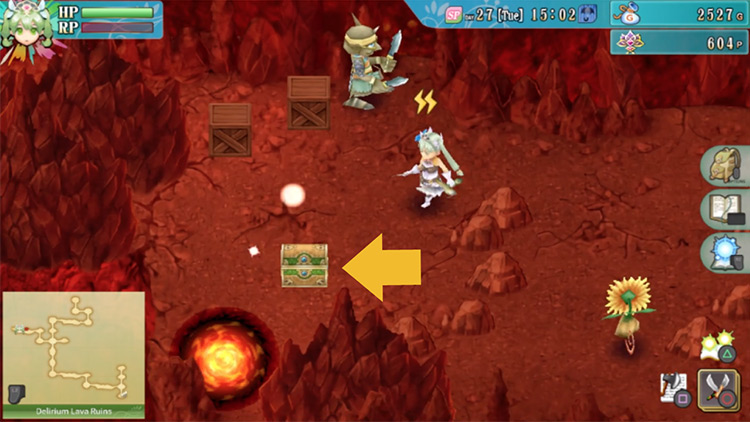
When you go through, you’ll find yourself on a platform in this next area with a treasure chest right in the center.
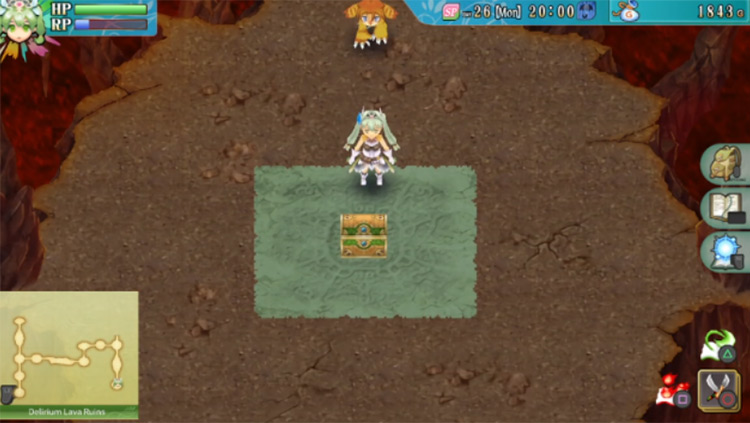
Heads up: Once you open the chest, you’ll be ambushed by a bunch of Gangster Goblins.
The chest contains a Bonus Concerto spell. This is a great spell to use if you have companions because it gives them a small buff.
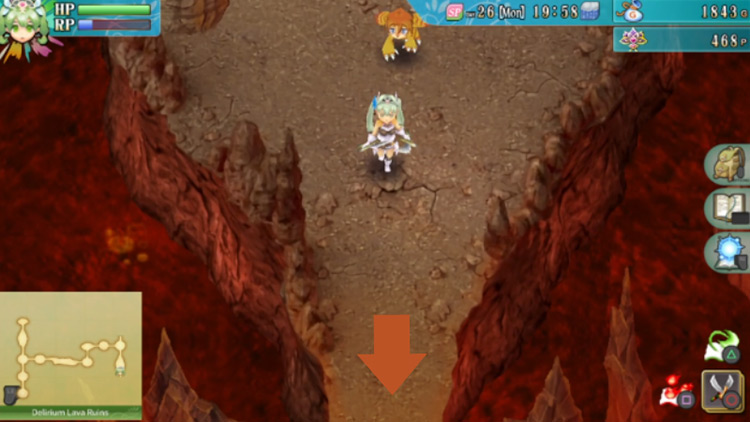
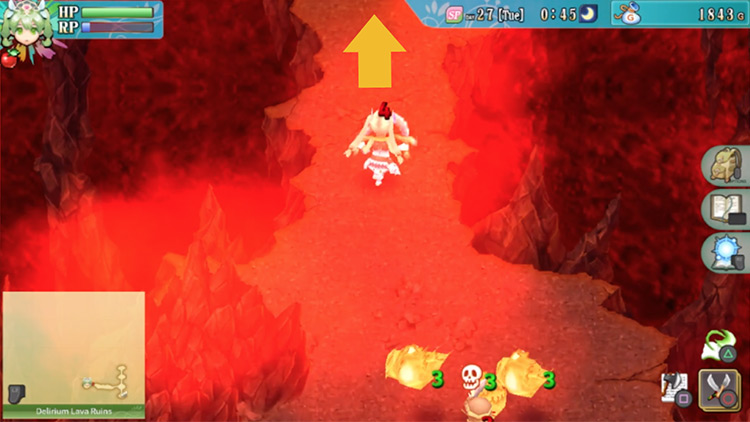
Defeat all the goblins here and then head all the way back up to the area with the huge hole in the center. This time, you’re gonna want to head up north past the hole and exit on the northern end.
The next area will be a bit brighter than the last.
But you’re almost done with this floor!
Keep on heading up north.
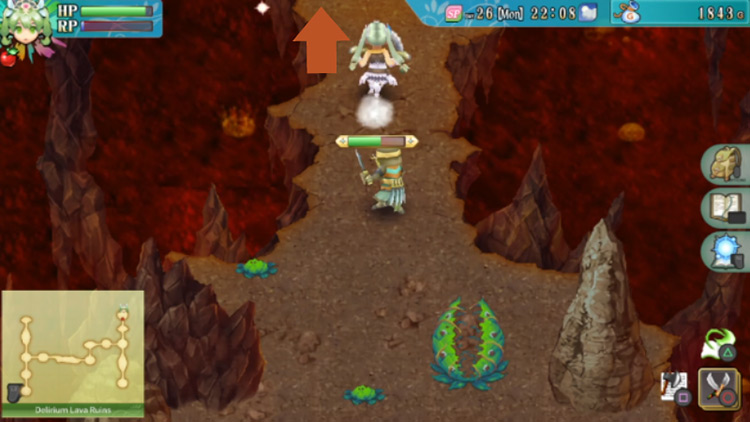
Next, you’ll find yourself in an area full of carnivorous plants on the ground.
You’ll need to head up north, but the path will be blocked by a barrier. Just clear all the mobs in the area to dispel the barrier, then head north.
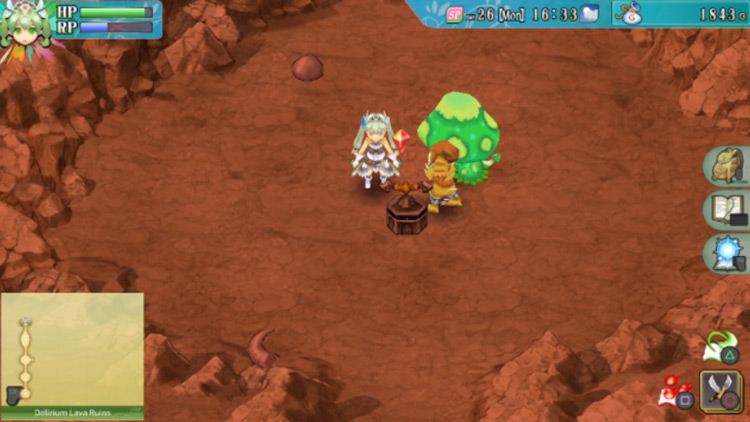
Once you go through, you’ll find yourself in front of a staircase.
Head up the stairs to traverse through the next floor of the ruins.

Delirium Lava Ruins Floor 2
When you get upstairs, a new map of the ruins will be available to you.
You’ll also find yourself in a room with a journal for saving as well as a blue switch. Push the blue switch to activate a portal that’ll take you back to the ruin’s entrance (but don’t go through the portal here).
After saving, just head up north.
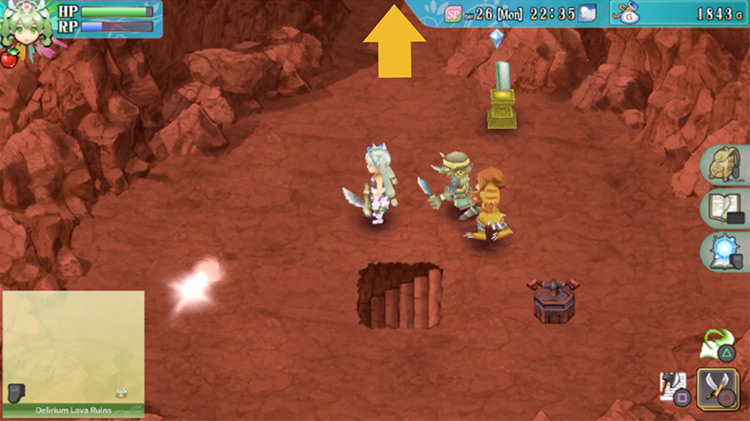
You’ll find yourself in a small area with some rocks you can mine and a few mobs.
You’ll need to go all the way up north to find a switch that’ll open a path you’ll come across later on.
The next area will have a barrier blocking your path going north.
So first, defeat the monsters to dispel the barrier. Then make your way north.
In the next room, you’ll find the switch you need to push.
There will also be a treasure chest on the left. Open this chest to find some healing items, then push the green switch on the right.
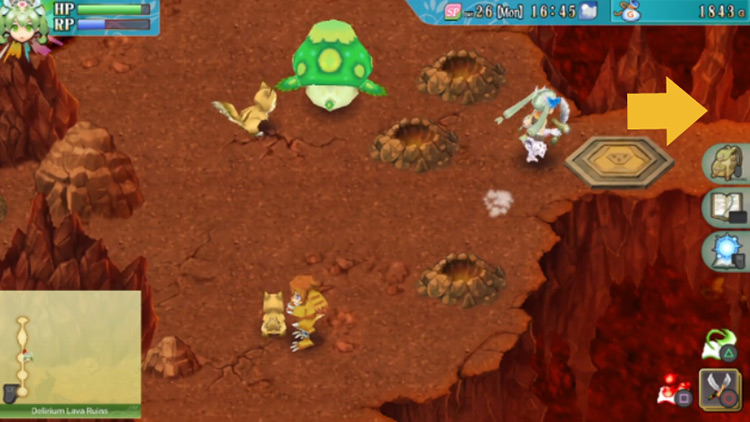
When you’re ready, head back down.
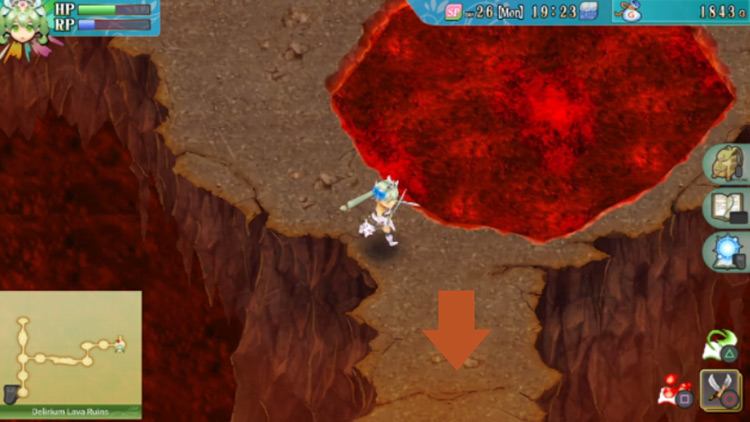
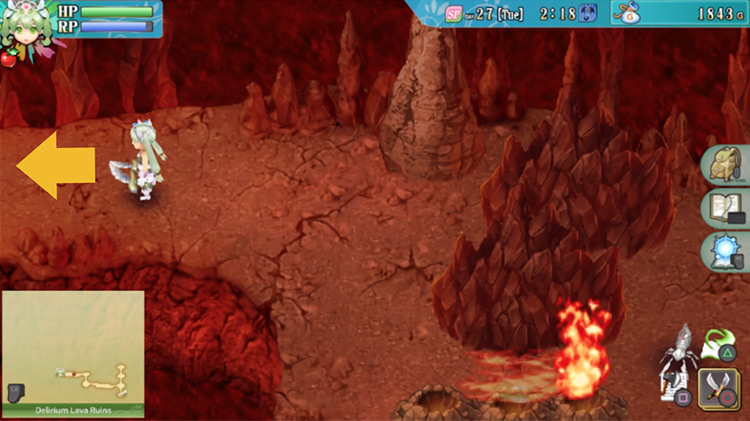
Keep going south in the next area and head back down again.
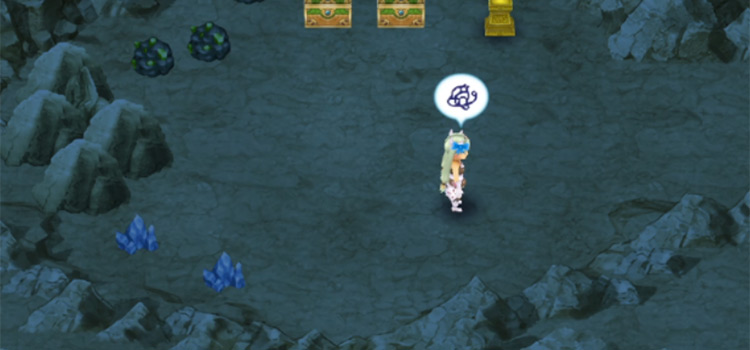
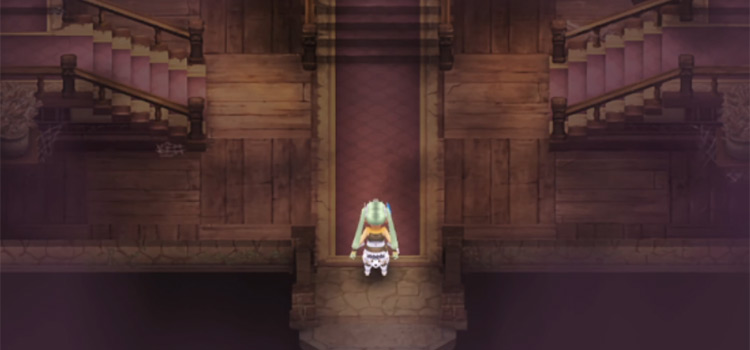
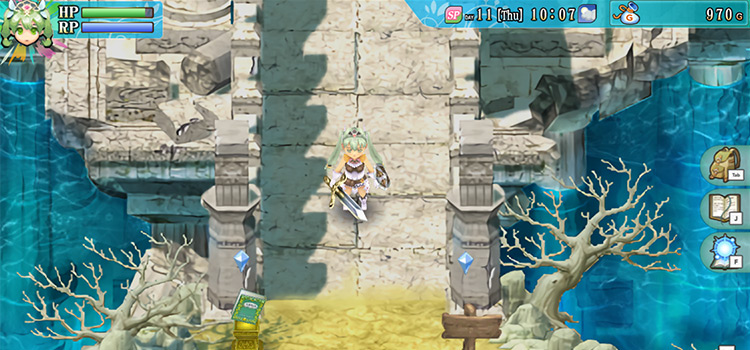
When you get back to the area directly next to the second floor entrance, you’ll need to head west (pictured below).
Getting the Light Barrier Spell
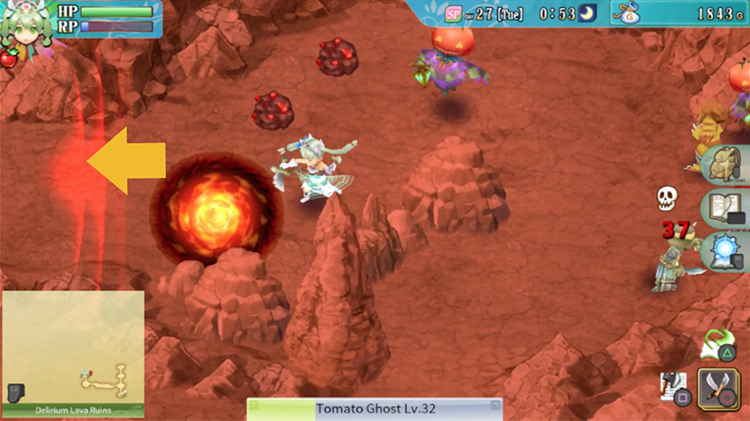
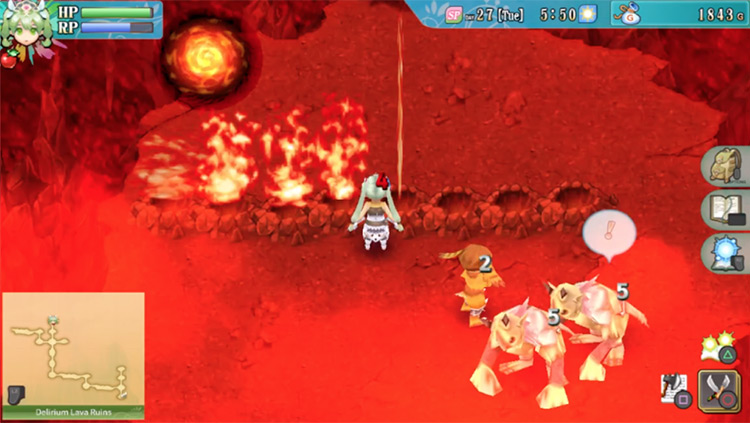
The next area will be a long stretch with a bunch of flame-spouting geysers along the way.
But initially, a barrier will be blocking your exit on the west.
So first, you’ll need to destroy the Blaze Gate right by the exit. After that, you can deal with the monsters that have already spawned in.
Then head west.
Red haze will greet you in the next area.
Don’t bother spending too long here! Quickly head for the path in the north.
When you get to the next room, another barrier will block your way forward.
Destroy the Blaze Gate in the area first, then defeat all the mobs to dispel the barrier.
Then you can head west.
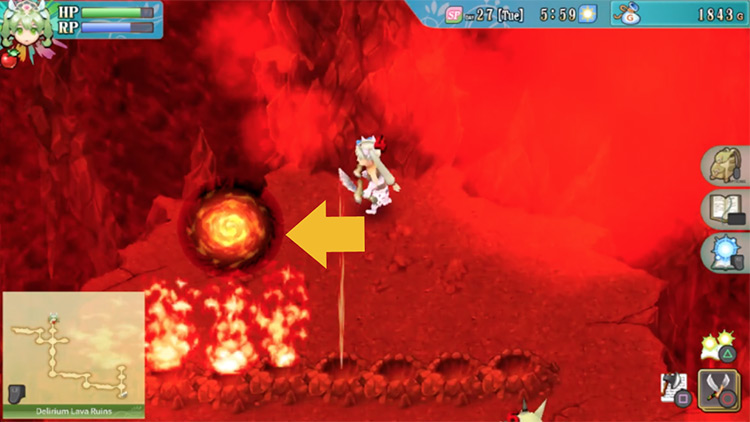
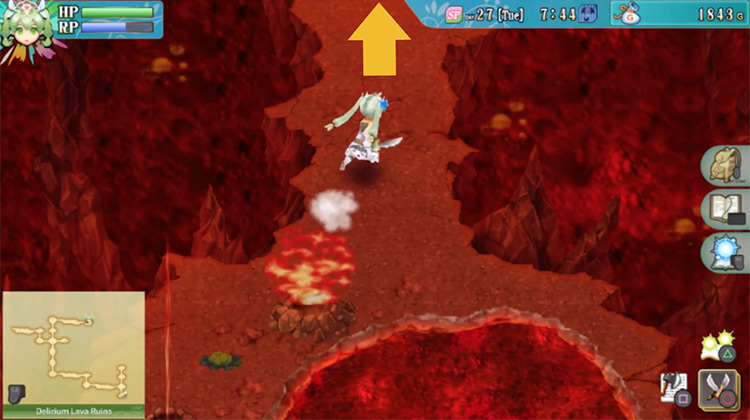
You’ll need to be cautious when you get to the next area because there are several geysers sitting in the narrow passages you need to cross.
To get through this area easily, cross immediately at the moment when the geysers stop spouting out flames.
A Blaze Gate is located at the west end of this long stretch, so don’t bother trying to clear all the monsters before heading to the west.
Focus on getting past the geysers, then go west to exit this treacherous path.
The next area has another barrier you’ll need to dispel.
This time, there’ll be a Blaze Gate moving around the four corners of the platform.
When you destroy the gate and defeat all the monsters, a treasure chest will appear.
Open the chest and you’ll find a Light Barrier spell. This is a great spell to equip if you want to block incoming attacks from the front.
When you’re ready, head up north.

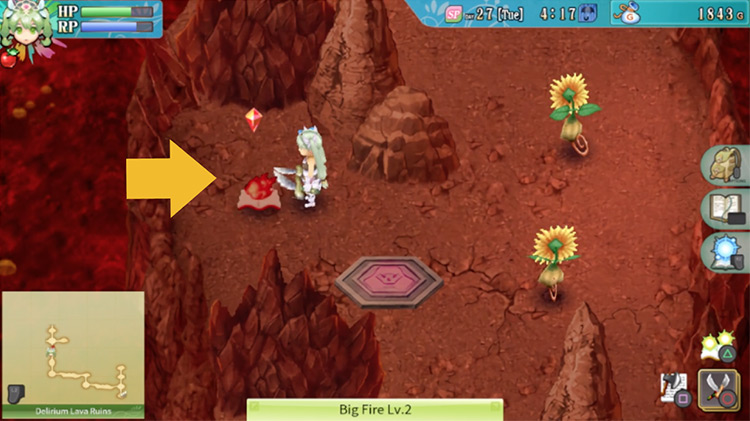
Getting the Big Fire Spell
Red haze will fill the next area you enter. From here, you’ll need to go through the path directly north.
The next area has a treasure chest, but the path heading to it is blocked by a pink pillar.
You’ll need to find a pink switch to get the chest.
For now, just ignore the pillar and go through the path up north.
The next area is an intersection with a huge gap in the middle.
Barriers will be blocking each path, so you’ll need to defeat all the monsters here before you can proceed.
When the barriers have been dispelled, head for the east exit first.
When you go through, you’ll find yourself in a tinier area filled with red haze.
There’s a pink switch on the east end of this area. Push it, then return to where you saw the pink pillar.
When you get back to where the pink pillar was, open up the treasure chest located there.
You’ll find a Big Fire spell inside.
Getting the Cure All Spell
Return to the intersection with the gap in the middle.
And this time, you’ll want to head west to get another useful spell.
When you get to the next area, barriers will block the exits.
You’ll need to head north, but there will be a line of geysers blocking your way.
Get past the geysers while avoiding the flames, and then clear the monsters in the area to dispel the barriers. After that, head north.
You’ll then find yourself in yet another room filled with red haze.
Geysers will be blocking both exits as well, so be careful when you cross. You’ll need to go west here.
When you get to the next area you need to head all the way to the west.
At the very western end, you’ll find a treasure chest and a Blaze Gate. Open the chest first to find a Cure All spell.
Then when you’re ready, head back to the intersection with the big lava gap in the middle.
How To Find Rafflesia
This time, you’ll need to take the north exit at the intersection.
You’ll end up in a small room with more red haze.
From here, head up north.
Next you’ll be in a room with more red haze.
Your exit will also be blocked by a barrier, so you’re going to want to clear the room quickly.
A Blaze Gate will be moving along the north side of the map, but geysers will be blocking the path to it.
Head to the rightmost edge of the area to get up & around the geysers, and then destroy the gate while avoiding the geysers.
When you’ve cleared everything here, go through the path on the east.
Next up, you’ll arrive at another long stretch.
This time the ground will be littered with both geysers and carnivorous plants.
Carefully run past them and go all the way to the east to get to the next area.
When you get to the next area, you’ll find yourself on a very narrow path with geysers and a carnivorous plant along the way.
A barrier will also be blocking the way forward.
You need to destroy the Blaze Gate and defeat the monsters in the area, then head for the path up north.
When you get to the next area, you’ll be met with more red haze.
There will also be geysers forming walls around the center, encasing a Blaze Gate. Make your way west from here.
You’ll then find yourself in a safe area with no mobs.
There’s also a yellow switch here that you can push – this activates a portal that teleports you to the entrance of the ruins (but don’t go through this portal).
Also there’s a journal here that you can use to save before the boss fight.
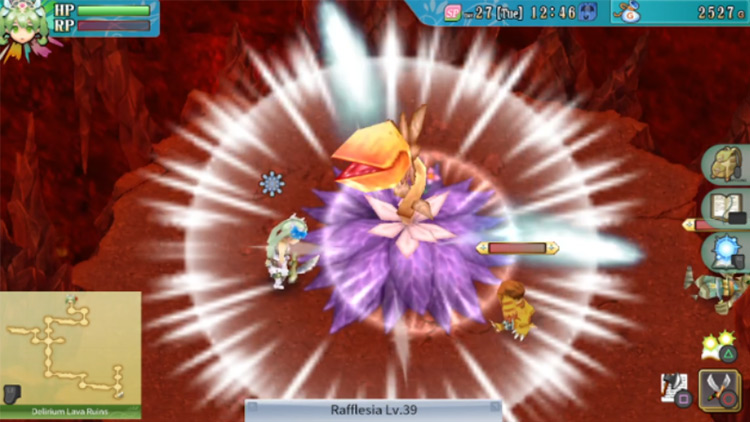
Prepare yourself, then head north to enter the next room and battle Rafflesia.
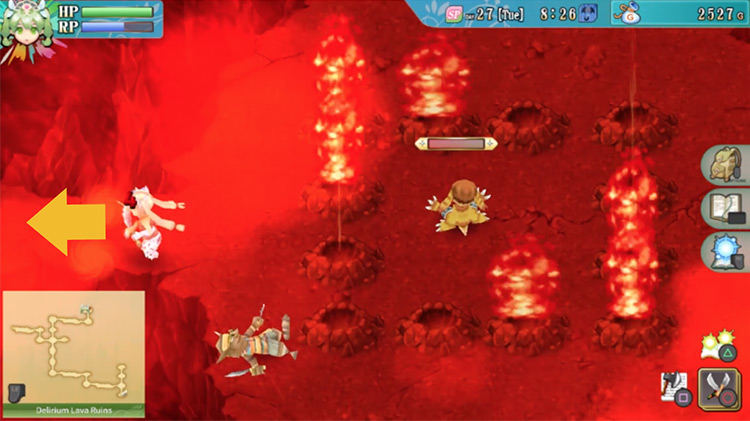
Boss Fight: How To Beat Rafflesia
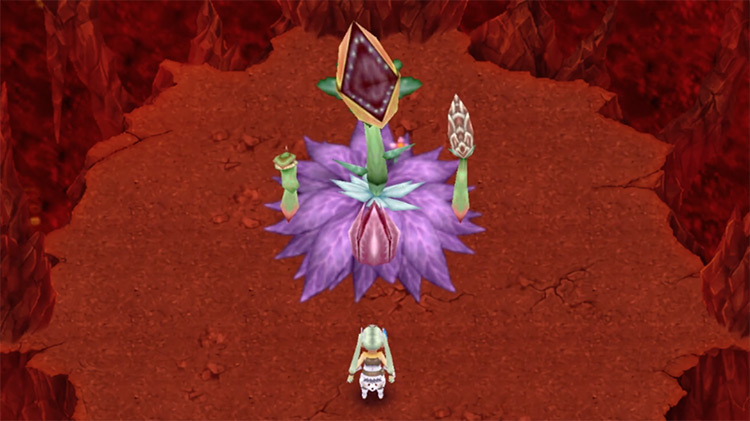
Rafflesia is a troublesome boss to face because it can inflict Seal, Cold, Sleep, Poison, Fatigue, and Paralysis.
It also has three smaller parts that can heal itself.
You’re going to have to make sure to defeat the smaller parts first, so that way you can beat the boss quickly.
Phase 1: Rafflesia Normal Phase
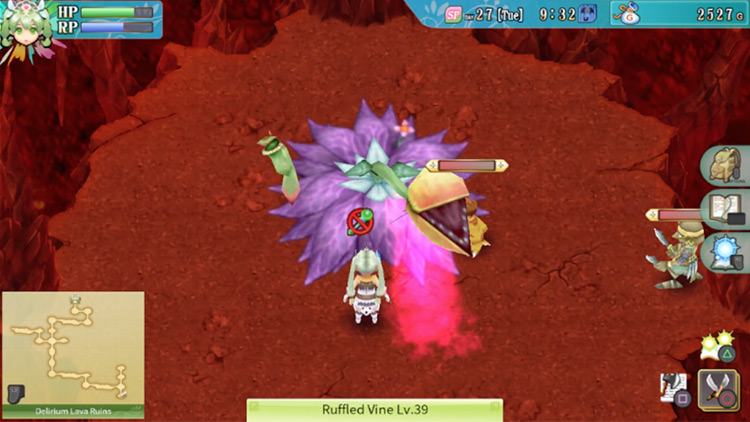
| Rafflesia’s Normal Phase | |
|---|---|
| Attacks |
|
| Fighting Tips | Defeat all of Rafflesia’s smaller body parts first. If you leave the body parts alive, they’ll eventually heal each other and undo your hard work. Here’s a few other tips to help out with this battle:
|
Phase 2: Rafflesia Enraged
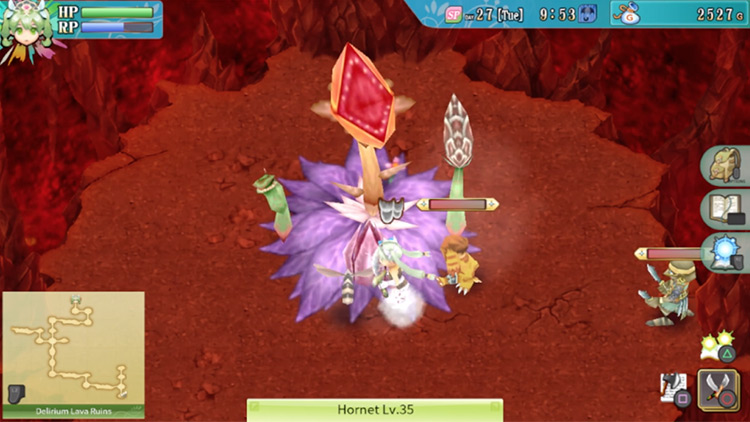
| Enraged Phase | |
|---|---|
| Attacks | Rafflesia will perform the same attacks as the previous phase, but at a faster rate and packing more damage, along with a new Hornet enemy:
|
| Fighting Tips | If Rafflesia is able to heal too often, it can be seemingly impossible to defeat it. If you’re struggling with this, you need a harder-hitting weapon or companions to help inflict more damage. Also if you’re still struggling, be sure to stock up on food or potions that can help deal with the debuffs. |
Chapter Epilogue: The Second Rune Sphere
When you defeat Rafflesia, a Rune Sphere will appear in its place.
You’ll be able to take it with you to the next location.

After you beat Rafflesia and get the Rune Sphere, your next destination will be the Obsidian Mansion (we have a guide on how to get there if you forgot).
At the Obsidian Mansion, head to the boss room where you fought Marionetta.
When you get there, approach the stage and interact with the spot that has a blue icon on it.
A short cutscene will then play out, and then you’ll be told to head to the Castle: Dragon Room.
Make your way there, then watch the rest of the chapter play out.
Next: Leon Karnak: Rune Factory 4 Walkthrough (Part 8)

-
Rune Factory 4
- The Delirium Lava Ruins: Rune Factory 4 Walkthrough (Part 7)
Related Posts:
 The Water Ruins: Rune Factory 4 Walkthrough (Part 3)
 Yokmir Cave: Rune Factory 4 Walkthrough (Part 5)
 The Rune Spheres & Chimera: Rune Factory 4 Walkthrough (Part 6)
 How To Get To the Delirium Lava Ruins in RF4 (Location Guide)
 Obsidian Mansion: Rune Factory 4 Walkthrough (Part 4)
 Yokmir Forest: Rune Factory 4 Walkthrough (Part 2)
 Leon Karnak: Rune Factory 4 Walkthrough (Part 8)
 How To Get To the Water Ruins in RF4 (Location Guide)