| Summary Info | |
|---|---|
| Recommended Level | Level 40 (or higher) |
| Monsters to Find | N/A |
| Field Items to Find | N/A |
Full Walkthrough
Chapter Prologue: Barrett’s Assistance
After completing the last chapter, you’ll need to wait for at least one day. So after you sleep and reach the next day, head to the Bell Hotel.
You’ll find Arthur, Xiao Pai, Illuminata, and Barrett there waiting for you.
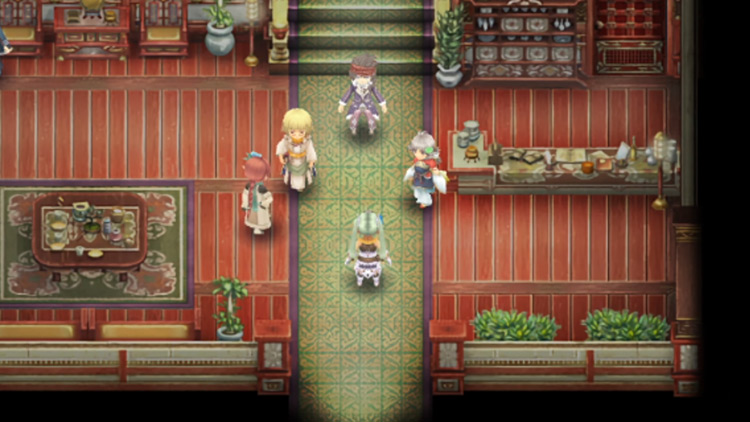
You’ll have a lengthy conversation about how to deal with the Forest of Beginnings.
After that, you can head to Leon Karnak.
Arthur can give you instructions on how to get there, but you can also check out our guide to finding Leon Karnak for detailed directions.
Entering Leon Karnak
Right before you get to Leon Karnak’s entrance, Frey will comment on how dangerous the journey ahead will be.
In other words, if you’re defeated in Leon Karnak it’ll be game over.
Use the journal by the entrance to save before you enter.
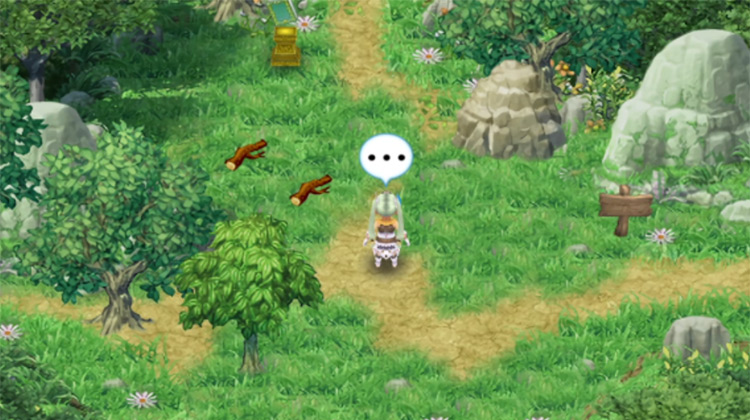
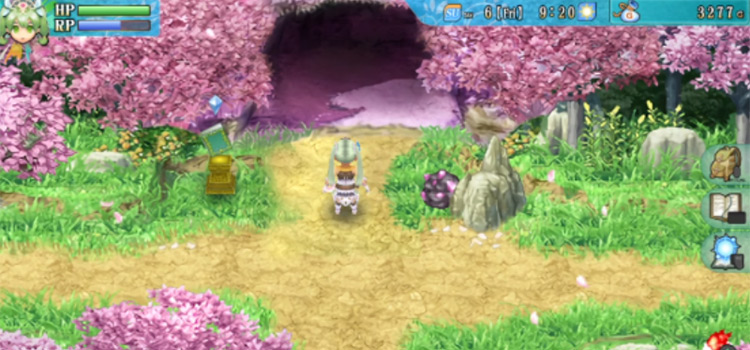
When you’re ready, head north towards the entrance to Leon Karnak.
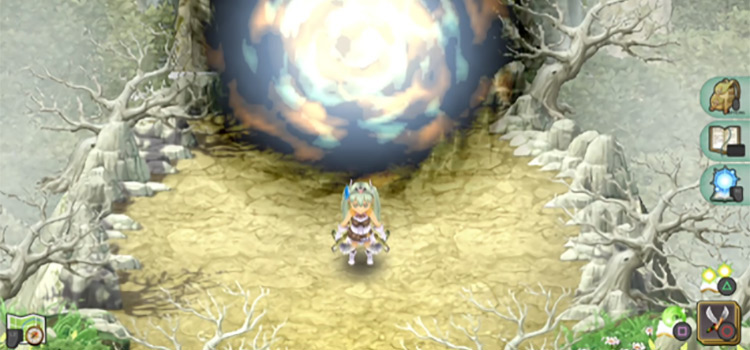
Your exit will be blocked by a barrier and you’ll need to destroy Heaven’s Gate, which is blocking your way forward.
This gate will be spawning monsters in regularly during the fight.
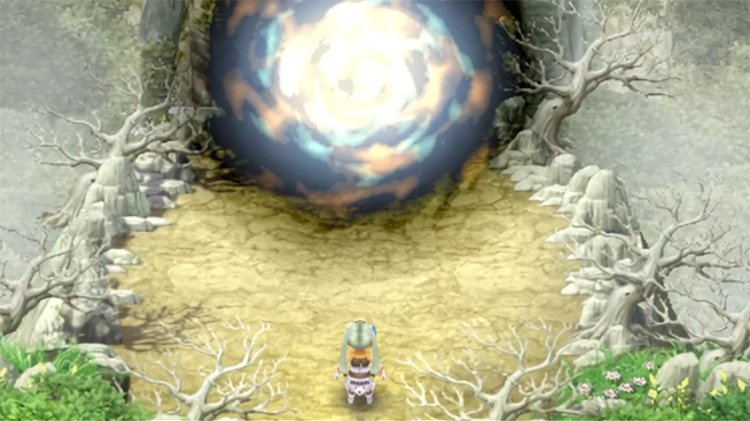
Note: Physical damage will heal the gate while it’s white.
Once the gate is gone, proceed forward and you’ll find yourself before a huge door. Enter the door when you’re ready.
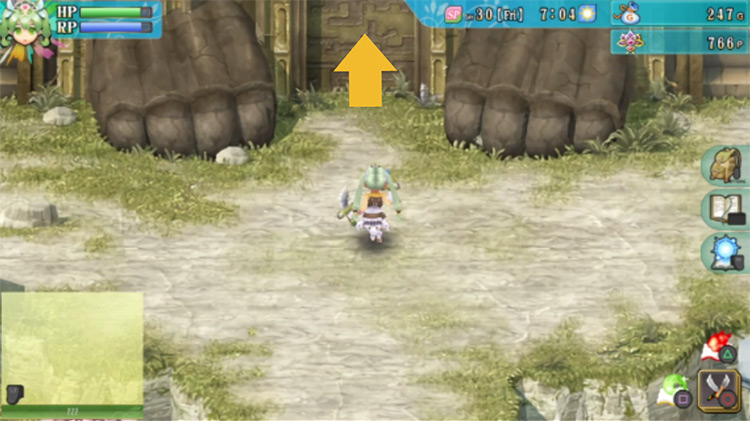
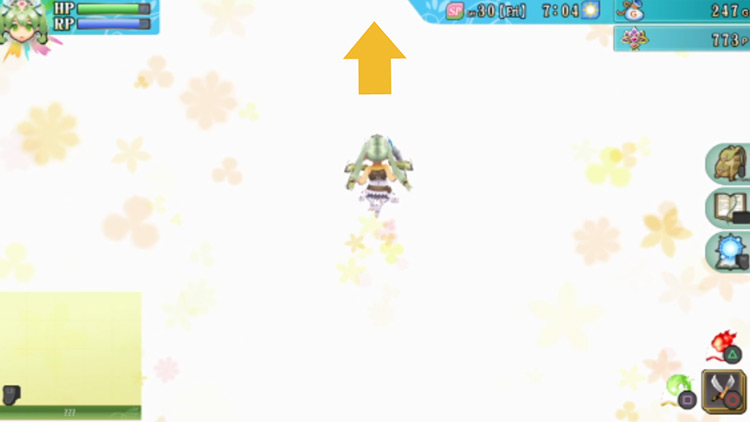
When you get inside past the door, you’ll find yourself in a bright area with flowers floating around you. A short cutscene will play out whenever you reach an area like this one.
After the cutscene, head north to proceed to the next area.
Working Through Similar Areas
When you get to the next area, you’ll arrive at what looks like Selphia Plain.
You’ll also find the way forward blocked with a barrier.
So you’ll need to clear the Orcs and Orc Hunters here before you can proceed. Once you do, head for the path on the western side.
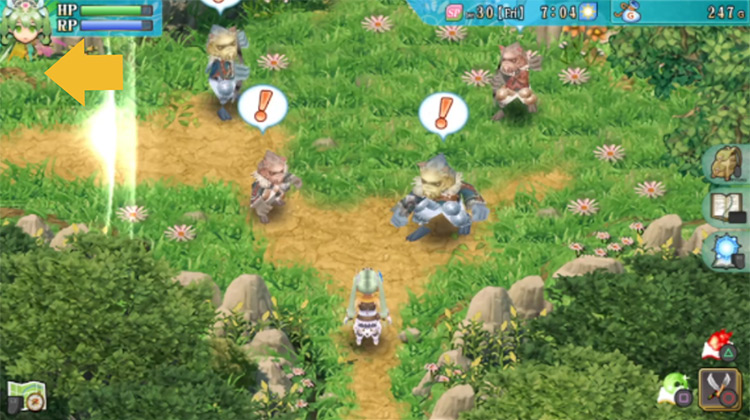
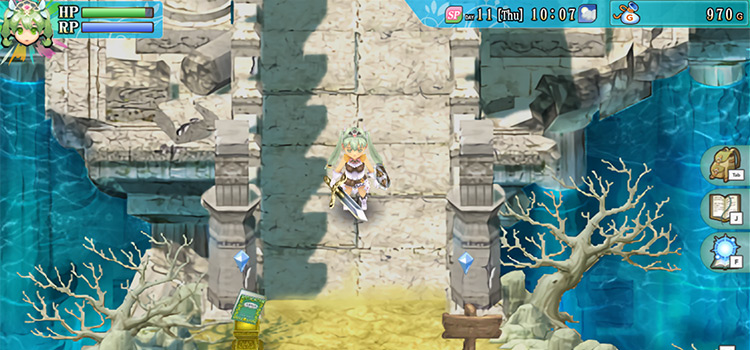
Next you’ll find yourself in an area that looks just like the Water Ruins. The mobs here will also be the monsters found in the Water Ruins.
The path ahead will be blocked by a barrier as well, so defeat all the monsters here to proceed.
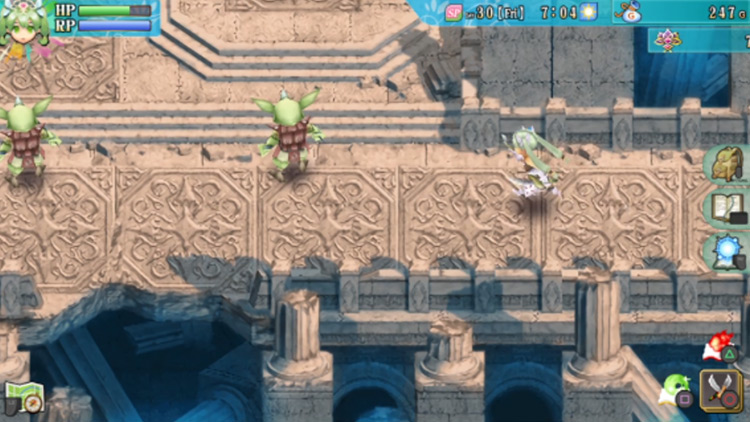
Once everything is defeated, the barrier blocking the north path should be dispelled. Then proceed north to get to the next area.
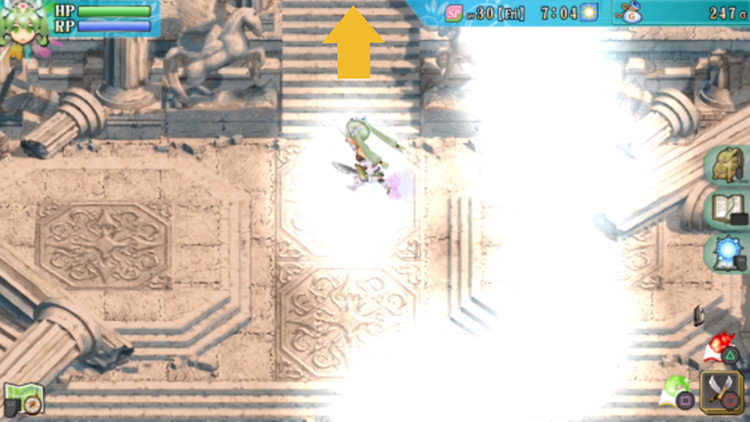
When you enter the next area, you’ll find yourself in another bright room with floating flowers.
After a short cutscene, you’ll need to head north to get to the next location.
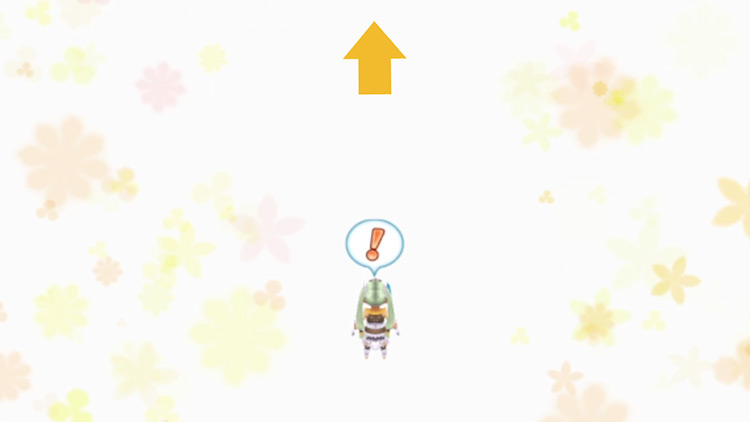
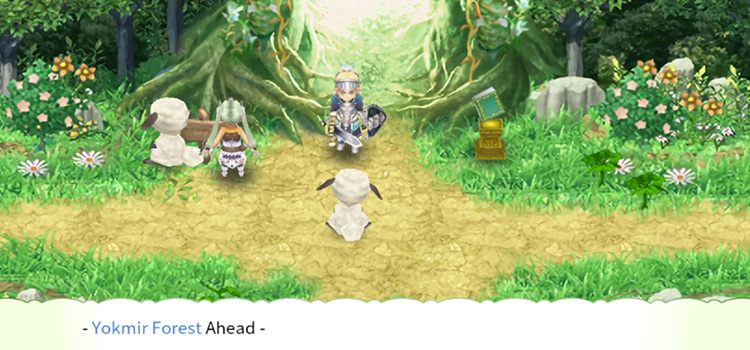
The next area looks like Yokmir Forest.
There will also be a couple of mobs to defeat here in order to dispel the barrier ahead.
Go ahead and clear the area, then proceed north once the barrier is gone.
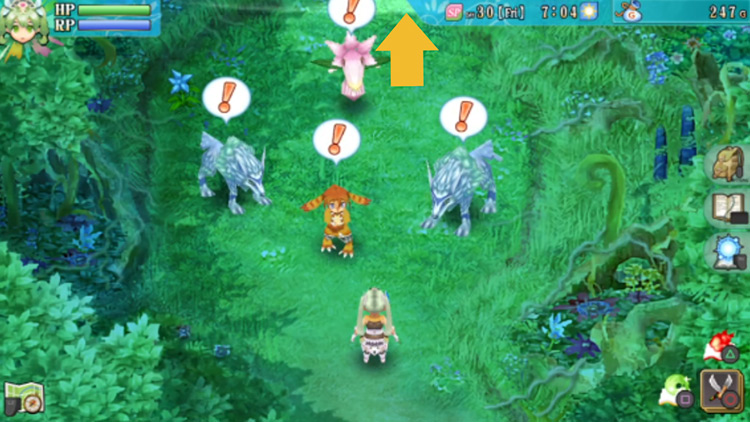
When you enter the next area, you’ll find yourself on the top of a tower in the clouds. There will also be mobs here that you will need to clear to dispel the barrier to the west.
Defeat the mobs, then proceed west.
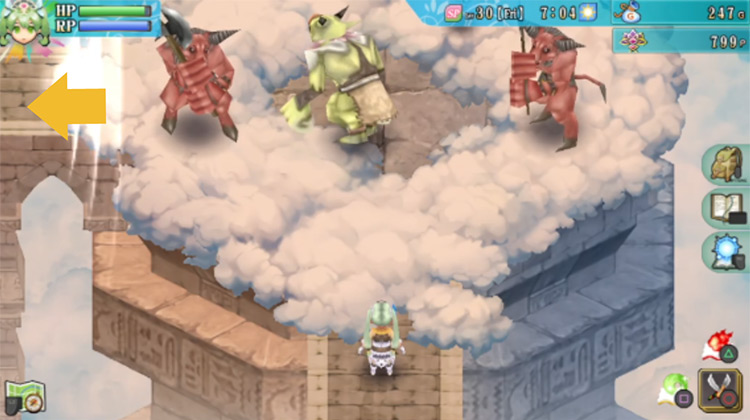
Again, you’ll be in a bright room with floating flowers around.
Let the short cutscene play out, then proceed west when you are able to.
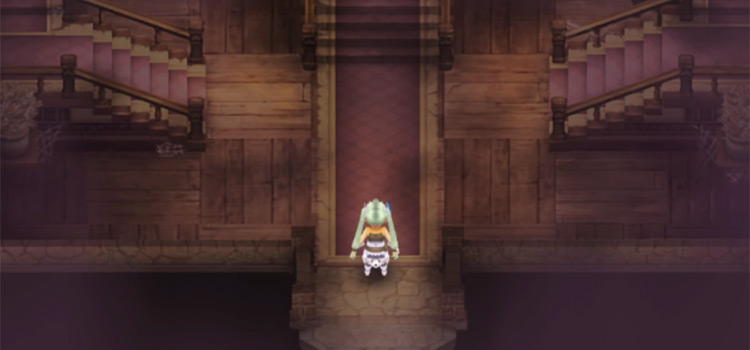
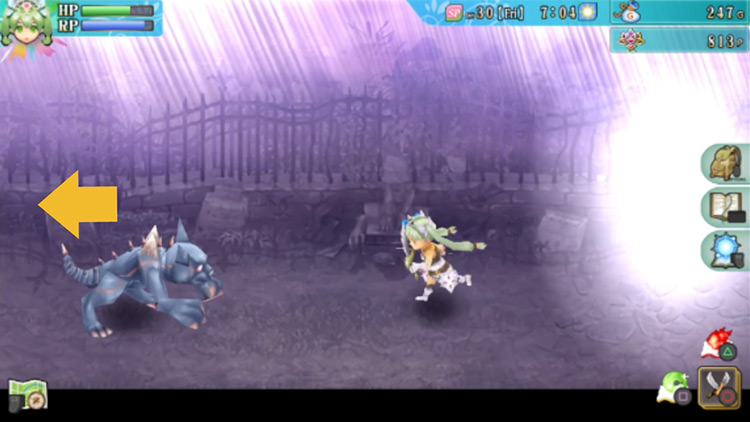
When you enter the next area, you’ll find yourself in what looks like the outdoor path in the Obsidian Mansion.
Clear the monsters here and then proceed west when the barrier is gone.
When you reach the next area, you’ll arrive at the last bright room with floating flowers.
A short cutscene will play out again, then you’ll need to head north.
Where To Find Sarcophagus
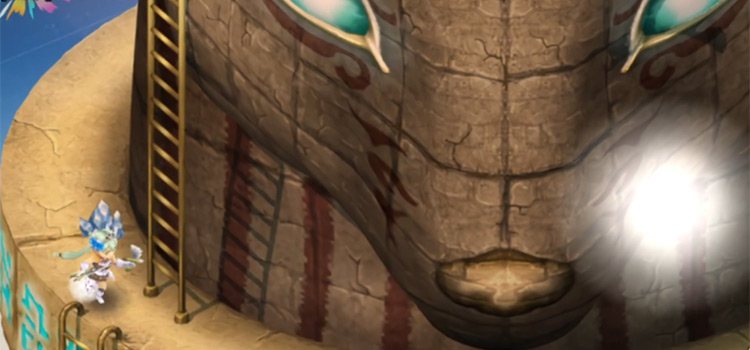
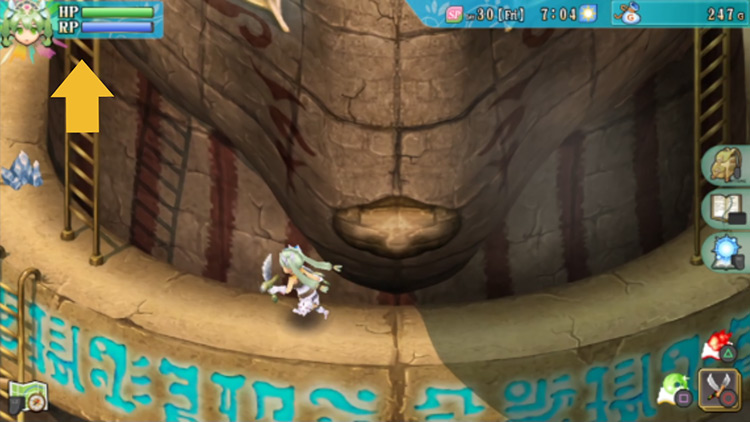
Once you exit the bright area, you’ll find yourself facing a tower with a ladder on the left and a ladder on the right.
Pick any of these ladders to climb up to the top (either one works fine).
When you get to the top of the tower, you’ll be met with two sentient statues claiming to be the protectors of the guardians.
They’ll test your strength by engaging you in battle.
Defeat them both, then they’ll let you pass.
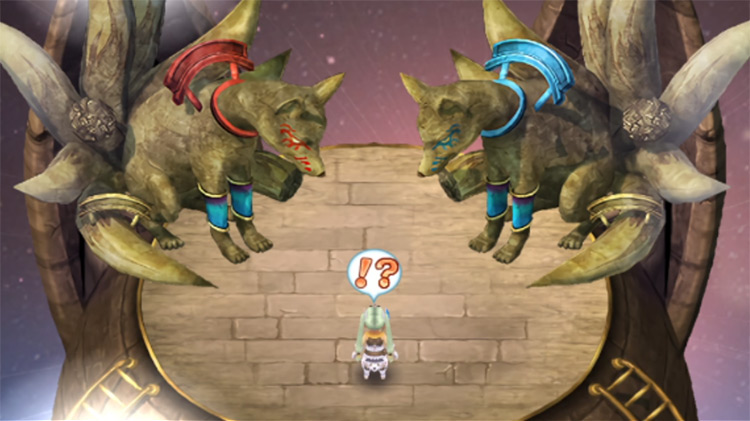
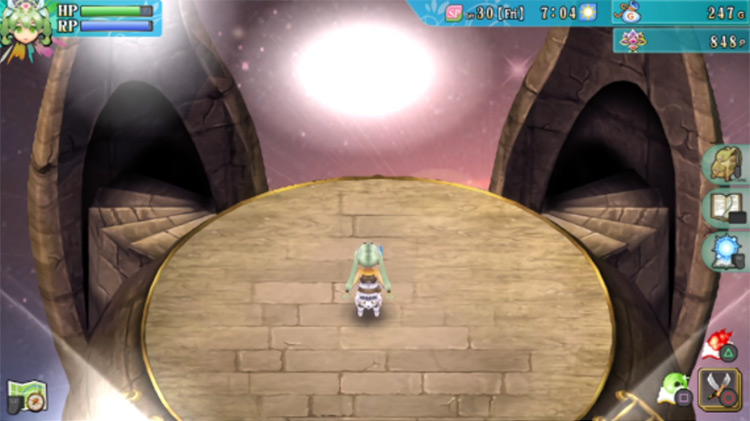
Once the protectors are defeated, take either of the staircases heading down.
You’ll then find yourself in the boss area of Leon Karnak.
Boss Fight: How To Beat Sarcophagus
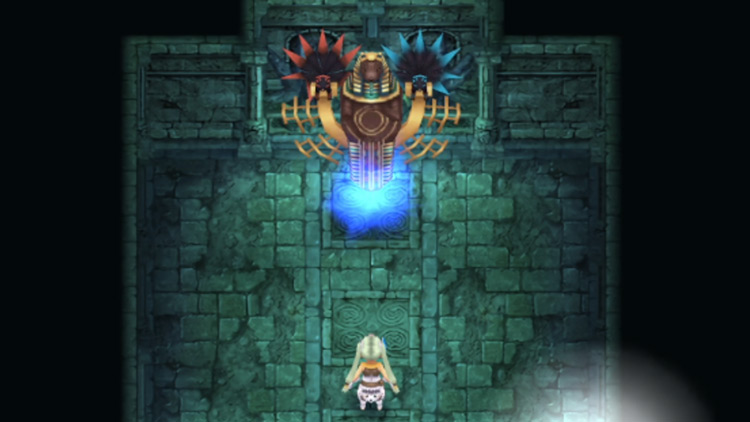
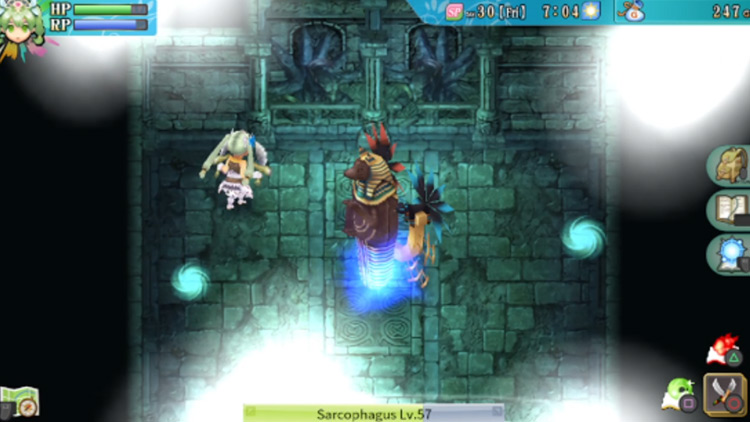
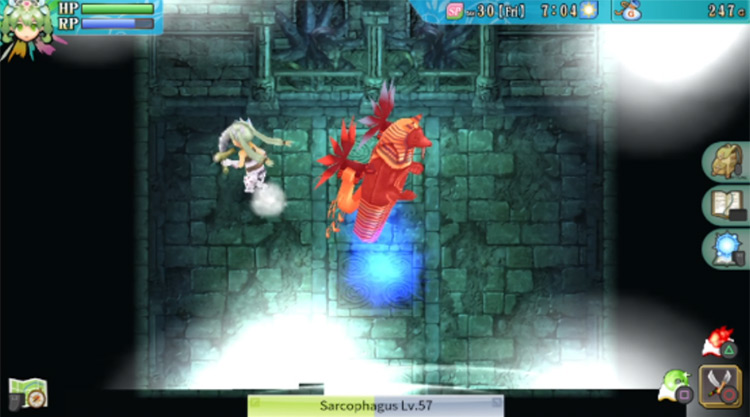
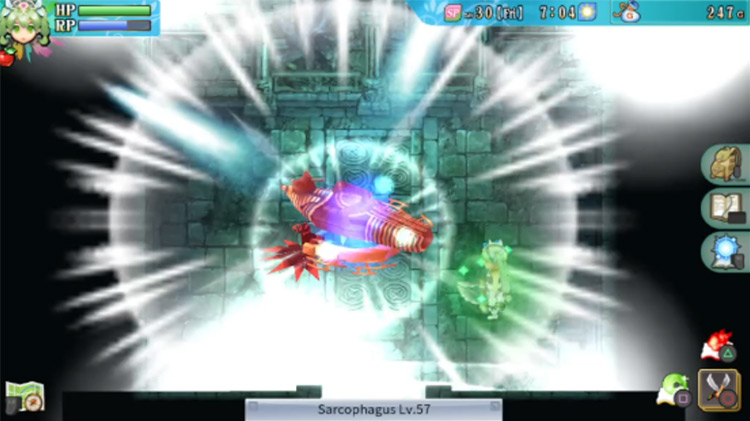
The battle with Sarcophagus can prove to be a tough one because of the very small & limited space you have to move around in.
Sarcophagus also has the ability to teleport around the stage, meaning it’s easy for your attacks to miss.
But here’s a quick rundown of Sarcophagus’ attacks & good strategies to use in this battle:
Phase 1: Sarcophagus Normal Phase
| Sarcophagus Normal Phase | |
|---|---|
| Attacks |
|
| Fighting Tips |
|
Phase 2: Sarcophagus Enraged Phase
| Sarcophagus Enraged Phase | |
|---|---|
| Attacks |
|
| Fighting Tips |
|
Chapter Epilogue: The Last Guardian
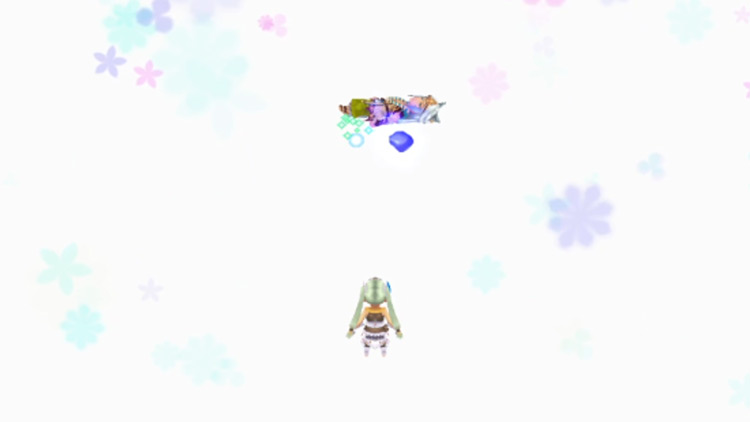
Once you defeat Sarcophagus, a lengthy cutscene will play out. Watch the story, then the credits will roll.
But this isn’t the end!
There’s more to come in the second arc of Rune Factory 4.
For now, congratulations on clearing Leon Karnak and completing Arc 1!
Next: Idra Cave: Rune Factory 4 Walkthrough (Part 9)
-
Rune Factory 4
- Leon Karnak: Rune Factory 4 Walkthrough (Part 8)

