A tradition since the first Generation of Pokémon games has been the revival of prehistoric Pokémon from Fossils.
This continues in Generation IV’s Pokémon Platinum with the introduction of two new Fossils—the Skull Fossil and the Armor Fossil—bringing the total number of Fossil types up to seven.
This guide explains the process of finding Fossils and transforming them into living Pokémon.
Fossil Types and Availability
There are seven types of Fossils available in Pokémon Platinum, and each can be revived into a corresponding type of Pokémon.
Two new Fossils were introduced in the Generation IV games: the Skull Fossil and Armor Fossil, which can be revived into Cranidos and Shieldon, respectively.
The table below lists every type of Fossil you can acquire in Pokémon Platinum and the Pokémon to which they belong.
| Fossils in Pokémon Platinum | |
|---|---|
| Fossil | Pokémon |
Helix Fossil
|
Omanyte
|
Dome Fossil
|
Kabuto
|
Old Amber
|
Aerodactyl
|
Root Fossil
|
Lileep
|
Claw Fossil
|
Anorith
|
Skull Fossil
|
Cranidos
|
Armor Fossil
|
Shieldon
|
Unlike in Pokémon Diamond and Pearl, the Skull and Armor Fossils aren’t tied to a specific version, but instead rely on whether the player’s individual Trainer ID is an odd or even number.
Your Trainer ID also affects your chances of finding most of the Fossils from previous Generations (specifically: the Helix, Dome, Claw, and Root Fossils). While all of these older Fossils can be obtained in Platinum, you’ll have a harder time finding particular Fossils depending on your ID number.
The following table explains Fossil availability differences between odd- and even-numbered Trainer IDs.
| Fossil Availability | |
|---|---|
| Odd-Numbered Trainer ID | Even-Numbered Trainer ID |
| Skull Fossil only | Armor Fossil only |
| Greater odds of finding Helix and Claw Fossils | Greater odds of finding Dome and Root Fossils |
| Odds to find Old Amber remain unchanged | Odds to find Old Amber remain unchanged |
Keep in mind that for most of the game, only the Skull or Armor Fossil will be available; you won’t be able to find the five others until you receive the National Pokédex upgrade from Professor Oak after entering the Hall of Fame.
How To Acquire Fossils
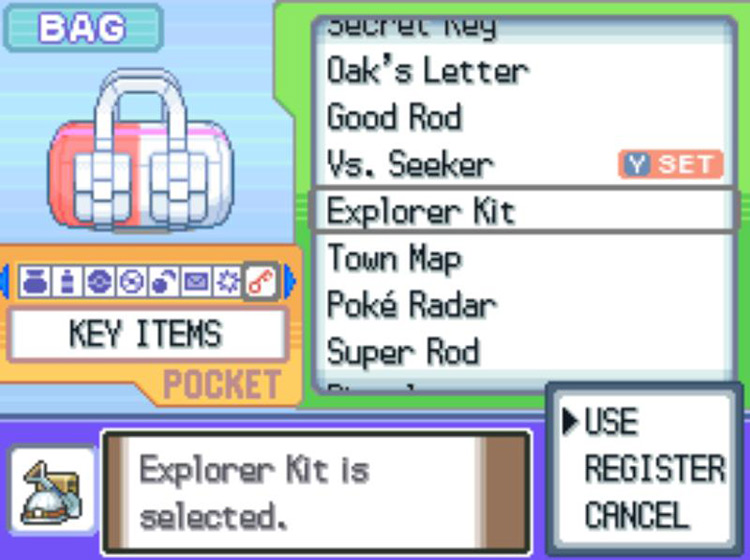
All Fossils are found exclusively in the Underground, which is accessed by using the Explorer Kit from your Bag’s Key Items pocket.
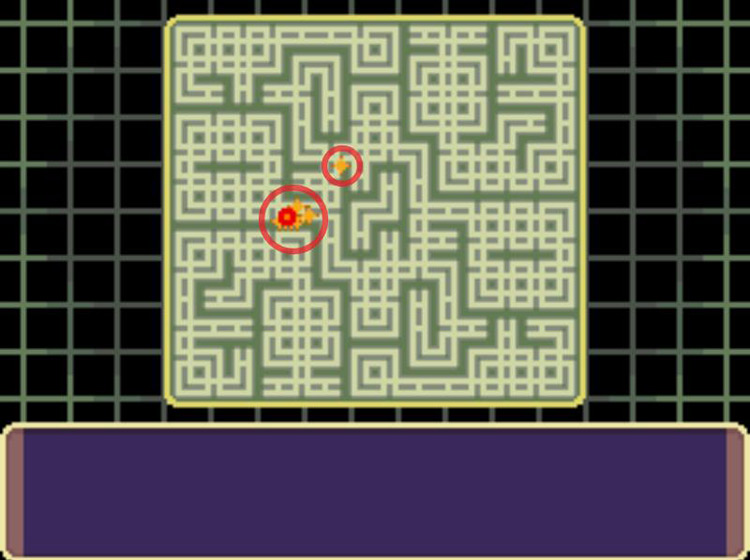
When you have control of your character after using the Explorer Kit, head for one of the glittering areas shown on the map.
These indicate hidden treasures—and potentially Fossils.
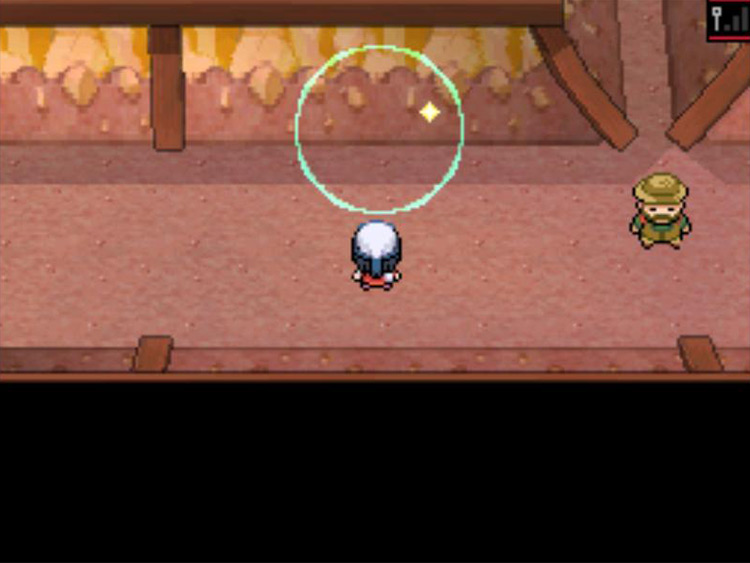
Tap the touch screen to sense hidden treasures lodged inside bulging walls.
These spots will sparkle when your sensor passes over them.
Walk up to one of these spots and Press A, then select Yes to start a mining minigame.
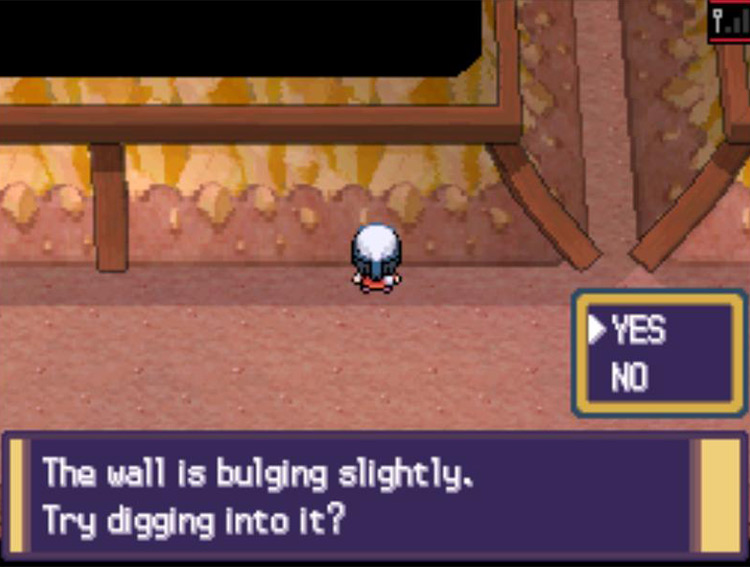
The game will start by informing you of the number of treasures hidden in the wall.
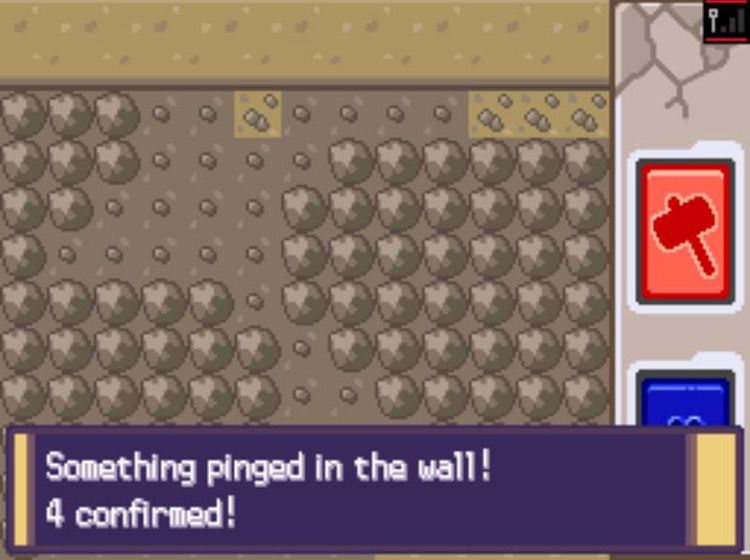
To play, alternate between your hammer and your pickaxe to dig as many treasures out of the wall as possible before the wall comes crashing down from the repeated banging.
The hammer breaks more rocks and dirt per hit, but causes the minigame to end more quickly; the pickaxe is weaker, but more precise and less damaging to the wall.
Fossils tend to be among the largest items you can find in the walls, making them easy to spot. However, they can take a lot of effort to dig out, and you can make the wall collapse prematurely if you aren’t strategic with your tools.
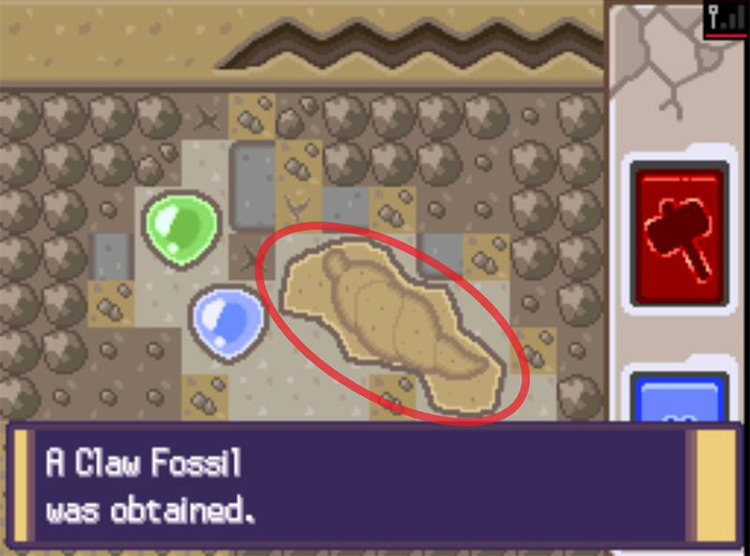
After you’ve obtained some Fossils, always remember to send them to the surface via the Treasures sub-menu.
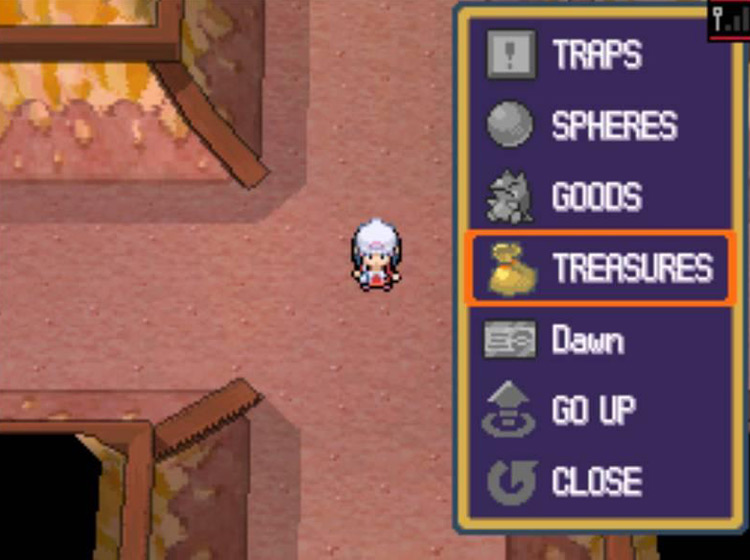
When you head back to the surface, the Fossils will be in your Bag.
Trading Fossils
As with previous Generations of Pokémon games, you’ll need to trade for whichever fossilized Pokémon is not available in your game.
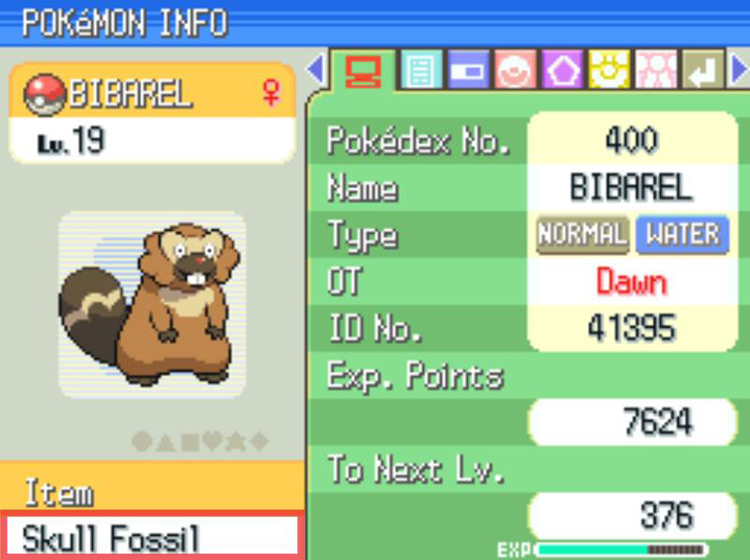
Starting with this Generation, however, Fossils are considered regular items. This means that for the first time you can trade the Fossils themselves by placing them in your Pokémon’s held item slots.
How To Revive Pokémon from Fossils
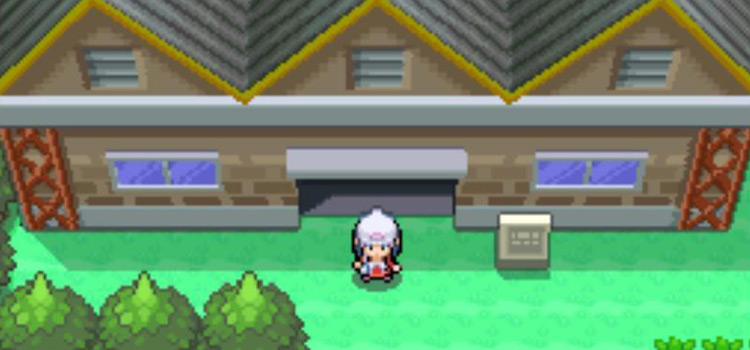
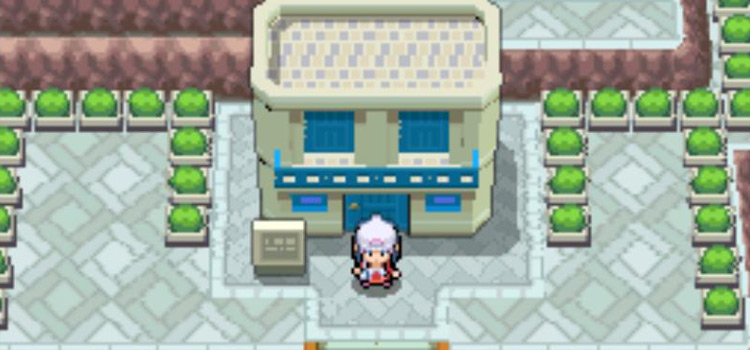
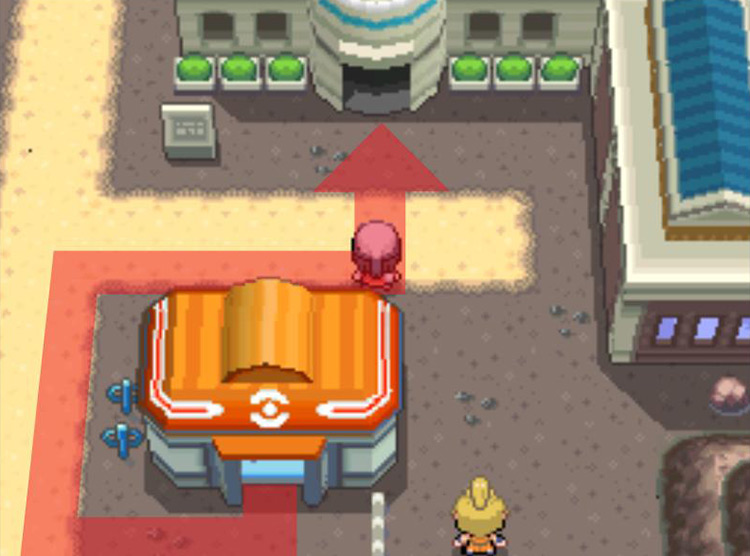
Once you have a Fossil in your Bag, you will be able to revive it into a Pokémon for free at the Mining Museum in Oreburgh City.
You’ll find the Mining Museum directly behind Oreburgh City’s Pokémon Center.
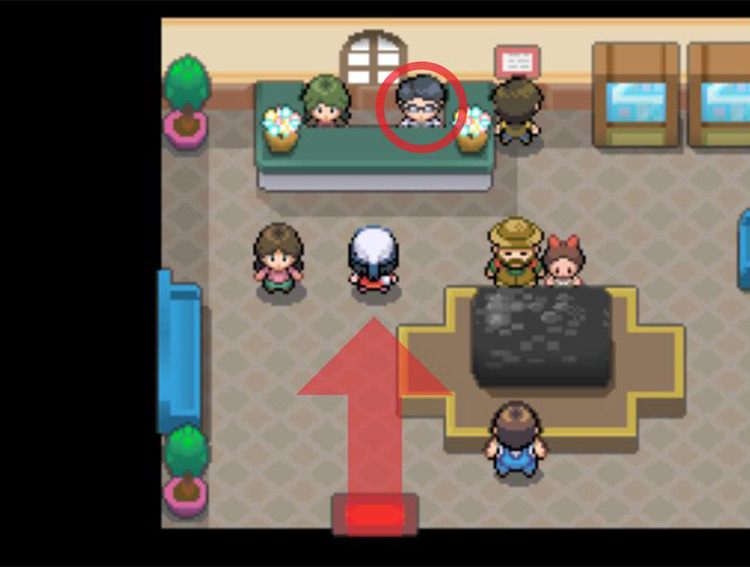
Once inside the Museum, speak to the scientist behind the counter at the northern wall.
He’ll ask if you want him to extract a Pokémon from a Fossil; say Yes, and a list will be displayed of all the types of Fossils you’ve brought up from the Underground.
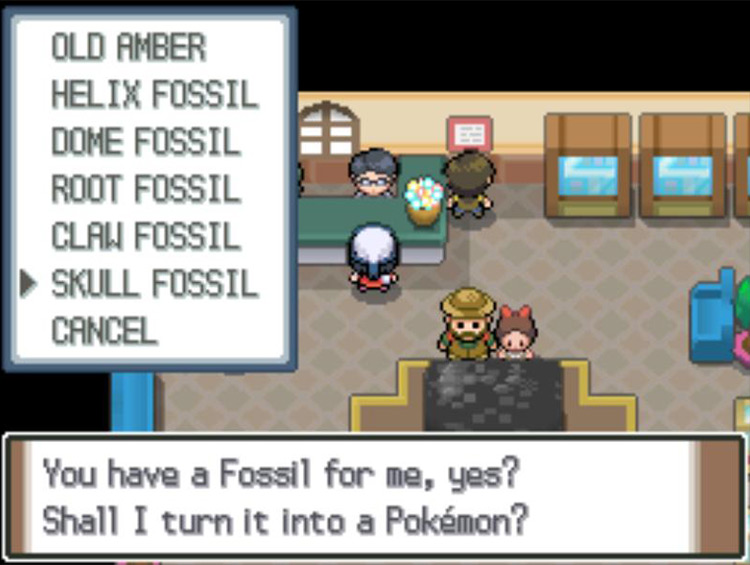
Once you’ve selected a Fossil to give him, the researcher will demand (a bit hysterically) that you leave the Museum so he can work on it.
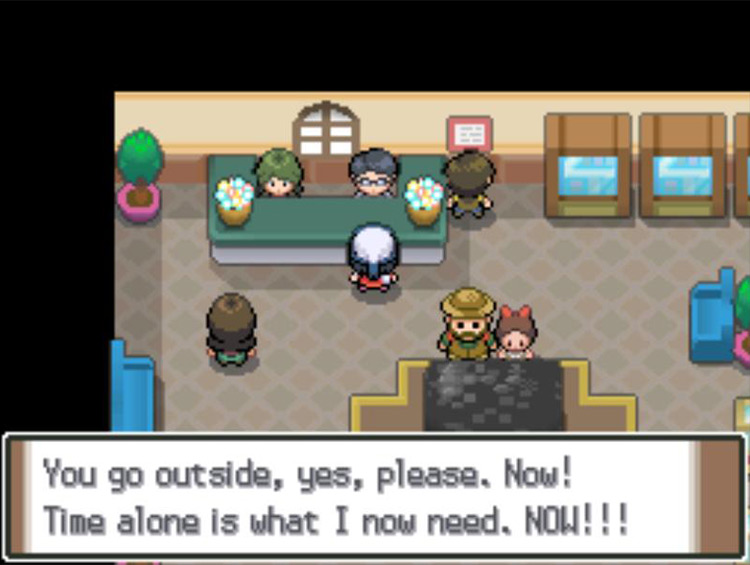
You don’t have to leave for long; in fact, you can come right back inside to collect your Pokémon just by stepping outside the building one time.
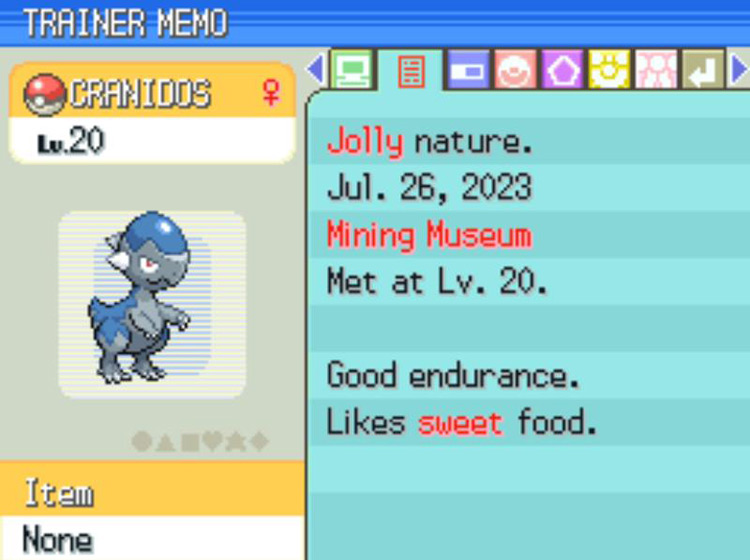
All Pokémon revived from Fossils will start out at level 20, and their location will be listed as “Mining Museum” on their summary page.
-
Pokémon Platinum
- Complete Guide to Fossils in Pokémon Platinum

