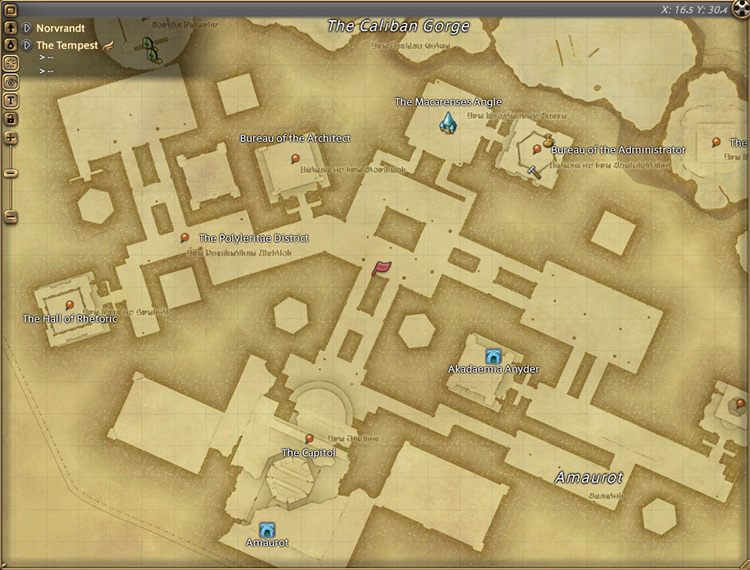
You can unlock the Level 80 trial The Dying Gasp, also known as Hades NM, by accepting the Level 80 MSQ “Shadowbringers” from Alisaie in The Tempest (X:16.5, Y:30.4) and completing the Level 80 dungeon Amaurot.
This unlocking quest is the final MSQ for patch 5.0 of the Shadowbringers expansion.
TABLE OF CONTENTS
Unlocking Quest: Shadowbringers
The Level 80 MSQ “Shadowbringers” wraps up the Main Scenario Questline for patch 5.0 the Shadowbringers expansion.
To access this quest, you’ll need to finish every MSQ leading up to it, including MSQs from previous expansions. Once you’ve unlocked it, speak with Alisaie in The Tempest (X:16.5, Y:30.4) to begin.
In this quest, you must finish the Level 80 dungeon Amaurot before The Dying Gasp can be unlocked.
Remember to check out our guide linked in the introduction if you wanna learn more. Once you exit the dungeon, another cutscene will play where Emet-Selch expresses his frustrations with what the world has become compared to his unsundered origins.
Watch the cutscene in its entirety to see how the scions respond against their unwavering foe. Afterward, The Dying Gasp will be unlocked. This trial requires at least a Level 80 Disciple of War or Magic job and an average item level of 410 to enter.
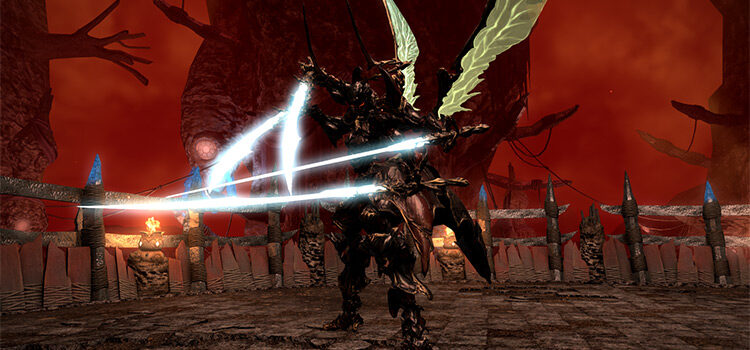
Trial Boss: Hades
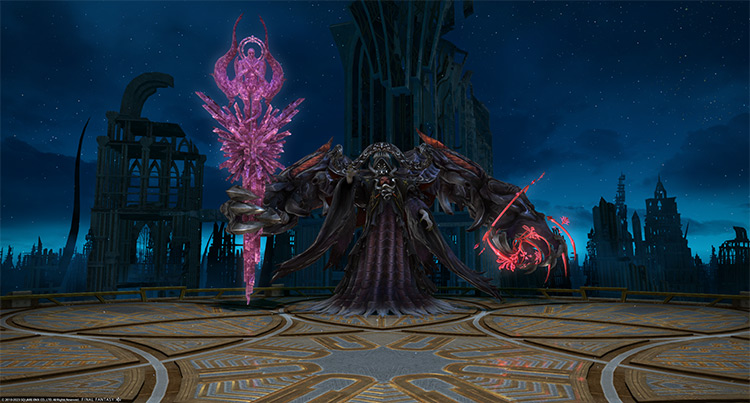
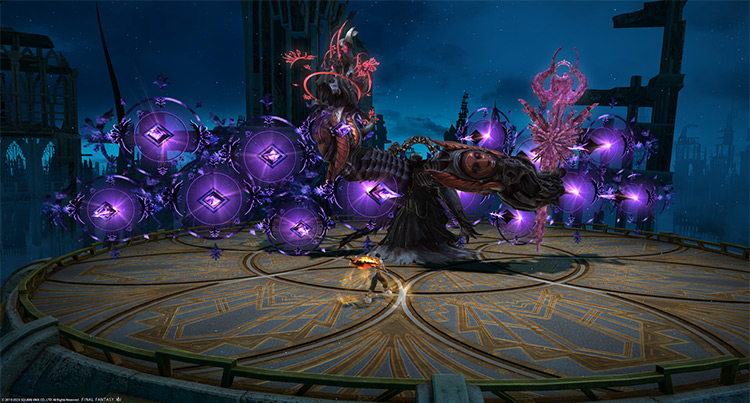
Phase 1: Bad Faith, Broken Faith, and Shadow Spread
Rotation:
Ravenous Assault > Bad Faith > Double > Dark Eruption > Broken Faith > Double > Shadow Spread > Ravenous Assault > Bad Faith > Dark Eruption > Ravenous Assault > Double > Dark Eruption > Broken Faith > Double > Shadow Spread > Repeat from 2nd Ravenous Assault until 09% HP.
Getting hit by most of the boss’ attacks throughout the fight will result in stacking “Vulnerability Up” debuffs for 60 seconds. Once the boss reaches 09% HP, it’ll become untargetable and spawn “Shadow of the Ancients” mobs, signaling the start of Phase 2.
- Ravenous Assault: A circular tankbuster marker around the primary target. Move away from the rest of the group to avoid splash damage.
- Bad Faith: The boss will move to the center and spawn purple spikes on his sides that will fire either in front or behind him. Move to the side pointed away from you to avoid.
- Double: Executes the boss’ next action twice in a row.
- Dark Eruption: Targeted circle AoEs on five random players. If used while “Double” is active, this mechanic will also spawn ground AoEs underneath the targeted players. Bait the ground AoEs in one place, then spread out to avoid overlapping damage.
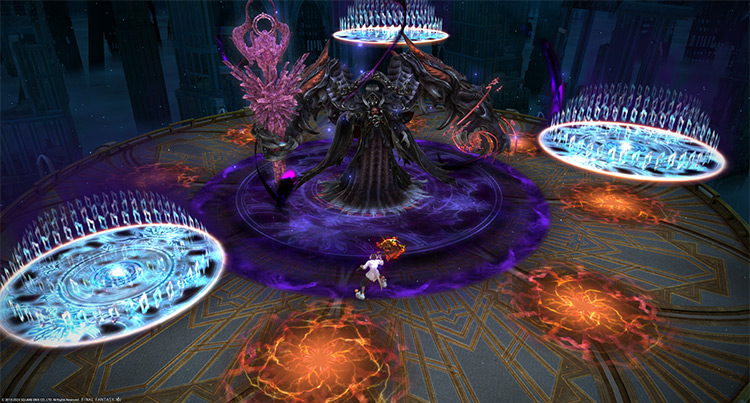
- Broken Faith: Spawns nine puddle markers around the arena. Then, blue circle AoEs will slowly drop on top of the markers, spawning circle AoEs that will expand soon after. Use the circular patterns on the floor to determine the size of the safe zones.
- Shadow Spread: Narrow conal AoEs toward six directions around the boss. When used while “Double” is active, the boss will spawn additional AoEs after the initial set.
Phase 2: Shadow of the Ancients and Ancient Dark IV
Rotation:
Shadow of the Ancients x10 > Ancient Darkness x3 + Ancient Water > Shadow of the Ancients x10 > Ancient Aero x2 > Ancient Darkness x3 + Ancient Water > Shadow of the Ancients x10 > Ancient Dark IV.
After Phase 2, the boss will transform and restore his HP to 100%.
- Shadow of the Ancients: Mobs that need to be killed before the “Fervor of the Ancients” gauge reaches 100.
- Ancient Darkness: Targeted circle AoEs on three players.
- Ancient Water: A stack marker on a random player. Have the rest of the group not affected by “Ancient Darkness” stand with the marked player to share incoming damage.
- Ancient Aero: Column attacks toward random players.
- Ancient Dark IV: A room-wide ultimate AoE attack that deals damage based on the “Fervor of the Ancients” gauge. Kill all the “Shadow of the Ancients” before the gauge reaches 100 to survive.
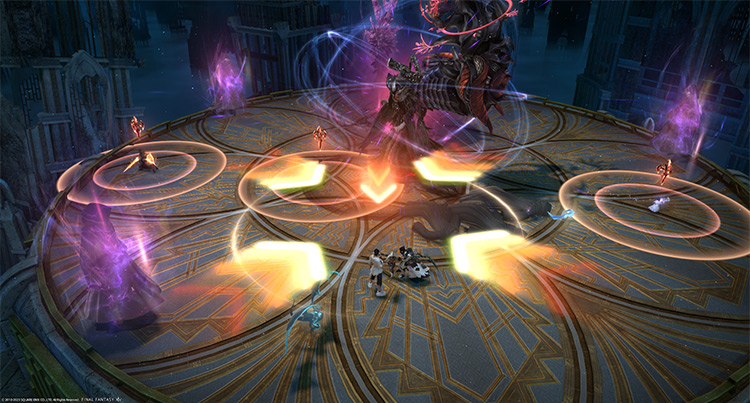
Phase 3: Dual Strike, Hellborn Yawp, and Captivity
Rotation:
Titanomachy > Shadow Stream > Dual Strike > Echo of the Lost > Polydegmon’s Purgation > Titanomachy > Hellborn Yawp > Echo of the Lost > Captivity > Chorus of the Lost.
Starting from Phase 3, you can now fall off the arena. Watch your toes and use knockback-immunity skills as needed.
- Titanomachy: A room-wide AoE attack.
- Shadow Stream: A wide line attack down the middle of the arena.
- Dual Strike: Circular tankbuster markers on both tanks. Spread out to avoid overlap.
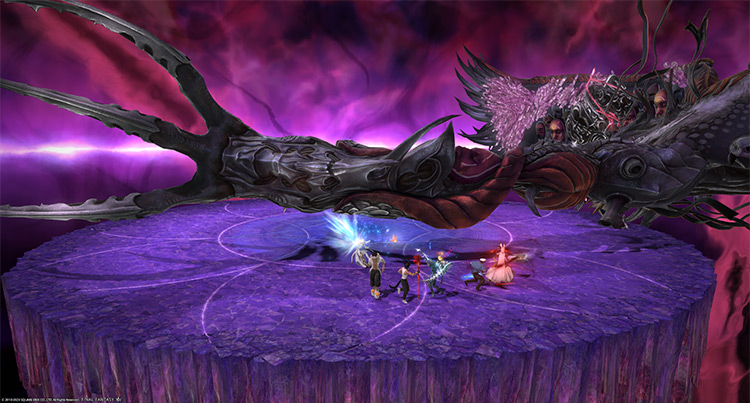
- Echo of the Lost: The boss will raise one of its arms and swipe across the arena. Move behind its arm to avoid getting hit.
- Polydegmon’s Purgation: Room-wide AoE attacks on both sides of the arena with a narrow safe spot down the middle.
- Hellborn Yawp: Both tanks will be marked for massive conal AoEs. Drop your markers on the sides, then move to the center.
- Captivity: Targeted circle AoEs on two random players. After a few moments, the targeted players and anyone hit by their AoEs will be trapped in a massive “Aetherial Gaol.” The rest of the group must destroy the gaol before “Chorus of the Lost” goes off, or the trapped players will die.
- Chorus of the Lost: An insta-kill attack on the gaoled players. Destroy the “Aetherial Gaol” before the boss finishes casting.
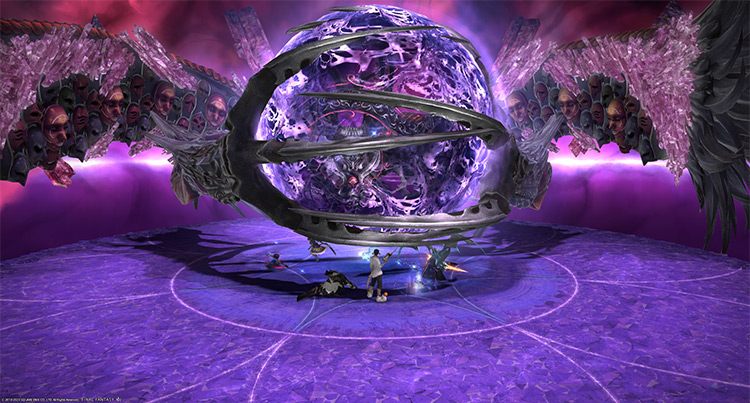
Phase 4: Life in Captivity and Black Cauldron
Rotation:
Dual Strike + Nether Blast > Doom > Wall of the Lost > Life in Captivity > The Dark Devours x15 > Black Cauldron.
- Nether Blast: All DPS and Healers will receive tethered circle AoEs that will go off one at a time. Spread out to avoid overlap.
- Doom: Every player will receive a 10-second “Doom” debuff. Then, five white ground circles will appear. Have at least one player standing in each circle to dispel the debuff.
- Wall of the Lost: A room-wide knockback from the center of the arena. Run to the middle, or use knockback-immunity skills.
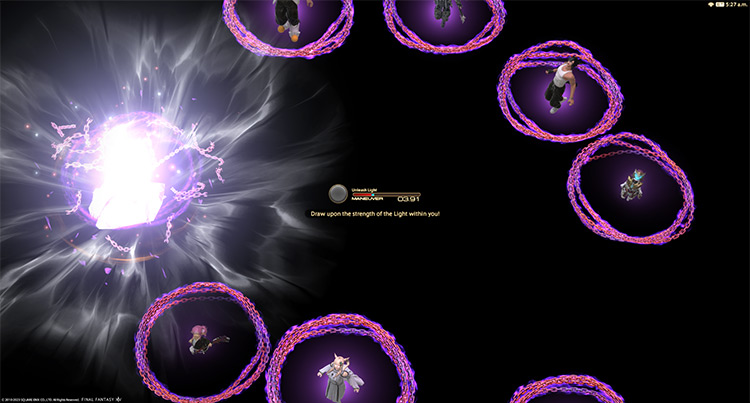
- Life in Captivity: The boss will fetter all players for an Active Time Maneuver (ATM). Fill the ATM gauge before the timer runs out to free yourself.
- The Dark Devours: A room-wide AoE attack that can be cast up to 15 times. After every five casts, the arena will slowly be consumed by darkness. If the boss isn’t killed before the 15th cast, the arena will turn completely black, and the entire party will receive a non-dispellable “Bleeding” DoT.
- Black Cauldron: A slow-casting ultimate AoE attack that will wipe your party if the boss isn’t killed before it goes off.
Rewards
- Hades Triple Triad Card (not guaranteed)
-
Final Fantasy XIV
- FFXIV The Dying Gasp: Unlock + Trial Guide
Related Posts:
 FFXIV The Minstrel’s Ballad: Thordan’s Reign – Unlock + Trial Guide
 FFXIV Minstrel’s Ballad: Nidhogg’s Rage – Unlocking + Trial Guide
 FFXIV Thok ast Thok (Extreme): How To Unlock + Trial Guide
 Sophia EX Unlock & Trial Guide – FFXIV Containment Bay P1T6 (Extreme)
 FFXIV Wreath of Snakes (Extreme): How To Unlock + Trial Guide
 FFXIV Containment Bay S1T7 (Extreme): Unlock + Trial Guide
 FFXIV Hells’ Kier (Extreme): How To Unlock + Trial Guide
 Zurvan EX Unlock & Trial Guide – FFXIV Containment Bay Z1T9 (Extreme)