TABLE OF CONTENTS
| Summary Info | |
|---|---|
| Recommended Level | Level 18 (or higher) |
| Monsters to Find |
|
| Field Items to Find |
|
Full Walkthrough
Chapter Prologue: Ghost Sightings
After a few days following the events after the Water Ruins & finding the missing patient, you’ll notice that the townspeople will start talking about a ghost causing mischief around town.

When this happens, you’ll need to head to four different spots to see the ghost.
Ghost Sighting 1 – Selphia: Airship Way
Go to the north area of the town and investigate the spot right in front of the parked airship.
You’ll trigger a short cutscene with the ghost that’s been sighted around town.
Ghost Sighting 2 – Selphia: Melody Street
Next, go towards the south end of Melody Street. The ghost will dash by in front of you.
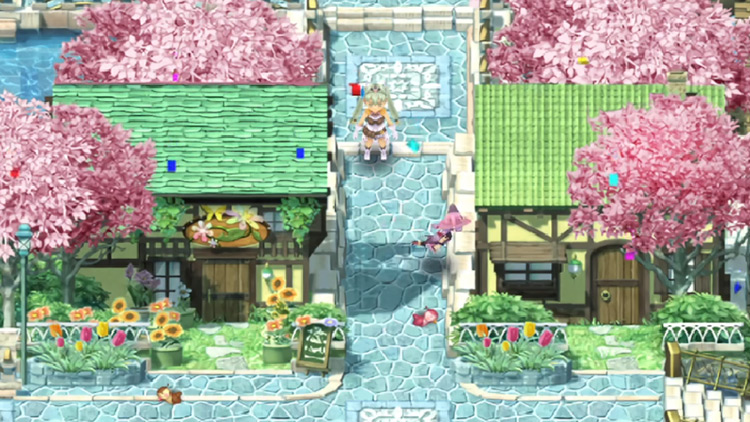
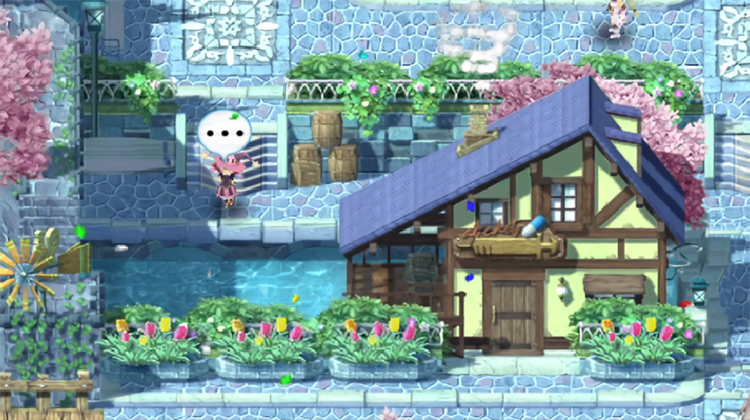
Ghost Sighting 3 – Selphia: Housing Area
Now go to the Selphia: Housing Area which is on the west side of town.
Make sure you’re above the stream and then head west towards Forte and Kiel’s house. You’ll see the ghost looking around by the water.
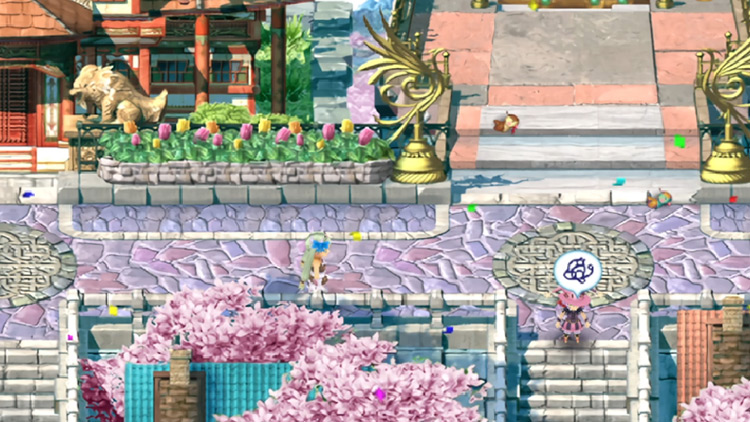
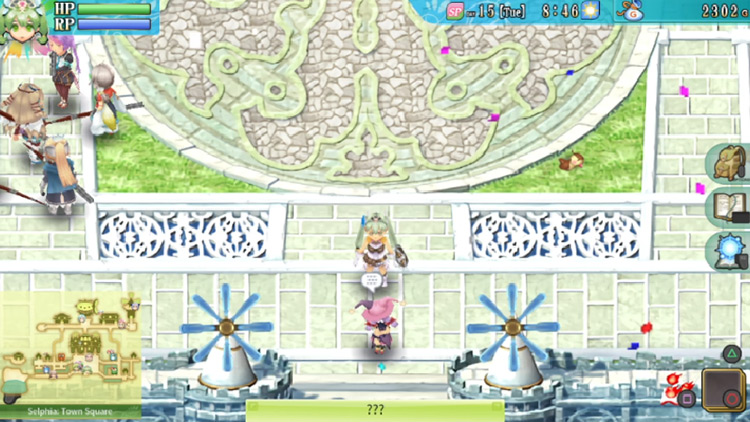
Ghost Sighting 4 – Selphia: Town Square
Lastly, go to Selphia: Town Square and walk towards the town’s exit.
You’ll see the ghost standing there. At that point just walk up and speak to her. She’ll ask you to head to the Obsidian Mansion.
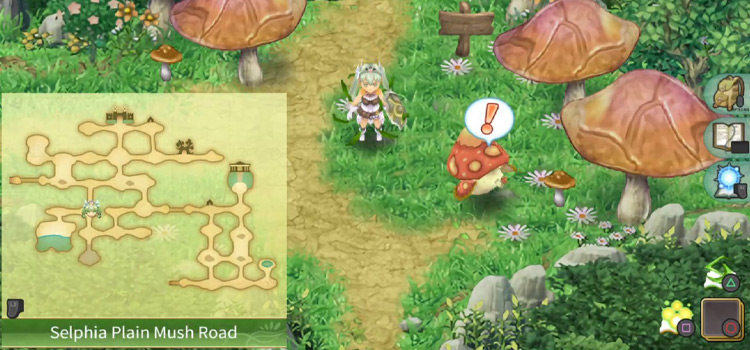
Follow the ghost’s directions toward a cliff in the southwestern part of Selphia Plain (we’ve marked this on the map below).
Volkanon will build you a bridge here so you can cross to the other side.
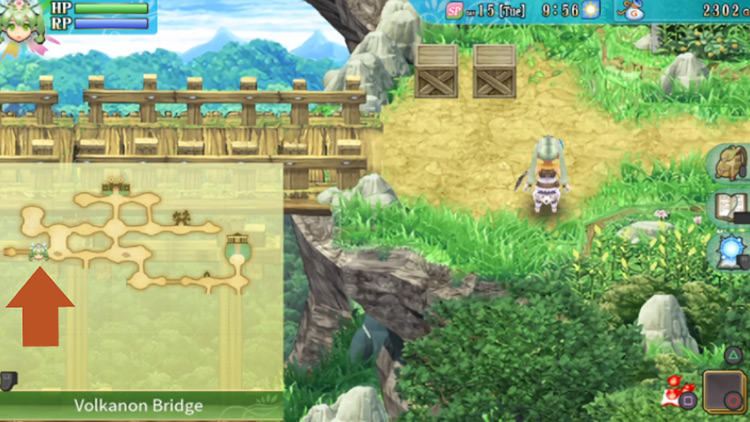
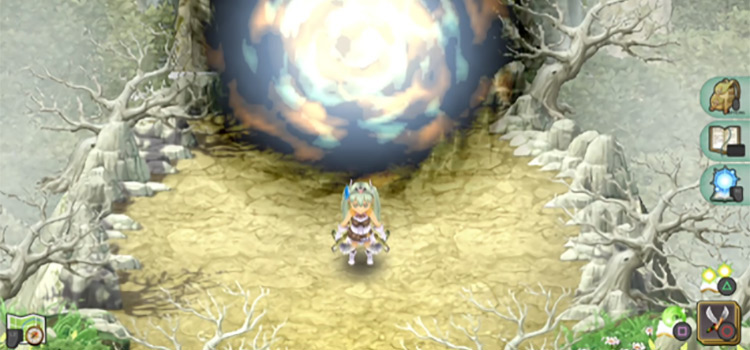
After crossing the bridge, you simply need to keep heading west until you reach the mansion.
Tip: We have a step-by-step guide on how to get to the Obsidian Mansion from Selphia Castle Gate, in case you’d like a more in-depth guide.
Entering Obsidian Mansion
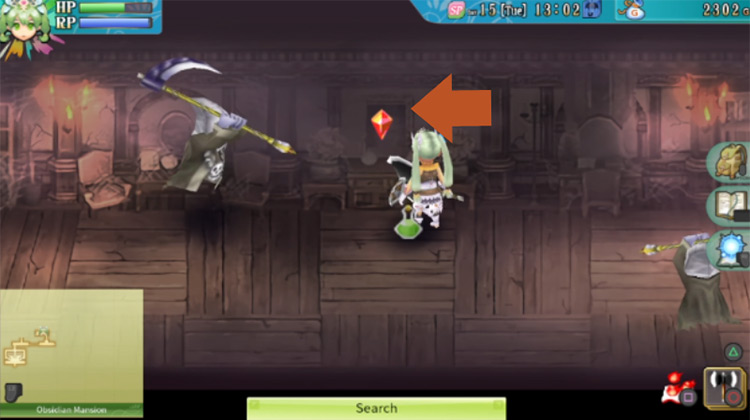
Once you enter the mansion, you’ll trigger a conversation with the ghost. She’ll introduce herself as Pico.

After you speak to each other, she’ll zoom towards the north and leave you behind.
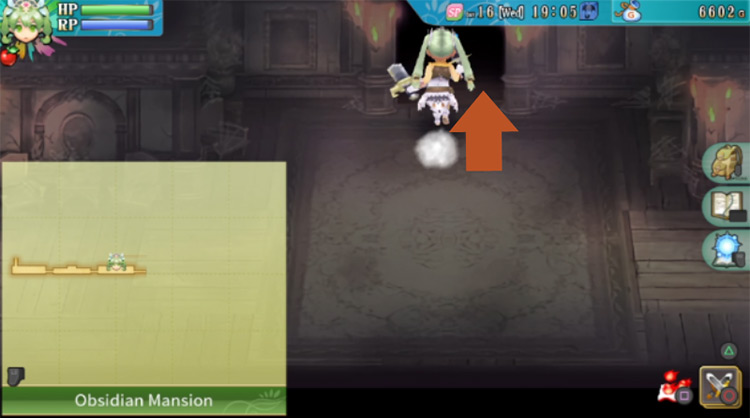
If you try to go after her by going through the door in the north section of the room, you’ll find that it’s locked.
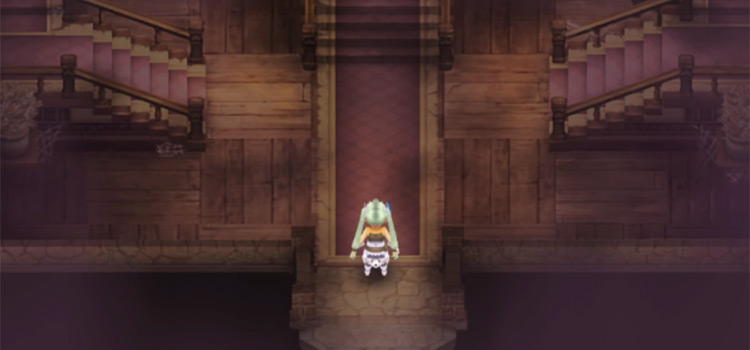
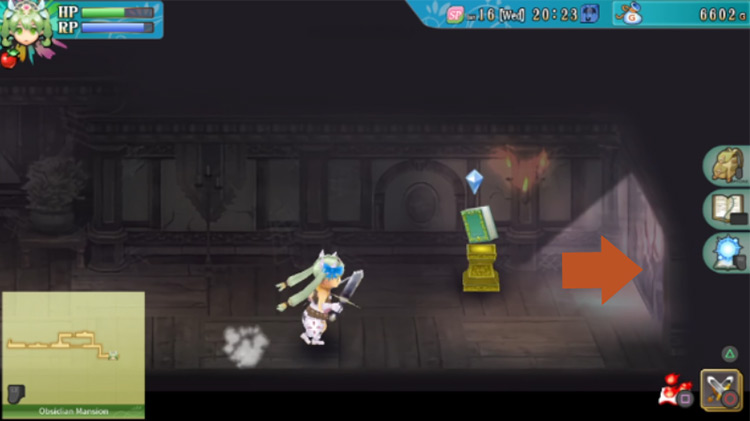
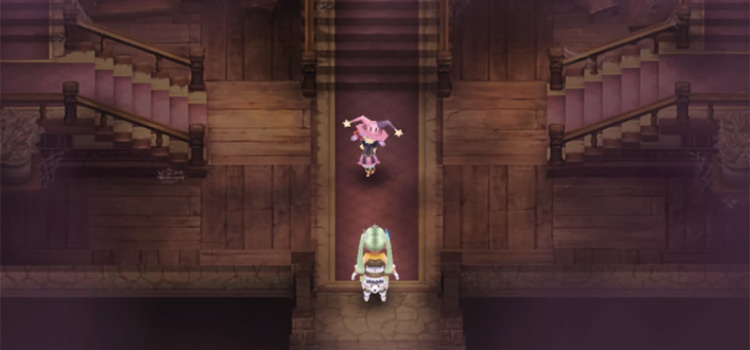
So you’ll need to look for a clue on how to unlock the door – which you’ll find in a diary located in the room.
The diary is on a table by the staircase on the right. The exact spot is marked below.

Read every entry of the diary. The entries will get increasingly more disturbing until the location of a silver key is revealed.

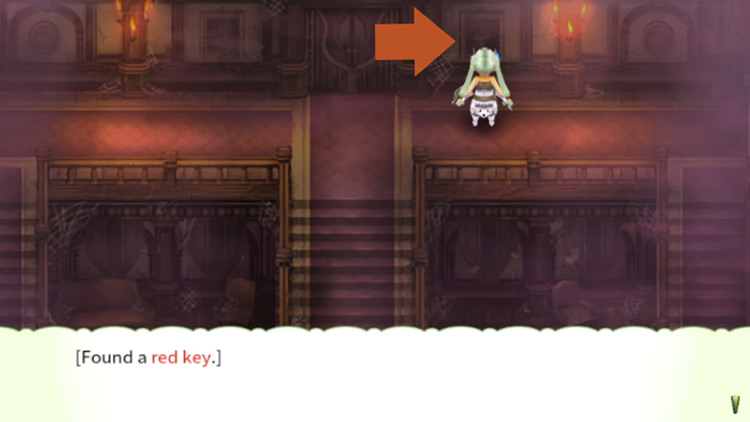
Go back to the door in the north. Once you get there, interact with the painting on the right. You’ll find a red key behind it.
Despite the diary stating that the key is supposedly silver, this red key will unlock the door.
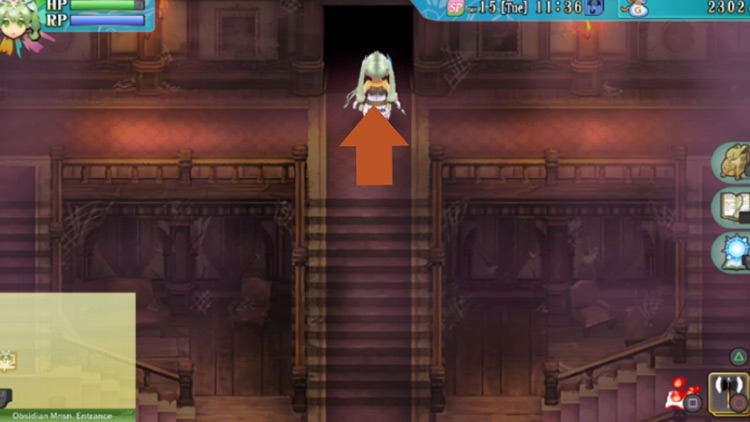
Once you have the key, go ahead and go through the door in the upper part of this room.
Lighting the Candle
Next, you’ll find yourself in a creepy hallway.
As you walk forward, you’ll come across a locked door along the north wall. So that’s not quite where we need to go yet.
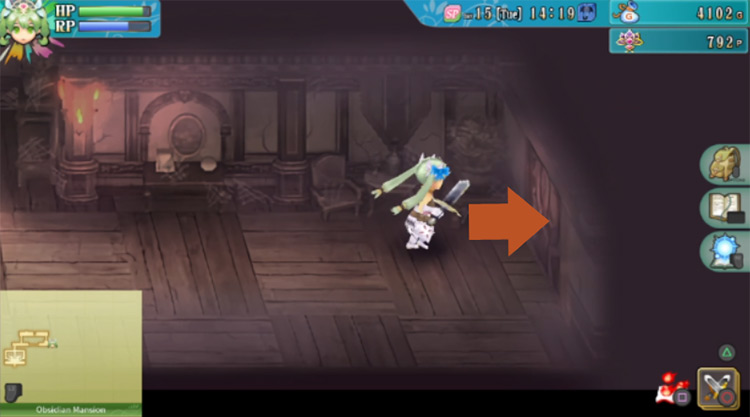
The door you need to go through first is on the east end of the hallway. A stranger will be floating behind you as you walk through here.
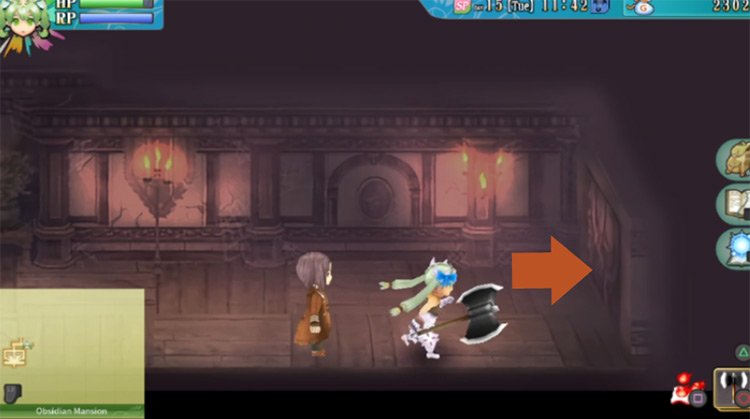
It’s incredibly unnerving, but it won’t hurt you! So ignore the floating person and just head for the door.
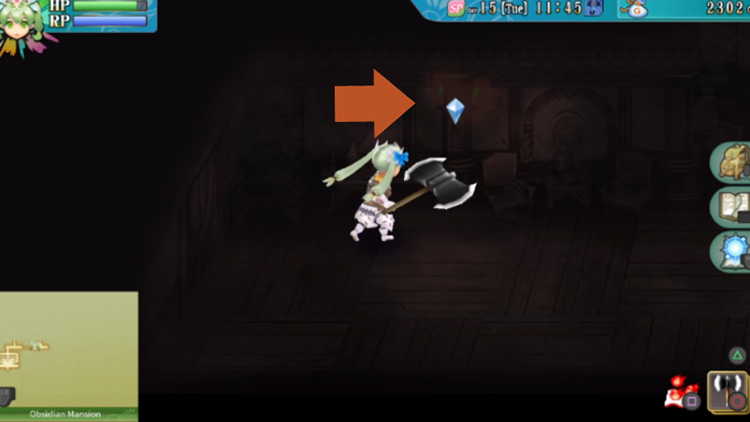
When you get to the next room, the lights will go out. You’ll need to light the candle on the pillar above you.
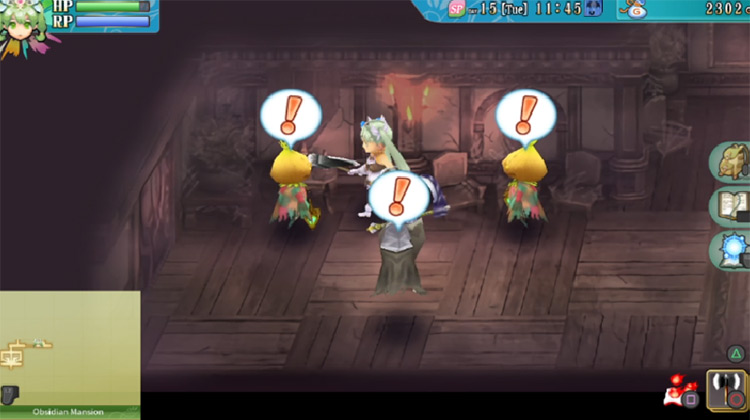
Once you light the candle, you’ll be ambushed.
You need to defeat all the monsters here to remove the barrier on the east end of the hallway, so clear the room at your leisure.
Optional: Extra Treasures
These extra items are optional, but highly recommended. If you’d prefer to just move forward then skip down to the next heading “Clearing the Room” which returns you back to the ambushed room anyways.
But before going into the next room in the east, you can go through the door in the north first for some valuable items.
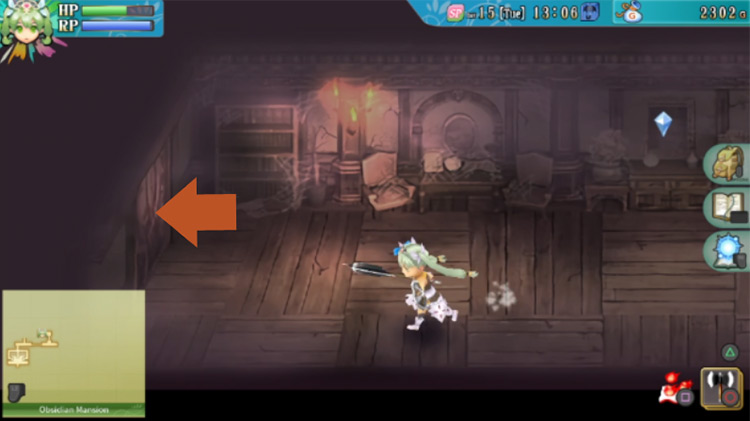
When you go through the door, you’ll find yourself in a short hallway.
Head for a dresser right in the center of the hallway (there should be an arrow on top indicating that you can interact with it). Search the dresser for a potion.
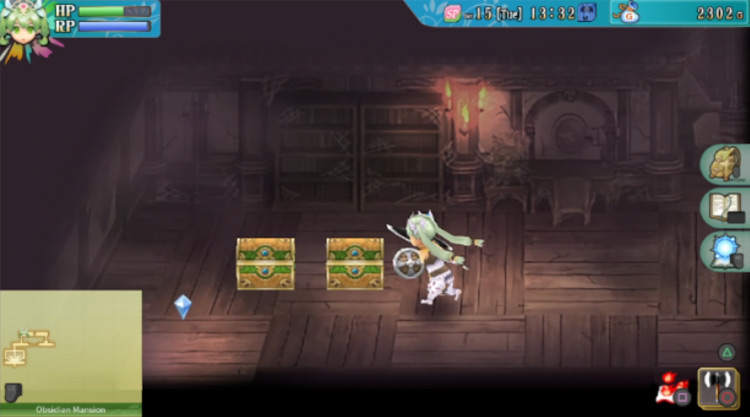
Once you’re done in this area, proceed all the way to the west and go through the door at the very end of the hallway.
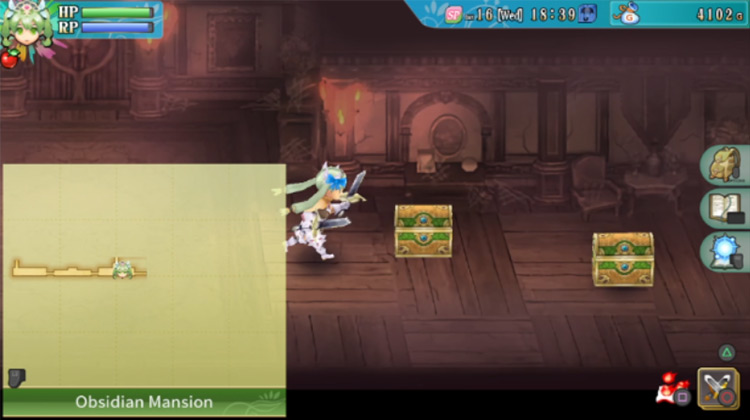
You’ll then be in another short hallway. Keep heading west and you’ll find two treasure chests. Open them to get:
- 1800G
- And a great dual-wield weapon called the Steel Edge
The Steel Edge is a powerful weapon at this level, so try it out to see if you like it!
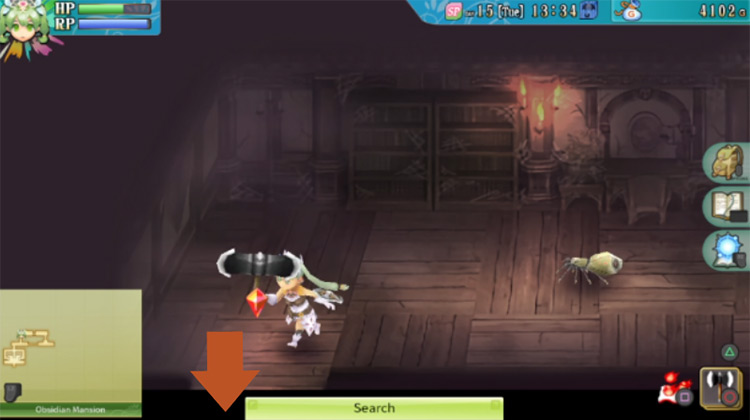
The pathway below you is actually the locked door you encountered earlier.
Walk down south to unlock it so you can return to the entrance easily.
Clearing Rooms & Finding Pico
Now return to the room where you were ambushed and clear the area (if you didn’t already).
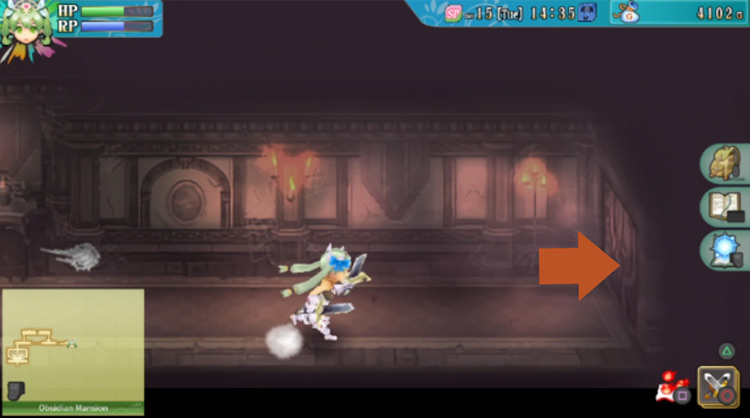
Once you’ve cleared it, the barrier blocking the way east should be lifted. Go ahead and exit this hallway by heading for the door in the east.
In the next room, you’ll meet Pico again.
Before you can get answers from her though, she’ll zoom away again. Proceed by going east again.
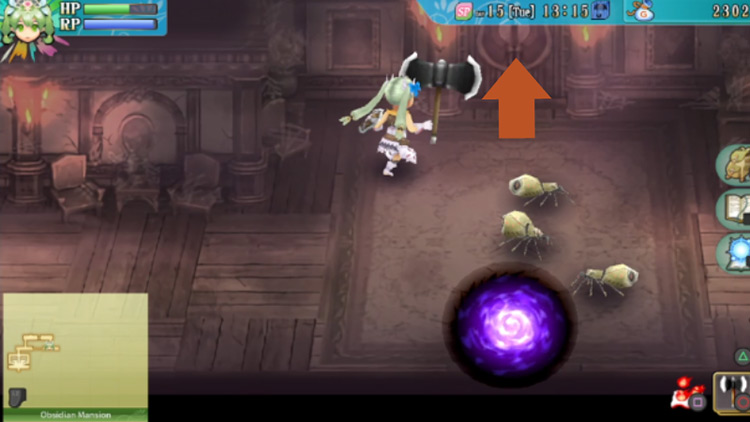
When you get to the next room, every exit will be blocked by a barrier.
You’ll need to clear the room before you can move forward, but steer clear of the chandelier! It’ll fall as soon as you’re under it, and it can deal a mean amount of damage.
When you’ve defeated all the monsters here, the barriers will be gone.
At that point just go through the door on the northern wall at the east side of the hallway.
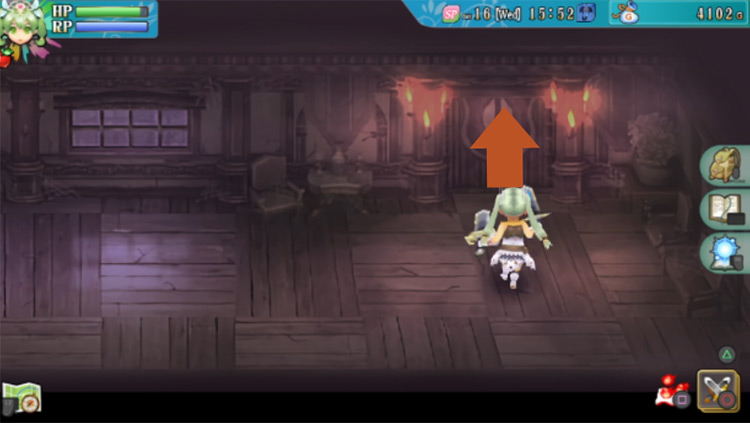
This door will take you to an outdoor pathway.
The floating stranger will be stalking you here again, but you can just ignore him. He’s not gonna do anything besides creep you out with his presence.
So go towards the east again and head down the steps.
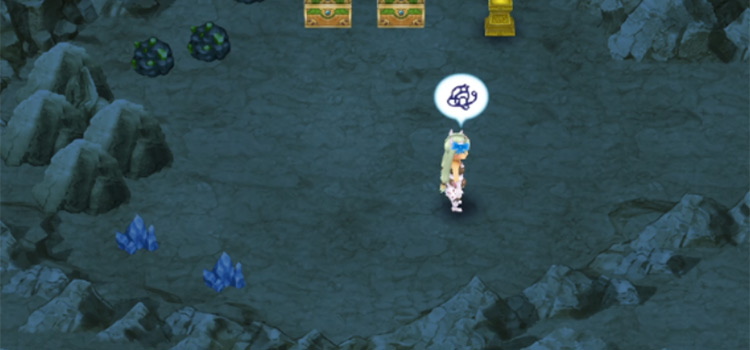
In the next area, you’ll meet Pico again.
As expected, she won’t be sticking around.
But make sure to open the chest right in front of you, because it has Recovery Potions and a Heart Drink, which increases your maximum health when used.
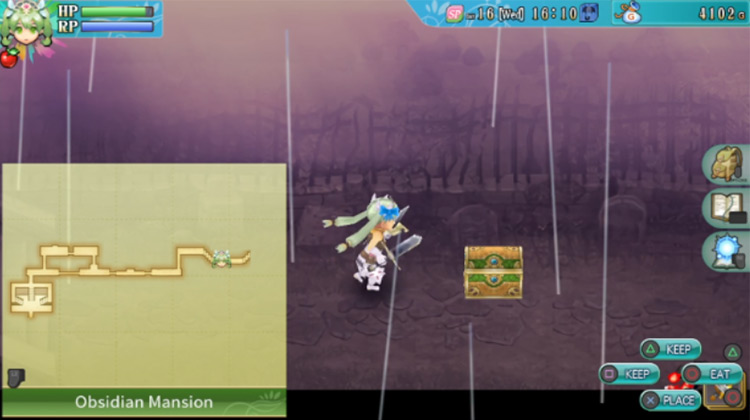
Tip: We recommend that you take the Heart Drink before moving forward since it can help with the upcoming boss.
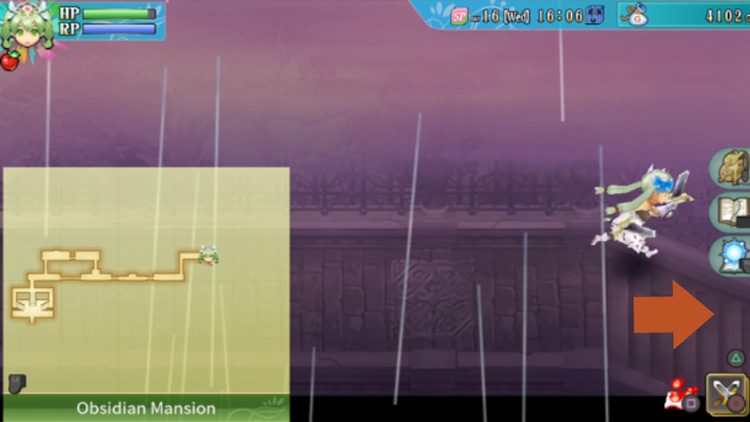
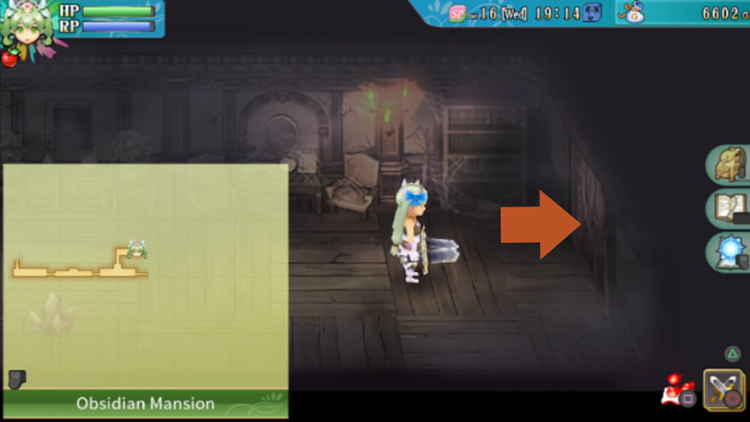
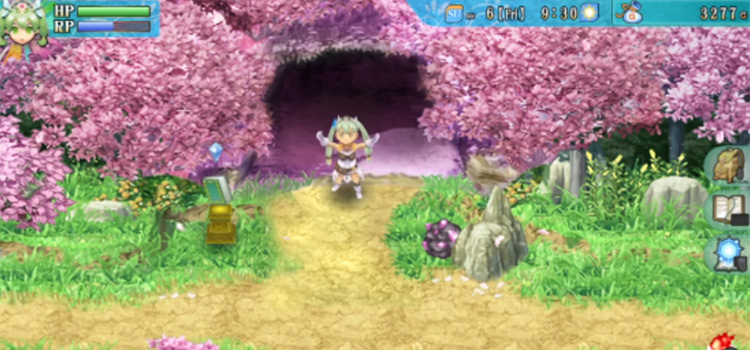
When you’re done, head up the eastern stairs that you’ll find all the way to your right.
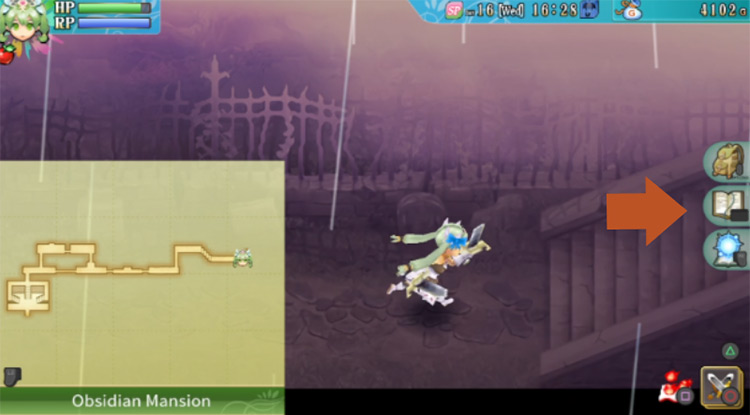
While you’re walking along the path in the next area, you’ll be ambushed by a Shadow Panther.
Deal with the monster, and then keep going east to enter the mansion again through the path on the very right (pictured below).
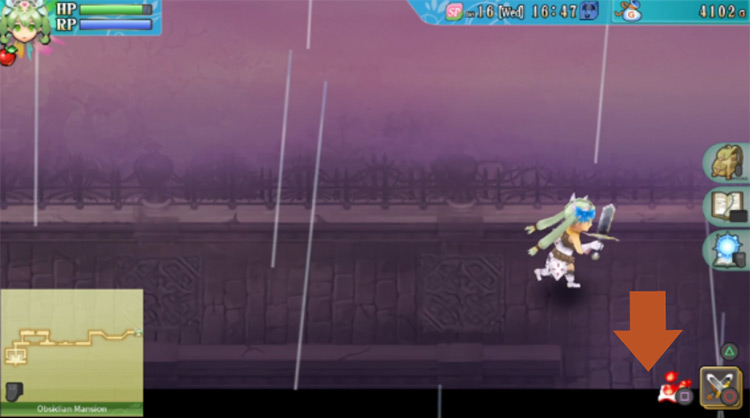
Finding the Boss Marionetta
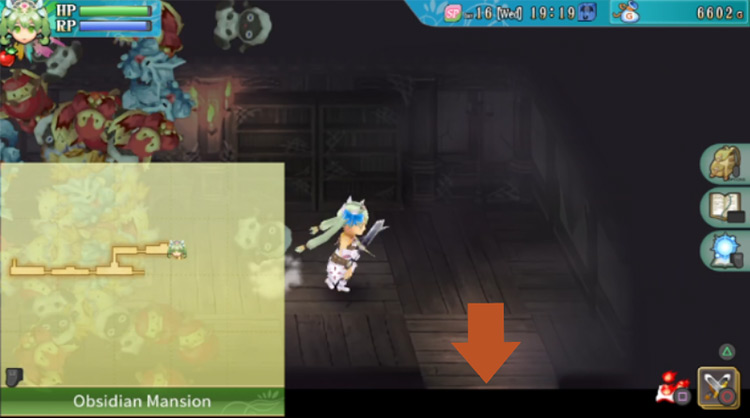
Once you’re back inside, you’ll be in a hallway where the path forward is blocked by a barrier yet again.
Defeat the slimes in the area to get rid of the barrier. Fire spells are effective against these creatures, so light them up!
When they’re defeated, go through the previously-blocked door on the east end of the room.
Pico will meet you in the next room again.
Head towards the right and you’ll see two chests.
The first chest has 2500G for you inside, while the second chest is a Monster Box. Make sure to dodge its attack!
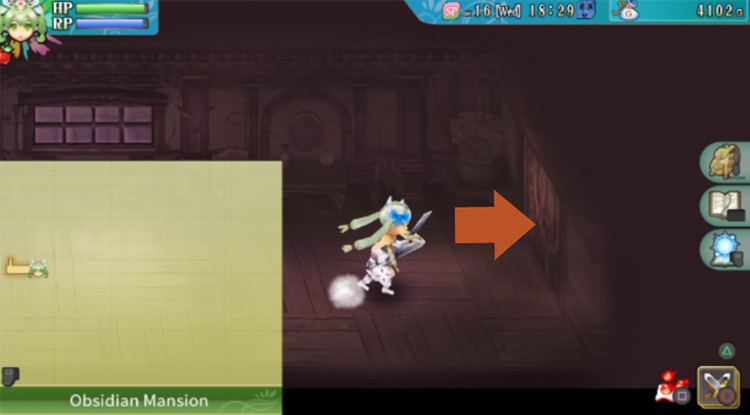
You’ll find the door on the east end of the hallway locked, so instead you’ll need to go through the door on the northern wall instead.
The next room is a short hallway.
Just head all the way to the right and go through the door at the end.
Past the door is another hallway.
As you go past the chandelier swinging in the center, be careful! A barrage of plushies will fall from the ceiling to crush you.
Dash past it and head for the door on the east end (you’ll need to turn south to enter the door).
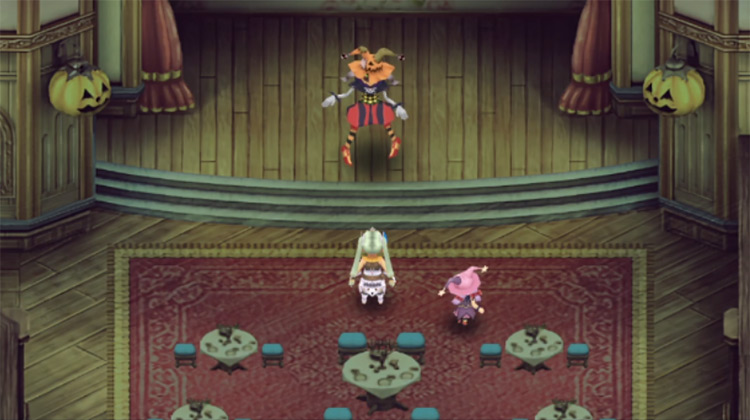
The next room is the final one before the boss area.
All exits will be blocked once you step foot in here.
So just clear the room of any monsters, and then you’ll be able to proceed forward to face the Obsidian Mansion’s boss: Marionetta.
Boss Fight: How To Beat Marionetta
Marionetta’s attacks look a lot like they’re from a magician’s bag of tricks.
She’ll hurl playing cards at you, and even stuff you in a chest if you’re not careful.
But we’ll cover all her phases below, including some tips on how you can defeat her easily.
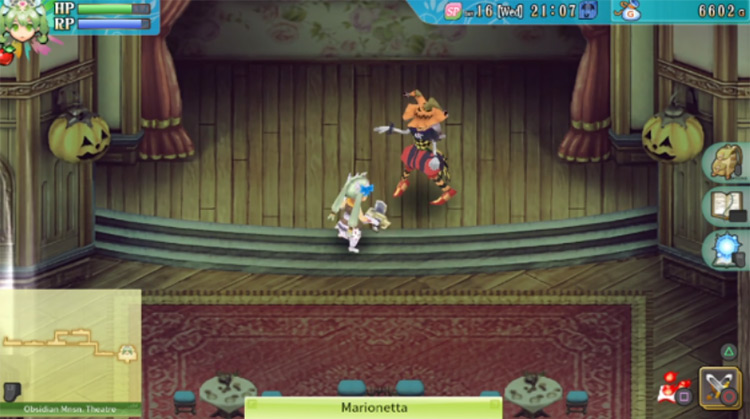
Phase 1: Marionetta
| First Phase | |
|---|---|
| Attacks |
|
| Fighting Tips | You won’t get much of a warning before Marionette performs her next move. Wait for her to attack you first before doing anything. When she’s done with her attack, you should have a short window to deal some damage. Exercise patience while you do this and don’t get greedy with your attacks! |
Phase 2: Marionetta Enraged
| Second Phase | |
|---|---|
| Attacks | Most of Marionetta’s attacks in her enraged phase will be similar to the first one, but they’ll be faster and hit harder.
|
| Fighting Tips | There’s a lot of dodging you need to do here. So steer clear of the tables in the lower area of the room. You may get stuck in between the tables and chairs, which will make this fight a nightmare. Like the previous phase, just be patient and perform a counter-attack every time Marionetta’s done with her own attacks. |
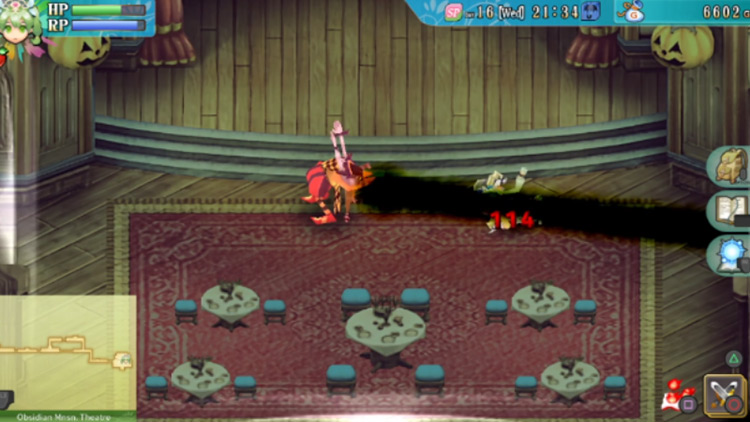
Optional Strategy: Trap Marionetta
If you’re getting frustrated with this boss fight, there is another way to beat Marionetta easily.
If you manage to lead her to the tables below, she could get stuck there. She’ll then be unable to reach you with any attacks that require hitting you for damage.
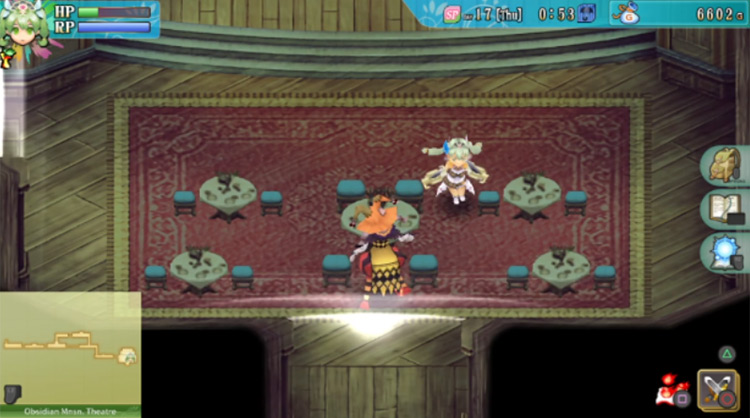
So you could dodge the projectiles she hurls at you and squeeze in some attacks in between hers.
This strategy is nothing to be proud of, but this boss is truly one of the most troublesome ones in the game! Feel free to try this out and get the last laugh.
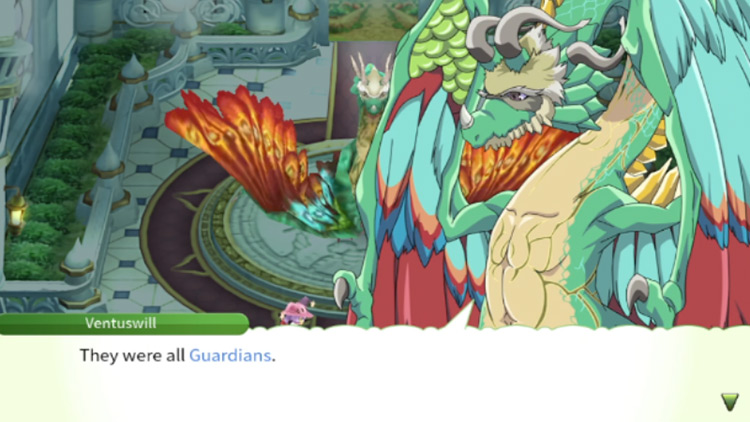
Chapter Epilogue: Learning About the Guardians
After you defeat Marionetta, she’ll turn into a human like the previous bosses did.
You’ll automatically return to Selphia Town and a long cutscene will play out. You’ll find out more about the mysterious events that have transpired.
You will be given choices as responses in the conversation, but don’t dwell too much on these because they’ll all lead to the same conclusion.
When the conversation is over, head back to your bed to trigger the next event.
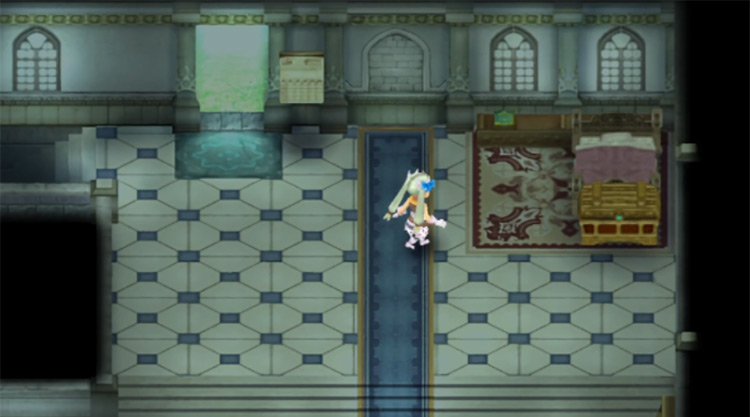
The next chapter will begin immediately after this.
So congrats: you’ve just cleared the Obsidian Mansion!
Next: Yokmir Cave: Rune Factory 4 Walkthrough Part 5

-
Rune Factory 4
- Obsidian Mansion: Rune Factory 4 Walkthrough (Part 4)
Related Posts:
 Yokmir Cave: Rune Factory 4 Walkthrough (Part 5)
 The Water Ruins: Rune Factory 4 Walkthrough (Part 3)
 Where is Leon Karnak in Rune Factory 4? (Location Guide)
 How To Get To the Obsidian Mansion in RF4
 Where is Mushroom Road in Rune Factory 4?
 How To Get To Idra Cave in Rune Factory 4 (Location Guide)
 Where is the Winter Field in Rune Factory 4?
 Yokmir Forest: Rune Factory 4 Walkthrough (Part 2)