As the level begins, you may notice that there’s something moving underground. That’s your quarry — Queen Anne, a legendary creature in Bastion’s lore.
In truth, she’s a unique variant of an Anklegator, another new enemy in the Wilds.
For most of Roathus Lagoon, she’ll be stalking you as you search for the Shard.
You can’t damage her until later, when you’re in her lair. Until then, avoid the Queen as much as possible.
Section 1: Forks and Feys
Step 1: You start on a block with vines forming a tiara around it. The path forward is covered by a segment of the vines and a log. Hack your way through to proceed.
There’s a Wallflower behind the log, so get your shield ready to counter-block it. After killing it, two cadres of Peckers will swoop down on either side of you.
Blast them then continue to the end of the path.
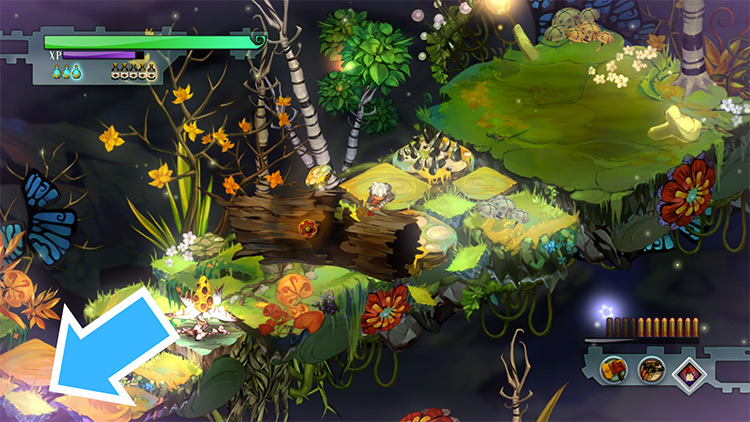
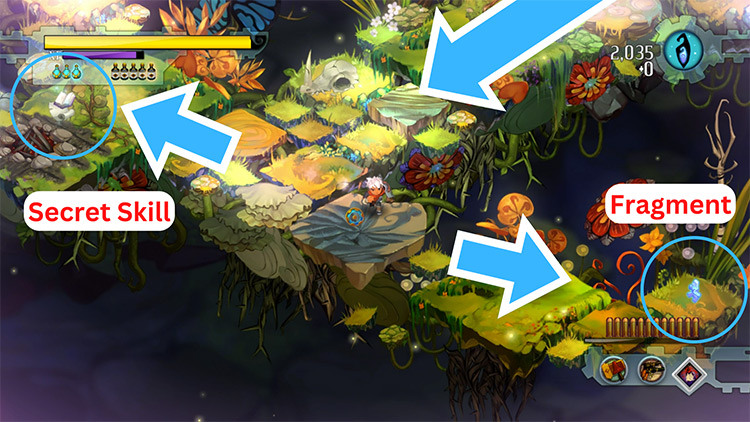
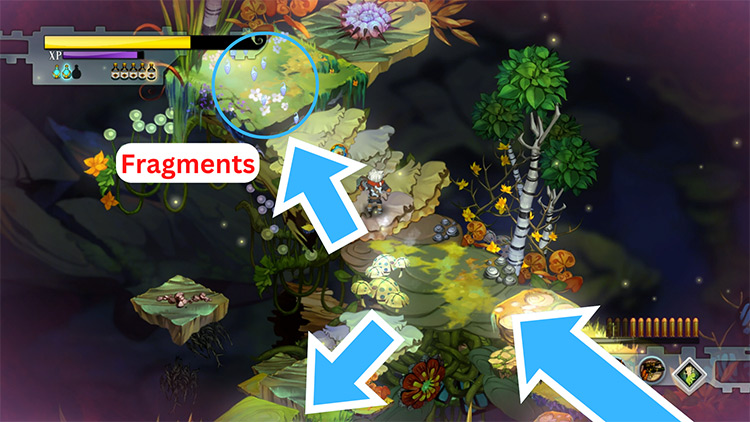
Step 2: At the fork, collect the fragments down the south road, then head back.
Then go up the other road, and grab the Secret Skill scroll beside the campfire.
After doing so, a big Pecker will land up ahead. Try having fun with it using your new Secret Skill.
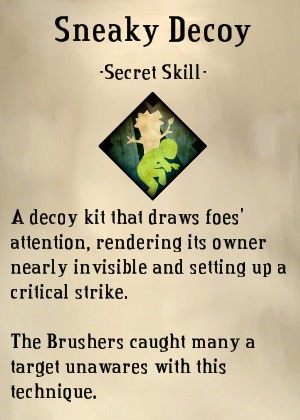
Secret Skill: Sneaky Decoy
You’ll plant a poor imitation of your likeness on the ground. This scarecrow will draw aggro from all enemies. While they’re focused on the decoy, you’ll be able to pummel them or run away uncontested.
Step 3: As you move up, you’ll get to another fork.
North leads to a dead end but has some fragments guarded by a Pincushion. Take everything, then head left from the fork.
Throughout this path, you’ll get sniped by Wallflowers on detached tiles.
The first of them is a blue variant, which fires three seeds at once in a scattershot. Counter-block them as you go forward.
Step 4: The next fork has another big Pecker, but it’ll get gobbled up by this level’s boss — Queen Anne.
She’s not interested in you yet and will wander down the south road.
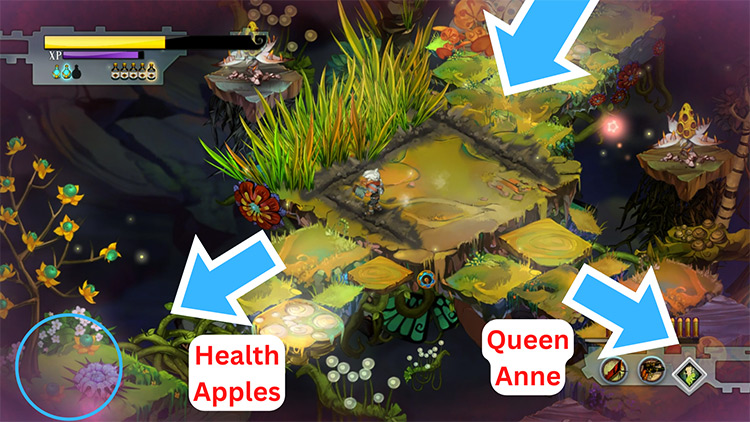
If you’re low on health, head west first where there’s an apple tree by a Pincushion. Squash it then eat the apples. When you’re full, go follow Queen Anne’s trail.
Step 5: You’ll bump into a stinkweed blocking your way. There’s also a big Pecker and a large fragment on the mountain ledge to your left. Collect that first, kill both creatures, then continue forward.
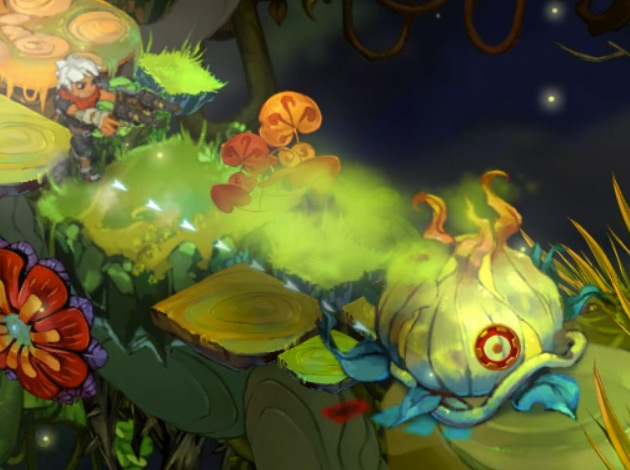
Enemy: Stinkweed
This bulbous plant puffs poison gas at you. It also disperses more fumes all around it when it dies. The gas can’t be blocked nor countered. You’ll either have to kill it from afar, or retreat right after squashing it.
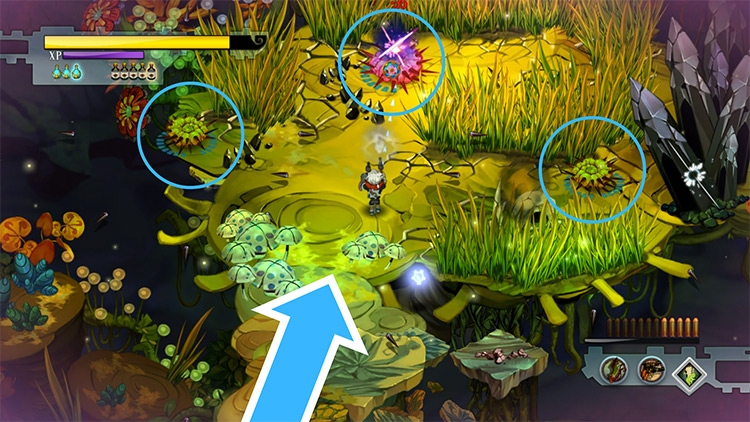
Step 6: In the next block, do not linger in the tall grass. If you do, the ground will shake and Queen Anne will spring up to damage you.
Skirt around those for now and pick up the Brusher’s Pike at the marsh’s center.
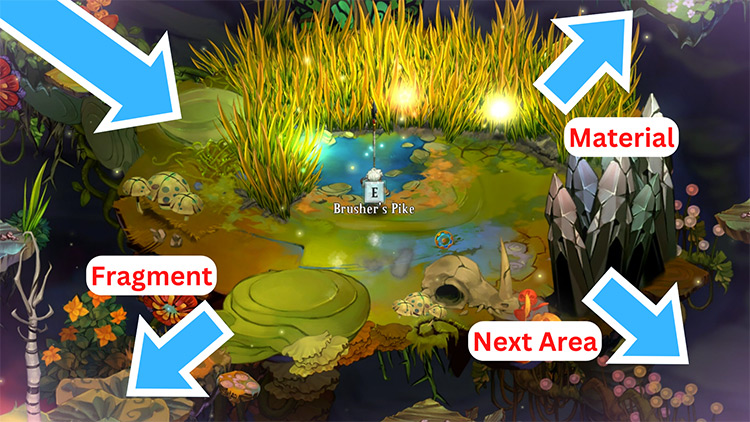
After doing so, Her Royal Pain will drive away a Lunkhead from her domain. Skewer it with your Pike, and the stalagmites to the right will open up.
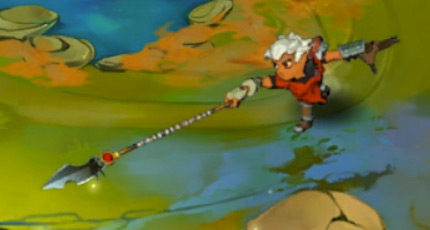
Weapon: Brusher’s Pike
The Pike is one of the best weapons in the game. It’s fast, long, and versatile. It also combines aspects of the other two melee weapons:
- Like the Machete, you can throw it and do Power Shots. You can also upgrade it to deal critical hits more often.
- Its alternate upgrades imbue it with knockback, stun, and armor-piercing, like the Hammer.
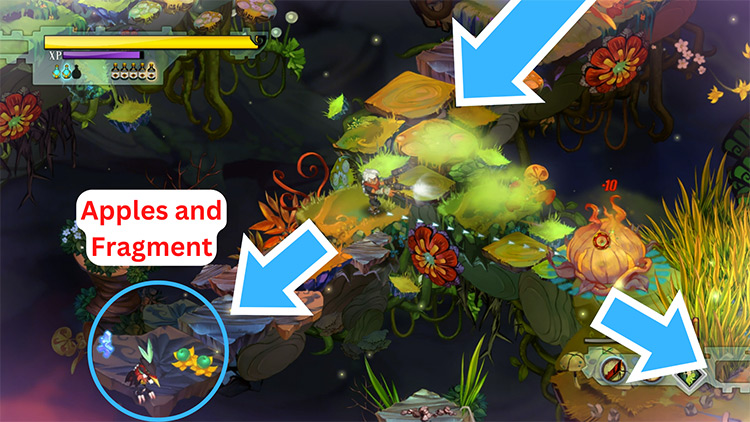
Step 7: Before you proceed, there are two other paths leading away from the marsh. They’re dead ends, but they do have items of interest.
The one leading south has a large fragment, an apple, and a blue Wallflower. Clear that place, then head back north through the tall grass.

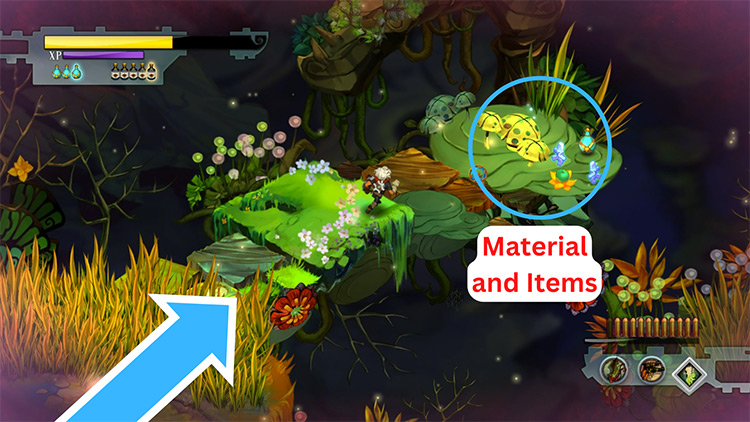
Step 8: You’ll reach a bent tree sheltering some mushrooms and other goodies. There’s also a “Something Nasty” material for your Repeater beneath the mushrooms.
Pick up all the items, and a big Pecker will land behind you. Kill it and return to the marsh.
You can now proceed down the path that was obstructed by the stalagmites.
Section 2: Pike and Spikes
Step 1: When you reach the next fork, a Pincushion and a Wallflower will emerge. They’ll trap you in a pincer and prevent passage.
Destroy them then go south.
There’s a Stinkweed there. Kill it for some extra XP and fragments.
After that, head up the other road from the fork.
Step 2: Here begins the duel between the hunter and the hunted. For in this block and beyond, tall grasses become more prevalent.
Like before, you’ll provoke Queen Anne’s revenge if you tarry within the grass. Always keep moving so as not to get hit by her.
You’ll also encounter three Pincushions in this area. Only one of them will direct its attack on you. The other two will support it with suppressive fire.
Focus on the first, as it poses the most immediate threat.
Killing one Pincushion will cause a Wallflower to appear at your rear. Fall back to deal with it, then mop up the rest.
Step 3: When all enemies are dead, the eastern path will open up. Before going there, head north first.
You’ll find a large fragment and an Arsenal.
Enter the Arsenal if you need to prepare your weapons. It’s recommended that you keep the Pike and the Sneaky Decoy equipped. They’re going to be useful in the upcoming boss fight.
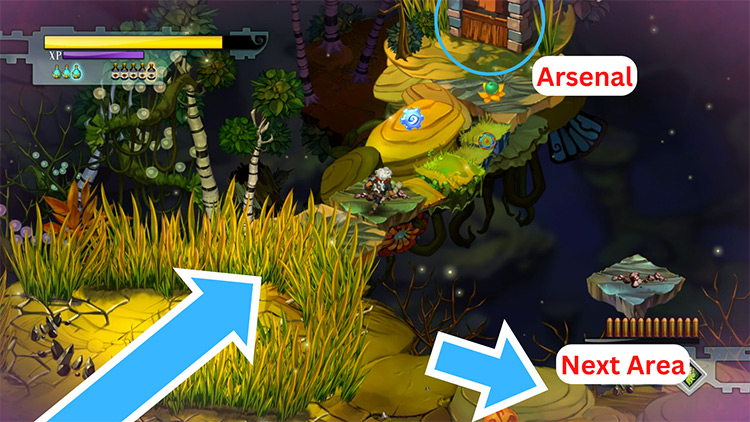
Once you’re ready, make your way east down the open path.
Step 4: The next block has more grass, and a couple of fragments lie hidden within them.
You’ll have to cross the grass to reach the northern clearing. Grab the fragments as you do.
After exiting the grass, a Lunkhead and a Wallflower will emerge. Defeat them to open the way forward.
You can also get a big fragment by following the terraces to your north. It’s within the tall grass, so you’ll have to be quick in collecting it.

Once done, go east to the next area.
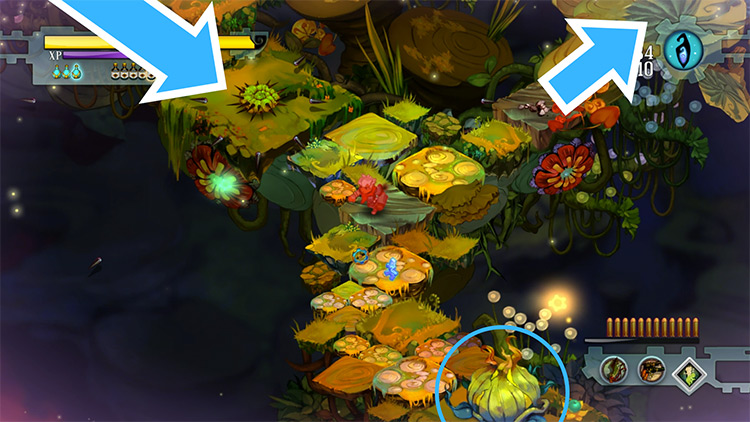
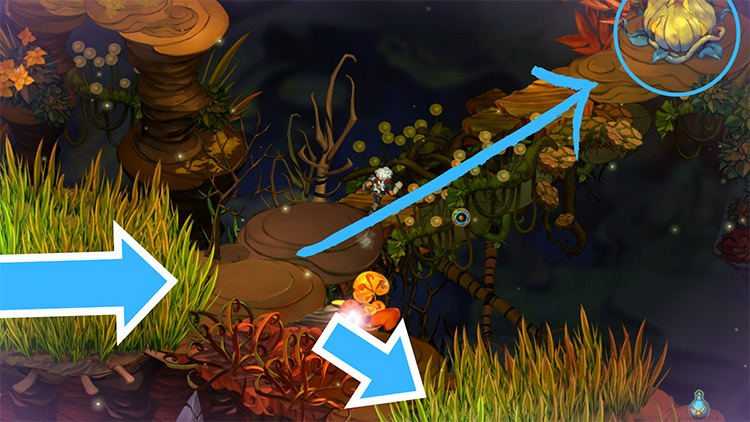
Step 5: As you traverse the trail and its tall grass, a path will form right before the bend.
Follow that path north to where a Stinkweed awaits. Pop it so you can get the “Something Pointy” material underneath it. That will be used for upgrading the Pike. Once you have it, continue south on your hunt.
Step 6: This next passage is all grass, and Peckers will harass you throughout the way. You should lure them to where you fought the Stinkweed.
There, you can shoot them down without worrying about Queen Anne.
More Peckers are also hovering at the south half of the passage. If you’re having trouble, press forward to where the grass ends and fight the birds there.
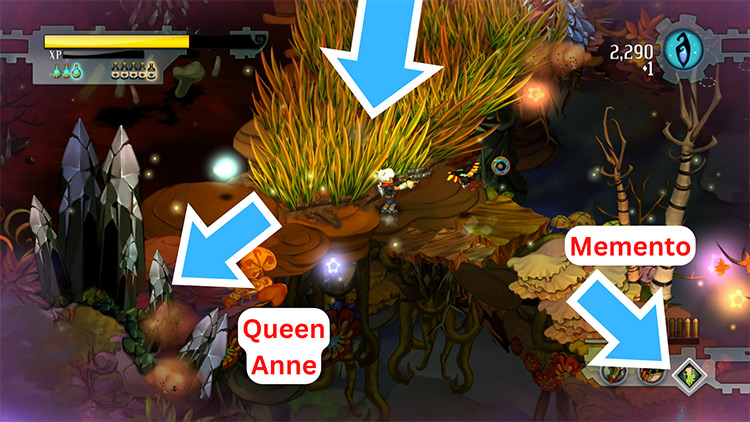
Step 7: The stalagmites ahead will open when you reach them. But before you go through, go east from the fork first.
You’ll find the “Anklegator Egg” memento there.
Take it and then head to the final area.

Section 3: Shard and Sovereign
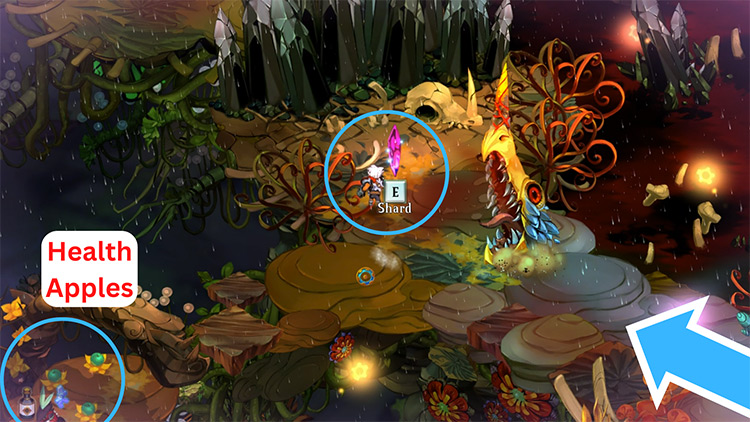
Step 1: The stalagmites will close behind you as you enter the Queen’s lair. She’ll also resurface, expressing her fury at your trespass.
She’ll then withdraw west to where she’s keeping the Shard. Go steal it from her.
Tip: If your health’s almost depleted, head left from the Shard. There are some apples there, plus a black tonic. But you’ll have to deal with the big Pecker that guards them.
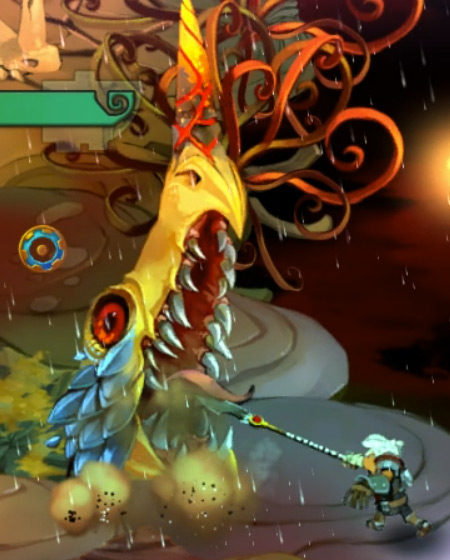
Enemy: Anklegator
Anklegators are rare in the game, with Queen Anne being the most notable of them all. You’ll only see their horns above ground. When they get under you, they’ll spring up to bite you. It’s during this that they’re vulnerable. You can get 2–3 hits in before they descend again.
Your basic strategy should be to provoke their attack, evade it, and then strike while they’re up. As they lose health, their movement and attack becomes faster. Readjust your timing to match them until they’re dead.
Step 2: You now have to deal with the Queen.
Use your Sneaky Decoy to goad her to attack, then stab her when she’s up.
After damaging her a few times, she’ll summon three Pincushions across her lair.
The Skyway will also become available. It’s near this area’s entrance.
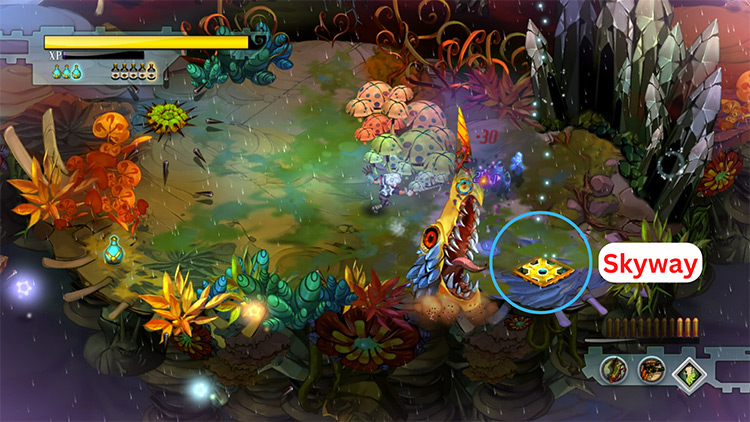
Here, you have a choice — continue fighting or flee.
Battling Queen Anne is optional; you can use the Skyway without killing her. However, it’s highly recommended that you do fight her. Defeating her gives you around 800 XP.
Home: The Bastion
Place your new Shard in the Monument, and you’ll be able to enhance another one of your buildings.
As before, choose one that fits your current situation:
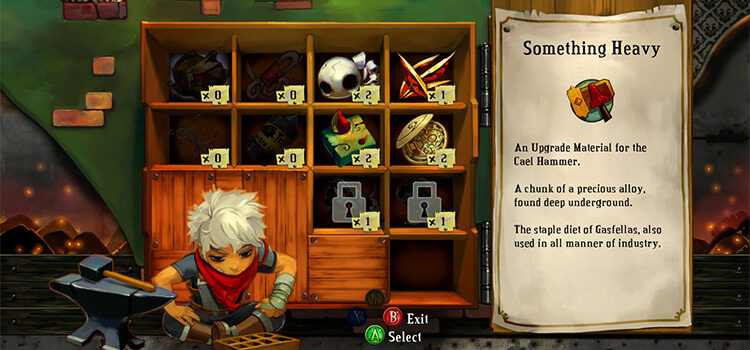
- For better gear, go for the Forge or the Lost-and-Found.
- For earning more fragments, do the Shrine or the Memorial.
- If you’re undecided, enhancing the Distillery gives you three free Spirits.
- The Arsenal should be your least priority, since it only gives you a single Secret Skill.
Next, talk to Zia about the Anklegator Egg you’ve found. It’ll hatch into a baby Anklegator, your third pet.
You can have it follow you around the Bastion by interacting with it. If you want it to stop, then talk to it again to command it to stay.
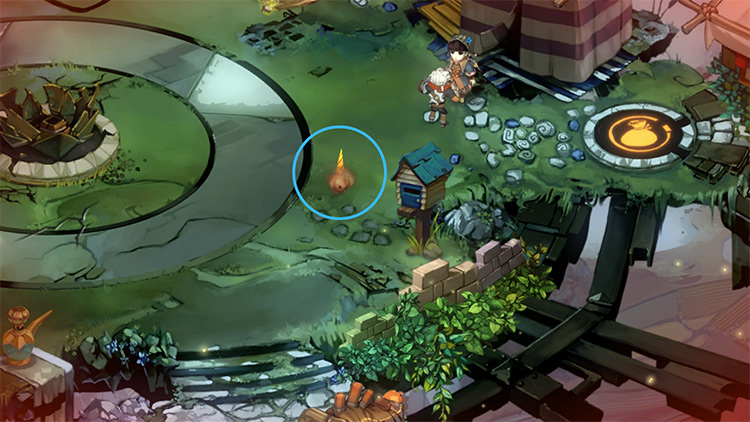
You may also notice that there’s a mailbox near Zia. You can interact with it, but it doesn’t do anything special. It seems to be a remnant of a scrapped game feature.
But as it is now, it’s just a decoration and nothing more.
When you’re ready to move the story forward, go to the Skyway and you’ll be able to select between these levels:
- Camp Dauncy
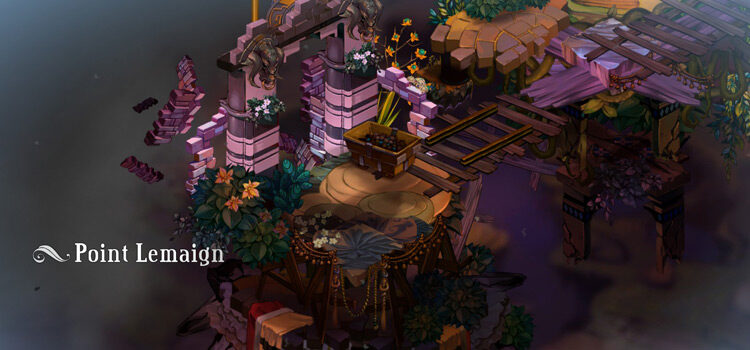
- Point Lemaign
Camp Dauncy is the proving grounds for the Brusher’s Pike. You only get three regular melee weapons, and the Pike’s the last of them. This point of the game is the best time to decide which of the three you want to master.
- If you’d like to specialize in the Pike, then go to Camp Dauncy. Upgrading its damage and attack speed can make that challenge easier.
- Otherwise, go to Point Lemaign for the next part of the story. You’ll find a new ranged weapon there. It may be a better investment for your fragments, depending on how you’ll like it.
-
Bastion
- Roathus Lagoon: Bastion Walkthrough Part 10
Related Posts:
 How To Upgrade Weapons in Bastion (Full List)
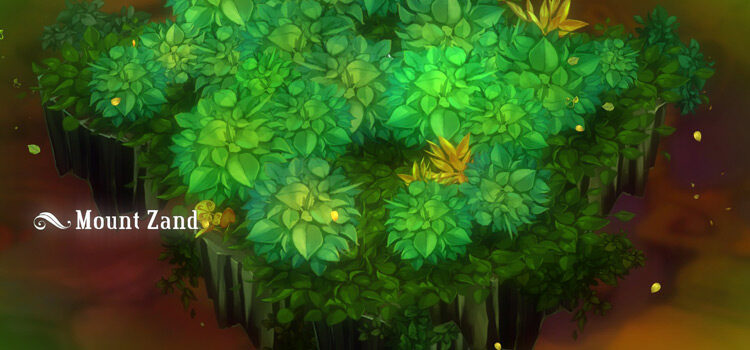 Mount Zand: Bastion Walkthrough Part 13
 Point Lemaign: Bastion Walkthrough Part 11
 Colford Cauldron: Bastion Walkthrough Part 12
 Burstone Quarry: Bastion Walkthrough Part 14
 The Stranger’s Dream/History Books: Who Knows Where 4 (Bastion Guide)
 Camp Dauncy: Proving Grounds 8 (Bastion Guide)
 The Tazal Terminals: Bastion Walkthrough Part 17