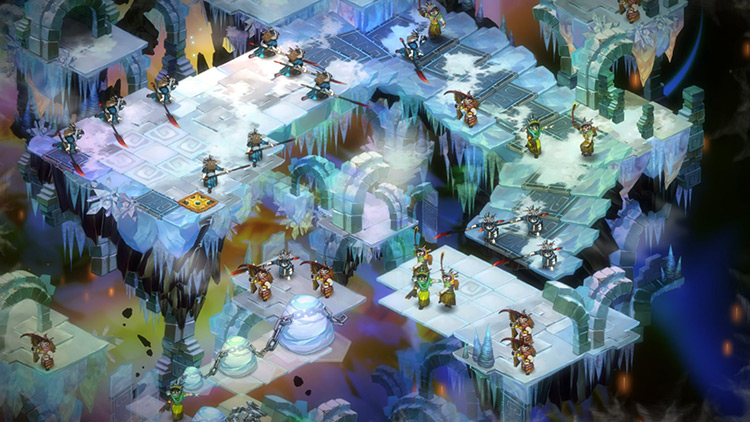
The Terminals mark the end of the line of your travels.
It’s the only thing that remains of the Ura civilization, and you can expect them to defend it to their last breath. You’ll face many of their elites.
They have a bigger physique and a glowing aura around their feet. They’re stronger and sturdier. Most of them have the same attack patterns as their regular counterparts though.
With this being the final level, you won’t find any mementos nor materials here.
There will still be lots of tonics throughout the Terminals though. You’ll need them to sustain your assault, as it’s going to be a long level.
Section 1: With Great Vengeance
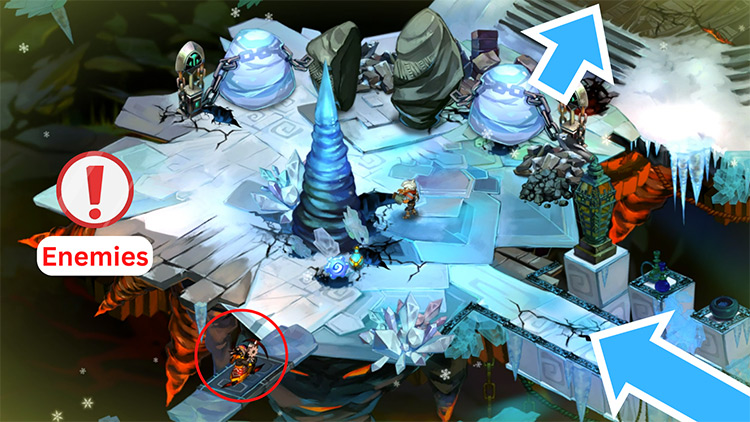
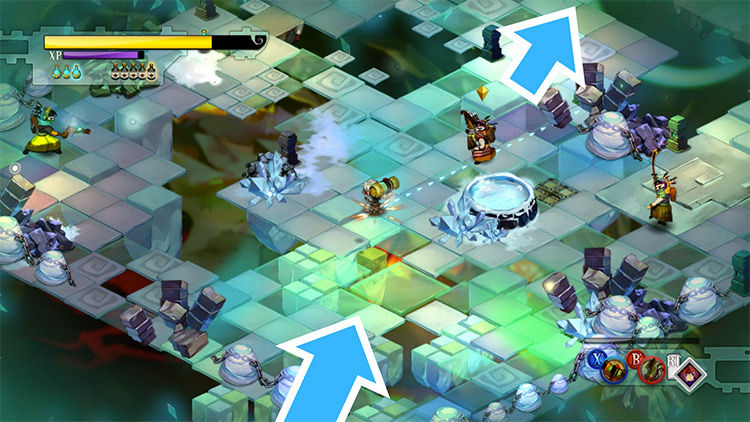
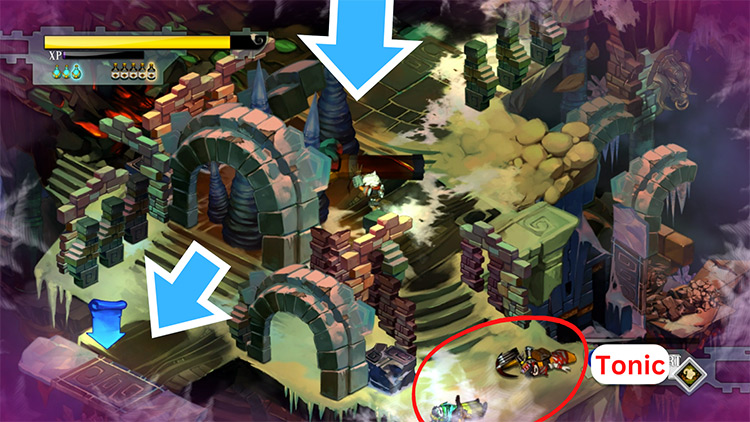
Step 1: You start on a block made of ice and snow. Three baby Rattle-tails will attack you right away, but one blow with any weapon can knock each of them down.
There seems to be two roads from your starting location. But the one leading right is a dead end. You’ll also be attacked by a Halberdier on a snowboard there, so head left instead.
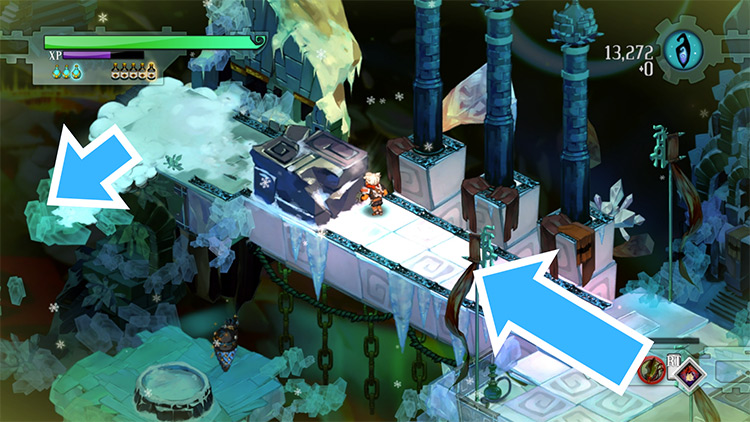
Only one Turret watches over that path. Once you’ve dealt with it, break through the stone block that’s in the way and follow the path forward.
Step 2: When you get to the third bend, an elite Swordsman will slam into the path on his snowboard. This is your first encounter with one.
Take this chance to get used to his attack style now while he’s alone.
After your duel, continue up the path.
A pair of Marksmen will try to shoot you down from their sentry posts on the next block. Fire back or bust through to their position then whack them.
Step 3: A few steps past the Marksmen, you’ll find items in the middle of the snow. It’s actually a trap.
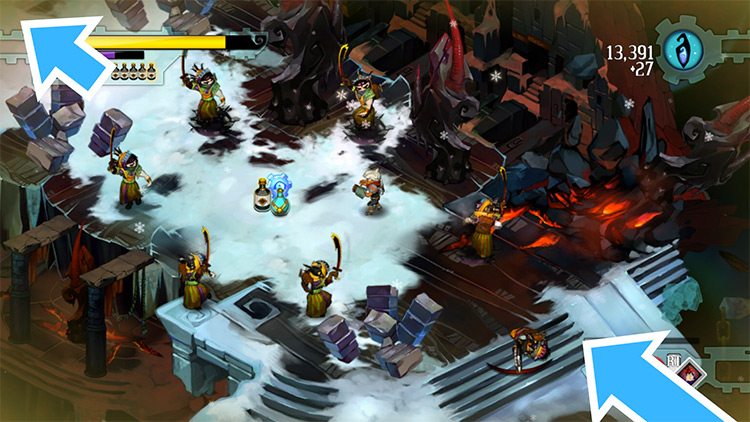
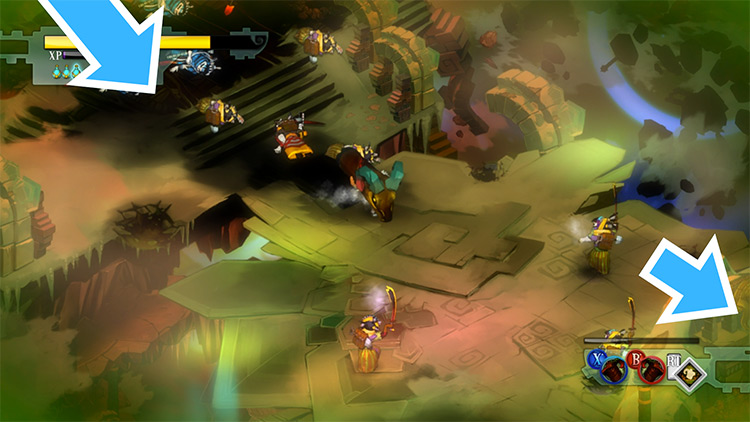
As you approach those items, six Swordsmen will surround you, but won’t attack unless you try to get past them. In fact, you can focus on fighting one at a time if you avoid hurting or getting near the others. Mook Chivalry prevails over pragmatism here.
After defeating them, continue your westward journey.
Step 4: An elite Marksman controls the path to the next area. He shoots single bolts laced with poison. If you get hit, the poison will blur your vision and drain your HP for a few seconds.
A Turret will also pop up on the detached rock to your left.

Keep your shield up to block the poisoned bolts and attack when the Marksman’s reloading. Blast the Turret then proceed.
Step 5: Ice and rock block your way forward. Different Ura Warriors will also arrive by snowboard from the west and the south. Defeat them as they come.
The last one will conveniently crash into the leftmost obstacles, clearing a path for you.
On the other side of the rocks, there’ll be two Gunners and a Turret.
Blast them and then keep going north.
Step 6: The next area’s a den of Stinkeyes and Rattle-tails. Of the former, their hive’s right at the center of a ring of obstacles.
Burn it down first and then exterminate the Rattle-tails.
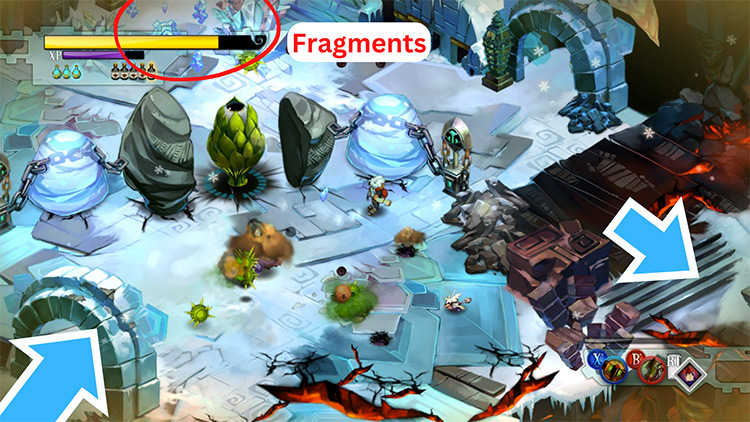
Behind the hive are some fragments. If you go to collect them, a Halberdier and a Gunner will land to the left of the pile. Kill them, collect the fragments, then head east.
Step 7: The east path is a dead end, but a Gunner will park their snowboard there. As she does that, four Halberdiers will catch up to you. Fend them off and the Gunner too.
Once they’re dead, hop on the Gunner’s ride. It’ll take you further into the Terminals.
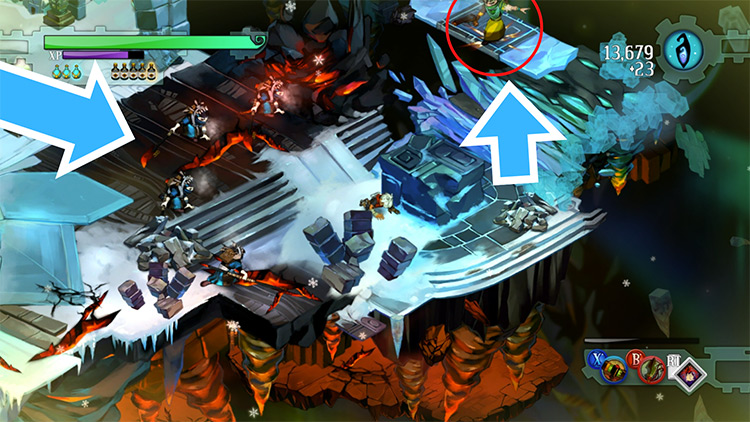
Step 8: You’ll slam into a trio of Warriors, which kills them instantly. Make your way up on the street ahead until you meet an elite Swordsman. Trade blows with him until he falls.
A few paces ahead of him, you’ll also encounter an elite Gunner. Take her down too, then keep going along the path.
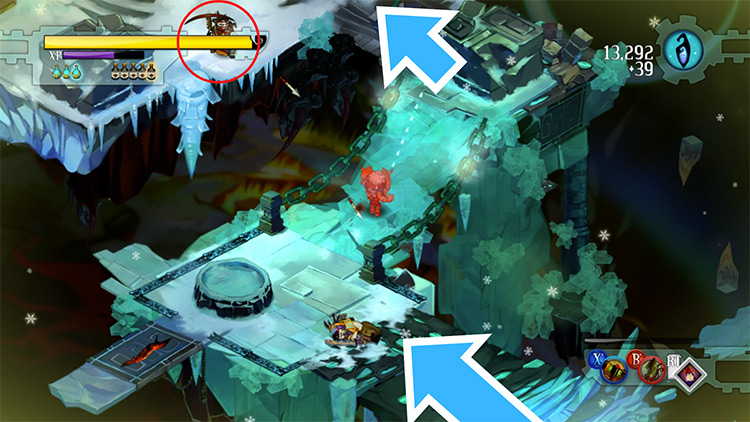
You’ll find the “Hop Scotch” Spirit at the end of it. Pick it up.
This Spirit’s exclusive to this part of the level. It replaces your dodge-roll with a short somersault. This sacrifices your evasion for the ability to hop across gaps, like the ones around you now.
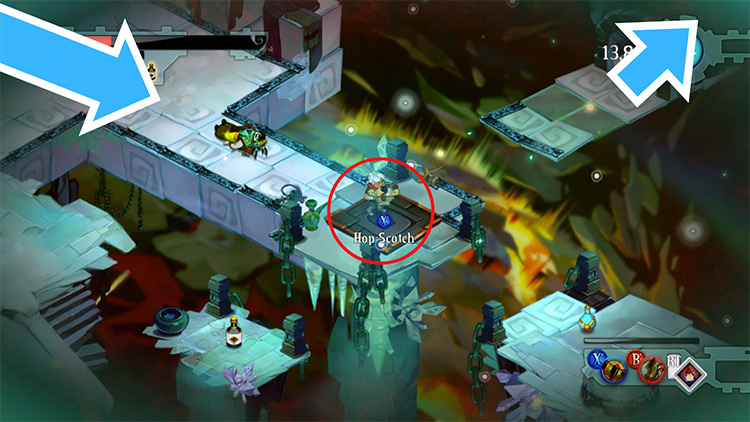
Try using this to get the two tonics near you.
After that, hop over to the ice ledge leading north.
Step 9: You’ll be at a wide open space with an ice tile floor. A Gunner, a Marksman, and a Swordsman are your enemies here. Icicles will also periodically fall and shatter a tile.
Beat all three foes as fast as you can, then run north towards the next path.
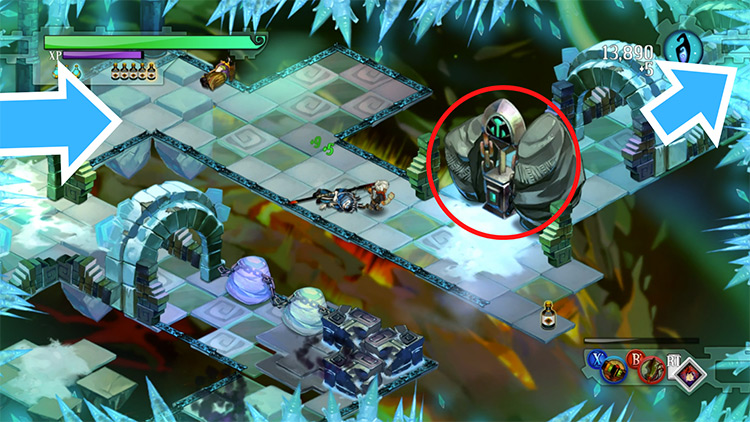
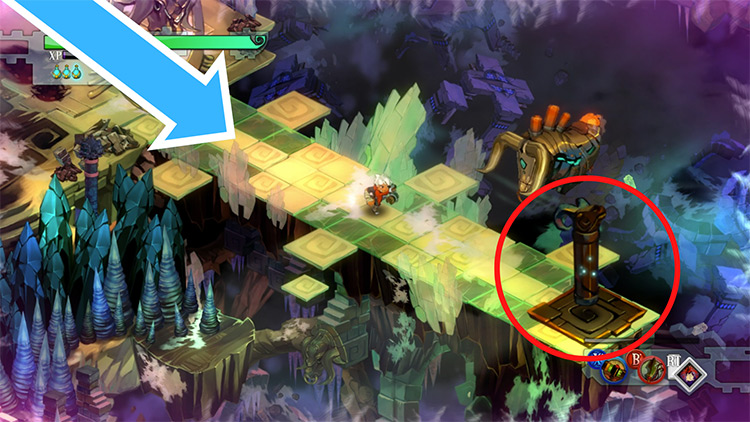
Step 10: The path leads to a conductor guarded by two Halberdier and a Gunner. Defeat them and destroy the conductor since it’s blocking your way. The ice floor will start collapsing after you do that.
Hurry through the ice path, and ignore any enemies as you go.
You’ll have to clear out some obstacles that are in your way.
The end of the path has a gap which you must hop across. You’ll be on solid ground after that.
There’s only an elite Marksman left here, and he’s guarding a Skyway. Kill him to open the Skyway then use it.
Step 11: You’ll land on an open arena with lots of tonics and an elite Halberdier. He hits hard, but he’s as predictable as the regular Halberdiers. Take your time in fighting him, so you can conserve your HP.
Once you defeat him, small ice rocks will float up to the left of the arena.
Grab all the tonics here, then hop across to the rocks.
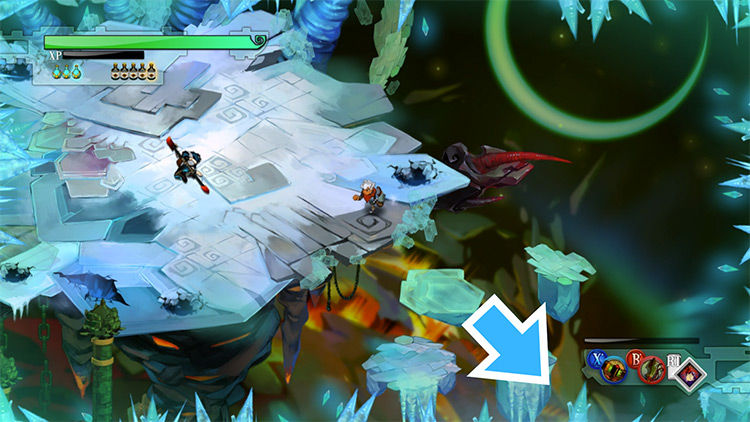
Step 12: This segment of ice-rock hopping is straightforward. All you have to do is hop to the next available rock.
There’s only a few enemies here: two Swordsmen and two Marksmen to be specific. They can dash across gaps too.
It’s best to let them come to you or pick them off with a ranged weapon.
There’s also one Turret, but it’s off to the side so you needn’t worry about it.
After hopping for a while, you’ll get to the final island, which has a snowboard on it. Ride it to reach the next area.
Section 2: With Great Power
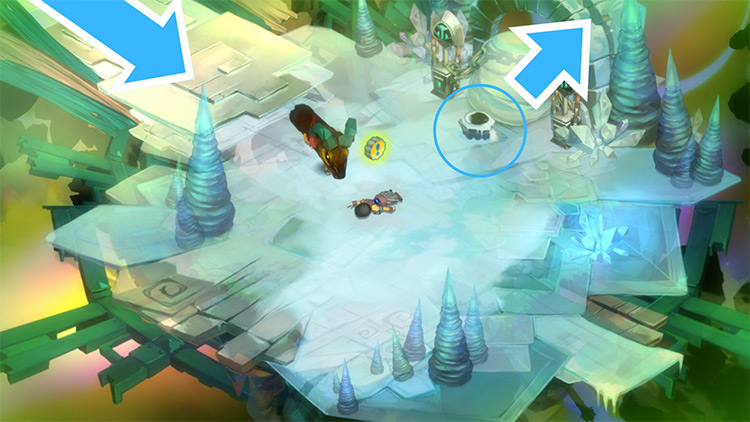
Step 1: Next, you’ll find yourself outside a gate. You can open it by pressing the switches on each side of the path. You’ll need to hop on the platforms to get to them.
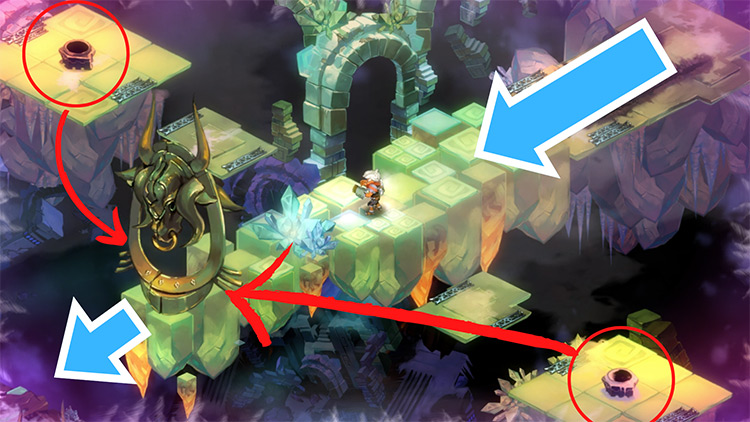
When you’ve opened the gate, head through it.
Step 2: There’s another switch at the center of the next block. It can open the gate to its right. You’ll also see a wall of stalagmites ahead of the switch.
You can’t break them with your weapons, but there’s a solution for it beyond the gate.
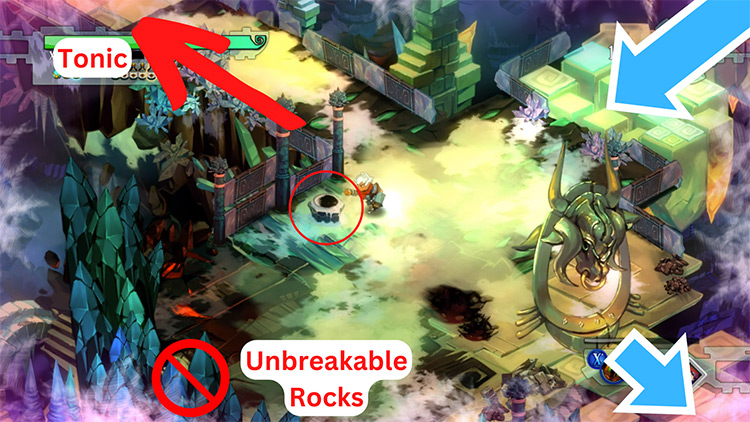
If you need a black tonic, there’s one to the north of the switch.
Step 3: After going through the gate, you’ll see a massive totem floating next to a Mechanical Pyth.
This is the Battering Ram, another exclusive equipment to this level. You’ll need it to get through the wall in the previous area.
After heaving it on your shoulders, the Pyth beside you will come to life. A second one will join in as well, and the gate behind you will also close. One whack with the Ram can end each of them, despite their high HP.
Their defeat doesn’t reopen the gate, but you can use the Ram to bust through it.
Weapon: Battering Ram
The Ram replaces both of your weapons and your shield too. But it comes with two attacks and its own Secret Skill:
- Its first attack is a swing that deals more damage than the Cannon. One whack with it can kill almost anything.
- The second’s a ground slam that damages any surrounding enemies. It’s not as powerful as the first, but it can still wipe out most Ura Warriors.
- Its “Col” Secret Skill summons a rain of fire around you. It has a wider range than the second attack, while having the same power of the first.
The Ram can be used as a shield as well. But you can’t move while defending. You also move slower and lose your ability to dodge.
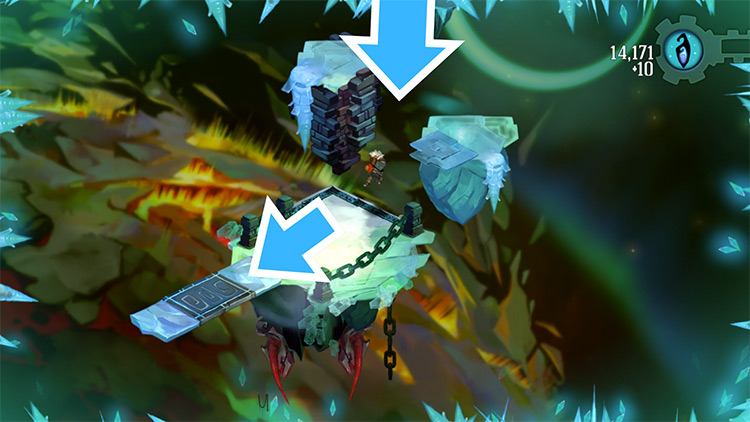
Step 4: With the Ram, cleave through the rocks and stone arches as you go south. There are some nooks that have black tonics. You’ll see them along the edges, and if you go near them, a pair of Warriors will engage you.
You should grab those if you’re not fully stocked on black tonics. You may enjoy spamming the Ram’s Skill later.
When you get to the southern edge of the area, you can find another snowboard parked on the side. It will bring you to the final section of the Terminals.
Section 3: With Greater Responsibility
Step 1: You’ll be met with an Ura welcome party at your landing point.
One use of the Ram’s Skill can obliterate this entire squad.
Ahead of them are three more Swordsmen. Use the slam when they get close to kill them.
The next path will have a Turret off on the side. The regular swing can’t reach it, but the slam can. Continue following the path east.
Step 2: More Warriors crowd the next corridor, so swing away to clear the way.
A trio of Turrets will also drop in and blast you with their beams. Defend yourself and wait out their attack, then charge when they’re on cooldown. You may also use the Secret Skill instead.
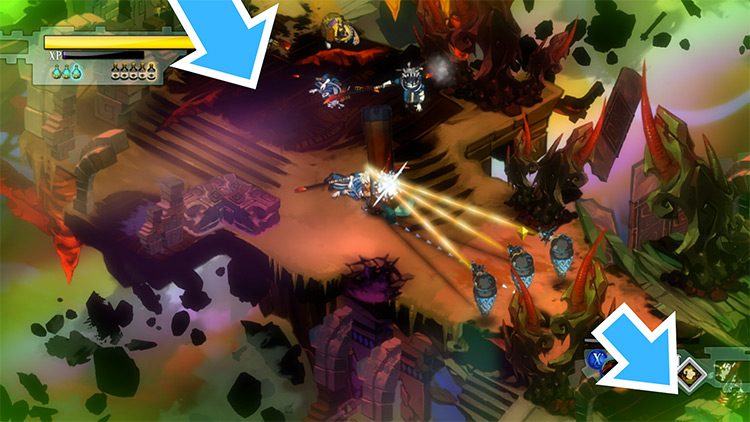
At the rear of the Turrets is a lone Marksman. This brave boy can fire 2–3 volleys of bolts at you because of your lumbering pace. Alternate between defense and movement as you creep towards him, then knock him out when you get to him.
Step 3: Two more Turrets guard the end of the corridor. You can take cover behind the stone archways until they’re done. That spot also has a hidden health tonic.
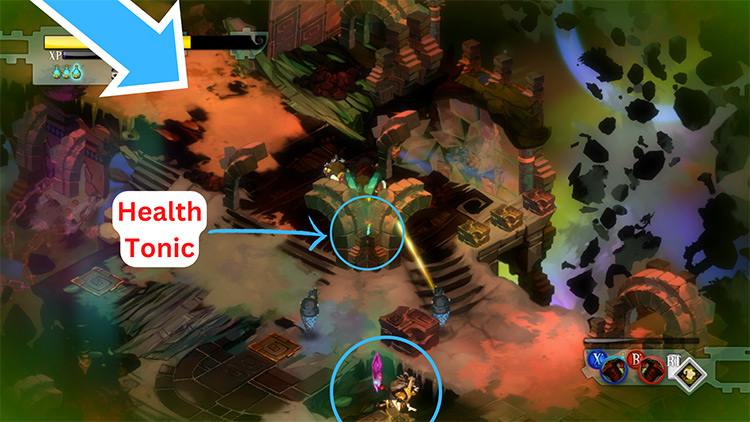
After you’ve taken care of them, head south to where the Ura General waits for you with the Shard.
Step 4: Approach the General. He’ll dash away with the Shard and call for reinforcements.
As for his moves, he’ll repeat this every time you get close to him:
- He’ll run to the top-left tile and call in three Halberdiers and one Swordsman.
- He’ll dash to the rightmost tile and order four Swordsmen to attack you.
- He’ll teleport to the center tile and get fire support from one Gunner and two Marksmen.
- He’ll jump to the bottom-left while a Halberdier and an elite Gunner flank you.
- He’ll go to the bottom-right and summon two Mechanical Pyths.
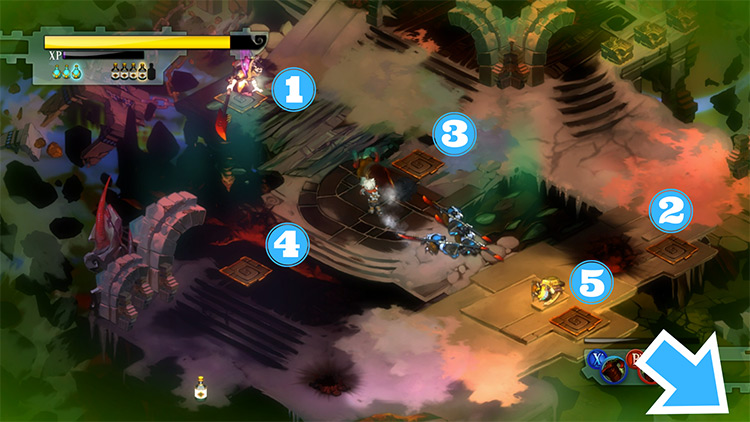
Beat back every one of his underlings. On the fifth time, he’ll drop the Shard and attack you personally.
He’s the only Ura that doesn’t go down with one swing of the Ram, but otherwise, he acts like a regular Halberdier.
He has no other gimmick besides the wild goose chase he gave you. So slap him silly for all the trouble he’s caused.
When the dust settles, grab the Shard and head down the path that forms in front of you.
Step 5: When you reach the next area, you’ll see Zulf getting Caesared by his people. They’ll retreat at your approach, leaving Zulf’s fate in your hands.
The game will then give you two choices — “Save Zulf” or “Abandon Zulf”.
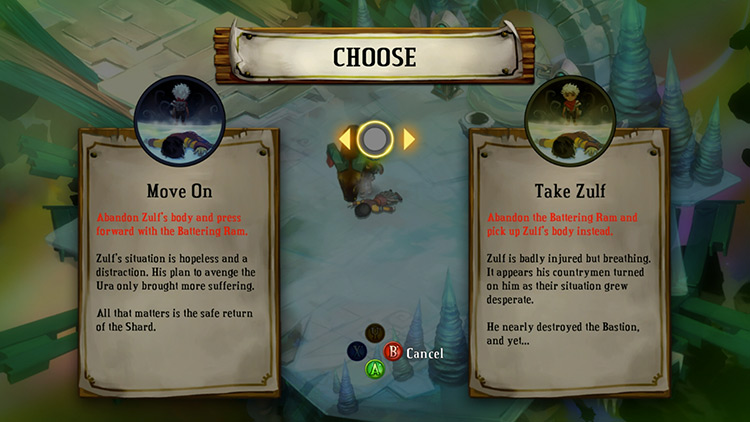
We’ll cover both options in more detail below, so skip down to the appropriate section depending on which choice you make.
But either way, after making the choice, press the nearby switch and follow the path north.
Option 1: Save Zulf
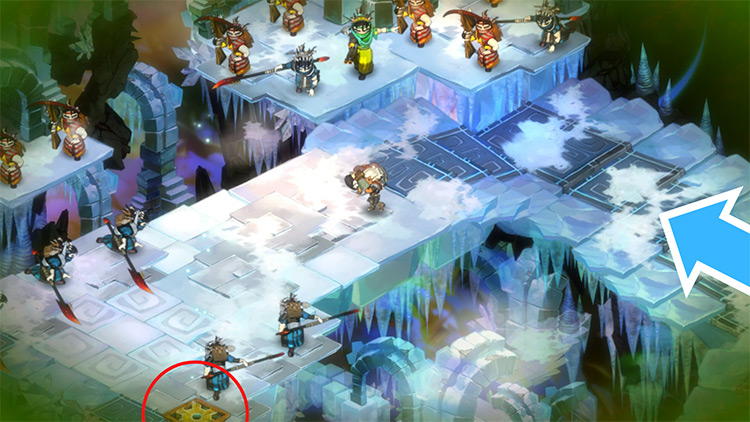
If you decide to save Zulf, you’ll have to drop the Ram in order to carry him. This means you’re left defenseless for the last segment. You also can’t dodge and have to trudge to the Skyway while the Ura attacks you.
However, when you’re halfway up the path, the Ura will stop their attack.
They’ll actually let you pass out of respect for your noble act. One Marksman will still try to shoot you, but an elite Swordsman will strike him down.
You’ll have a solemn walk while the game’s award-winning OST plays.
Option 2: Abandon Zulf
If you abandon Zulf, you’ll get to keep the Ram. The last of the Ura will rally and send everything they have left against you.
But you’re invincible during this sequence.
During your genocide of the Ura, the upbeat battle music will play.
Home: The Bastion
Regardless of whether you saved Zulf or not, you’ll find yourself weakened by your ordeal.
You’ll be prone on the dirt outside the Bastion. Rucks will be calling for you.
Keep trying to get up until you succeed, then head towards the Monument. If you did rescue Zulf, he’ll be lying unconscious near it. You can check up on him, but he won’t respond.
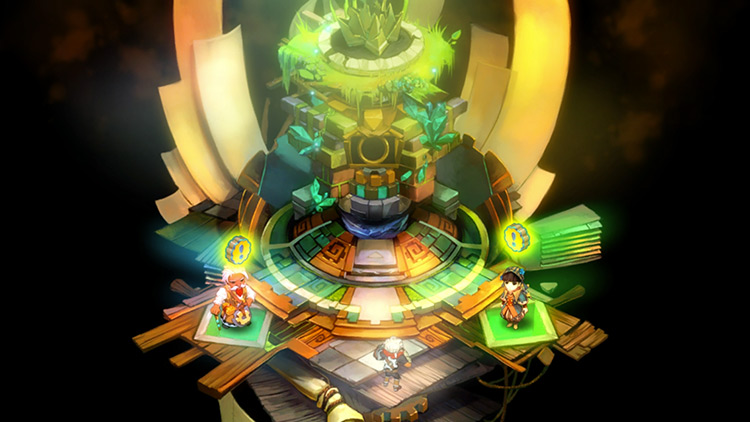
If you interact with the Monument, you’ll descend inside its control room. Rucks and Zia are waiting for you there. Rucks will explain to you the two functions of the Bastion.
You now have to decide which one to use.
You can talk with them further for their thoughts on either choice, as well as on your journey to get to this point.
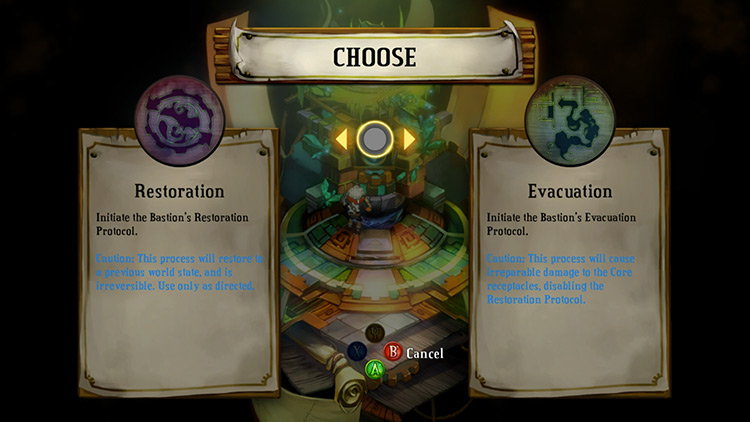
When you’re ready to decide, interact with the Monument for one last time. Your choice will determine which ending you’ll get.
But ultimately the game concludes here – you’ll get a cutscene, which will pan and fade as the credits roll.
Tip: You don’t need to go through the entire game again to view the other endings. After you’re taken back to the main menu, don’t start a New Game Plus. Choose to “Continue” instead. The autosave puts you right before you go into the Tazal Terminals. This allows you to redo the level and select the other endings.
-
Bastion
- The Tazal Terminals: Bastion Walkthrough Part 17
Related Posts:
 Burstone Quarry: Bastion Walkthrough Part 14
 Urzendra Gate: Bastion Walkthrough Part 15
 Zulten’s Hollow: Bastion Walkthrough Part 16
 Jawson Bog: Bastion Walkthrough Part 9
 Langston River and Prosper Bluff: Bastion Walkthrough Part 7
 The Sundown Path: Bastion Walkthrough Part 2
 Cinderbrick Fort: Bastion Walkthrough Part 6
 Point Lemaign: Bastion Walkthrough Part 11