Caelondia established Point Lemaign as a logistics and transport hub within the Wilds. Then the Calamity happened and hit this place hard.
Its broken terrain now floats against the laws of physics.
Only its famous Grand Rails anchor them in place. Those also serve as your bridges between the shattered structures in this area.
Section 1: The Grand Rail
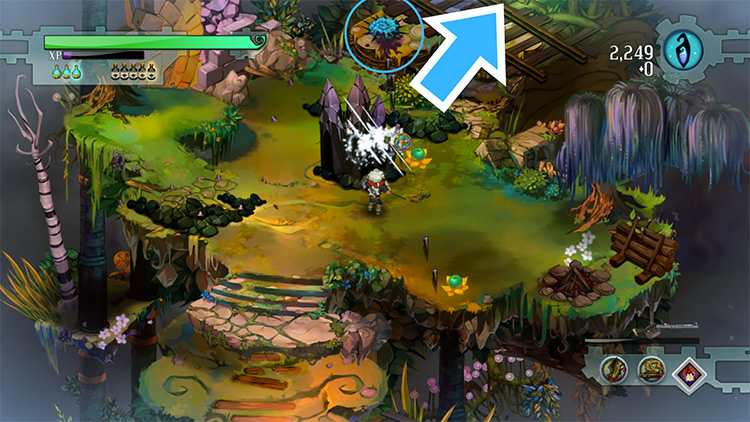
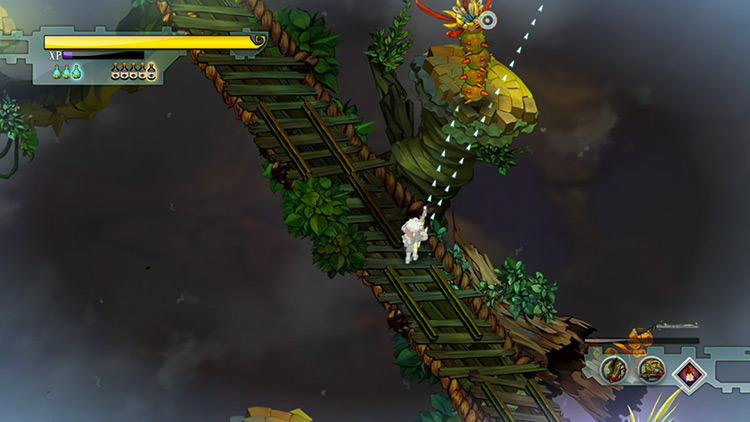
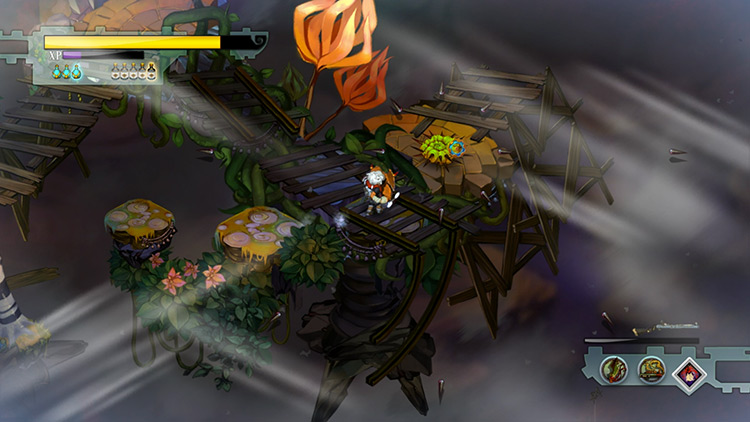
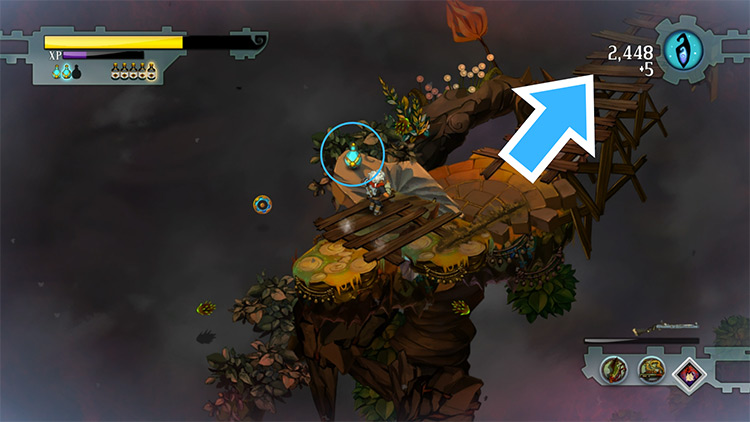
Step 1: You start beside a stone archway, a minecart, and some rails.
Make your way up the rails to move forward. As you do, you’ll get strafed by two Peckers. They’re backed up by Stinkeyes and a Wallflower on the block ahead.
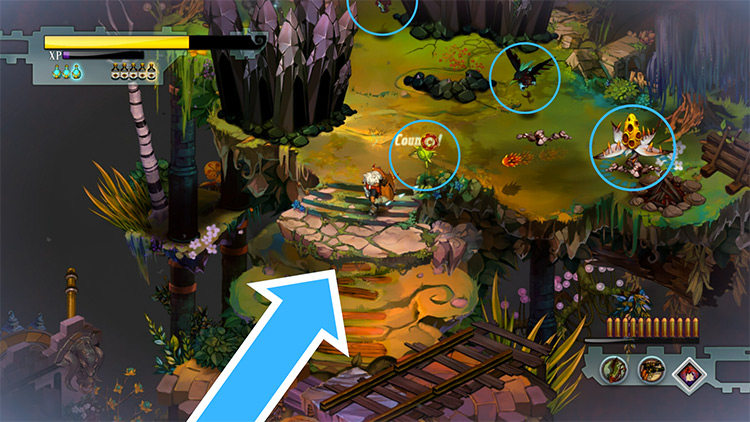
All but the Stinkeyes are ranged enemies, so put your shield up to make their attacks ineffective. Counter-block or return fire between their barrages.
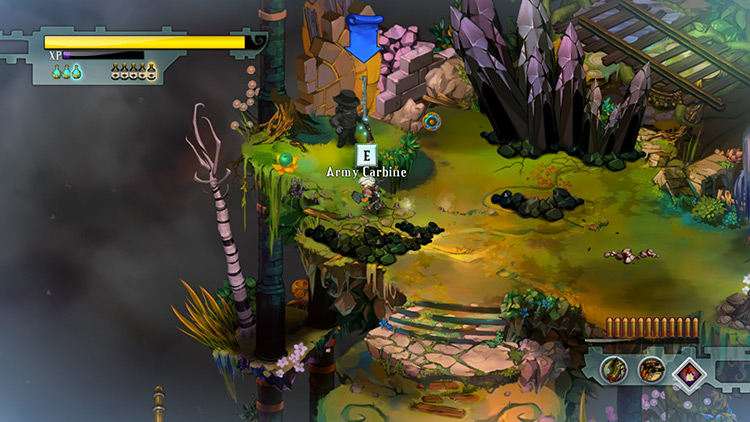
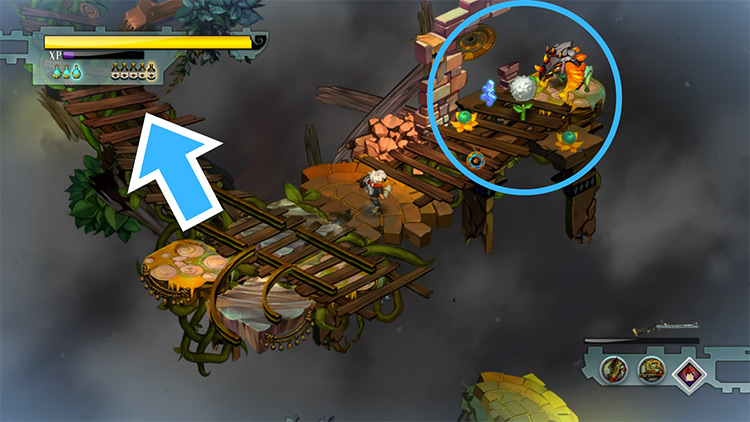
Step 2: Once they’re dead, the stalagmites to your left will drop open, revealing a ridge. Standing atop it is an ashen husk of a Caelondian Trigger — a member of this area’s garrison.
Approach him and pick up his Army Carbine.
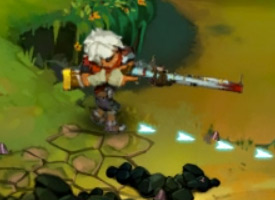
Weapon: Army Carbine
The Carbine functions like the Bow. You hold the attack button to aim then release to shoot. If you time it with the flash, you’ll do a Power Shot.
Unlike the Bow, snap shooting deals as much damage as an aimed shot. Bullets also fly faster than arrows, so it’s more accurate against agile foes.
After doing that, another Wallflower and a Stinkweed will emerge within your peripheral.
Use them as target practice for your Carbine.
A few seconds later, a big Pecker will land near the husk. It’s the speedy lunging type.
Since the Carbine takes time to aim, kill it with your other weapon or a counter-block instead.
Step 3: After defeating those three, the other blocked path will open.
At its entrance, a small cluster of rocks will also form up. You can use this as cover, as there’s a fierce Pincushion guarding the way forward.
This little one shoots spike bursts faster than the regular variants.
Kill it then continue up the new path.
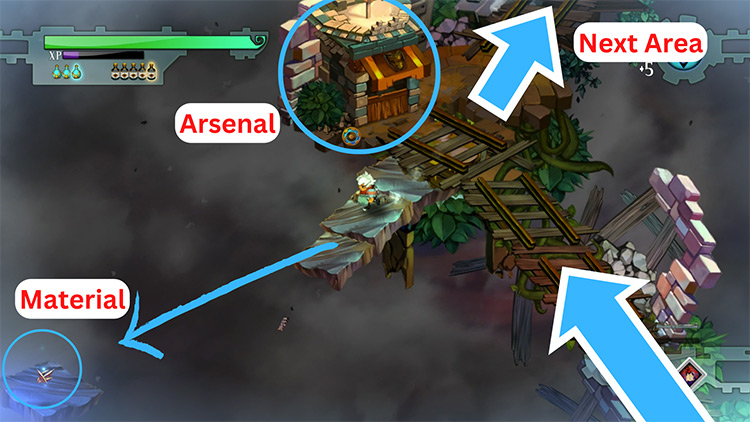
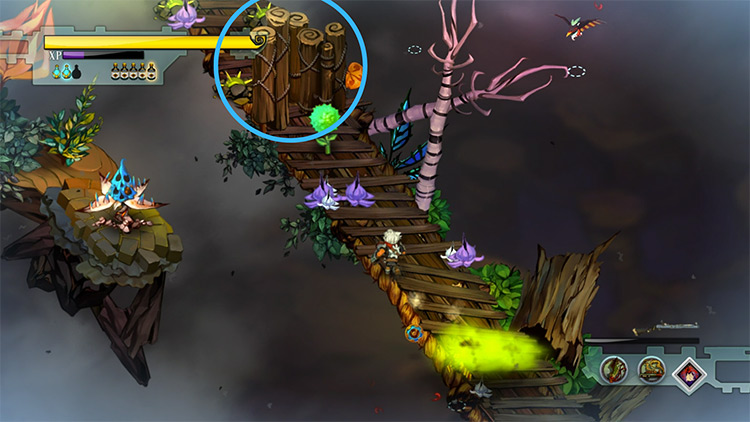
Step 4: North leads to the Grand Rails. But before you head there, go behind the minecart to your right first.
There’s a large fragment at the end of this hidden ledge. Grab it and then return to the railway tracks. There’s a Pincushion just before it.
This is the normal kind, so it’s easier to kill with your Carbine.
Do that, then proceed north. The Grand Rails will whirl to life as you take a few steps along it.
Section 2: Rail Shooter
Your camera’s fixed to the Grand Rails while it hauls you to the next area. This part is like a conveyor belt.
If you lag behind, you’ll “fall off” the camera and take damage.
Get too far ahead, and you won’t see the enemies along the route.
So do your best to stay at the center.
The Rails move at a steady pace, so you only need to worry about the upcoming enemies. You’ll encounter them in this order:
1. Six Stinkeyes stay burrowed at the start. They’ll reveal themselves only after you’ve passed them, so be ready for that.
2. A Wallflower will be on a floating rock to your left. Snipe it with your Carbine.
3. A Bootlicker on a rock will also come up on your right. Your Carbine is your friend here.
4. A pink Wallflower and a Pincushion flank both sides. The former’s a new variant that shoots 16 kernels at all directions around it. Together with the latter, these two create an intersecting field of fire.
One well-aimed Power Shot can silence each of them.
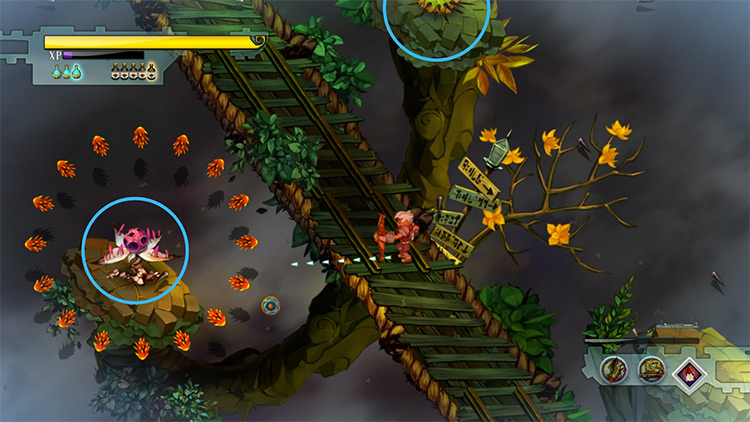
5. A regular Wallflower sits on the center of the tracks. To the left of it is another Pincushion. Kill them to make your passage safe.
6. A second pink Wallflower is nestled alone on a rock ahead.
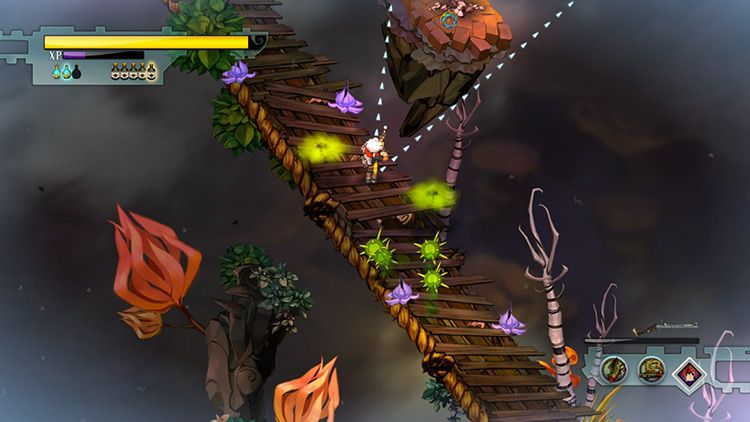
7. A Pincushion guards the end of this segment. Its spike stream enfilades the entire track, which will collapse once it finishes moving. Before that happens, press forward with your shield up to reach solid ground. You can then hack away at the Pincushion.

Section 3: Junctions and Zigzags
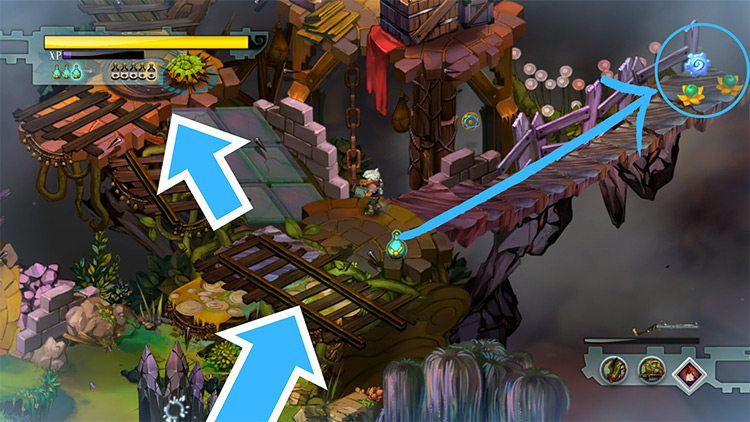
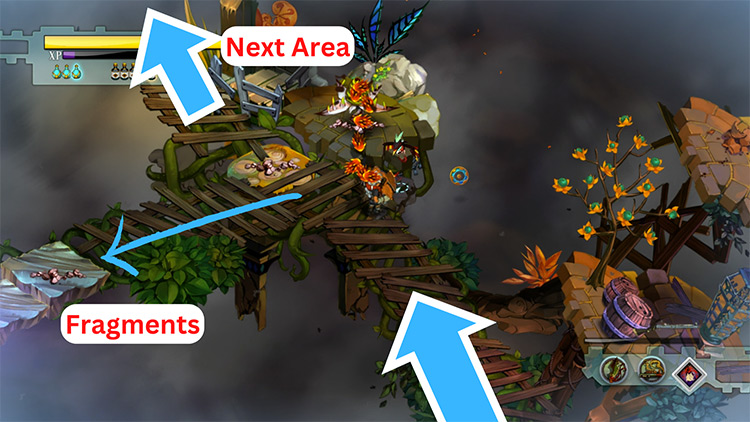
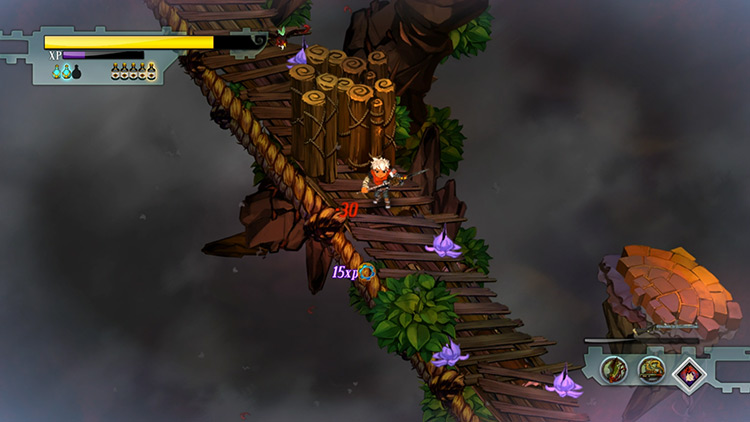
Step 1: The end of the segment is a junction. The tracks lead north, but before you follow it, head right first.
There are some apples and a fragment there. A Lunkhead and a white vineapple are also there.
Clear them out so you can get the items.
After that, you may then continue north up the tracks.
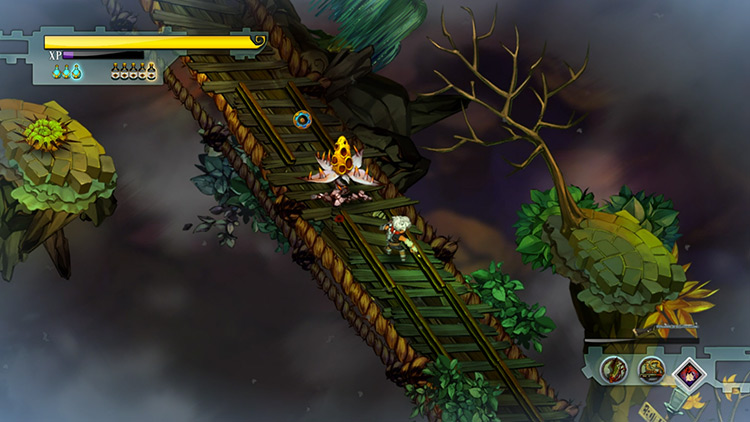
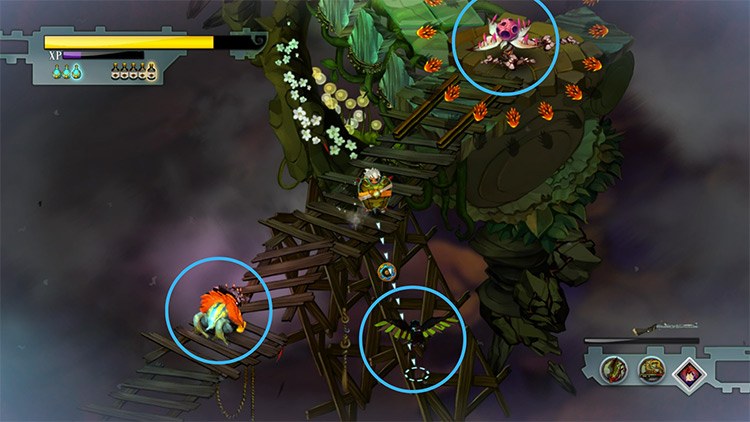
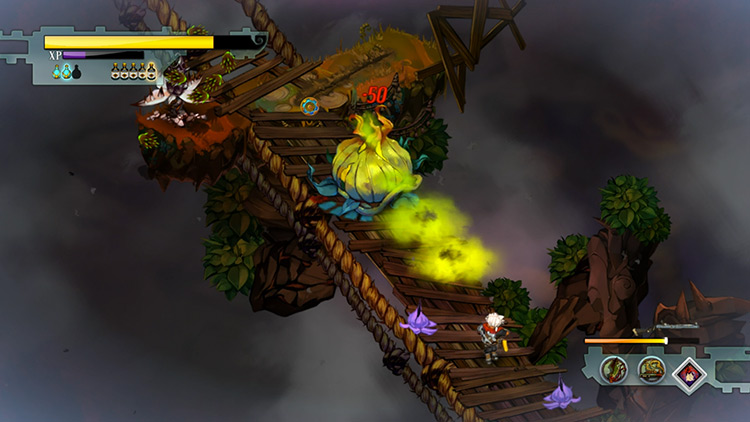
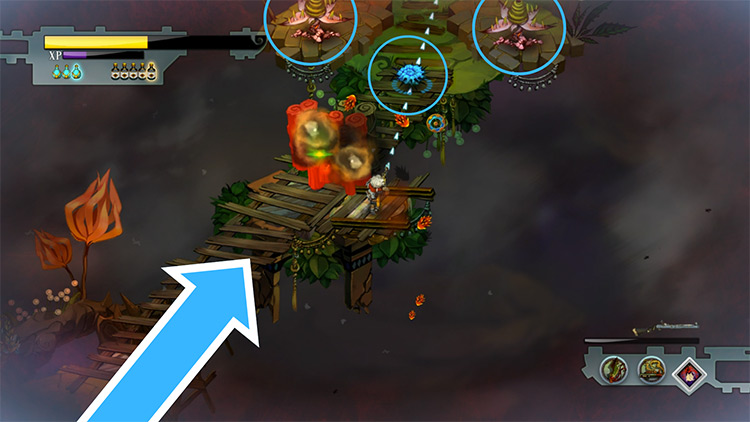
Step 2: You’ll reach another junction where there’s some Peckers and another new Wallflower variant.
This green one spews its kernels like a volcano. It only has a medium range, so you have the advantage with your Carbine.
After killing it, another one will pop up beside the first – kill that one too.
If you go left from them, you can collect some fragments along a ledge. A pink Wallflower will emerge on the way back.
Defeat it and then go north.
Step 3: There’s more recovery items along the way. Consume them if you need to, because there are more enemies ahead.
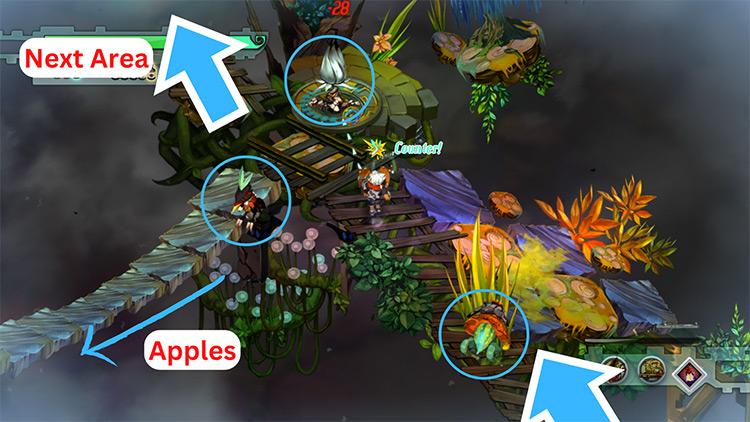
To be specific, a big Pecker, a Lunkhead, and a Wallflower will waylay you at the next junction.
The Pecker won’t attack until you hit it, so deal with the other two first.
Step 4: After the fight, there are more apples down the left ledge if you need healing.
But there’s yet another new Wallflower perched there.
This black one’s somewhat harmless though. Its kernels only orbit around itself, creating a revolving barrier.
Once it’s dead, its kernels scatter outward. They’re slow, so you can dodge or block them easily. With that done, grab the items you need and then continue north.
Step 5: You’ll come upon an Arsenal at this junction. There’s a blue Wallflower beside it, but one blast can erase it.
Enter the Arsenal if you want to swap out weapons and skills. Do note that the Carbine can one-shot most enemies in this level.
Once you’re satisfied with your equipment, go left and down the ledge. You can find a “Something Sharp” material for your Machete there. A Pecker will try to drive you away from it, so shoot it down first.
After that, head north from the Arsenal.
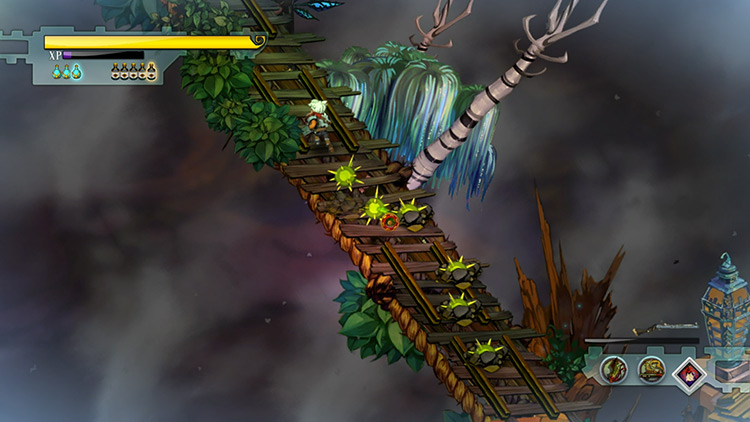
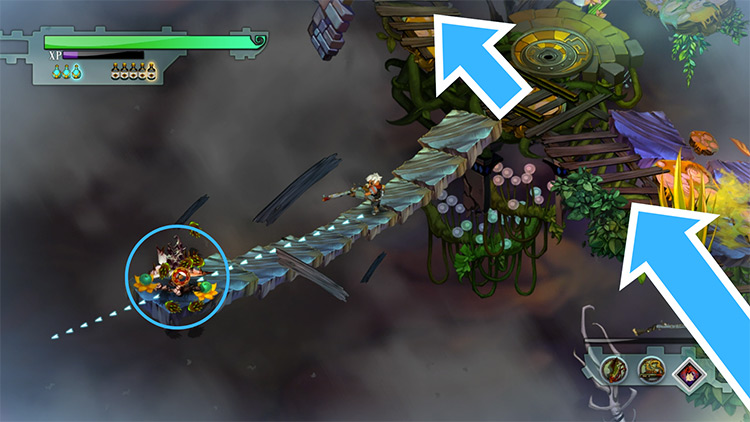
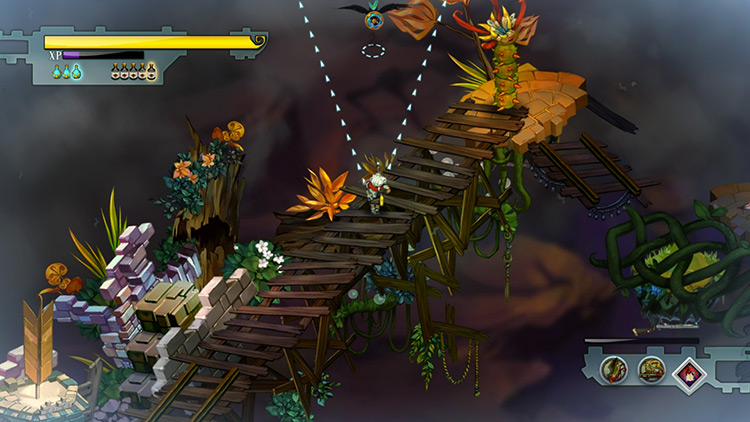
Step 6: The wooden walkways zigzag with the tracks up ahead. There aren’t any hidden items to note as the path’s straightforward. However, there’ll be enemies at every corner.
You’ll have to fight your way through them.
Here’s what you can expect:
1) A Pecker hovers near the first corner. It’s supported by a Bootlicker, so you’ll want to shoot them from afar.
2) A black Wallflower blockades the next corner. There’s also a Pecker patrolling behind it. If you need to recover health, hit the green vineapple opposite of the Wallflower.
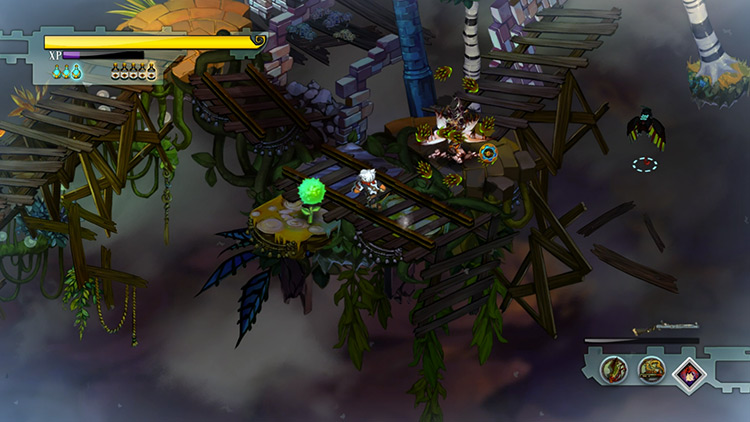
3) A green Wallflower guards the third corner. As you get near it, a Bootlicker will appear on a nearby rock and hold you down. Focus on the Wallflower first as it’s the one that can hurt you.
4) A single Pincushion is throwing a tantrum on the fourth corner. Evade and block its spikes as you knock it down.
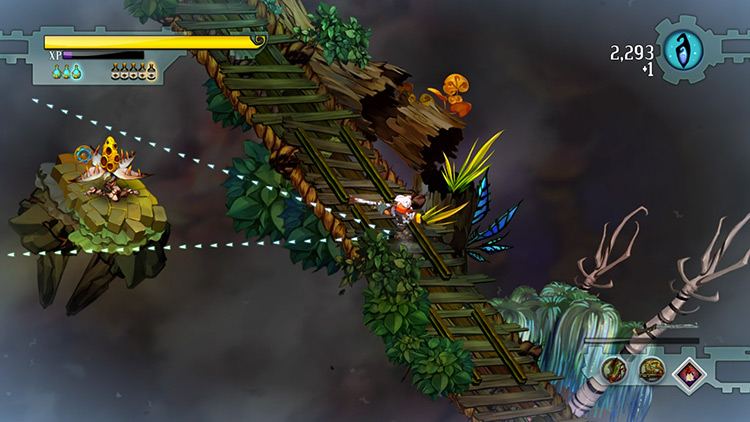
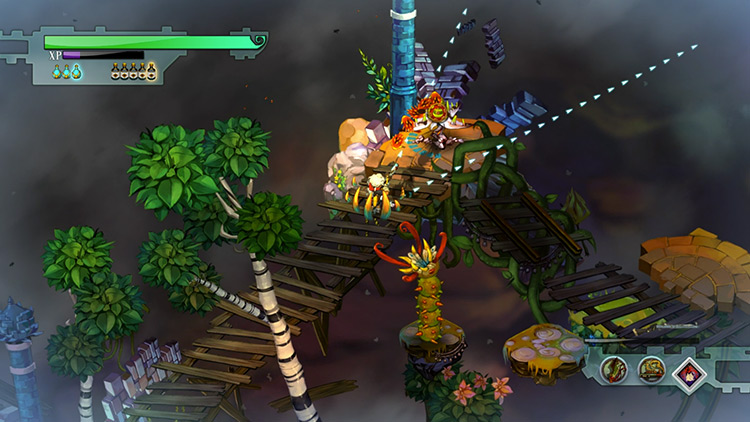
5) A pink Wallflower sits idle at the end of the path. Before you can get to it, a Lunkhead and a Pecker will drop down behind you.
You should run forward and thread the needle to get to solid ground, beside the Wallflower. Kill that, and then you can deal with the other two.
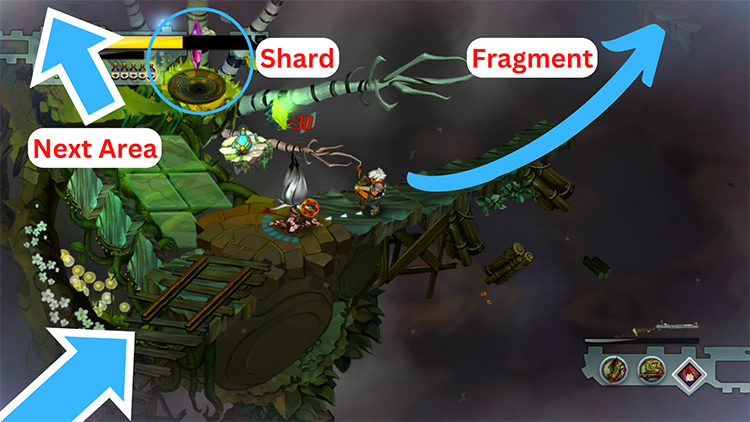
Step 7: The Shard is above you on this final junction.
But before you grab it, there’s a fragment and a green vineapple on the ledge to your right. As you go there, a green Wallflower will pop up behind you.
Blast it, get the items, then go back to the Shard. Some small Peckers will intercept you as you approach it. Drive them off with your boomstick. After that, take the Shard.
Section 4: Rail Shooter 2.0
Step 1: Immediately after taking the Shard, the Grand Rails will act up again. As before, the camera will refocus on it, so you’ll have to keep up with the moving path.
The encounters come right after another in this segment. You’ll also have to deal with obstacles along the tracks now. So stay on your toes and stick to the center of the Rails.
These will be in your path:
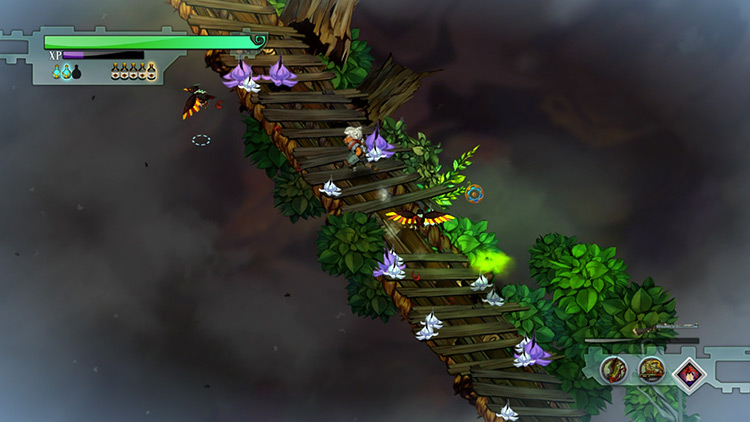
1) The entire track is teeming with swampweeds. You can try to clear them off, but their noxious fumes will linger for a few seconds. It’s better to weave carefully through them. Some Peckers will harass you on the way. Once you’ve gained enough ground, shoot the birds away.
2) At the end of the infestation, there’s a wooden palisade blocking the path. It has a green vineapple in front of it if you need health.
There’s also a blue Wallflower to your left. Counter-block it while you’re breaking down the wall.
3) Some Stinkeyes have mixed in with the swampweeds. They’ll rise when you’ve gotten ahead, where a blue Wallflower will attack you. Return fire on that one first before dealing with the incoming Stinkeyes.
4) A double-layered palisade obstructs your path. The good thing is that there are only Peckers around. Demolishing the wall reveals a “Something Fancy” material under the wood. You can use that to upgrade your Army Carbine.
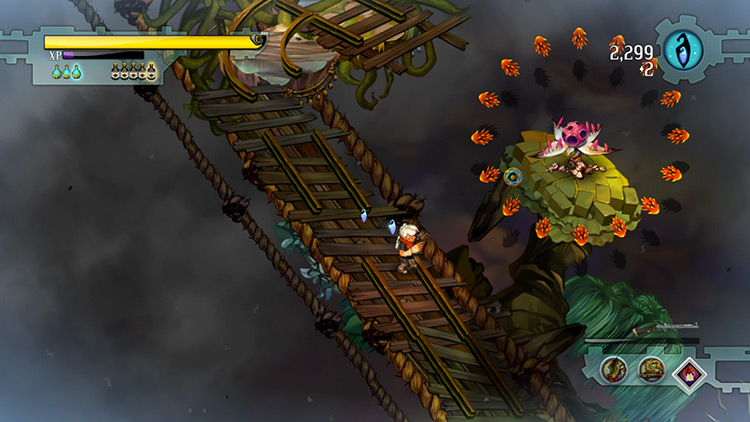
5) A Stinkweed occupies the final segment like a Snorlax. There’s also a black Wallflower behind it. For now, worry about the Stinkweed since it can take 3–4 Power Shots from the Carbine.
Start blasting it as soon as you see it.
After it’s gone, run to the concrete before you attack the Wallflower. You don’t want to be on the Grand Rails as it collapses.
Section 5: Mail via Rail
Step 1: A few seconds after the Grand Rails fall, a health tonic will drop on the ground near you. Drink it if you’re low on health. There’s still one more battle to the north.
Go there when you’re ready.
Step 2: You’ll reach another wooden palisade along the path. Do not break it yet, because behind it are two green Wallflowers plus a Pincushion.
The Pincushion is the same type you faced in the beginning of the level. These three can easily erase your health bar with their relentless bombardment.
Use the wood as cover, and shoot back after their every attack.
The wall won’t last long, but you can still rely on your shield. Once they’re dead, the path north will open.
Step 3: Someone’s waiting for you at the clearing. Talk to him, and he’ll leave behind the “Sealed Note” memento.
It’s written by Zulf and is addressed to Zia.
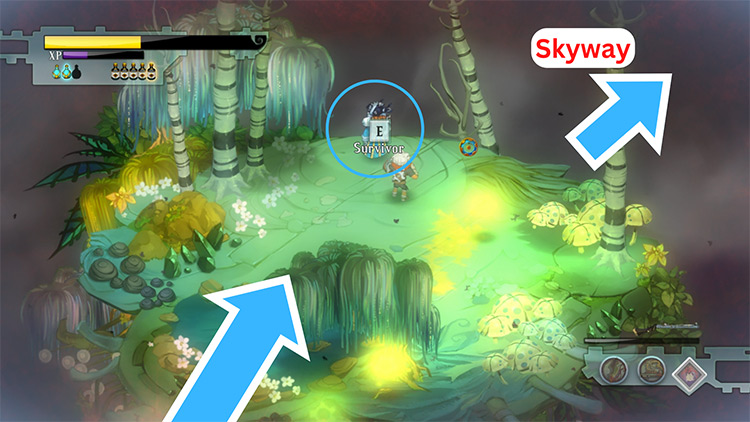
Pick it up, and a path will form beside it. It leads to the Skyway.
Go there so that you can go home.
Home: The Bastion
Go deliver the letter to Zia. She’ll share its contents with you, which says she must go east to learn about the truth of the Calamity and her people.
That direction leads to her homeland — the Ura region.
If you talk to Rucks, he’ll only wonder about the Ura messenger who left you that note.
There’s also one other topic that you can discuss with Zia — her Ceramic Stockpot.
She set it up nearby so she can cook for the community. You can find it below the Monument, near Zulf’s Pipe.
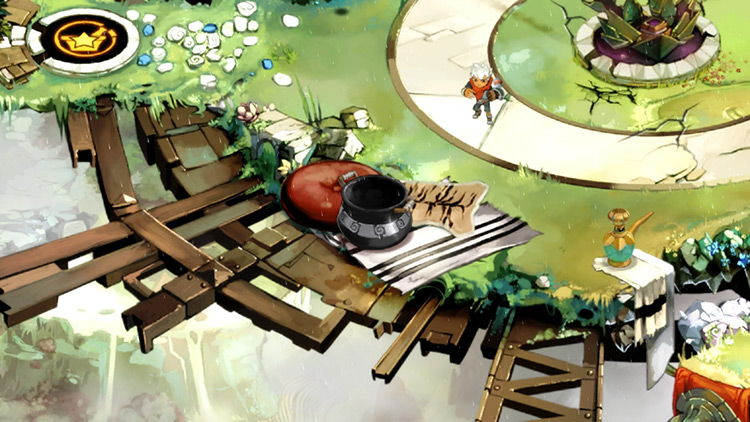
Eating from it will make you drowsy and knock you out. This lets you experience the second Dream Challenge. Each Dream has a certain set of enemies, and this new one features creatures of the Wilds.
All Dreams are repeatable, so you can farm this challenge for fragments, like with the first Dream.
Aside from that, you should unlock another true building with your new Shard. Insert it to the Monument to do that. You may want the True Forge this time.
You may already have enough materials to get the final weapon upgrades. If not, then go for the True Lost-and-Found, so you can buy more materials.
When you’re done with your preparations, go to the Skyway to choose between the two new levels:
- Trigger Hill
- Colford Cauldron
Trigger Hill’s the proving grounds for the Army Carbine. It’s highly recommended that you upgrade the Carbine’s aiming speed before you go there. It’s a timed challenge where you need to shoot all targets as fast as you can.
But if you’re not ready for that yet (or after you go through it), then go to Colford Cauldron to continue the story.
-
Bastion
- Point Lemaign: Bastion Walkthrough Part 11
Related Posts:
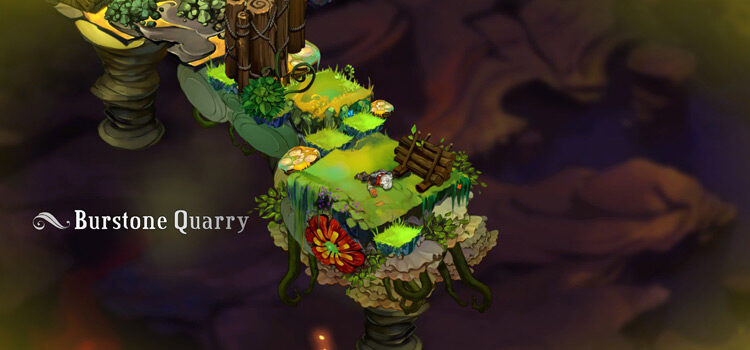 Burstone Quarry: Bastion Walkthrough Part 14
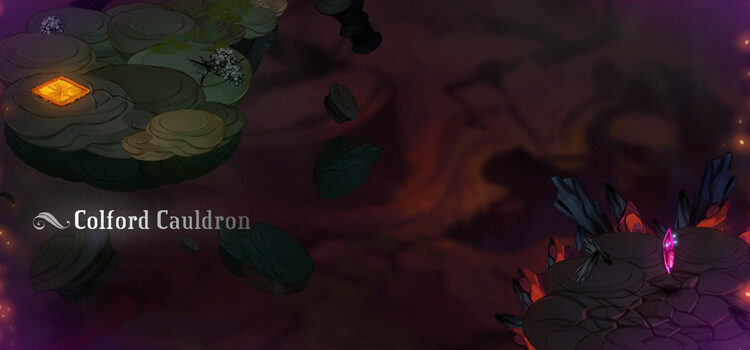 Colford Cauldron: Bastion Walkthrough Part 12
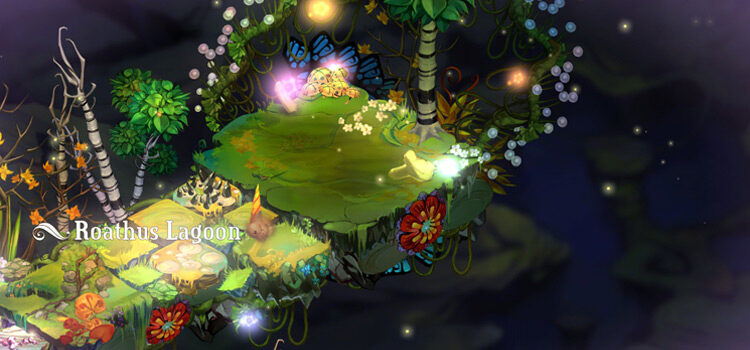 Roathus Lagoon: Bastion Walkthrough Part 10
 The Wild Outskirts: Bastion Walkthrough Part 8
 Langston River and Prosper Bluff: Bastion Walkthrough Part 7
 Mount Zand: Bastion Walkthrough Part 13
 Jawson Bog: Bastion Walkthrough Part 9
 Cinderbrick Fort: Bastion Walkthrough Part 6