You can unlock the Level 70 normal-difficulty trial Hells’ Kier (also known as Suzaku NM) by accepting the Level 70 quest “The Fire-bird Down Below” from Bunchin in The Ruby Sea (X:27.8, Y:16.4).
But this quest can only be started after you complete the Level 70 quest “Tortoise in Time” and clear The Swallow’s Compass.
Below we’ll explain how to unlock the Hell’s Kier (Normal) trial, and we’ll explain every battle mechanic to make your fight a bit easier.
TABLE OF CONTENTS
Step-by-Step Unlock Guide
- Complete the Level 70 quest “Tortoise in Time” from Bunchin in The Ruby Sea (X:27.9, Y:16.4) by clearing Swallow’s Compass.
- Accept the Level 70 quest “The Fire-bird Down Below” from Bunchin in The Ruby Sea (X:27.8, Y:16.4).
- Speak with Genbu in the Reisen Temple (X:6.1, Y:6.1).
- Talk to Suzaku in the Reisen Temple (X:6.2, Y:6.3).
Detailed Unlocking Guide
You can begin unlocking Hells’ Kier by first completing the Level 70 quest “Tortoise in Time” from Bunchin in The Ruby Sea (X:27.9, Y:16.4) and clearing the Level 70 dungeon The Swallow’s Compass.
After doing that, speak with Bunchin in The Ruby Sea (X:27.8, Y:16.4) and accept the Level 70 quest “The Fire-bird Down Below.”
Bunchin will inform you that your presence is required at the Reisen Temple.
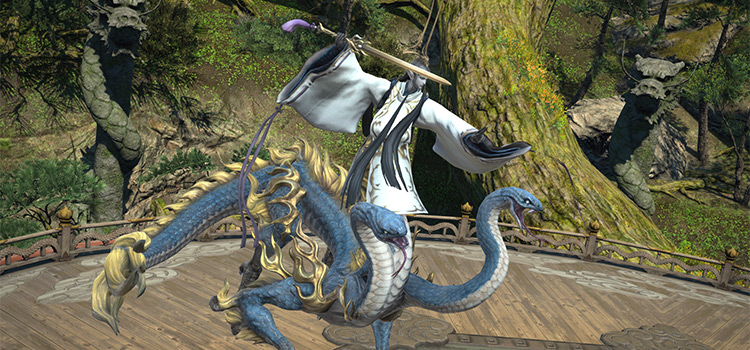
After a brief conversation with the Kojin, speak with Genbu in the Reisen Temple (X:6.1, Y:6.1).
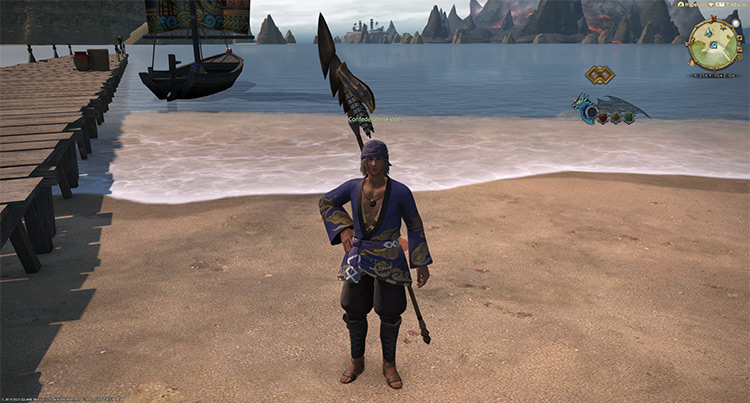
Tip: Remember you can speak to the Confederate Skipper in The Ruby Sea (X:23.5, Y:10.4) to travel to the temple entrance at The Ruby Sea (X:27.1, Y:38.3) faster.
Your quest to quell the raging aramitama of sacred auspices continues.
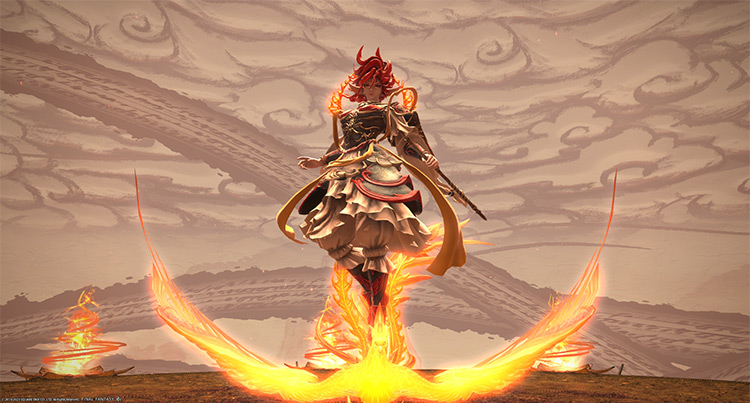
In this part of the story, you’ll need to deal with the auspice Suzaku. Similar to Byakko’s situation, you’ll need to defeat Suzaku in battle to quell her aramitama.
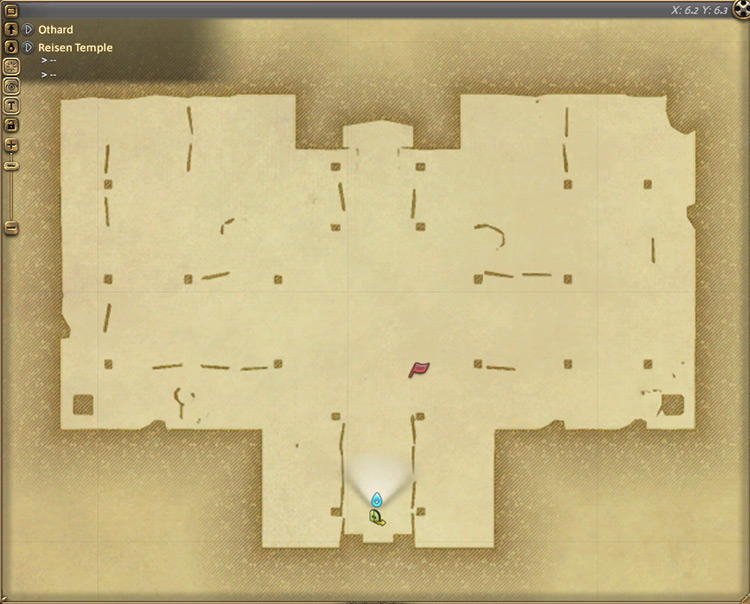
After learning more about Suzaku’s background, speak with her in the Reisen Temple (X:6.2, Y:6.3) to unlock Hells’ Kier.
This trial requires at least a Level 70 Disciple of War or Magic and an average item level of 355 to enter.
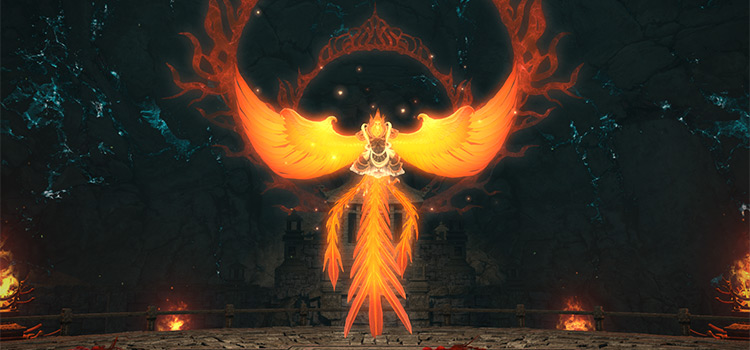
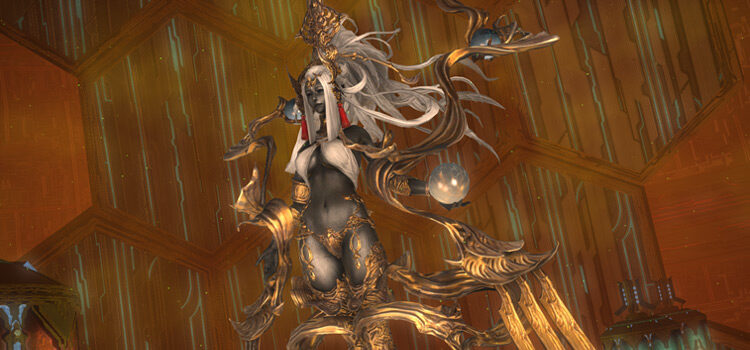
Trial Boss: Suzaku
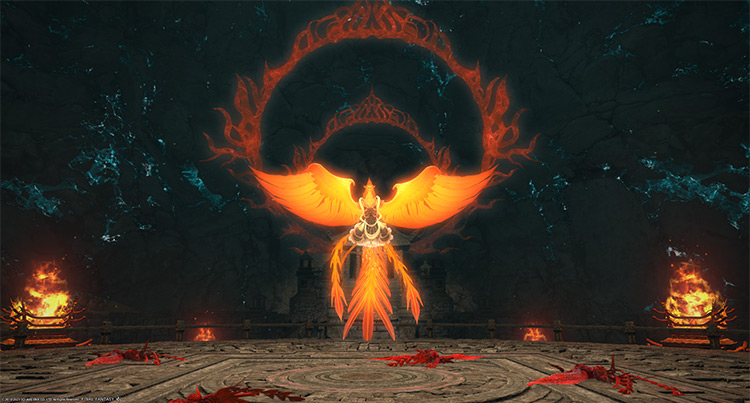
This trial can be easily soloed with a high-level character with up-to-date gear. Make sure to quickly take out any “Scarlet Lady” mobs that spawn and burn the boss down as fast as possible.
Phase 1: Scarlet Ladies
Rotation:
Cremate > Eternal Flame > Fleeting Summer > Screams of the Damned > Phoenix Down > Cremate > Screams of the Damned > Fleeting Summer > Eternal Flame.
- Cremate: A red tankbuster marker on the primary target. Shield and heal through the damage.
- Eternal Flame (Phase 1): Revives the four phoenix corpses.
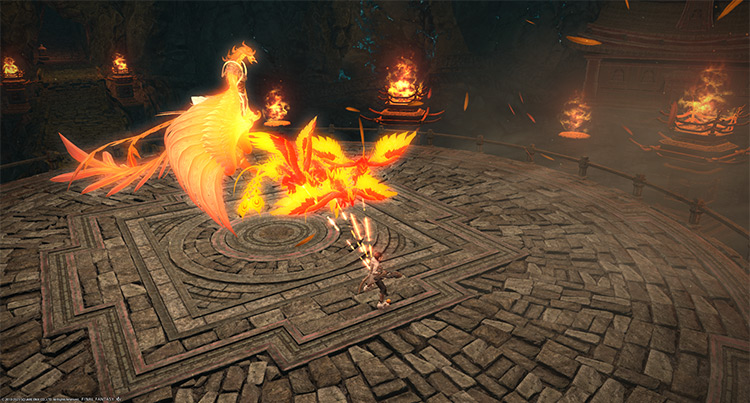
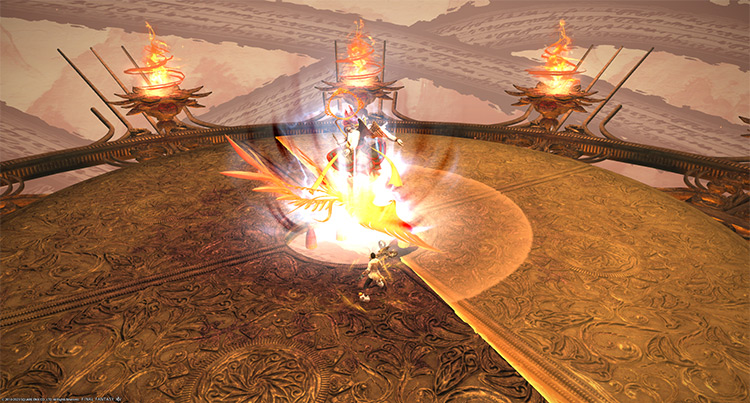
- Scarlet Lady: The phoenix corpses will spawn four “Scarlet Lady” mobs that must be killed immediately. Drag them to the center and burn them down.
- Ashes to Ashes (Scarlet Lady): A room-wide AoE that applies a stacking “Vulnerability Up” debuff for 60 seconds and stacking “Suppuration” debuff for 120 seconds. This attack can instantly wipe the party. Kill the scarlet ladies before this goes off.
- Fleeting Summer: A massive frontal cone AoE toward a random player that applies a stacking “Vulnerability Up” debuff for 60 seconds.
- Screams of the Damned: A room-wide AoE attack. Mitigate and heal through the damage.
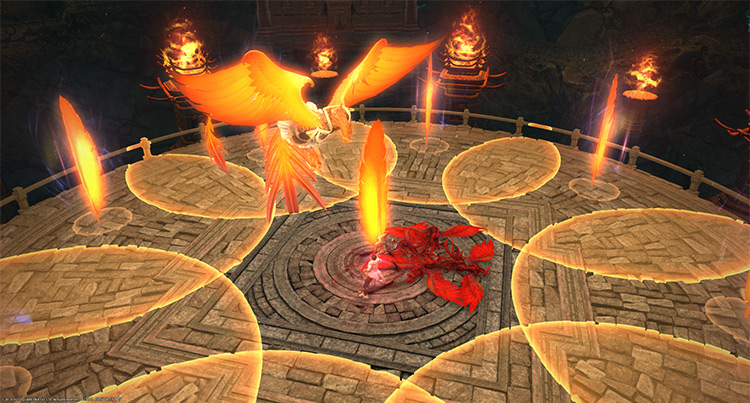
- Phoenix Down: The boss will summon scarlet plumes that will cover the entire arena in AoE circles that can revive phoenix corpses. Destroy the middle plume (where the phoenix corpses should be) to create a safe space and prevent the corpses from reviving.
If a corpse is hit by a plume’s AoE, it will receive an “HP Boost” buff. Focus on killing any scarlet ladies that are revived during this time. - Wing and a Prayer (Scarlet Plume): A large point-blank AoE that applies a stacking “Vulnerability Up” debuff for 60 seconds.
Phase 2: Eternal Flame
Rotation:
Eternal Flame > Scarlet Fever.

- Eternal Flame (Phase 2): The boss will summon orbs that will float toward her and fill her “Scarlet Melody” gauge to increase the damage of her incoming ultimate attack. Have each player stand in a circle near the boss to take the orbs while facing their characters toward the direction of each arrow that will appear underneath them.
Each orb taken while facing the correct direction will grant the player a stack of “Damage Up” for 120 seconds. A total of seven orbs will float toward each player. If the boss’ gauge reaches 100, the party will wipe. - Scarlet Fever: A room-wide ultimate AoE attack based on the “Scarlet Melody” gauge.
Phase 3: Scarlet Hymn and Incandescent Interlude
Rotation:
Southron Star > Ruthless Refrain > Phantom Flurry > Well of Flame > Scarlet Hymn > Well of Flame > Ruthless Refrain > Southron Star > Incandescent Interlude + Rekindle > Phantom Flurry > Well of Flame + Swoop (Scarlet Ladies).
Starting from Phase 3, you can now fall off the arena underneath the boss or toward the outer edges.
- Southron Star: A room-wide AoE attack. Mitigate and heal through the damage.
- Ruthless Refrain: A room-wide AoE that knocks players back. Stand near the boss or use knockback-immunity skills.
- Phantom Flurry: A multi-hit tankbuster attack on the primary target followed by a 180-degree knockback AoE. Run behind the boss immediately.
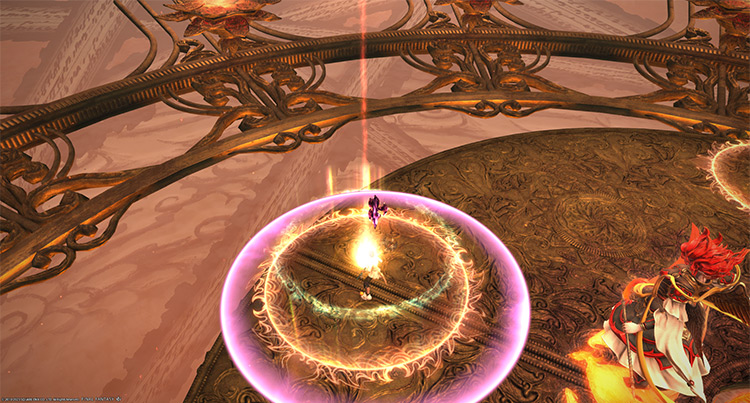
- Well of Flame: A large column attack toward a random player that applies a stacking “Vulnerability Up” debuff for 60 seconds.

-
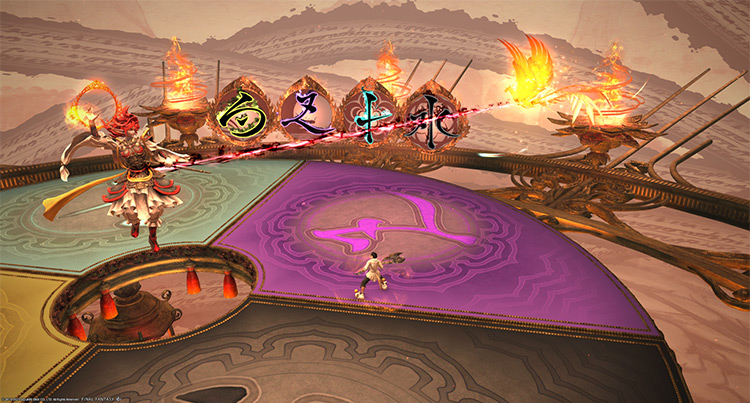
Scarlet Hymn (Phase 3): The arena will transform and be divided into four quadrants. A scarlet lady will also be tethered to the boss and fly around the arena. Along the way, the scarlet lady will touch four colored symbols that indicate which quadrant will explode.
Standing in a quadrant activated by the scarlet lady will result in a 3-second stun and a stacking “Vulnerability Up” debuff for 60 seconds. Identify which quadrant the scarlet lady will activate and dodge accordingly.
- Incandescent Interlude: Four meteors will descend across the room. Have one player stand inside each meteor circle to avoid a room-wide AoE that applies a stacking “Vulnerability Up” debuff for 60 seconds.
- Rekindle: During “Incandescent Interlude,” each player will receive targeted circle AoEs. Spread out to avoid overlap while ensuring at least one player is inside every meteor circle.
- Swoop (Scarlet Ladies): Line AoEs that knock players back.
Phase 4: Improved Scarlet Hymn and Repeating Mechanics
Rotation:
Southron Star > Scarlet Hymn > Southron Star > Phantom Flurry > Well of Flame + Rekindle > Phantom Flurry > Southron Star > Well of Flame + Rekindle > Southron Star x2 > Phantom Flurry > Well of Flame + Rekindle > Southron Star > Incandescent Interlude + Rekindle Phantom Flurry > Well of Flame + Swoop > Repeat from the first Southron Star.
At this point, you’ve seen every mechanic in the fight. The fight will repeat Phase 4 until the boss is taken out.
- Scarlet Hymn (Phase 4 onwards): There will now be two sets of four symbols side by side that the scarlet lady will touch in each cycle around the arena.
Rewards
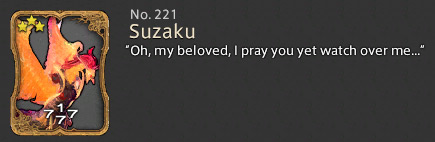
- Suzaku Triple Triad Card (not guaranteed)
-
Final Fantasy XIV
- FFXIV Hells’ Kier (Normal): How To Unlock + Trial Guide
Related Posts:
 FFXIV Hells’ Kier (Extreme): How To Unlock + Trial Guide
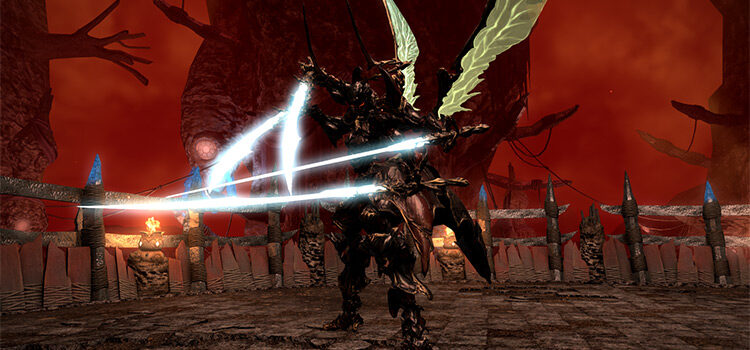
 FFXIV Minstrel’s Ballad: Nidhogg’s Rage – Unlocking + Trial Guide
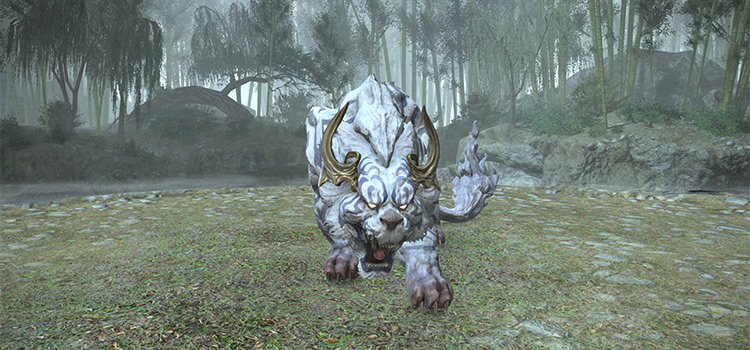 FFXIV The Jade Stoa (Normal): Unlock + Trial Battle Guide
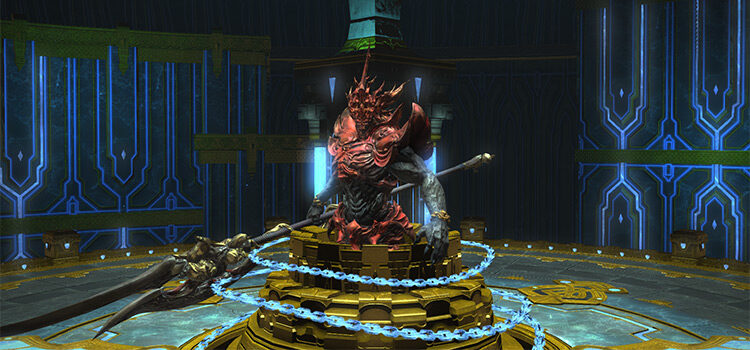 Zurvan EX Unlock & Trial Guide – FFXIV Containment Bay Z1T9 (Extreme)
 FFXIV Thok ast Thok (Extreme): How To Unlock + Trial Guide
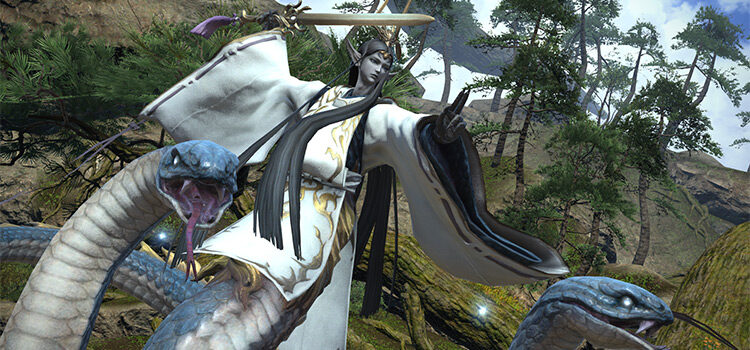 FFXIV Wreath of Snakes (Extreme): How To Unlock + Trial Guide
 FFXIV The Wreath of Snakes (Normal): Unlock + Trial Guide
 Sophia EX Unlock & Trial Guide – FFXIV Containment Bay P1T6 (Extreme)