You can unlock the Level 70 dungeon The Swallow’s Compass by accepting the Level 70 quest “Tortoise in Time” from Bunchin in The Ruby Sea (X:27.9, Y:16.4).
But this quest can only be unlocked after completing the Level 70 quest “An Auspicious Encounter” from Soroban in The Ruby Sea (X:5.7, Y:15.7). There you’ll need to clear the Hells’ Lid dungeon and The Jade Stoa trial.
TABLE OF CONTENTS
Step-by-Step Unlock Guide
- Complete the Level 70 MSQ “Hope on the Waves” from Yugiri in Kugane (X:11.2, Y:9.6).
- Complete the Level 70 quest “An Auspicious Encounter” from Soroban in The Ruby Sea (X:5.7, Y:15.7).
- Accept the level 70 quest “Tortoise in Time” from Bunchin in The Ruby Sea (X:27.9, Y:16.4).
- Speak with Genbu in the Reisen Temple (X:6.1, Y:6.0).
- Speak with Kamaitachi in Yanxia (X:11.7, Y:26.9).
Detailed Unlocking Guide
You can start unlocking The Swallow’s Compass by completing the Level 70 MSQ “Hope on the Waves” from Yugiri in Kugane (X:11.2, Y:9.6) as part of patch 4.2 of the Stormblood expansion.
You need to finish every MSQ leading up to “Hope on the Waves” before it can be unlocked.

After catching up with the MSQs, head to The Ruby Sea and complete the quest “An Auspicious Encounter” from Soroban in The Ruby Sea (X:5.7, Y:15.7).
This quest marks the start of the Four Lords Questline, where a collection of high-level trials and dungeons can be unlocked, including The Swallow’s Compass.
The Four Lords Questline follows your journey with the Kojin Soroban in search of a mythical treasure.
In this quest line, you’ll discover mythical beings with incredible power and learn about the story of the legendary samurai that brought them all together.
In “An Auspicious Encounter” you’ll need to clear the Hells’ Lid dungeon and The Jade Stoa trial. We have guides for both of them if needed:
Once you’re done there, accept the quest “Tortoise in Time” from Bunchin in The Ruby Sea (X:27.9, Y:16.4).
You and Soroban have done well in quelling Byakko’s aramitama in The Jade Stoa. Genbu has now taken Soroban under his wing to prepare the Kojin for the tougher battles ahead.
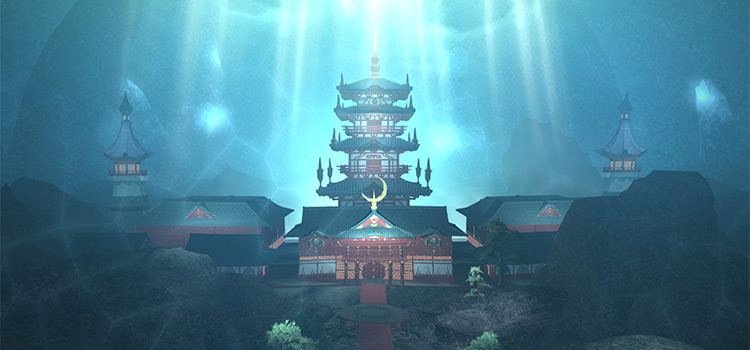
Talk to Furi in The Ruby Sea (X:27.1, Y:38.3) to re-enter the Reisen Temple.
You can quickly reach Furi by teleporting to the Onokoro Aetheryte and talking to the Confederate Skipper in The Ruby Sea (X:23.5, Y:10.4).
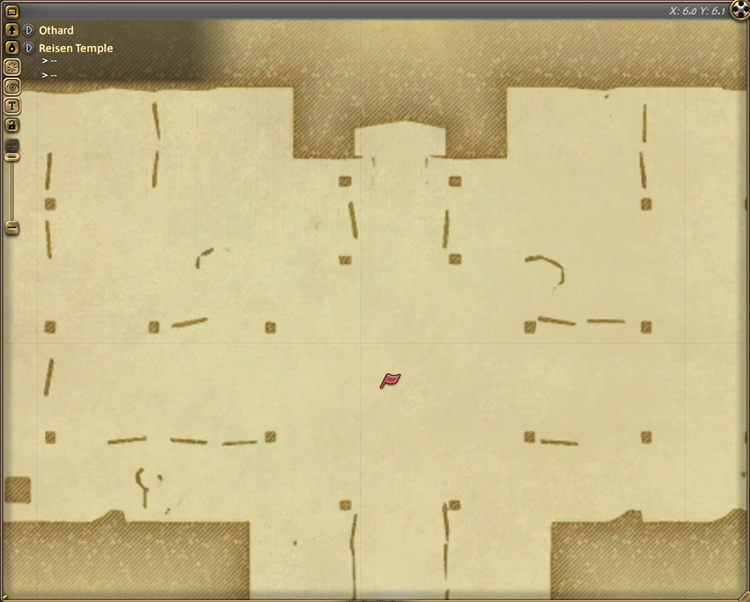
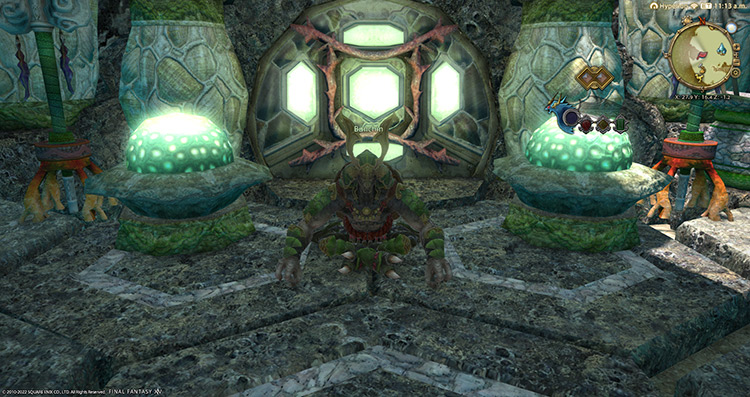
Upon entering the temple, talk to Genbu in the Reisen Temple (X:6.1, Y:6.0).
While Soroban’s training has been fruitful, Genbu wants to further improve Soroban’s abilities using the “Tamate-bako of Geomancy.”
This ancient time manipulation relic can help Soroban age a thousand years and temporarily turn him into an auspice.
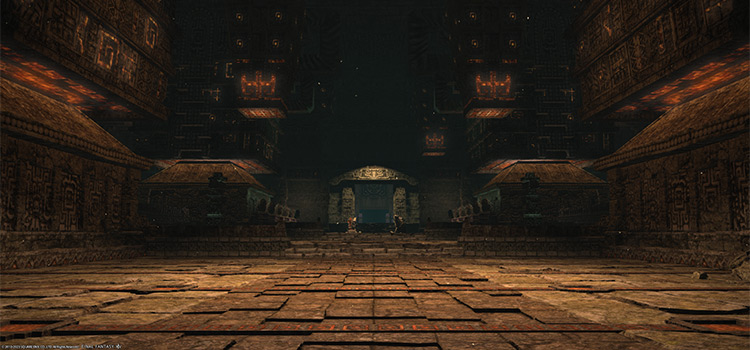
Due to the danger this relic posed to auspices, it was locked within the ancient mausoleum of Ganen, The Swallow’s Compass, to keep it from falling into the wrong hands.
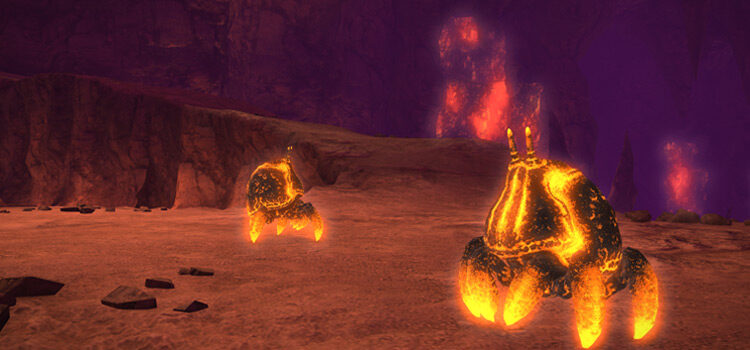
Unfortunately, the mausoleum has been abandoned for a long time. And shikigamis now roam its halls.
Genbu would have you and your friends retrieve the relic to continue Soroban’s training.
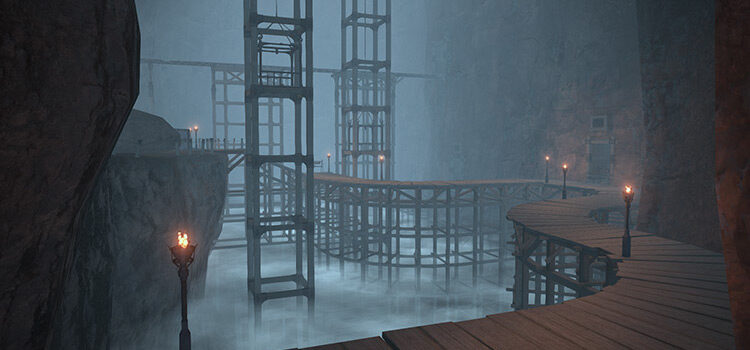
Now just head to The Glittering Basin in Yanxia and speak with Kamaitachi in Yanxia (X:11.7, Y:26.9) to unlock The Swallow’s Compass. You’ll need at least a level 70 Disciple of War or Magic job and an average item level of 330 to enter.
Boss #1: Otengu
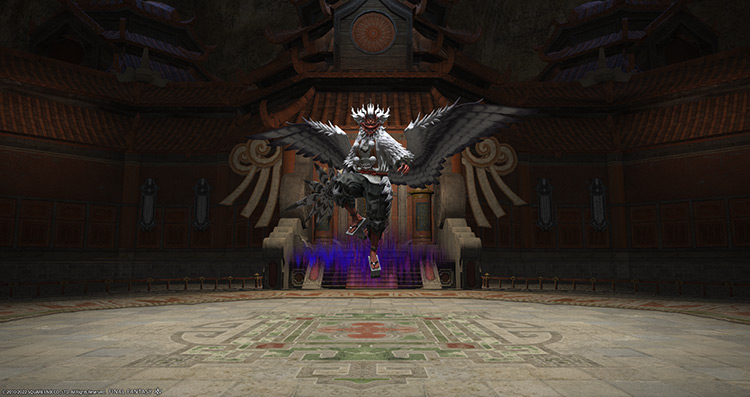
Mechanics
- Might of the Tengu: A tankbuster attack on the primary target. Shield and heal through the damage.
- Clout of the Tengu: A room-wide AoE attack.
- Yama-kagura: A large column AoE on a random player.
- Tengu Embers: Fire orbs will float around the arena, applying a stacking “Suppuration” debuff for 30 seconds if touched. These orbs eventually stop and explode, applying more debuffs to anyone hit.
- Wile of the Tengu: A look-away attack that applies “Hysteria” for five seconds. Face your character away from the boss before this goes off.
Rewards
- 10 Allagan Tomestone of Poetics
| Name | Type | Rarity |
|---|---|---|
| Bonewicca Bangle of Aiming | Bracelets | Dungeon (Green) |
| Bonewicca Bangle of Casting | Bracelets | Dungeon (Green) |
| Bonewicca Bangle of Fending | Bracelets | Dungeon (Green) |
| Bonewicca Bangle of Healing | Bracelets | Dungeon (Green) |
| Bonewicca Bangle of Slaying | Bracelets | Dungeon (Green) |
| Bonewicca Protector’s Sabatons | Feet | Dungeon (Green) |
| Bonewicca Ring of Aiming | Ring | Dungeon (Green) |
| Bonewicca Ring of Casting | Ring | Dungeon (Green) |
| Bonewicca Ring of Fending | Ring | Dungeon (Green) |
| Bonewicca Ring of Healing | Ring | Dungeon (Green) |
| Bonewicca Ring of Slaying | Ring | Dungeon (Green) |
| Bonewicca Shadow’s Sabatons | Feet | Dungeon (Green) |
| Bonewicca Skinner’s Sabatons | Feet | Dungeon (Green) |
| Bonewicca Soother’s Sabatons | Feet | Dungeon (Green) |
| Bonewicca Tracker’s Sabatons | Feet | Dungeon (Green) |
| Bonewicca Whisperer’s Greaves | Feet | Dungeon (Green) |
| Bonewicca Wildling’s Greaves | Feet | Dungeon (Green) |
Boss #2: Daidarabotchi
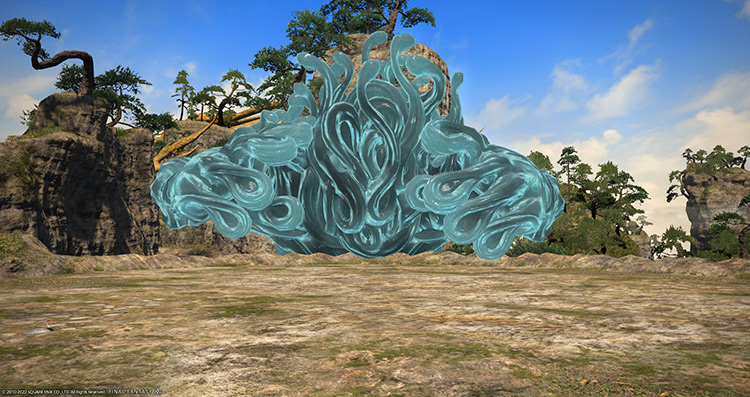
Mechanics
- Greater Palm: The boss will raise one of its arms and slam one half of the arena, applying a stacking “Vulnerability Up” debuff for 60 seconds to anyone hit.
- Tributary: Narrow frontal cone AoEs on up to two players.
- Mountain Falls: Up to two more players will receive targeted circle AoE markers. Spread out to avoid overlap.
- Mirage: One DPS player will be targeted by an orange marker. After a few moments, earth spike AoEs will start chasing them around. Bait these away from the group.
- Mythmaker: The boss will punch the middle of the arena, creating a small pool of water that grows over time. Anyone standing in the pool will slowly drown and die if they stay in for too long. Stay away from the pool and bait your AoEs around it.
Rewards
- 15 Allagan Tomestone of Poetics
| Name | Type | Rarity |
|---|---|---|
| Bonewicca Earring of Aiming | Earrings | Dungeon (Green) |
| Bonewicca Earring of Casting | Earrings | Dungeon (Green) |
| Bonewicca Earring of Fending | Earrings | Dungeon (Green) |
| Bonewicca Earring of Healing | Earrings | Dungeon (Green) |
| Bonewicca Earring of Slaying | Earrings | Dungeon (Green) |
| Bonewicca Protector’s Gauntlets | Hands | Dungeon (Green) |
| Bonewicca Shadow’s Gauntlets | Hands | Dungeon (Green) |
| Bonewicca Skinner’s Gloves | Hands | Dungeon (Green) |
| Bonewicca Soother’s Gauntlets | Hands | Dungeon (Green) |
| Bonewicca Tracker’s Gauntlets | Hands | Dungeon (Green) |
| Bonewicca Whisperer’s Gauntlets | Hands | Dungeon (Green) |
| Bonewicca Wildling’s Gauntlets | Hands | Dungeon (Green) |
| Bonewicca Protector’s Helm | Head | Dungeon (Green) |
| Bonewicca Shadow’s Visor | Head | Dungeon (Green) |
| Bonewicca Skinner’s Visor | Head | Dungeon (Green) |
| Bonewicca Soother’s Mask | Head | Dungeon (Green) |
| Bonewicca Tracker’s Helm | Head | Dungeon (Green) |
| Bonewicca Whisperer’s Mask | Head | Dungeon (Green) |
| Bonewicca Wildling’s Helm | Head | Dungeon (Green) |
| Bonewicca Necklace of Aiming | Necklace | Dungeon (Green) |
| Bonewicca Necklace of Casting | Necklace | Dungeon (Green) |
| Bonewicca Necklace of Fending | Necklace | Dungeon (Green) |
| Bonewicca Necklace of Healing | Necklace | Dungeon (Green) |
| Bonewicca Necklace of Slaying | Necklace | Dungeon (Green) |
Boss #3: Qitian Dasheng
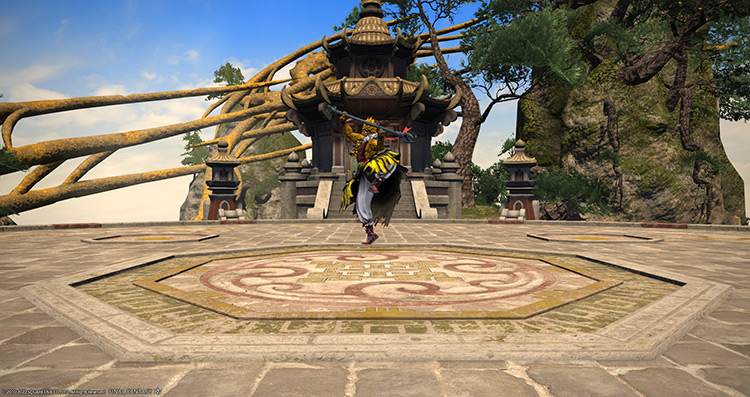
Mechanics
The outer edges of the platform will turn into an electric field that applies a stacking “Vulnerability Up” debuff for 60 seconds and a continuous “Bleeding” DoT.
- The Short End: A tankbuster attack on the primary target. Use damage reduction skills and heal through the damage.
- Both Ends: The boss will use either a point-blank AoE (normal staff) or a large donut AoE (long glowing staff) that knock players back.
- Long End: The boss will tether to a random player for a knockback column attack. Use knockback-immunity skills if available.
- Five-fingered Punishment: A stack marker on a random player. Stand inside the marker to share incoming damage.
- Mount Huaguo: A room-wide AoE attack.
- Monkey Magicks + Second Heaven: At around 50% HP, the boss will become invulnerable and summon eight “Servant of the Sage” mobs while preparing “Second Heaven,” a room-wide ultimate AoE attack. Kill the servants before the gauge reaches 100, or the party will wipe.
- Splitting Hairs: The boss will split itself into two, doubling the mechanics the party needs to handle. Kill both copies at the same time to prevent another split.
Rewards
- 25 Allagan Tomestone of Poetics
- Qitian Dasheng Triple Triad Card (not guaranteed)
| Name | Type | Rarity |
|---|---|---|
| Bonewicca Protector’s Coat | Body | Dungeon (Green) |
| Bonewicca Shadow’s Chestpiece | Body | Dungeon (Green) |
| Bonewicca Skinner’s Mail | Body | Dungeon (Green) |
| Bonewicca Soother’s Chestpiece | Body | Dungeon (Green) |
| Bonewicca Tracker’s Coat | Body | Dungeon (Green) |
| Bonewicca Whisperer’s Jacket | Body | Dungeon (Green) |
| Bonewicca Wildling’s Jacket | Body | Dungeon (Green) |
| Bonewicca Protector’s Trousers | Legs | Dungeon (Green) |
| Bonewicca Shadow’s Trousers | Legs | Dungeon (Green) |
| Bonewicca Skinner’s Trousers | Legs | Dungeon (Green) |
| Bonewicca Soother’s Trousers | Legs | Dungeon (Green) |
| Bonewicca Tracker’s Trousers | Legs | Dungeon (Green) |
| Bonewicca Whisperer’s Sarouel | Legs | Dungeon (Green) |
| Bonewicca Wildling’s Sarouel | Legs | Dungeon (Green) |
| Monkey King | Minion | Basic |
| Earth, Wind, and Water Orchestrion Roll | Orchestrion Roll | Basic |
Extra Treasure Coffers
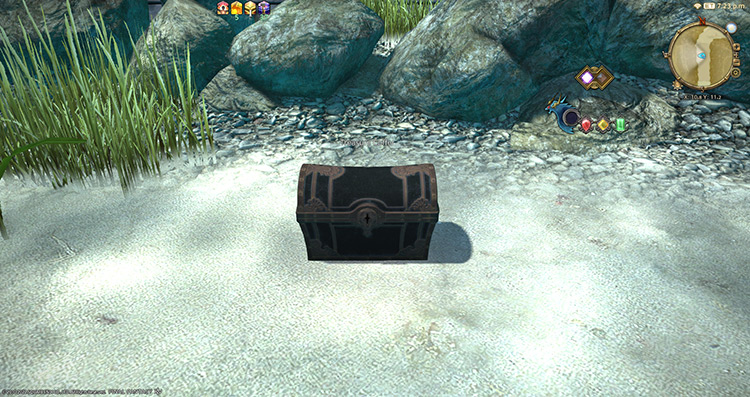
Apart from the boss rewards, there are four treasure coffers located throughout the dungeon that you can open for more gear, crafting material, or crystal rewards. Here are their coordinates:
- (X:10.7, Y:11.2)
- (X:12.2, Y:7.9)
- (X:9.8, Y:14.3)
- (X:11.4, Y:10.2)
-
Final Fantasy XIV
- FFXIV The Swallow’s Compass: How To Unlock + Boss Guide
Related Posts:
 FFXIV Hells’ Lid: How To Unlock + Dungeon Guide
 FFXIV Shisui of the Violet Tides: Unlock + Boss Guide
 FFXIV Copperbell Mines (Hard): How To Unlock + Boss Guide
 FFXIV Pharos Sirius (Normal): How To Unlock + Dungeon Guide
 FFXIV Dohn Mheg: How To Unlock + Boss Guide
 FFXIV Haukke Manor (Hard): How To Unlock + Boss Guide
 FFXIV The Qitana Ravel: Unlock + Boss Guide
 FFXIV Holminster Switch: How To Unlock + Boss Guide